How to personalize your live chat agent image
The instructions below are for desktops and laptops only.
A personalized live chat experience is a great way to engage with potential customers who are considering a purchase or need help.
Customizing the appearance of your live chat agent can help build personable connections with your customers while establishing a professional image for your company.
In this guide, we show you 4 ways to personalize the appearance of your live chat agent. If you have a support team of live chat agents, encourage them to perform the steps outlined in this article.
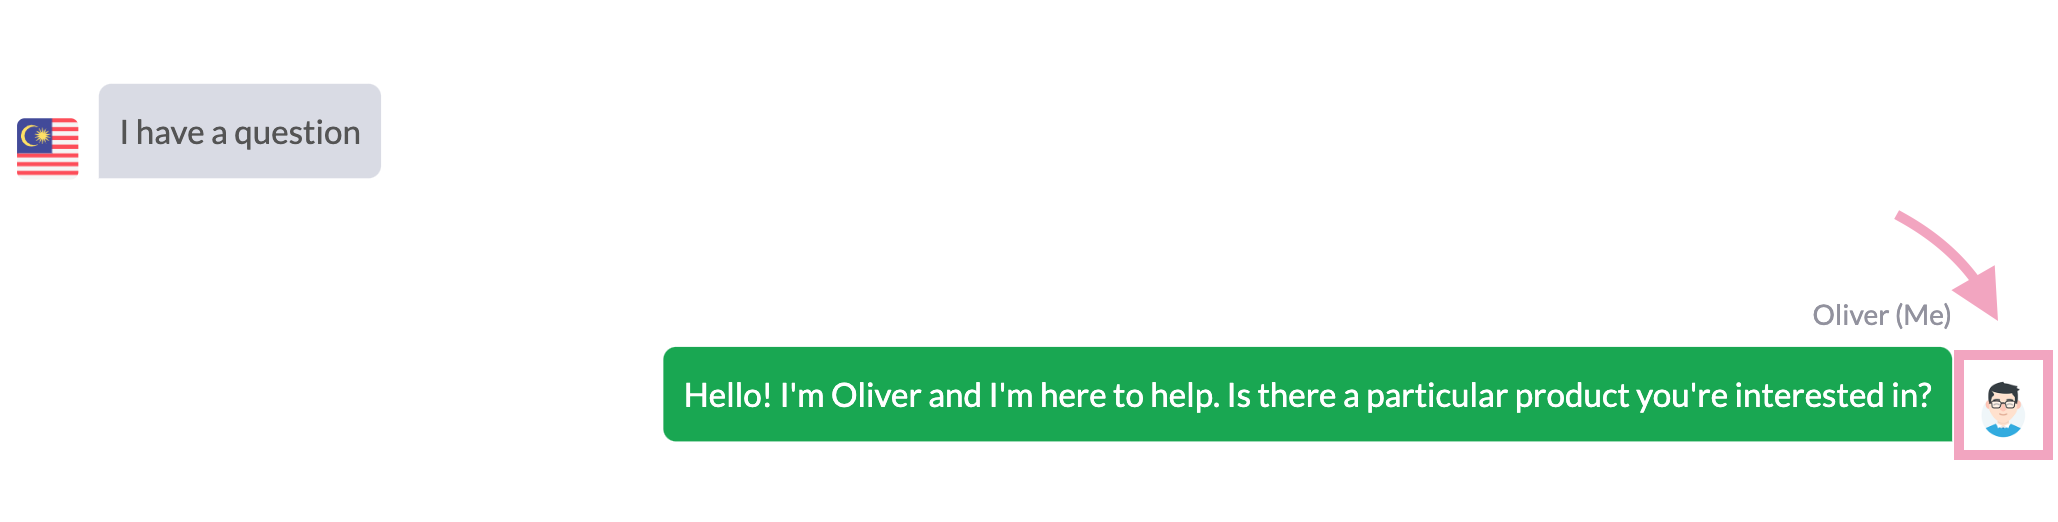
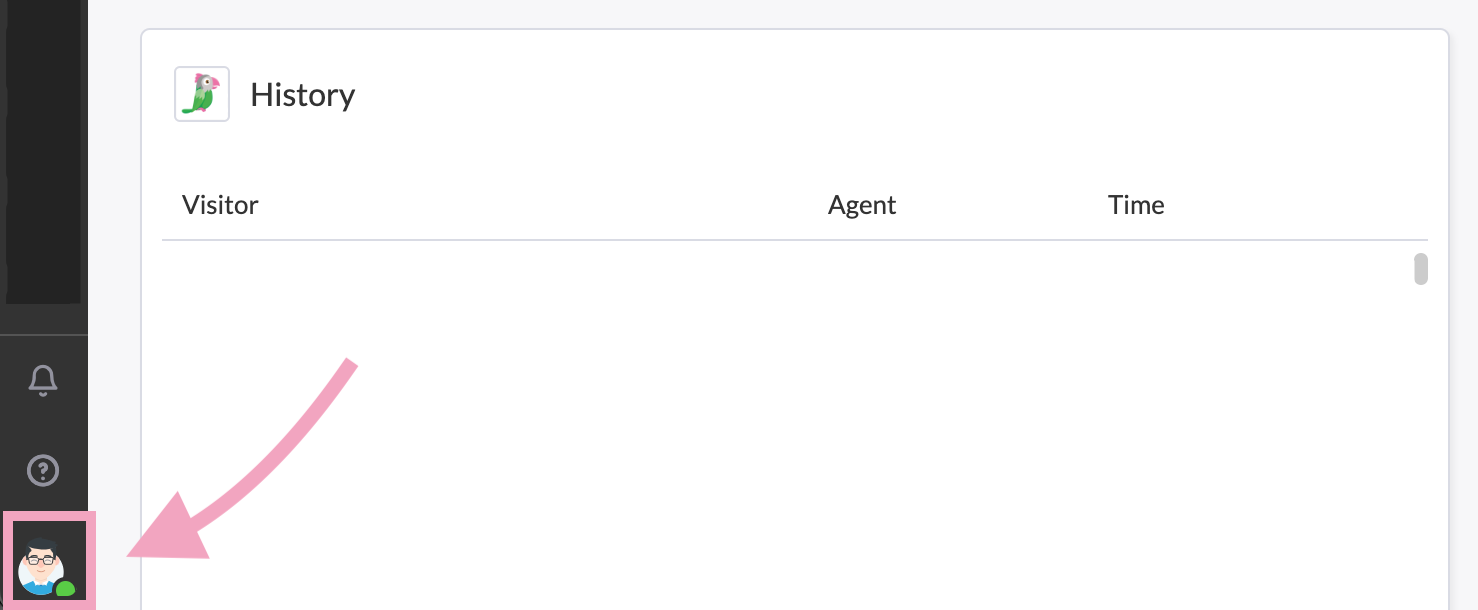
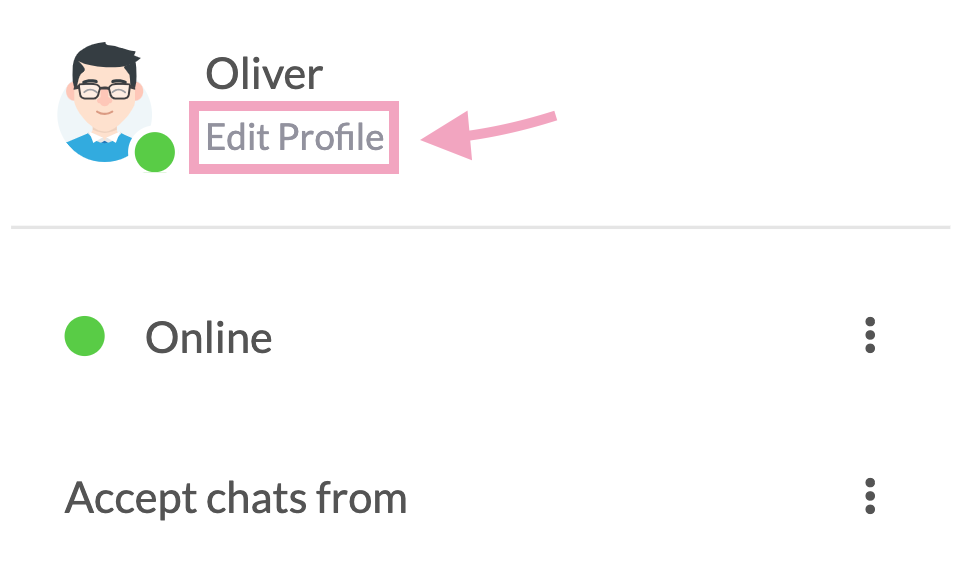
Your profile image is the default image in your account. It’s the image you will use to join a chat (if you don’t use an alias). It also appears on your dashboard, and in direct messages and group chats.


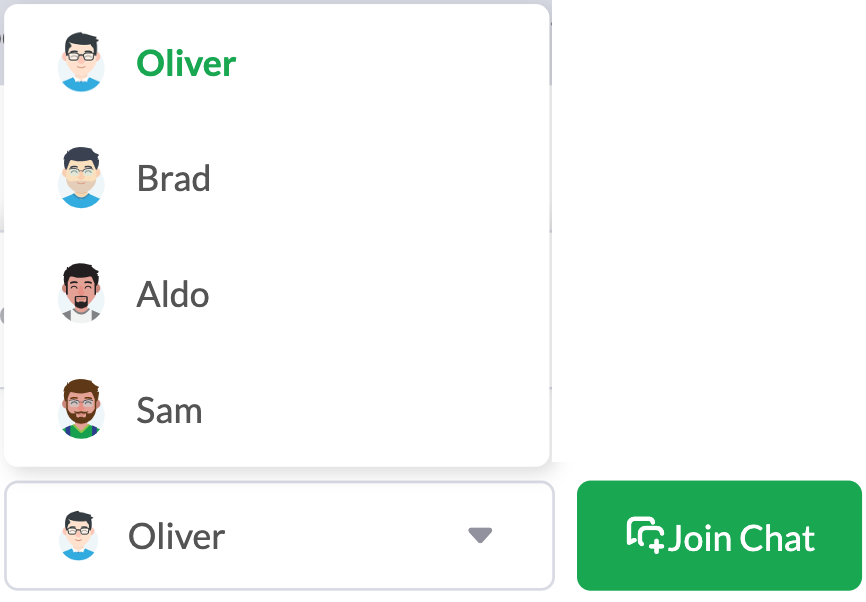
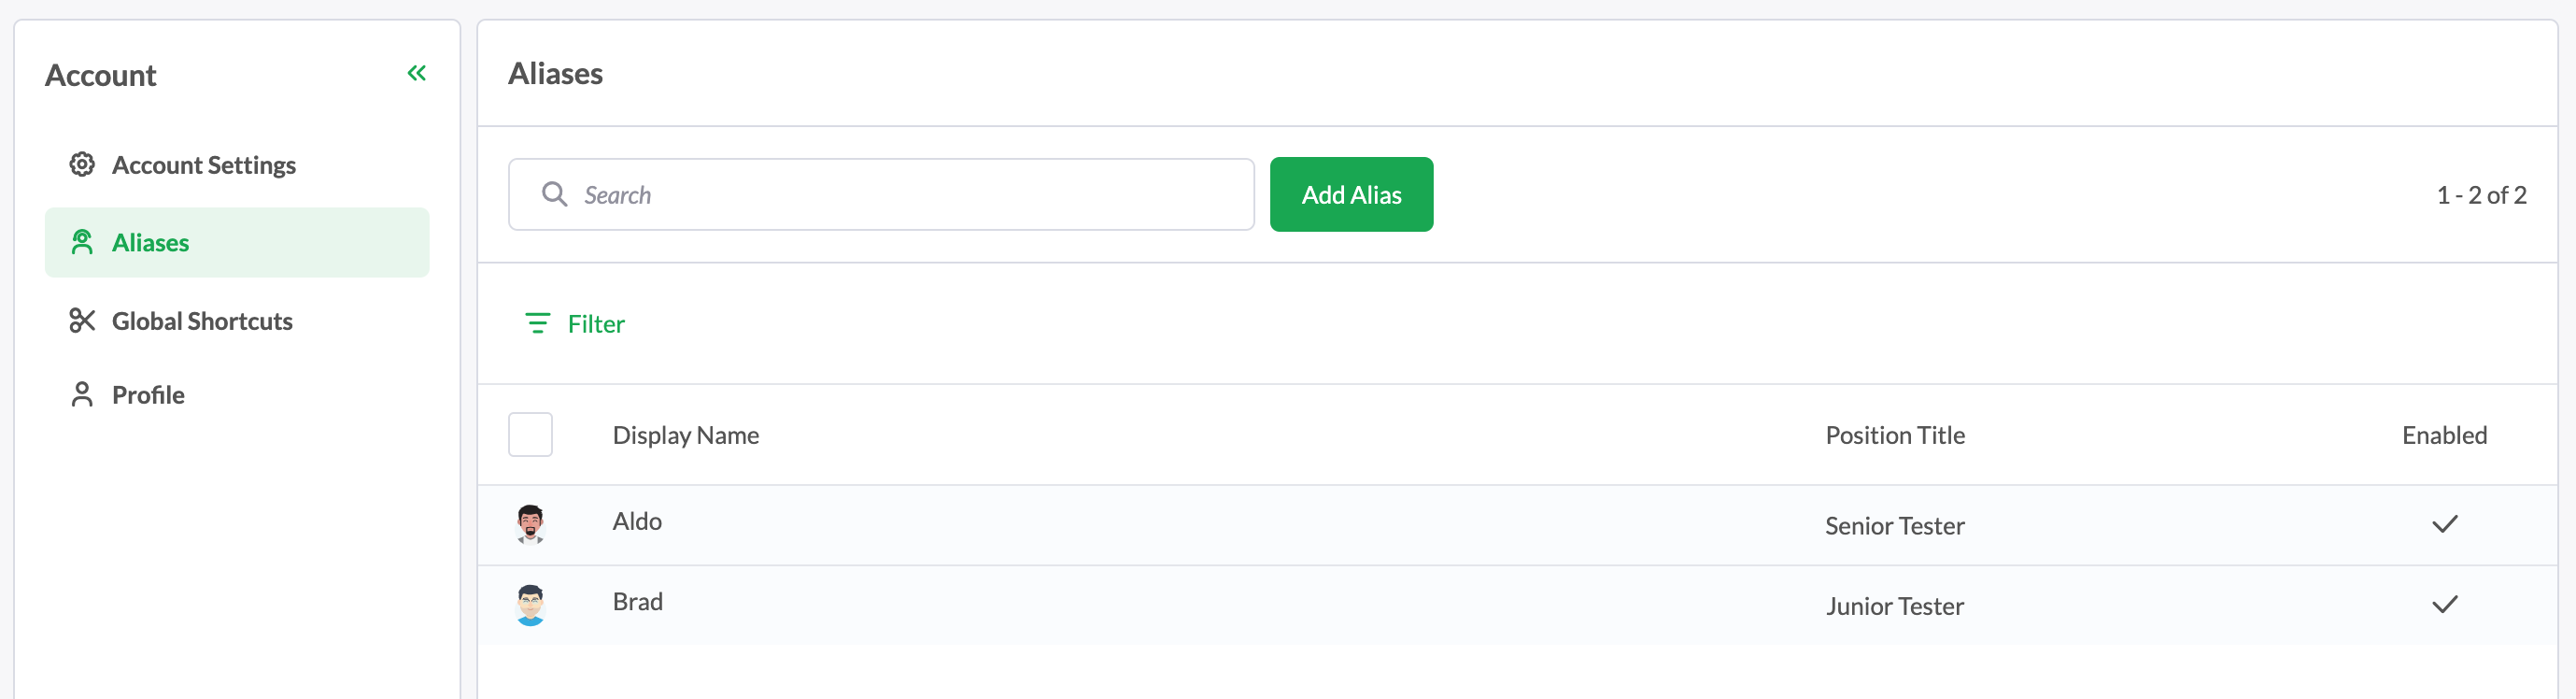
An alias is an alternative name you can choose to join a chat. You can use different names to anonymize or personalize interactions with customers.
You can add aliases with different profile images and titles to cater to your diverse customer base.

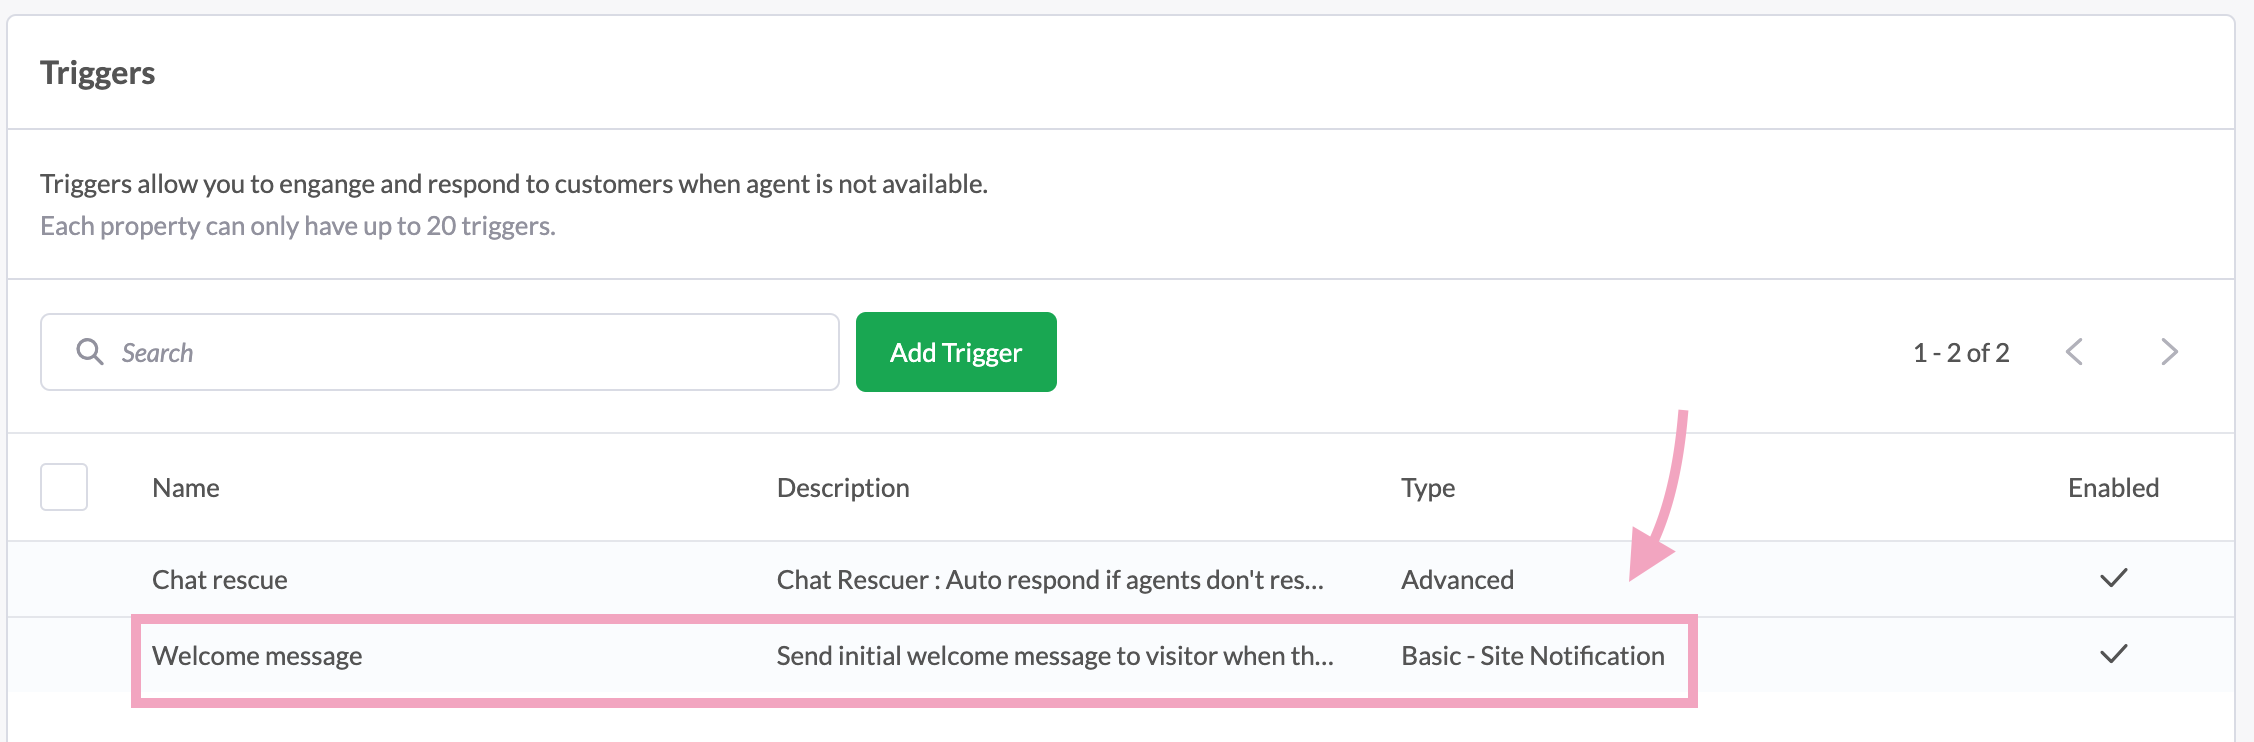

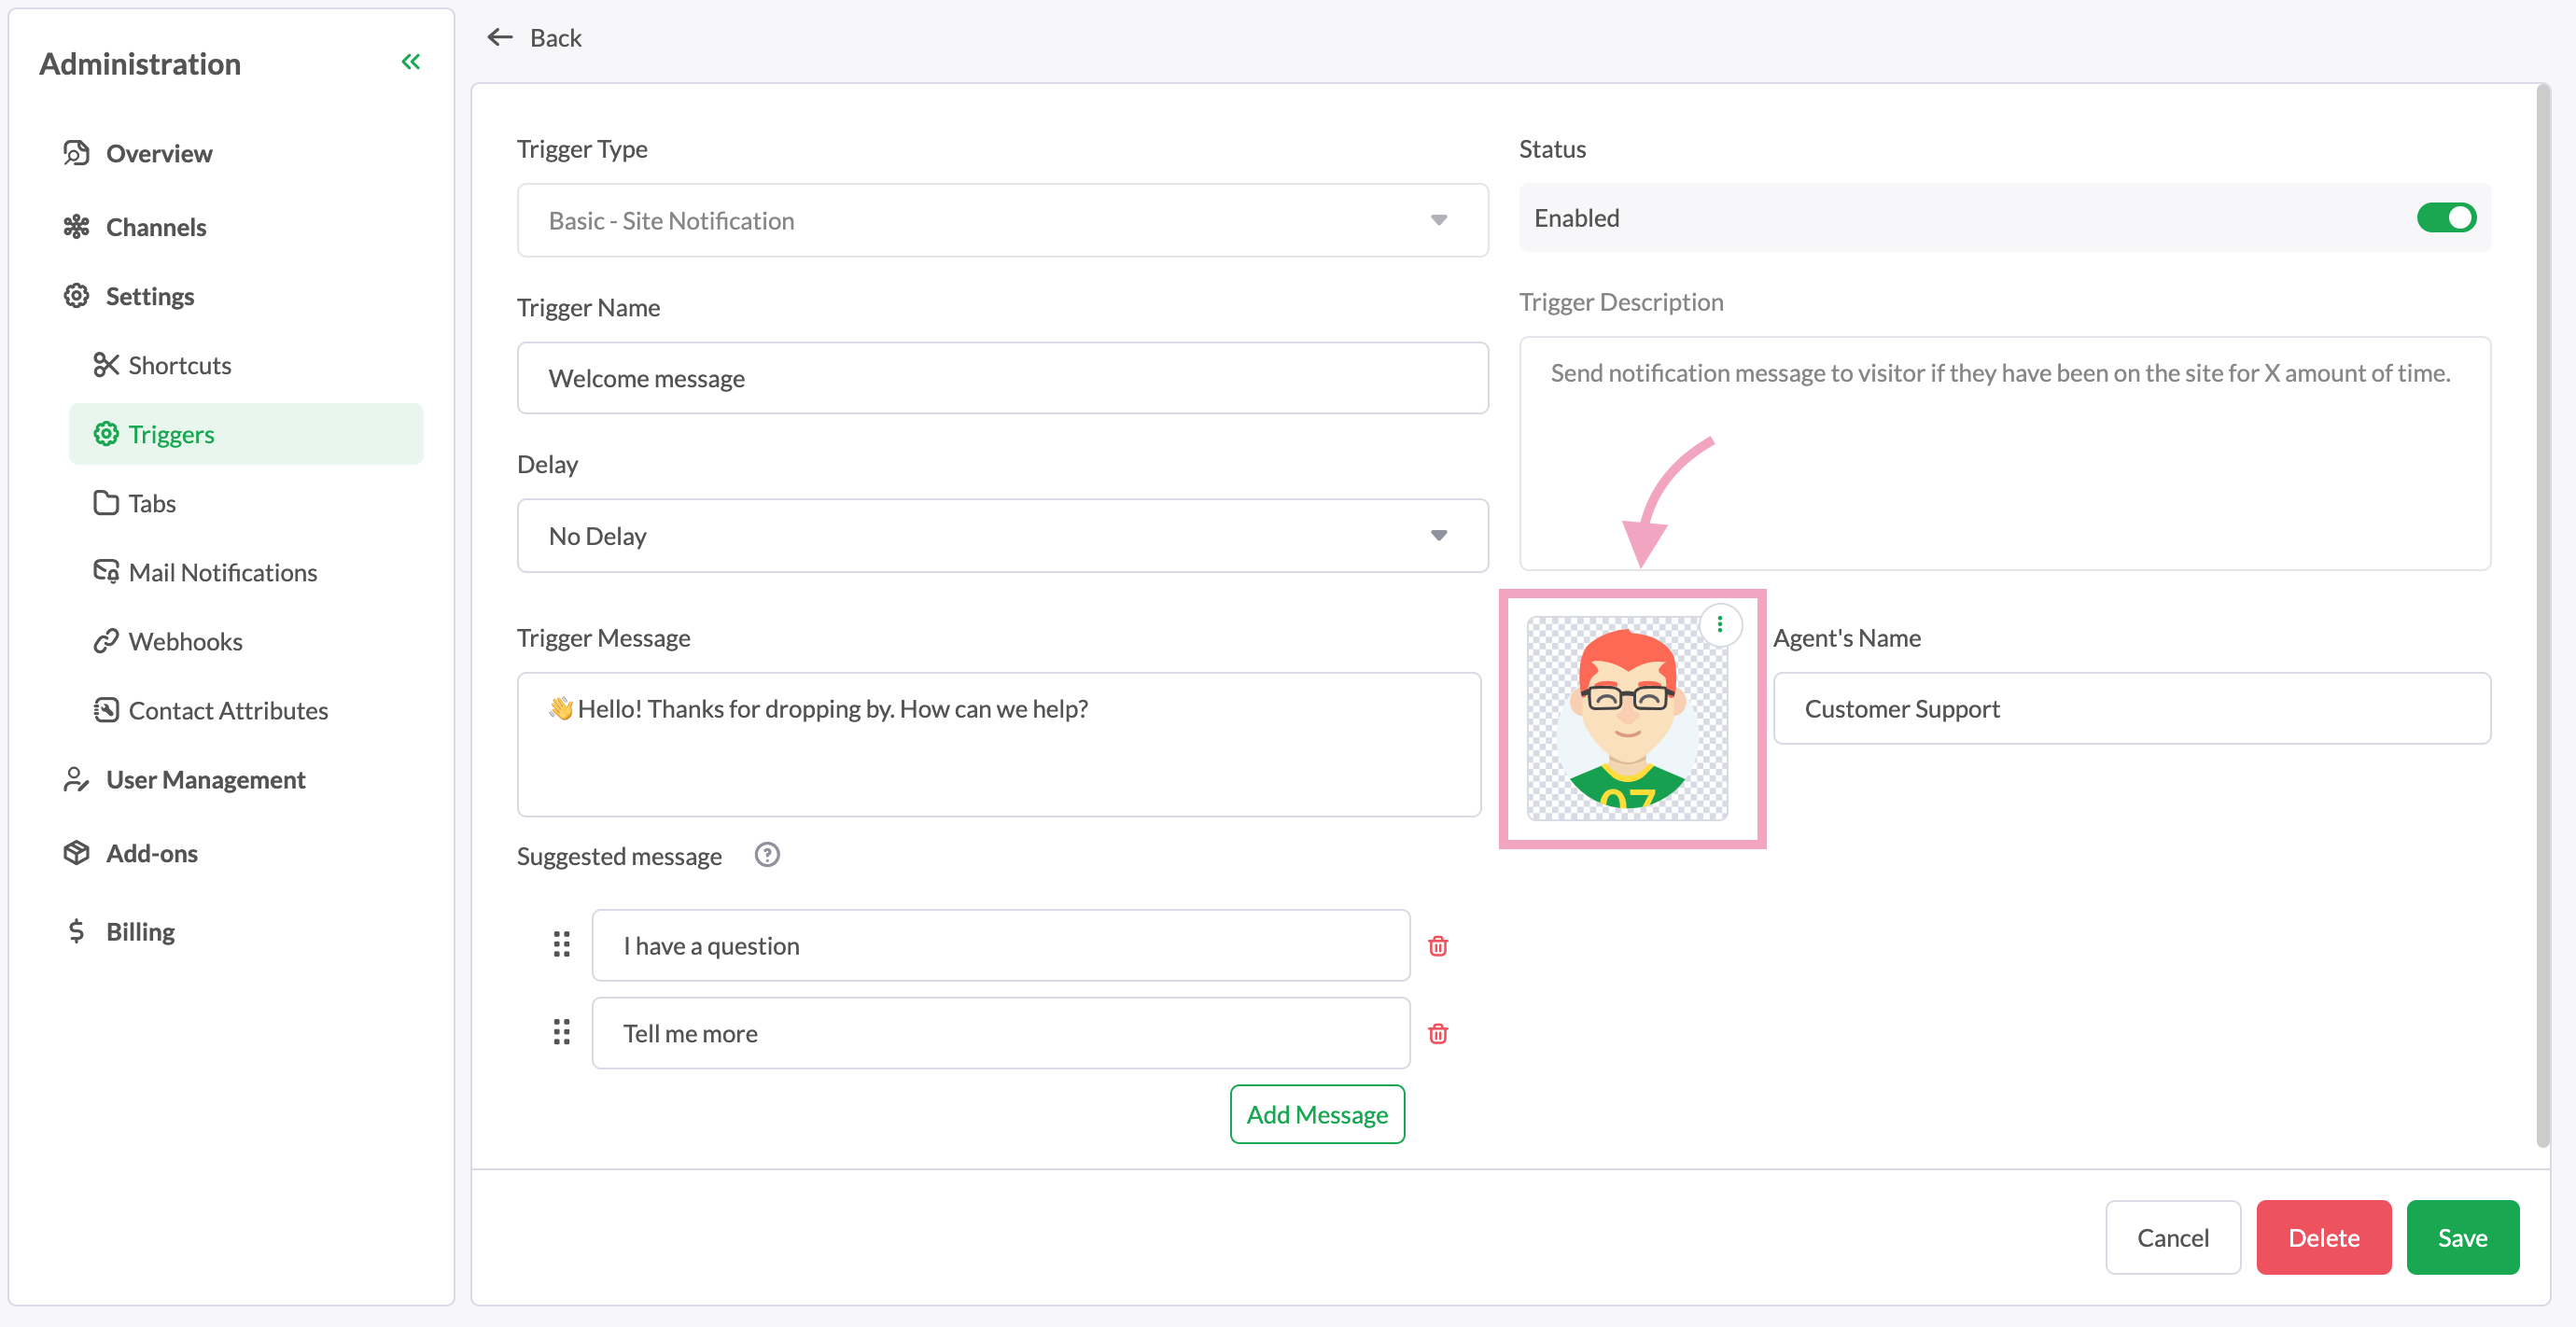
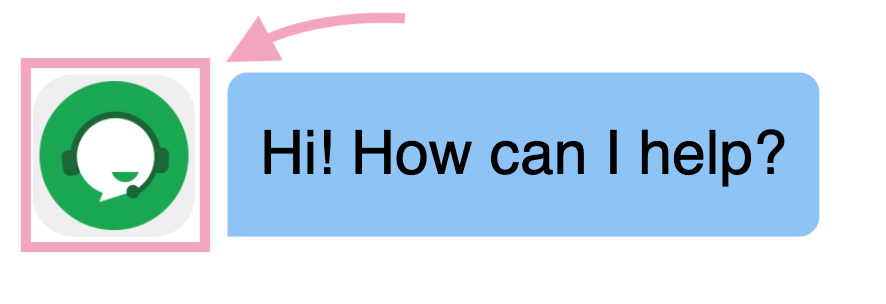
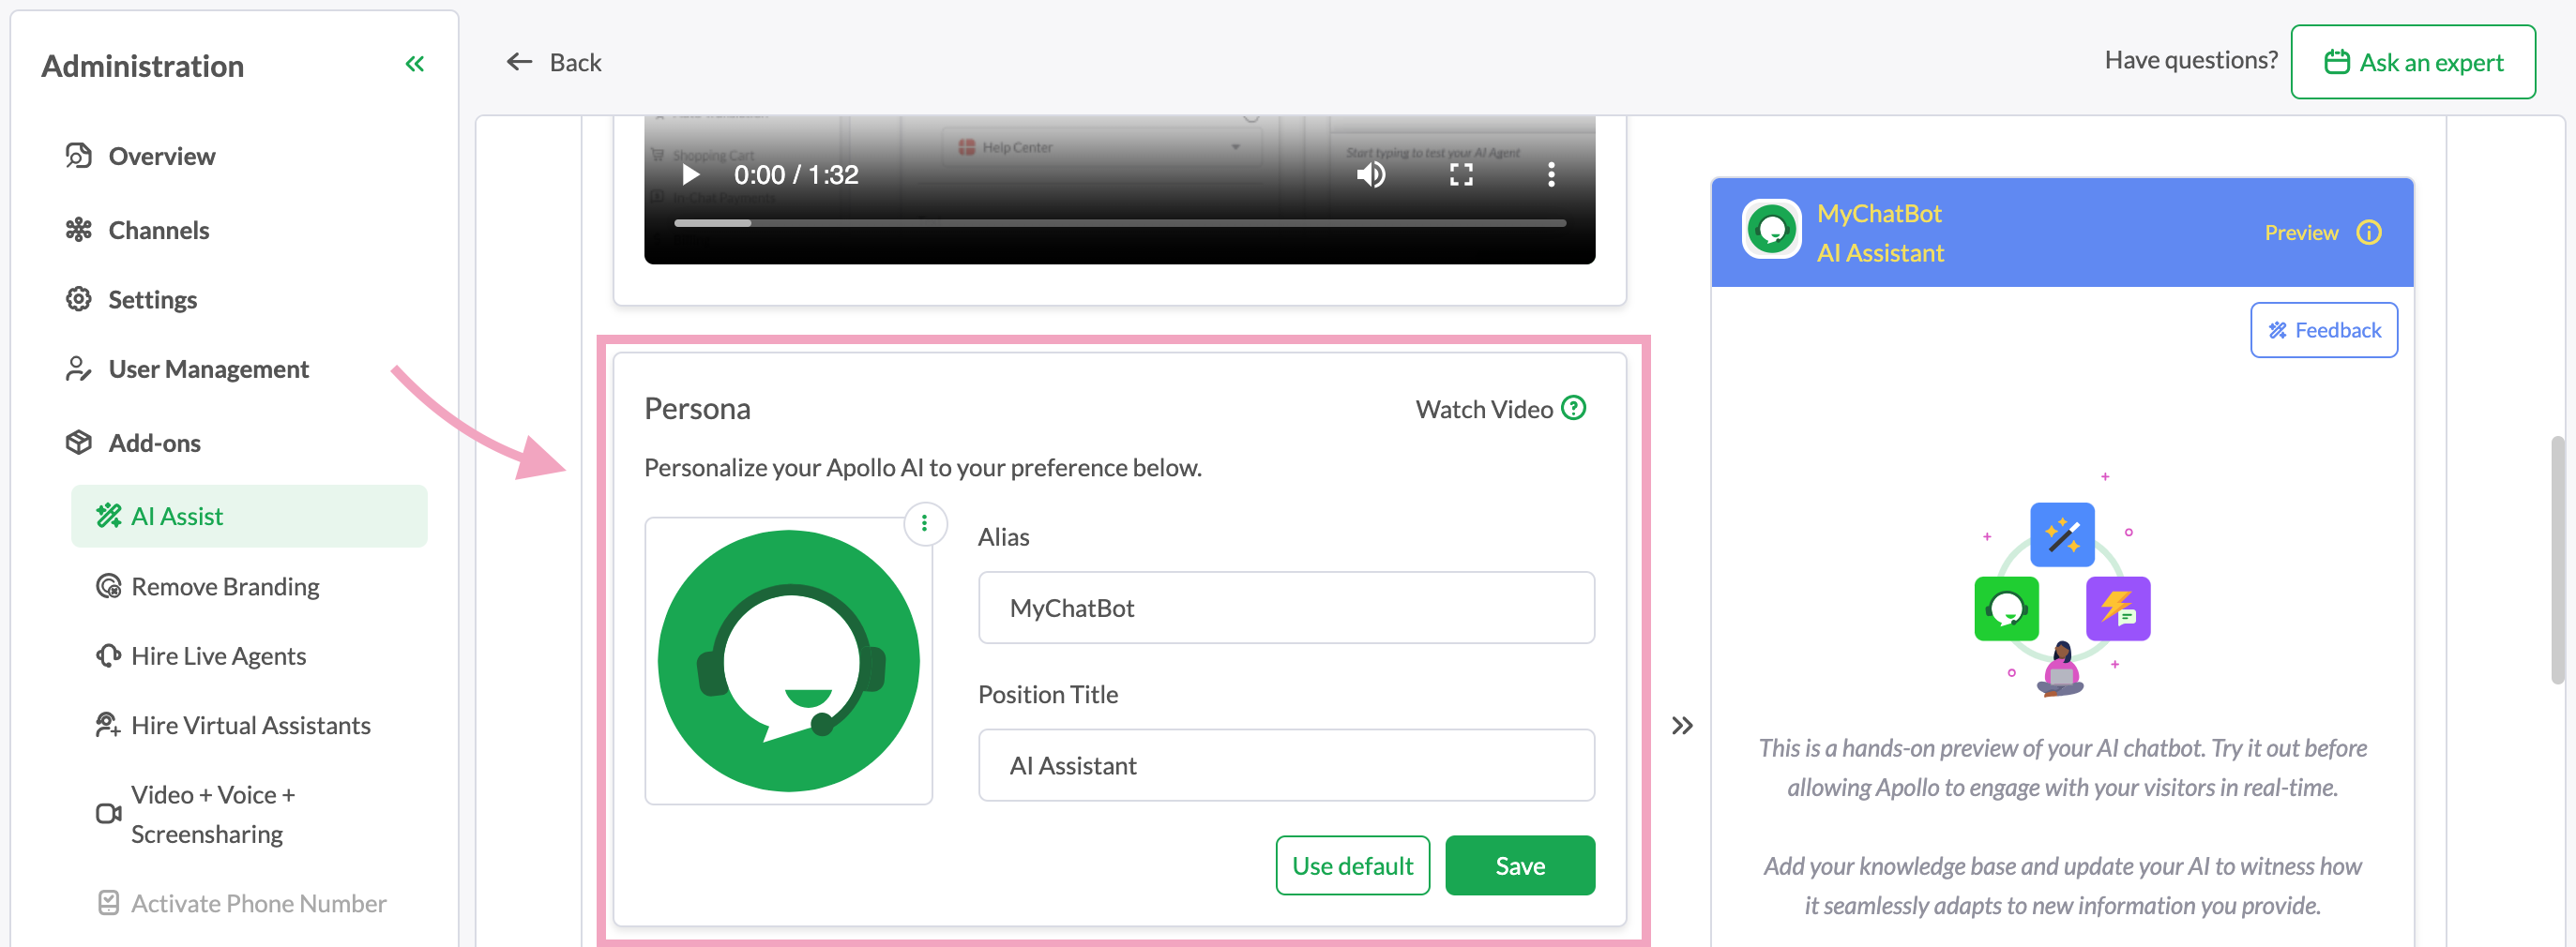
This is the image that accompanies your AI agent’s messages in customer conversations. You can modify it to create a professional image and maintain brand consistency.
To customize your AI agent’s avatar, go to Add-ons > AI Assist. Select your AI Agent, go to Settings, and scroll down to Persona.
To learn more about AI Assist, check out this guide:
Now, your visitors can enjoy a personal and professional live chat experience that’ll lead to happy, satisfied customers.
If you have feedback about this article, or if you need more help:
Click the green live chat icon.
Schedule a call with us.
Visit our community.