Creating and managing triggers
The instructions below are for desktops and laptops only.
Triggers are automatic messages sent to your visitors based on a set of conditions. They help you connect with your visitors even when you're away from your desk.
For example, when visitors land on your website, you can create a trigger to automatically send them a greeting. Here’s how Apollo, our AI Assistant, greets visitors:
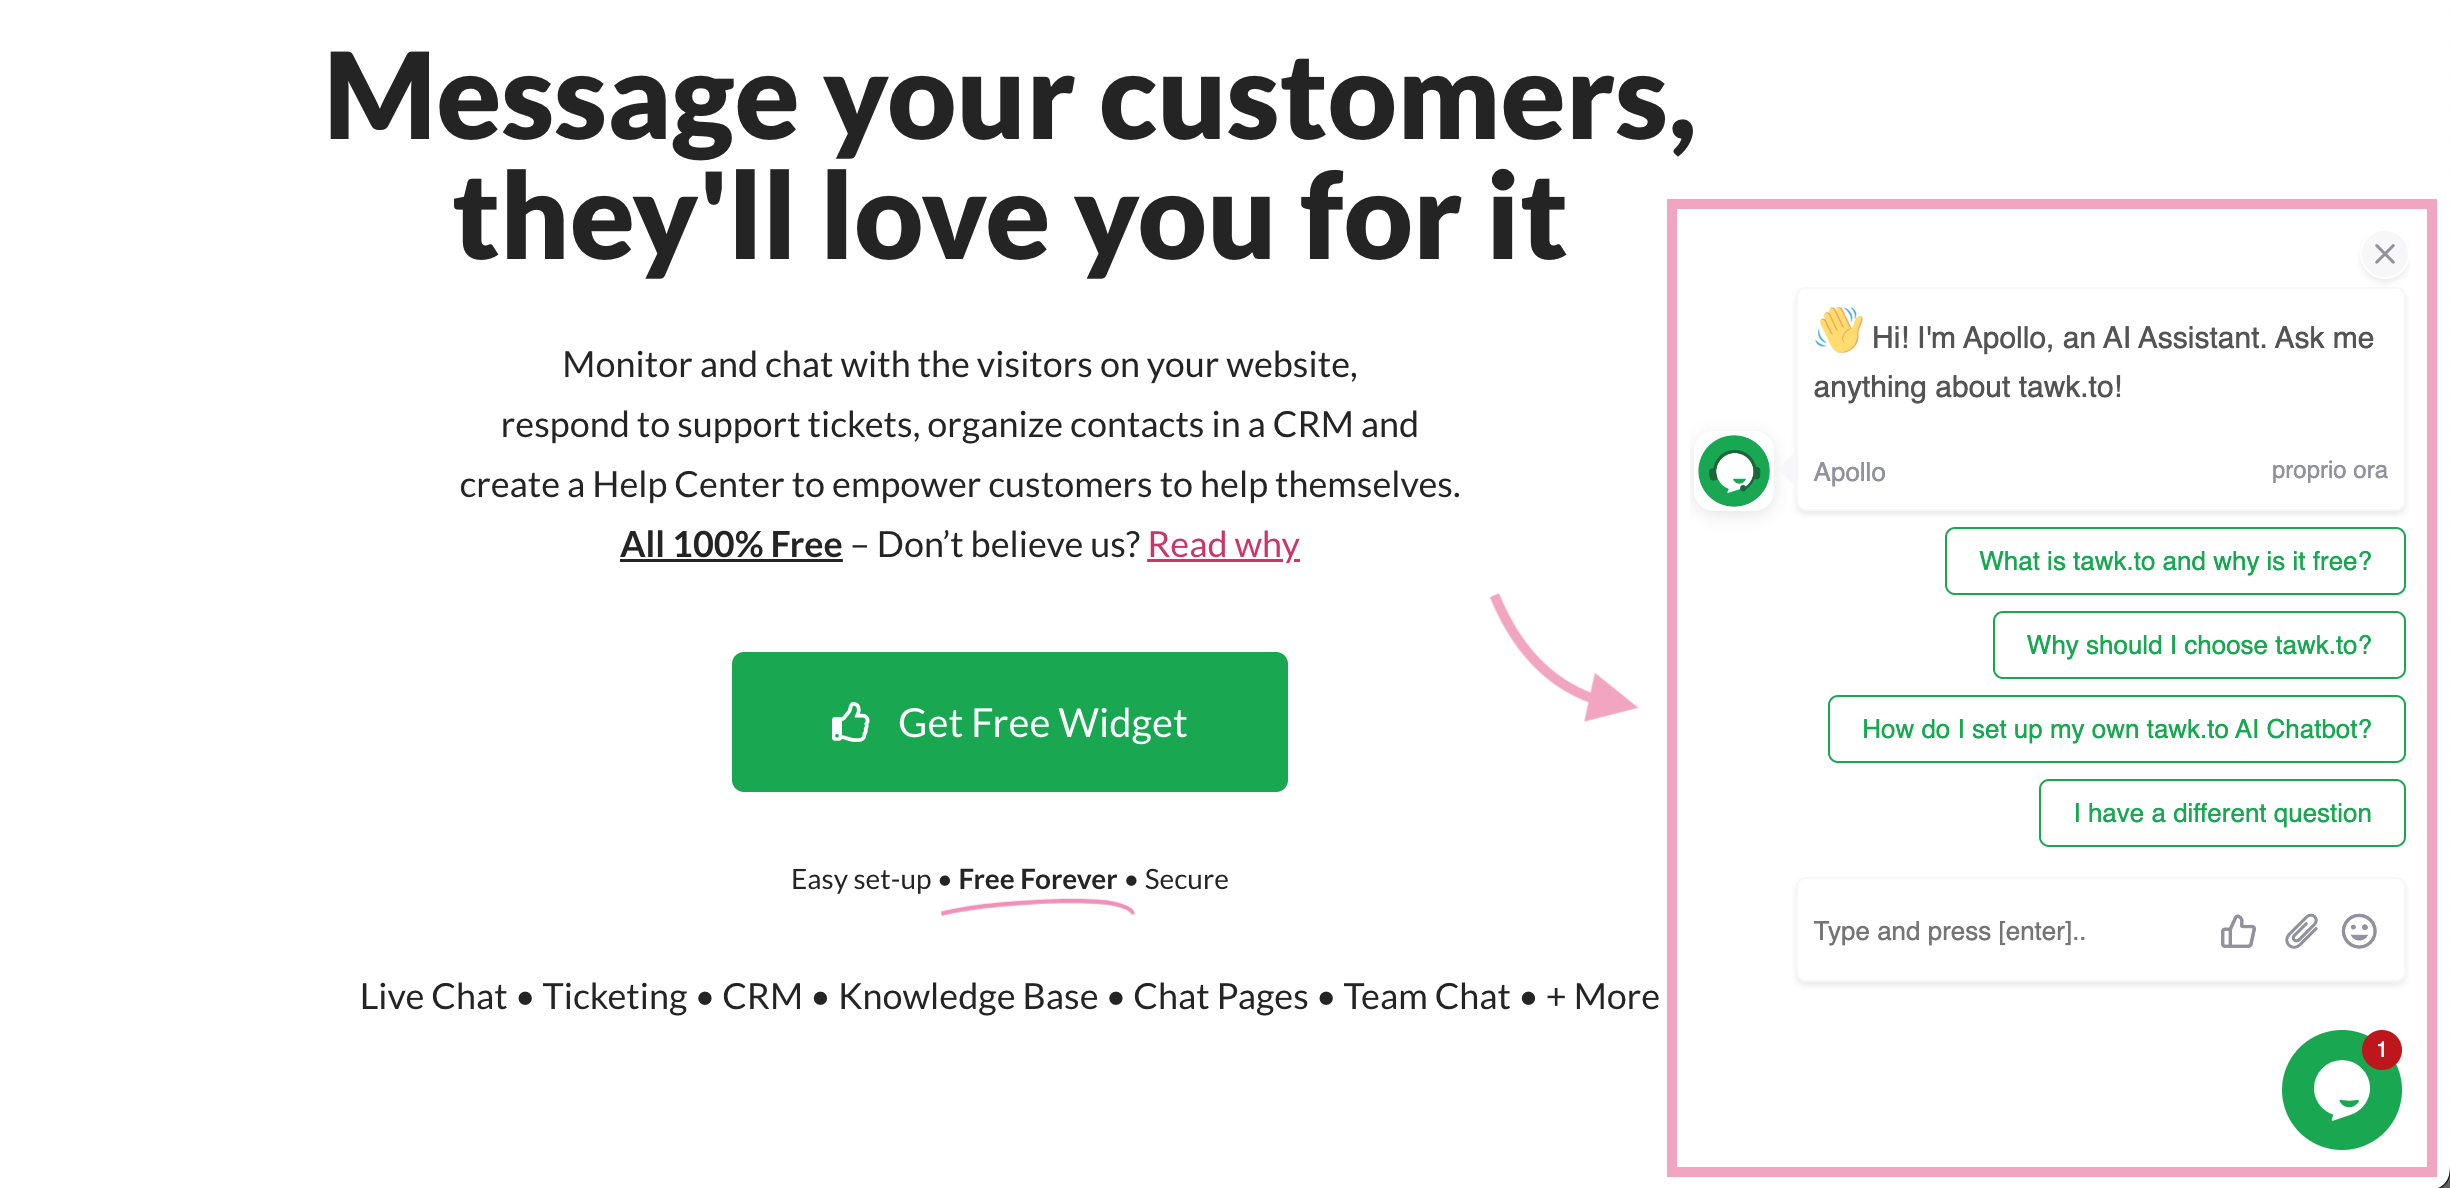
With triggers, you can ensure no visitor goes unnoticed or unattended. This article will walk you through the different trigger types and how to set them up.
Each property can have 4 types of triggers:
Basic - Site Notification
Your visitors will receive a message when they land on any page of your website. By default, all new tawk.to accounts come with a site notification trigger named “Welcome message”.Basic - Page Notification
Your visitors will receive a message when they land on a specific page of your website.Basic - Chat Rescuer
Your visitors will receive a message when they start a chat and don’t get a response.Advanced
Your visitors will receive a message when a specific condition is met. There’s a large variety of conditions to choose from, and you can customize the trigger event and actions. Learn more about advanced triggers
All trigger types have the following components:
Trigger name
The name of your trigger. This is only visible to you.Delay
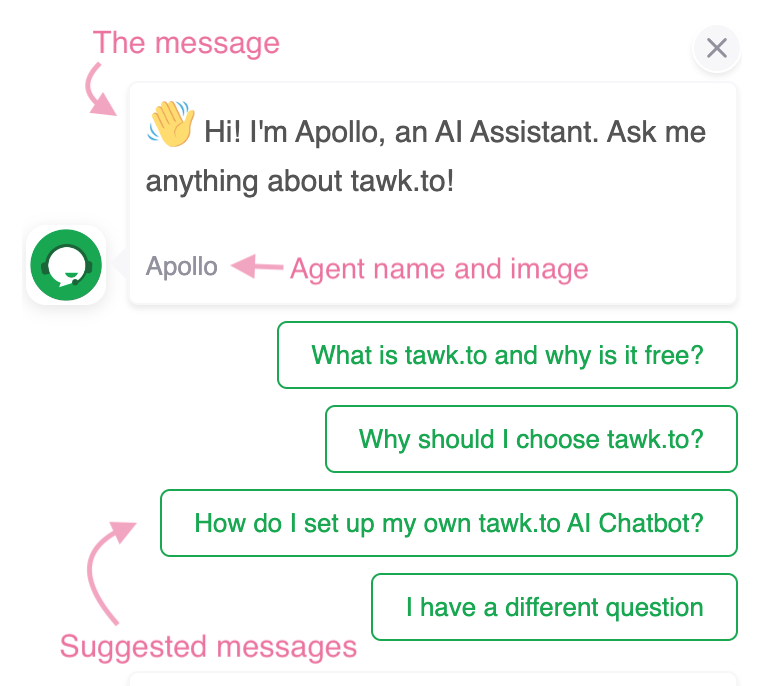
The amount of time that will pass before the message is sent.The message
Your visitors will see this message in the chat. You can also add a predefined shortcut to share resources such as files, forms, images, or links with your visitors.Agent Image
Your visitors will see this image next to the message.Agent Name
Your visitors will see this name next to the message.Suggested messages
- Your visitors will see a list of preset responses they can choose from.
Follow these steps to create a trigger:
2. Select the correct property.

3. Click Administration in the left navigation bar.

4. Click Triggers under Settings in the left submenu.

5. Click Add Trigger. You can add up to 20 triggers for each property.

6. Select the trigger type.

7. Enter the name of the trigger. A descriptive name is useful for you and your team members to understand the purpose of the trigger and manage it accordingly.

8. Set the delay time. This is the amount of time before the message is sent. If you want the message to appear as soon as your visitors arrive, select No Delay.

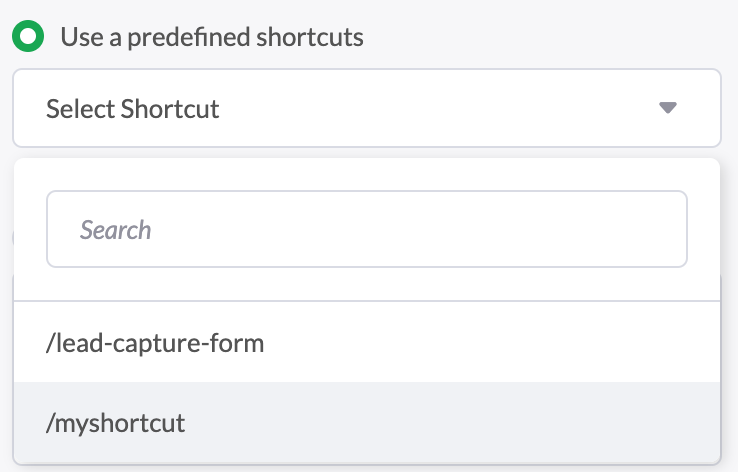
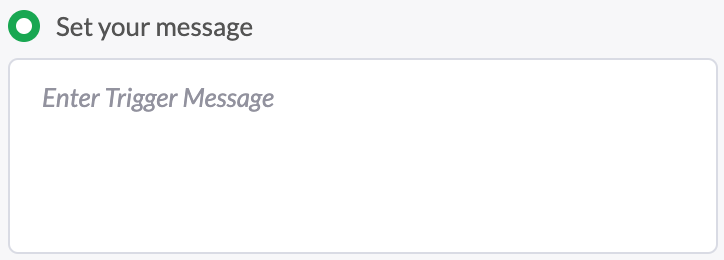
9. Set the trigger message. You can use a shortcut or a unique message for your trigger.
Select Use a predefined shortcut to add a shortcut. This allows you to attach files, forms, images, or links to the chat.
Or, select Set your message to add a message.
Note: Emojis are allowed. URLs will appear as plain text.
10. Add up to 4 suggested messages.
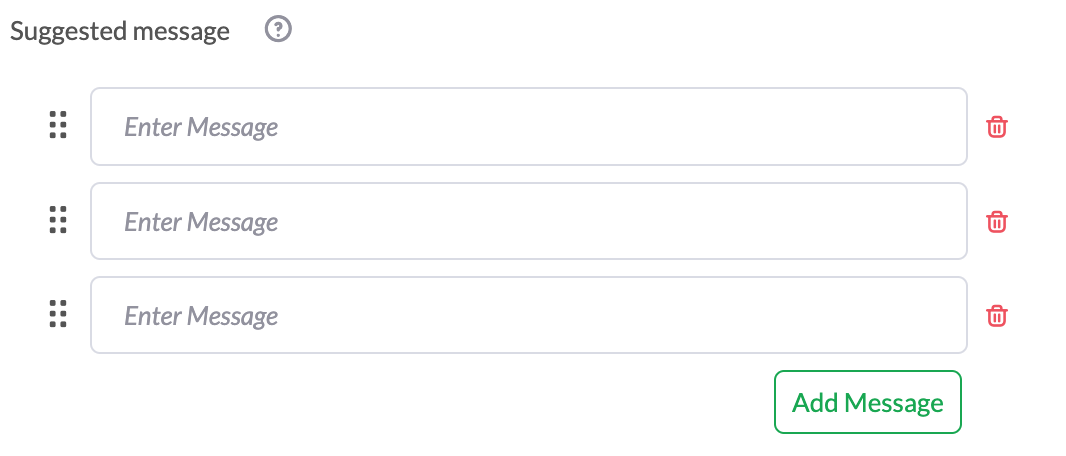
11. Upload an agent image (or use one of the standard avatars) and enter the agent’s name.

12. Set other necessary settings for your trigger and click Save.
Remember to test your triggers to prevent any issues that may affect your visitors’ experience.

3. Click Administration in the left navigation bar.

4. Click Triggers under Settings in the left submenu.

5. Click a trigger to edit it.

6. Make the changes and click Save.
7. To delete a trigger, click the checkbox next to the trigger and click the “Delete” icon.

Your visitors can now enjoy a more personalized chat experience. tawk.to’s triggers can help to engage with your visitors 24/7 – all while you focus on running your business.
If you have feedback about this article, or if you need more help:
Click the green live chat icon
Schedule a call with us
Visit our community
