Managing the ban list for your personal profile page
The instructions below are for desktops and laptops only.
You can easily ban disruptive visitors from using the live chat widget on your profile page. You can also unban visitors anytime.
In this guide, we’ll show you how to ban visitors and manage your overall ban list on the tawk.to dashboard.
In a chat
Follow these steps to ban someone in an active chat:
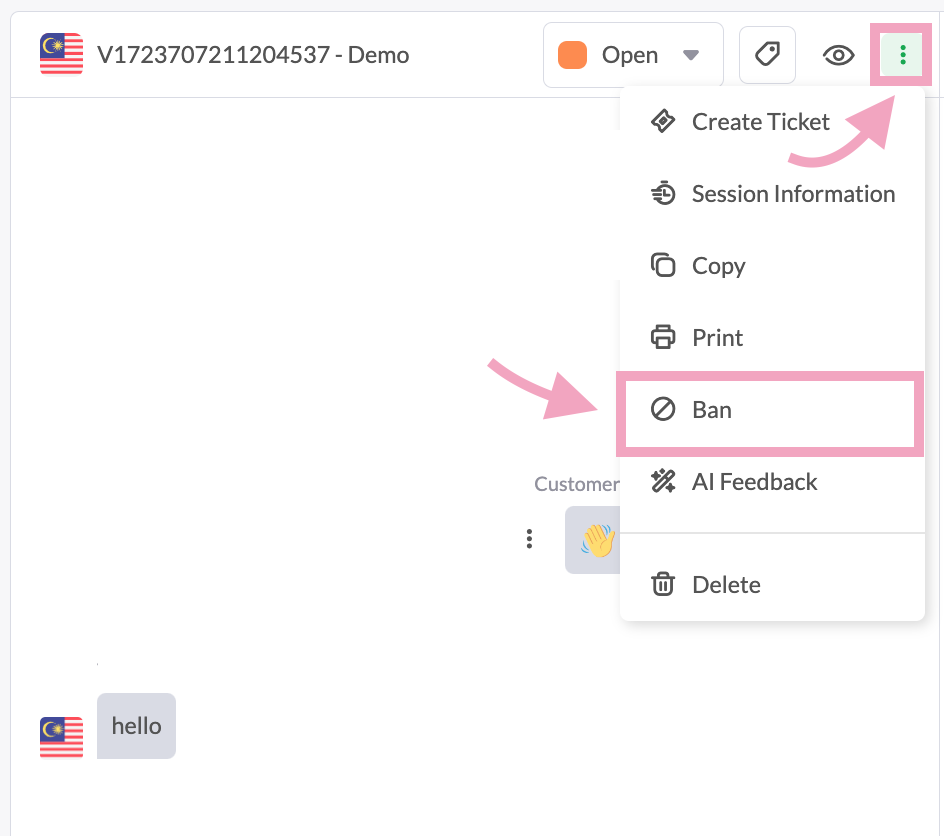
1. Click the button with the 3 dots on the top right corner of the chat window, and select Ban.
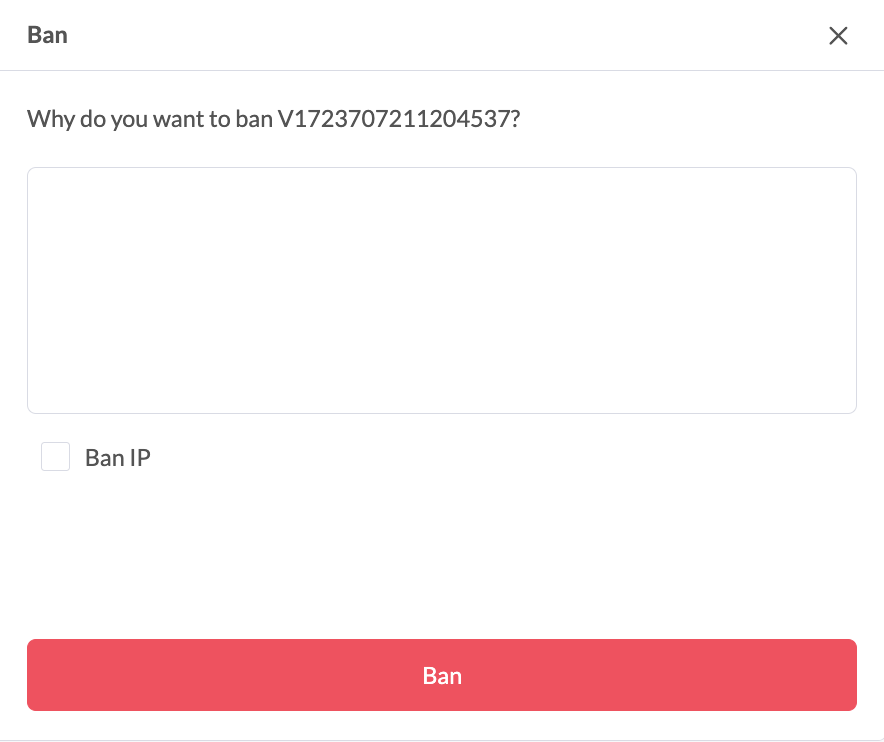
2. Enter a reason for the ban. Check the Ban IP checkbox to ban the visitor’s IP. Then, click Ban.
Note: If the visitor’s IP isn’t banned, they can return to your live chat after clearing their browsing data.
The visitor is now banned from the live chat on your profile page.
In the inbox
Follow these steps to ban someone after they’ve left a chat:
1. Select the chat in your inbox.

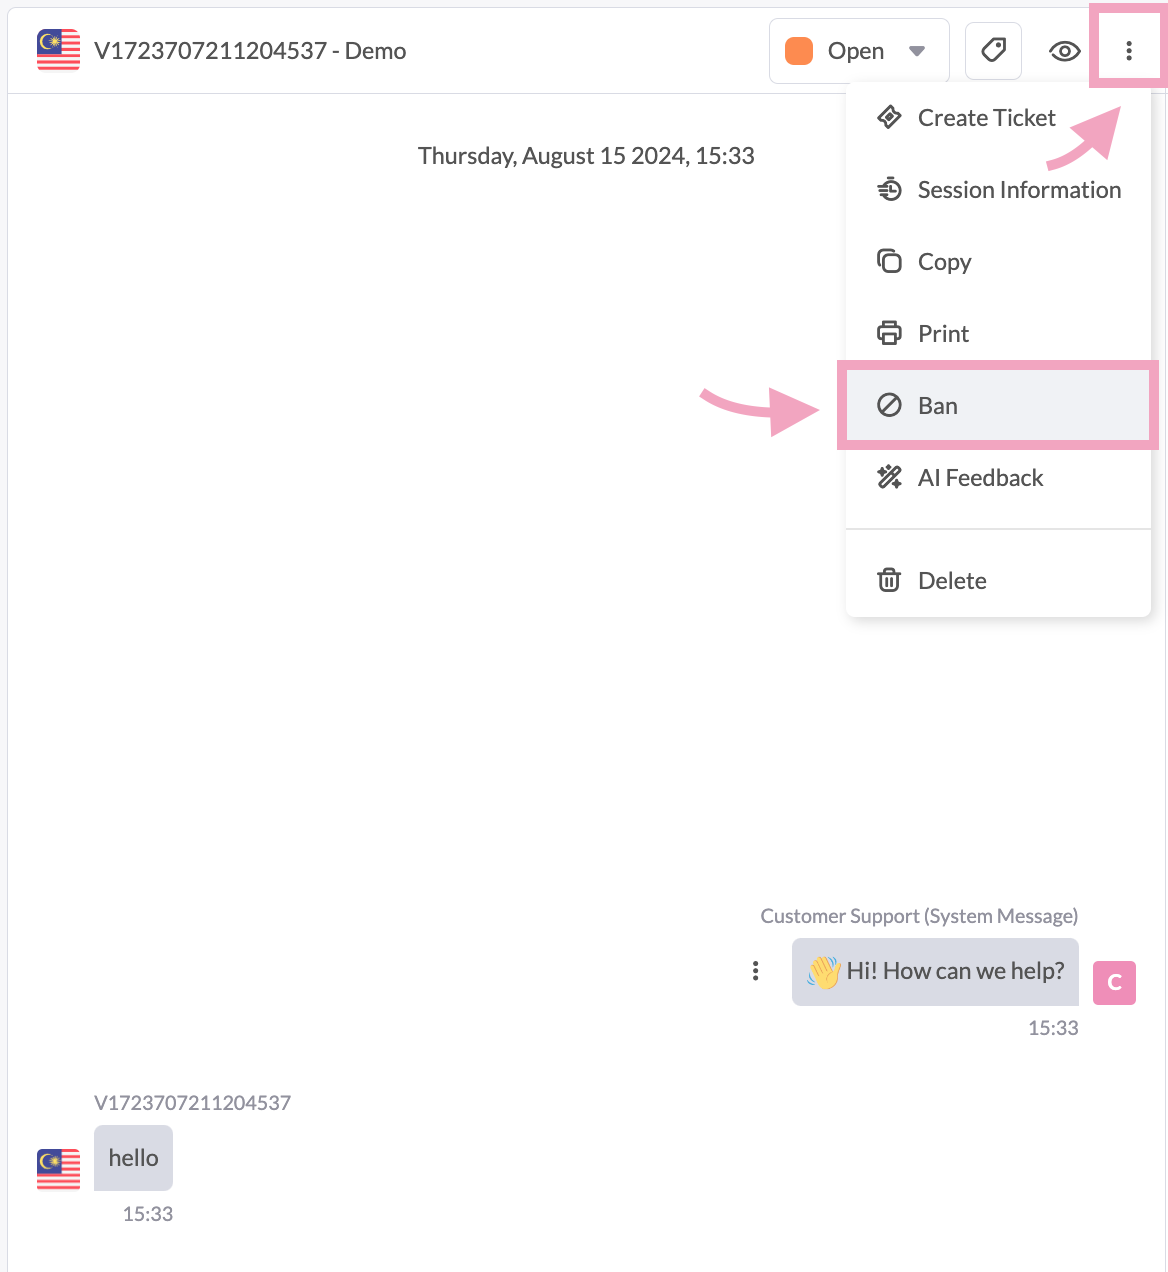
2. Click the button with the 3 dots on the top right corner of the chat window, and select Ban.
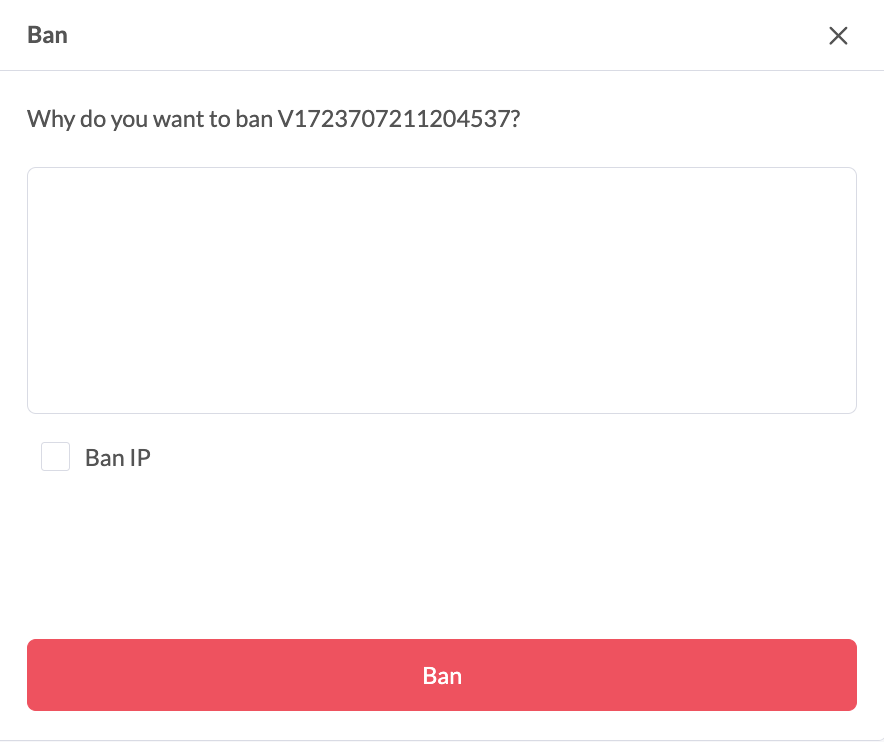
3. Enter a reason for the ban. Check the Ban IP checkbox to ban the visitor’s IP. Then, click Ban.
Note: If the visitor’s IP isn’t banned, they can return to your live chat after clearing their browsing data.
The visitor is now banned from the live chat on your profile page.
In the ban list
Follow these steps to add someone to your ban list:
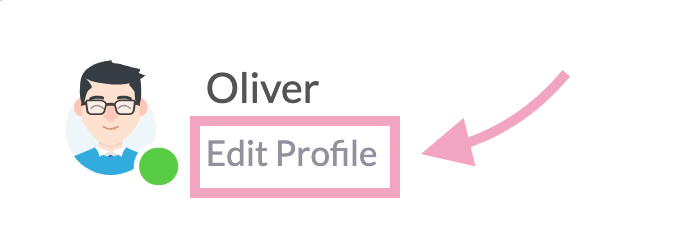
1. Click your profile image on the bottom left corner of your dashboard.

2. Click Edit Profile.
3. Go to Profile > Ban List.

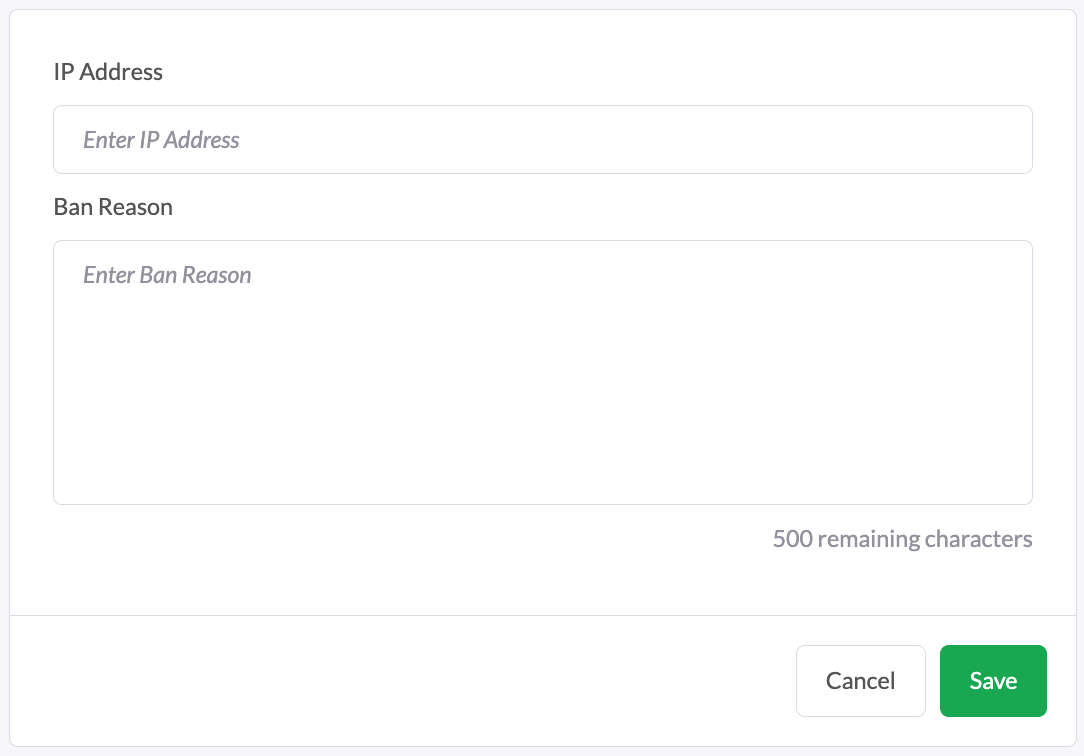
4. Click Ban IP.

5. Enter the IP Address and Ban Reason. Then, click Save.
The visitor is now banned from the live chat on your profile page.
On your ban list, select the visitor you want to unban and click Delete.

Following these steps, you can easily manage who can access the live chat widget on your profile page.
If you have feedback about this article, or if you need more help:
Click the green live chat icon
Schedule a call with us
Visit our community
