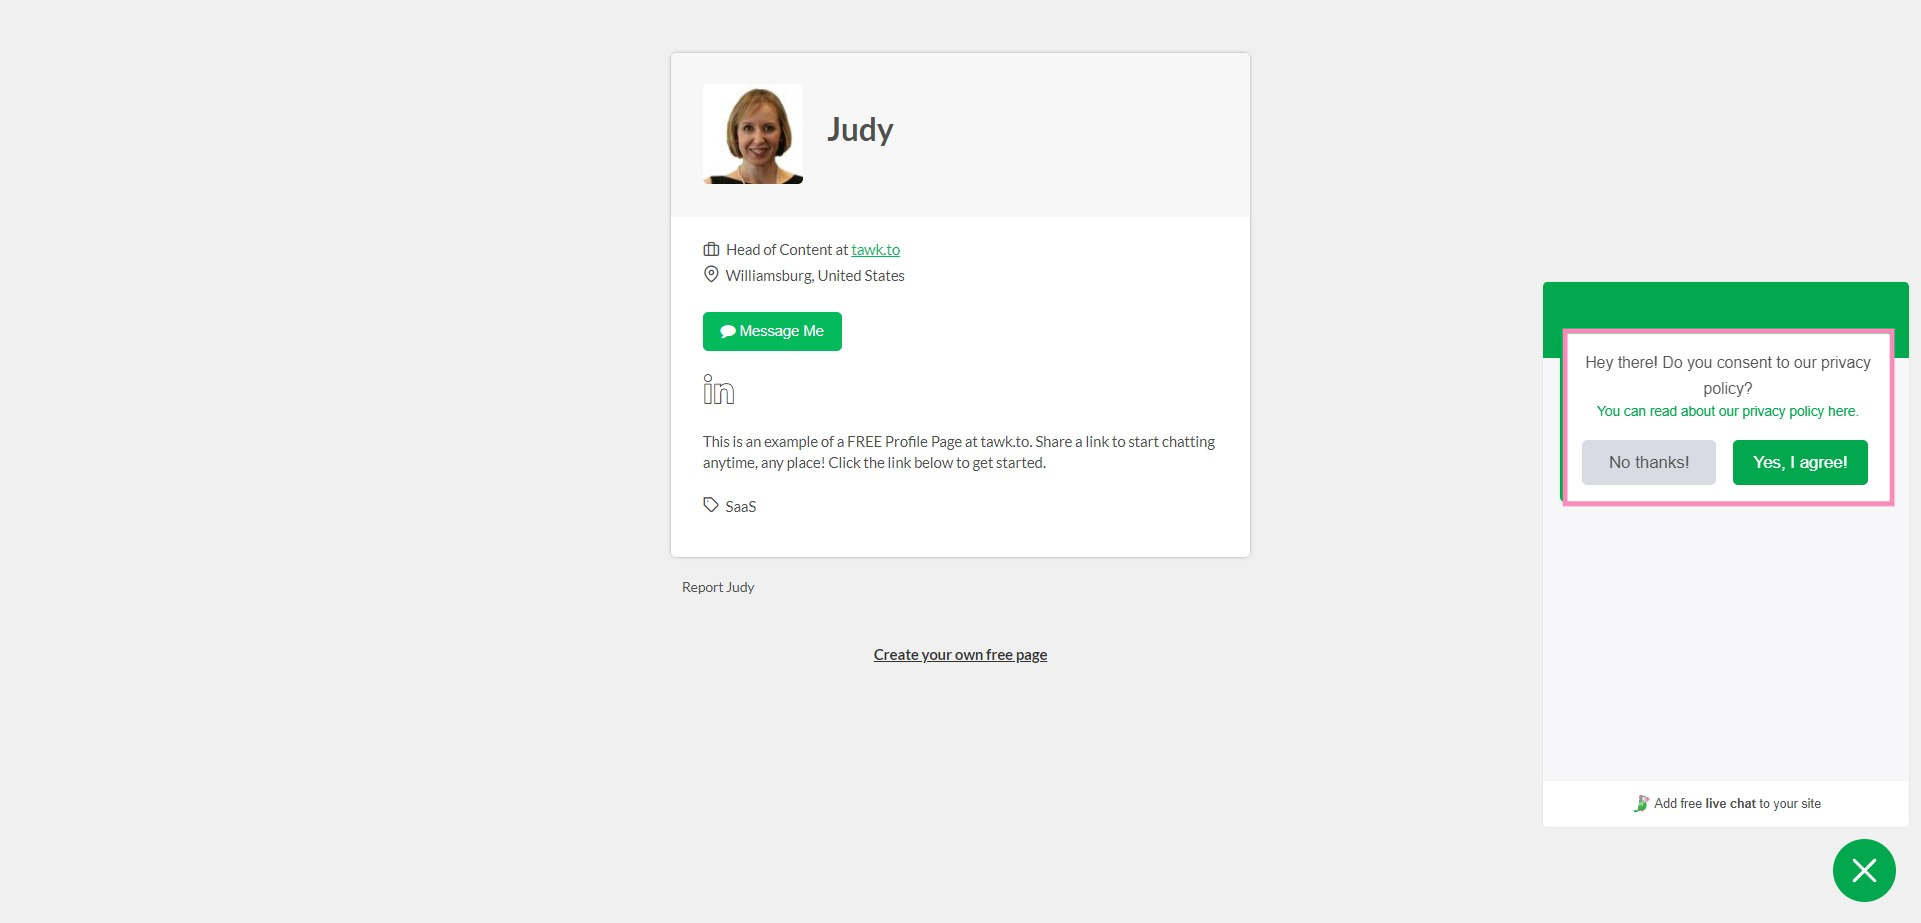
Editing the widget on your personal profile page
The instructions below are for desktops and laptops only.
This guide walks you through how to customize the widget on that profile page, so it looks and behaves exactly how you want.
Note:
Changes made here only affect the widget on your personal profile page (the Profile Widget) — not the widget you embed on your website.
Steps to edit your Profile Widget

Click Edit Profile.

Click Profile Widget under Profile in the left submenu.

- Widget Appearance
- Widget Content
- Scheduler
- Consent Form
- Widget Behavior
- Visibility Settings
- Click Behavior

Widget Appearance
Widget Appearance settings allow you to adjust the widget’s colors, size, position, and Attention Grabber. Click Advanced to open the Widget Appearance editor.

Learn more about changing the widget’s appearance with this guide: Changing the appearance of the tawk.to chat widget

Widget Content
Your widget can display different messages and elements depending on what state it’s in — Online, Away, or Offline. Click Edit Content under Widget Content.

The Widget Content editor allows you to:
- Change the widget language
- Edit greetings and messages
- Customize how the widget looks in each state
- Manage your Pre-Chat Form if you collect visitor info before a chat
Learn how to modify your widget content with this guide: How to modify your widget content
Learn how to customize the widget’s cards with this guide: Customizing the widget header and body cards

Set your chat schedule (Widget Scheduler)
The Scheduler lets you control when your widget appears online — so you don’t miss chats when you’re unavailable.

Click the dropdown under Schedule to enable/disable the Scheduler and select a preset chat schedule.

To set a custom schedule, click Edit Schedule. On the pop-up page, you can set the timezone and daily hours. For each day, you can switch on the widget, and then drag the timeline blocks to set online hours.
- Green sections = online times
- Gray sections = offline times
Add multiple online sessions per day by clicking Add New if you take breaks. Click Save when you’re done.
Tip: If you’re still chatting when a scheduled offline period begins, chat will continue until finished — Scheduler won’t drop current conversations.
Learn more about the Scheduler with this guide: Using the Widget Scheduler

Consent Form (Privacy & legal controls)
Online privacy laws differ by region. The Consent Form helps you inform visitors about their rights and request consent before chatting.

To enable the Consent Form, click the dropdown under Display Option. Then, choose which visitors see the form by selecting:
- Everyone
- Only EU visitors (useful for GDPR compliance)

Click Edit Content under Consent Form for more options:
- Add your own message text and a link to your privacy policy
- Set options for how visitors can respond (Yes/No buttons)
Click Save when you’re done.
Learn more about the consent form with this guide: Enabling and managing your consent form

Visitors meeting the criteria will then be shown a multiple-choice option before entering a chat.

Widget Behavior settings
Widget Behavior manages how the widget acts on your profile page.
Notification Settings
- Hide estimated wait time — Hide or show expected wait times based on past response times.
- Disable sound notification — Turn chat sounds on or off.
- Disable message preview — Choose whether you see visitors typing before they send it.
- Agent/Visitor typing indicators — Enable or disable visual cues when either party is typing.
- Disable browser tab notifications — Control alert messages in your browser tabs.

- Hide widget when offline — Don’t show the widget if you’re not available.
- Hide widget on load — Useful if you just want a profile bio page and not chat.
- Hide widget on mobile — Disable mobile chat to focus on desktop visitors (note: this may reduce chat volume).

- Disable emoji selection — Remove the emoji picker from the chat input.
- Disable file upload — Stop visitors from uploading attachments.
- Disable chat rating — Remove the thumbs up/down rating after chat.
- Disable chat transcript — Stops visitors from sending a chat transcript to their email.

Click Behavior
Click Behavior settings allow you to set how the widget opens when it’s clicked.

Click the dropdown under Click Behavior and select:
- Maximize,
- Popout, or
- Slide

Additional considerations
- Preview everything first
Always preview your content, schedule, and settings before saving so visitors see exactly what you intended.
- Visitor experience matters
Clear language, friendly greetings, and thoughtful scheduling improve engagement and satisfaction.
- Website Widget ≠ Profile Widget
Remember that profile page widget settings do not affect website chat widget settings. They are separate — you’ll need to edit each independently.
Related guides
- Click the green live chat icon
- Schedule a call with us
- Visit our community
