Zapier integration: Add a new row to a Google Sheet when a new ticket is created
Zapier lets you automatically collect all of your ticket data in a Google Sheet —with no code required. Follow the directions below to create an automation workflow that adds a new row to a Google Sheet every time a new ticket is created in your tawk.to account.
For an introduction to Zapier integrations, see this article:
Create tawk.to integrations with Zapier.
Every Zap has two parts:
- A Trigger
- An Action
Create a trigger event
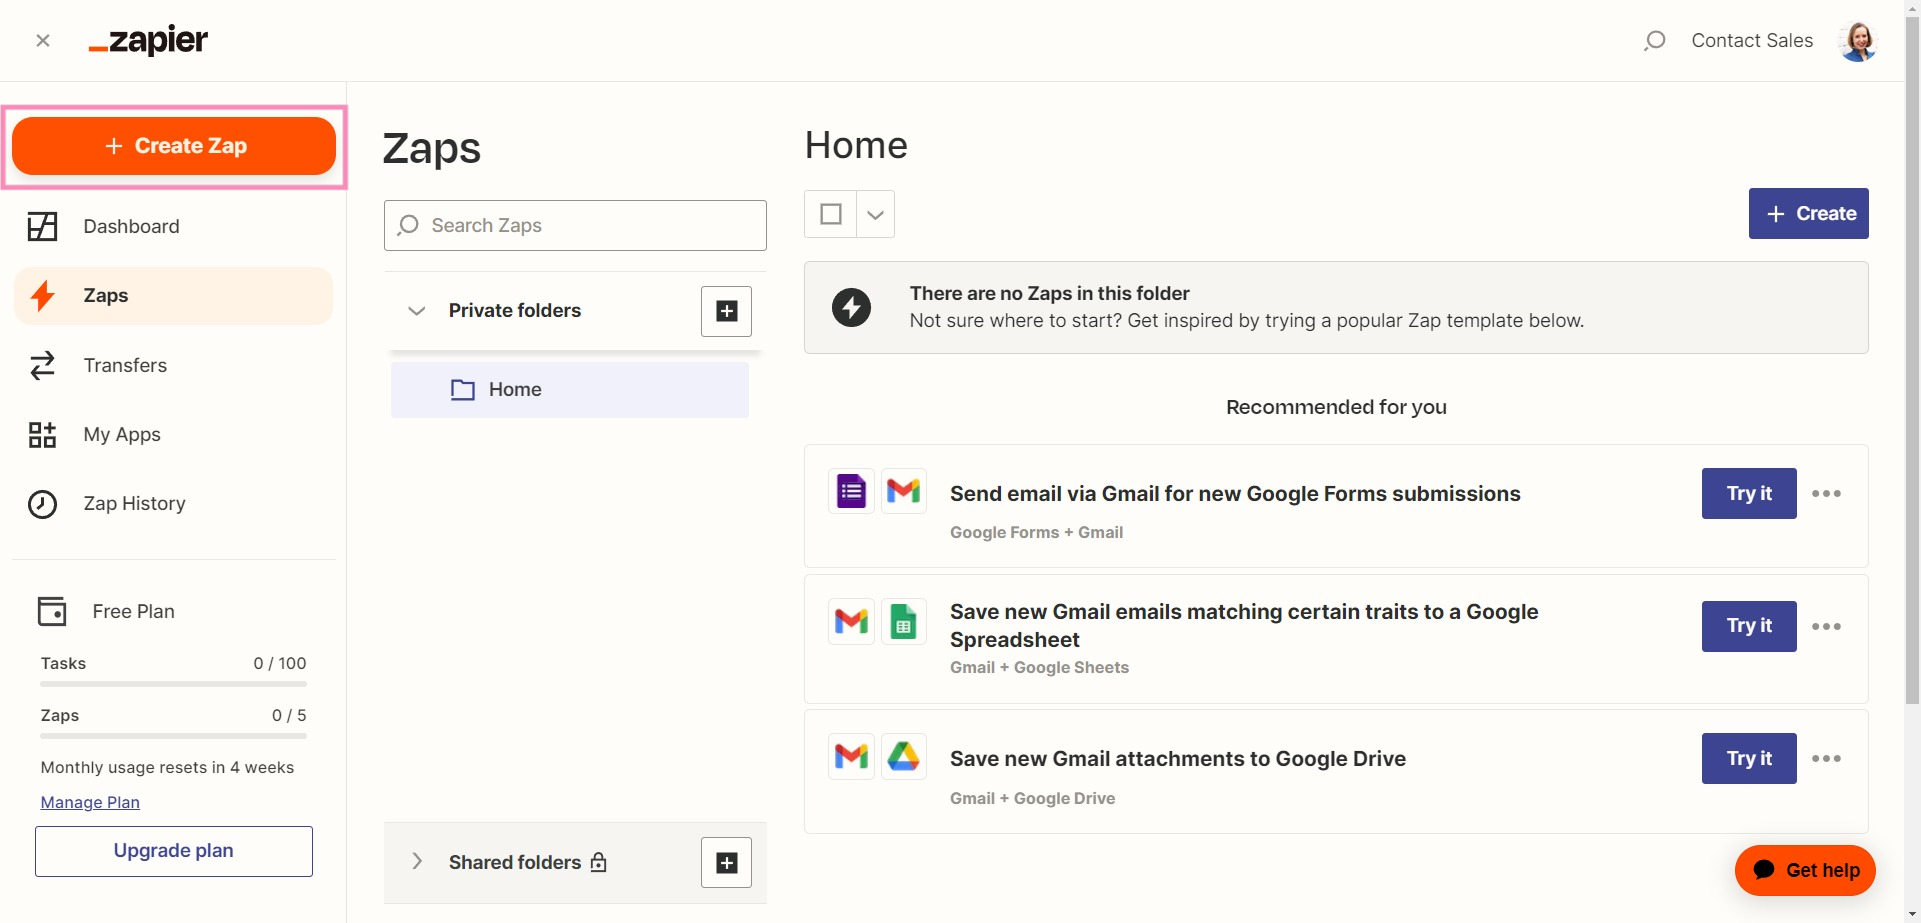
1. Log in to your Zapier account and select + Create Zap in the upper left (sidebar menu)
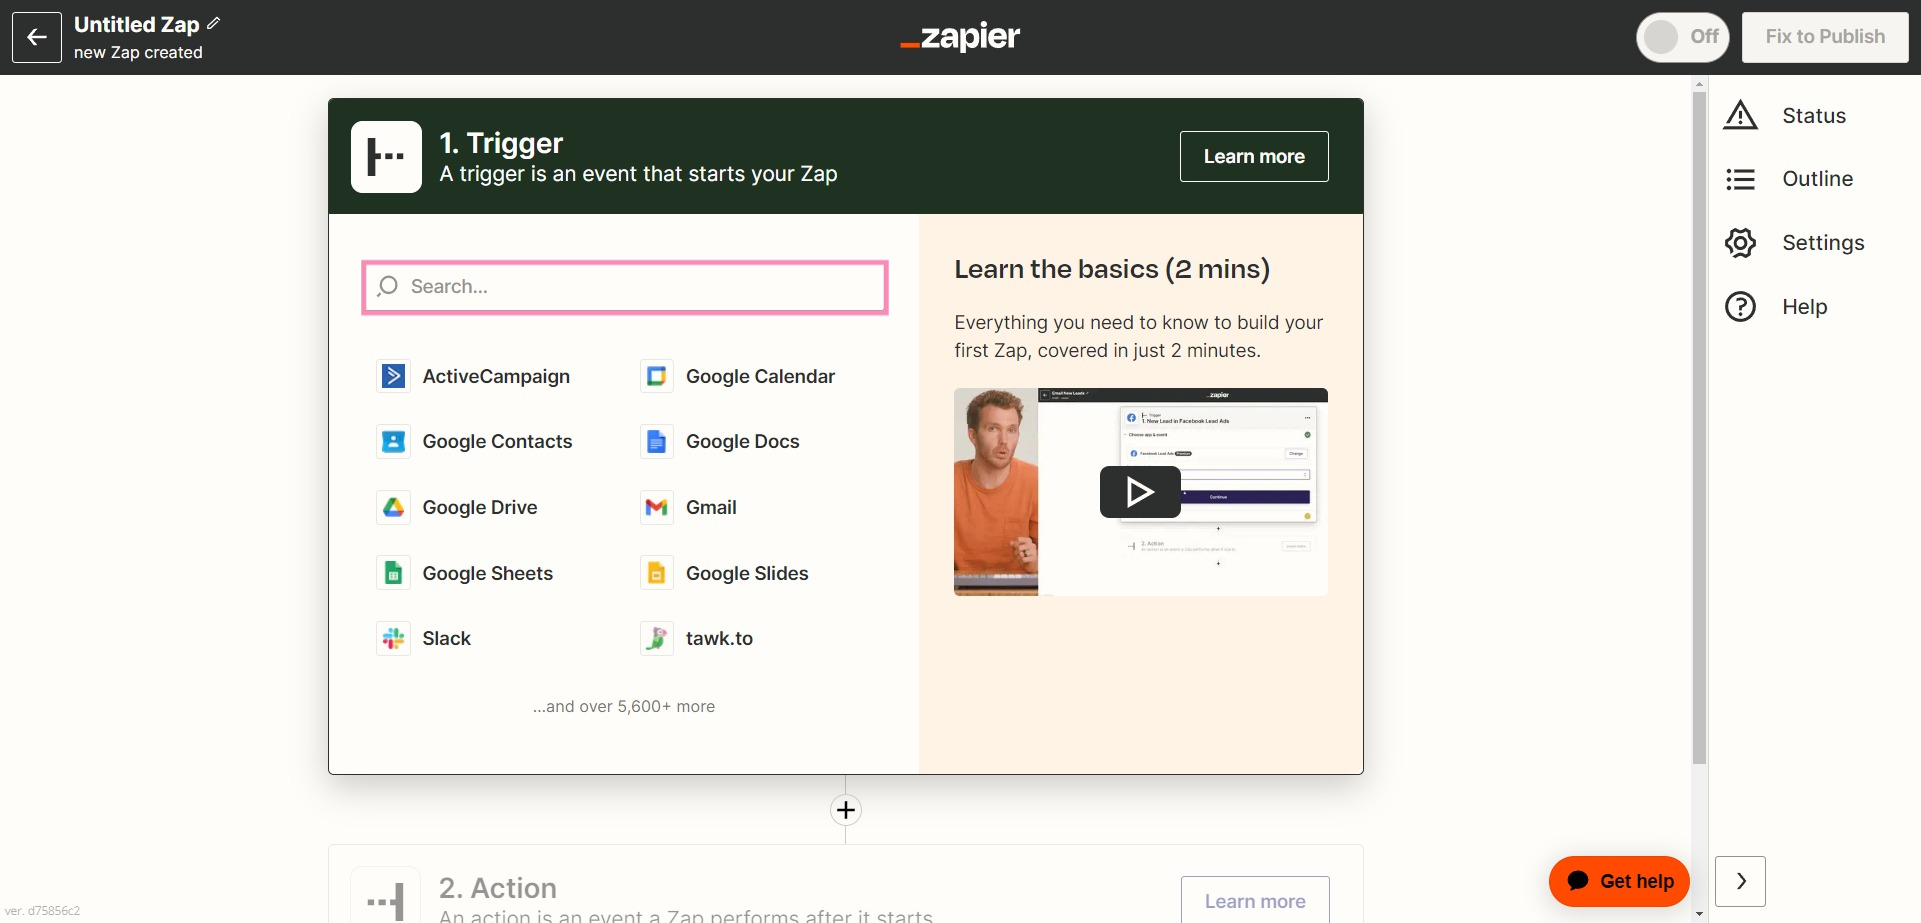
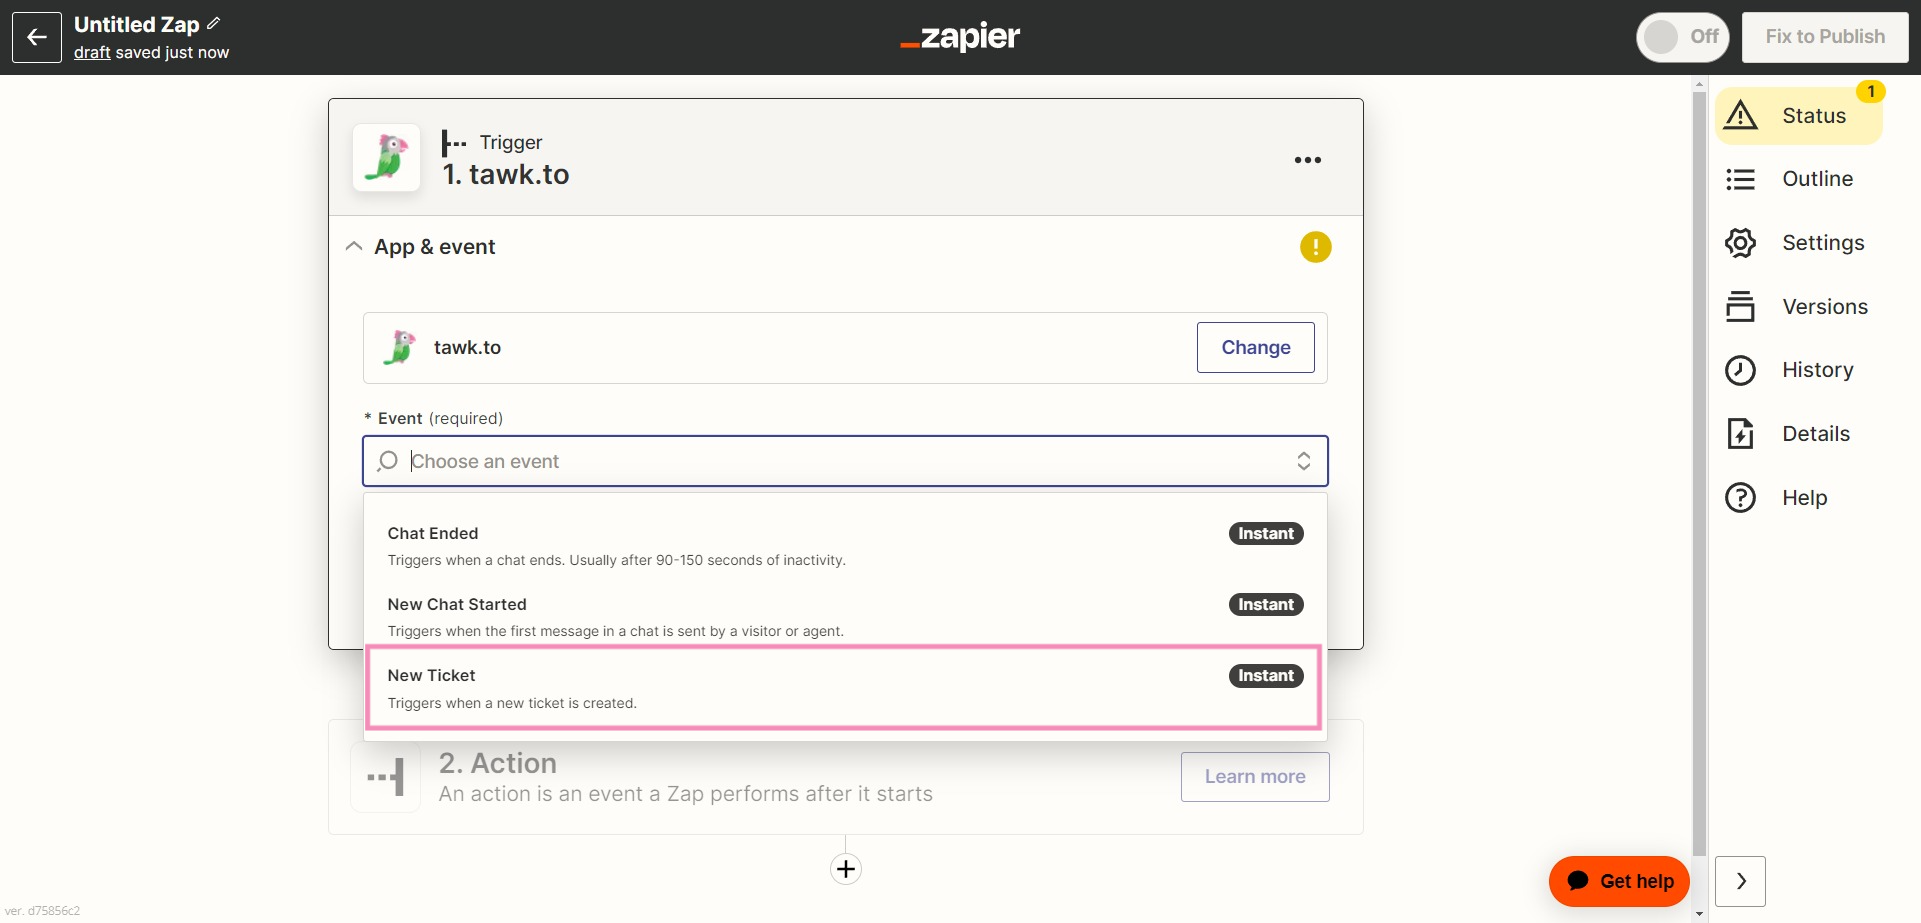
2. Search for and select tawk.to as your Trigger event app.
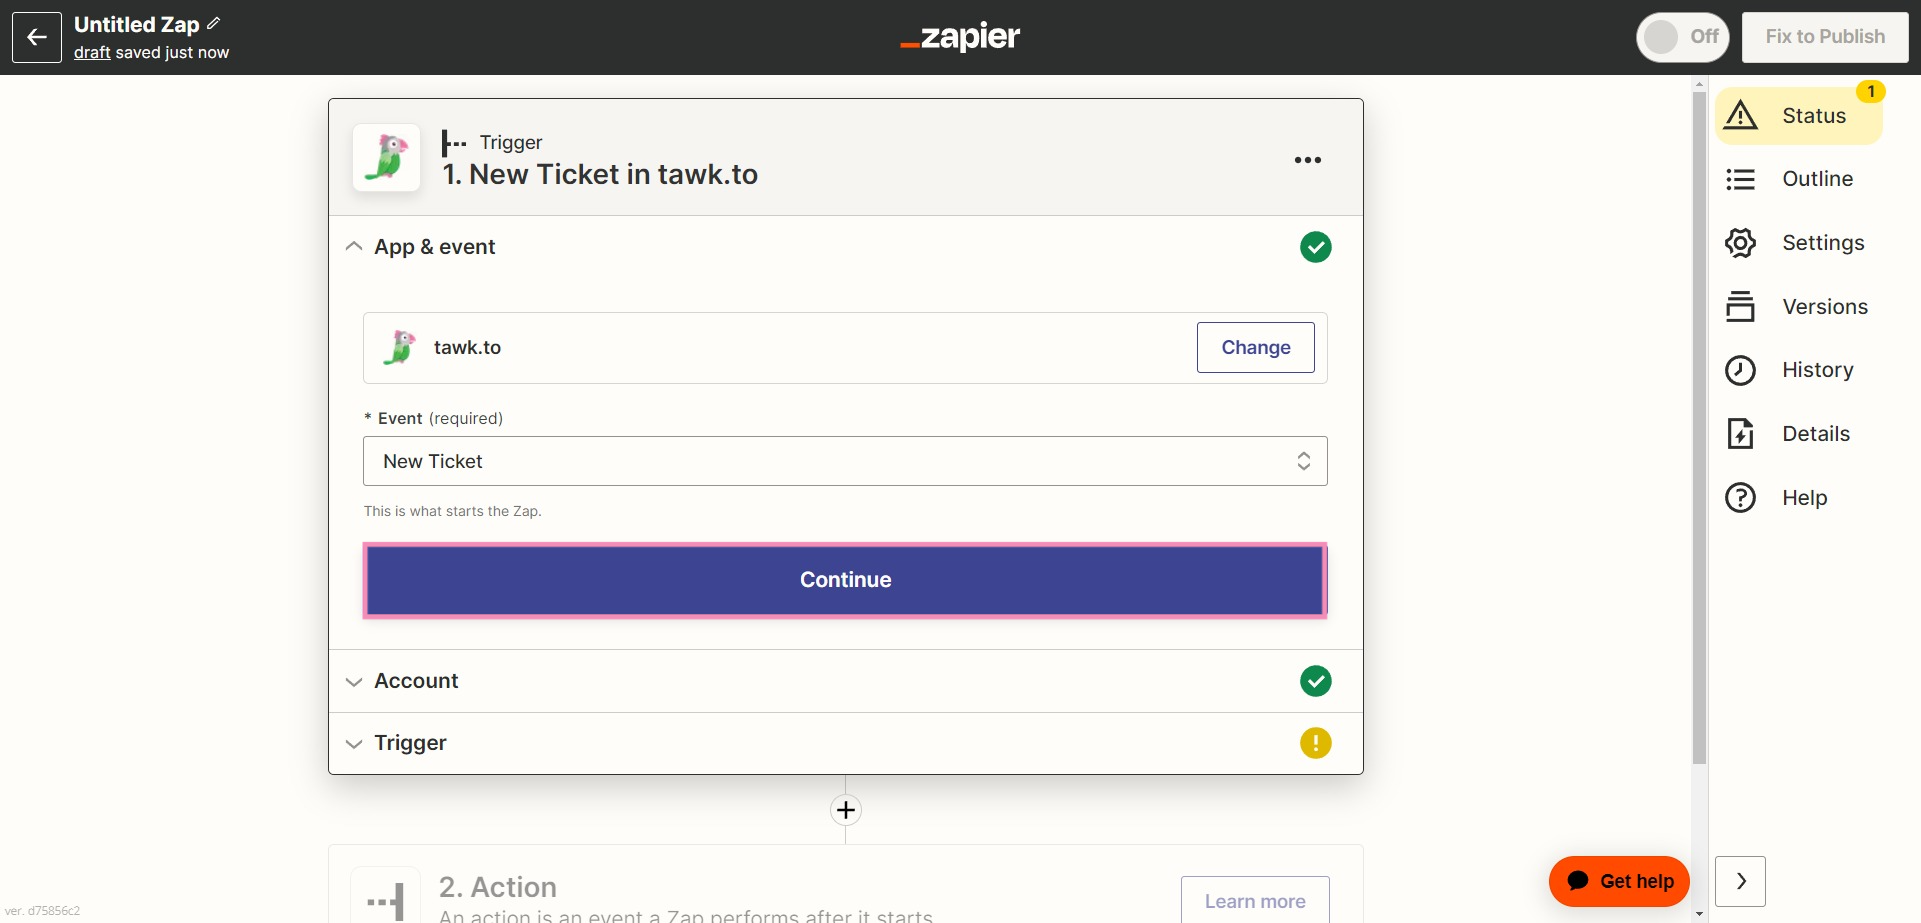
3. Under Event, select New Ticket.
Then, click the Continue button.
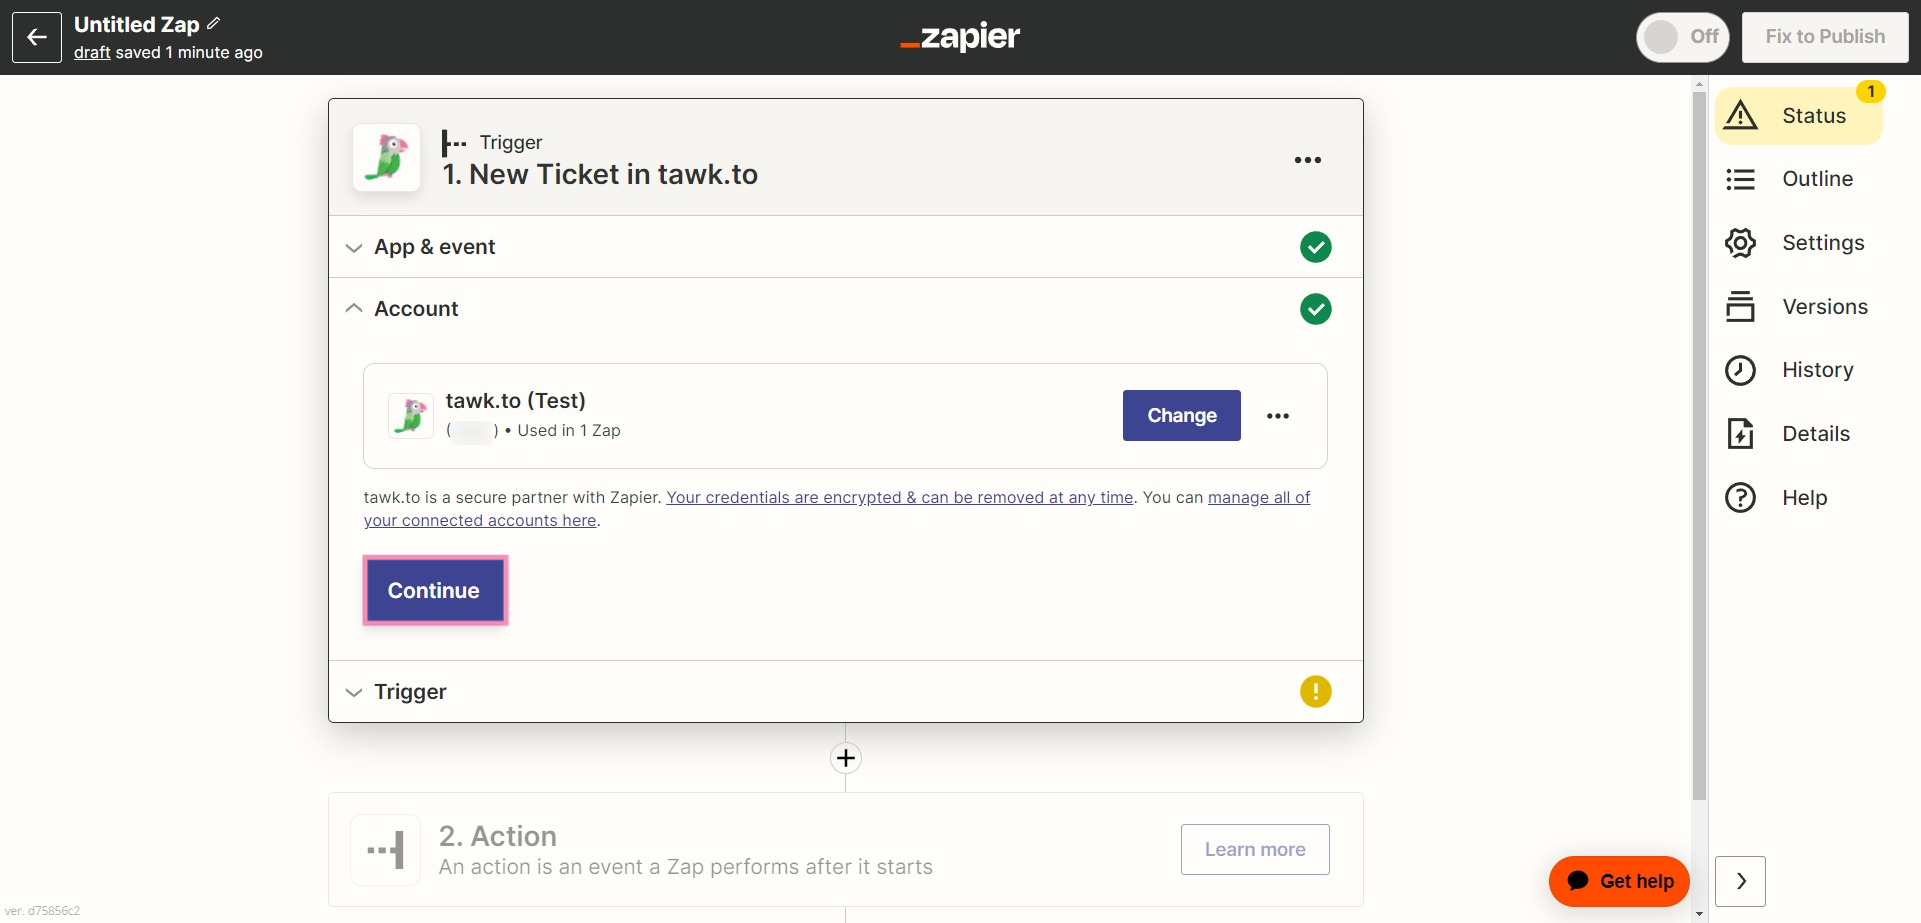
5. Select the tawk.to property for which you would like to watch new tickets.
Then, click the Continue button.
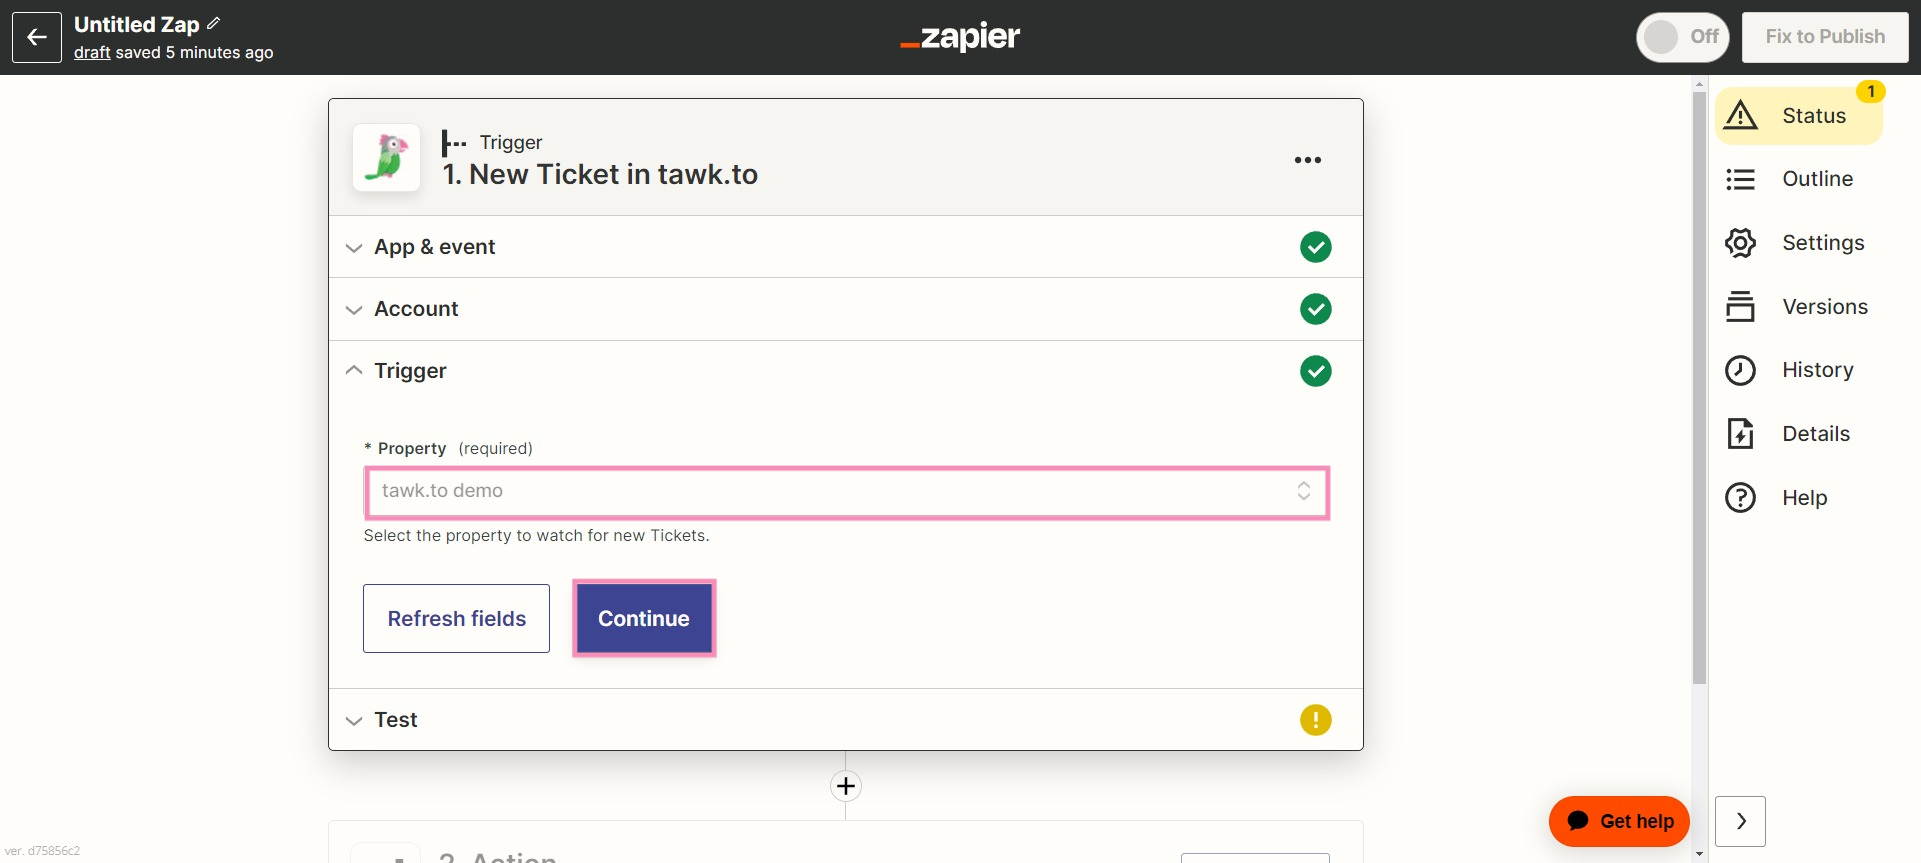
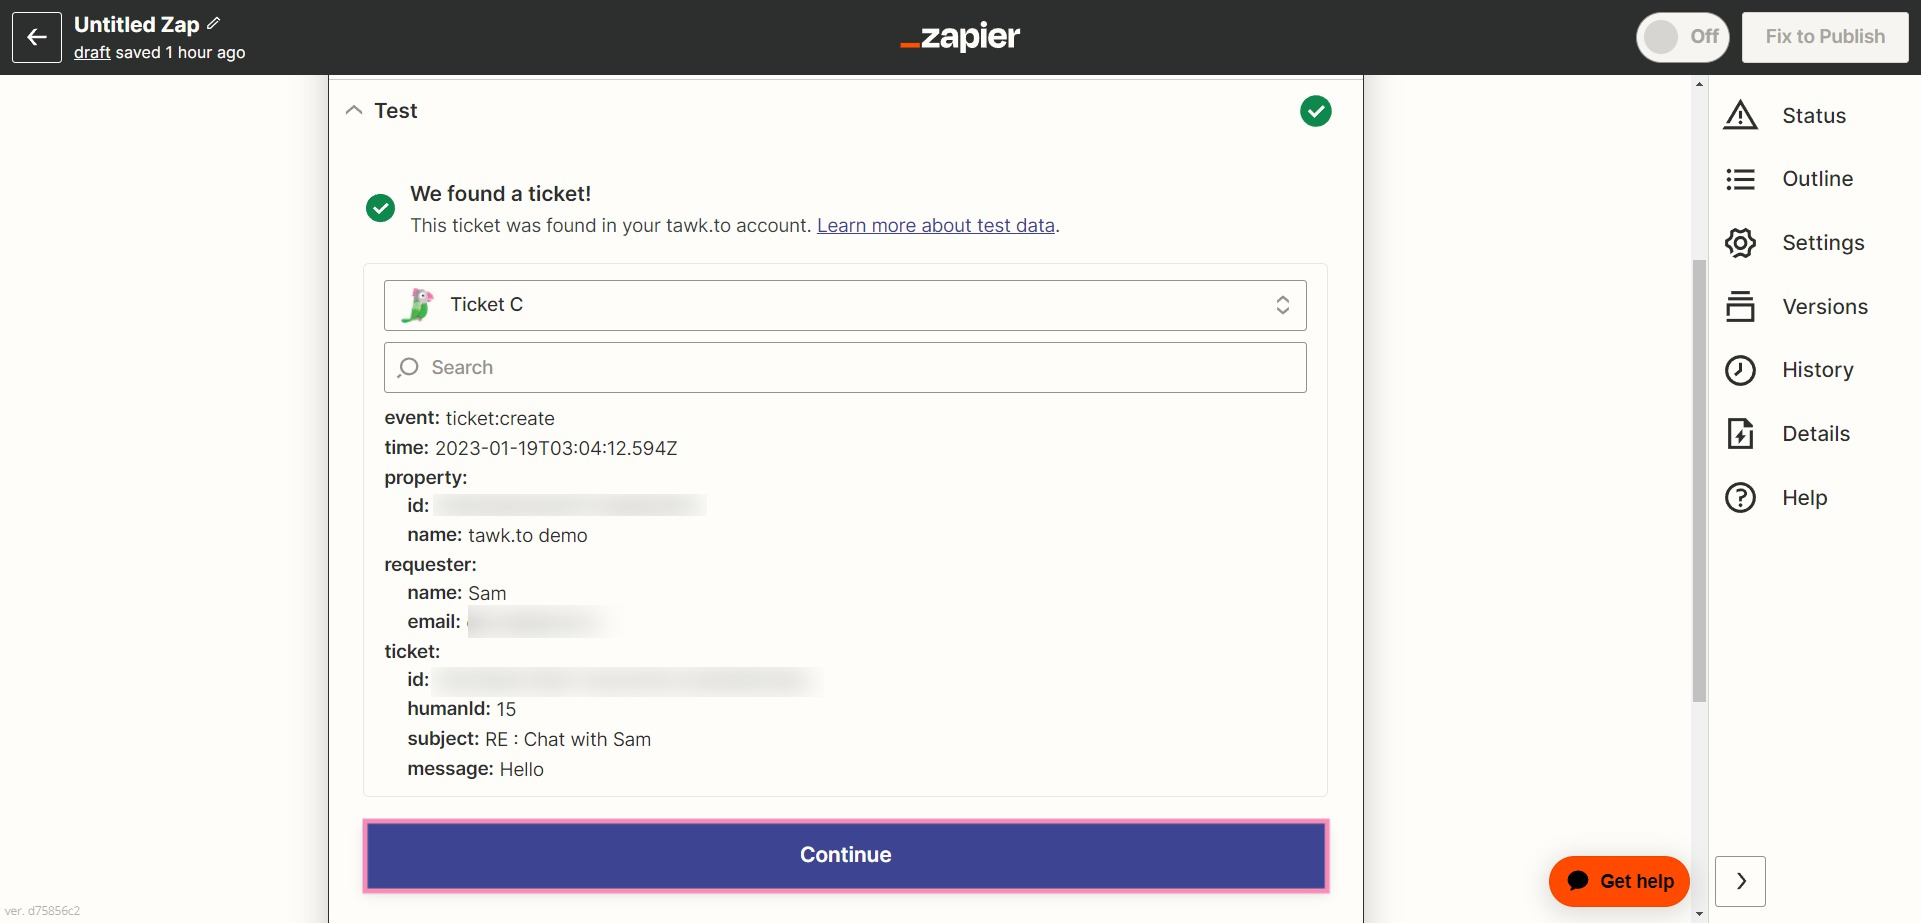
6. Click the Test Trigger button to confirm that the right account is connected and your trigger is set up correctly.
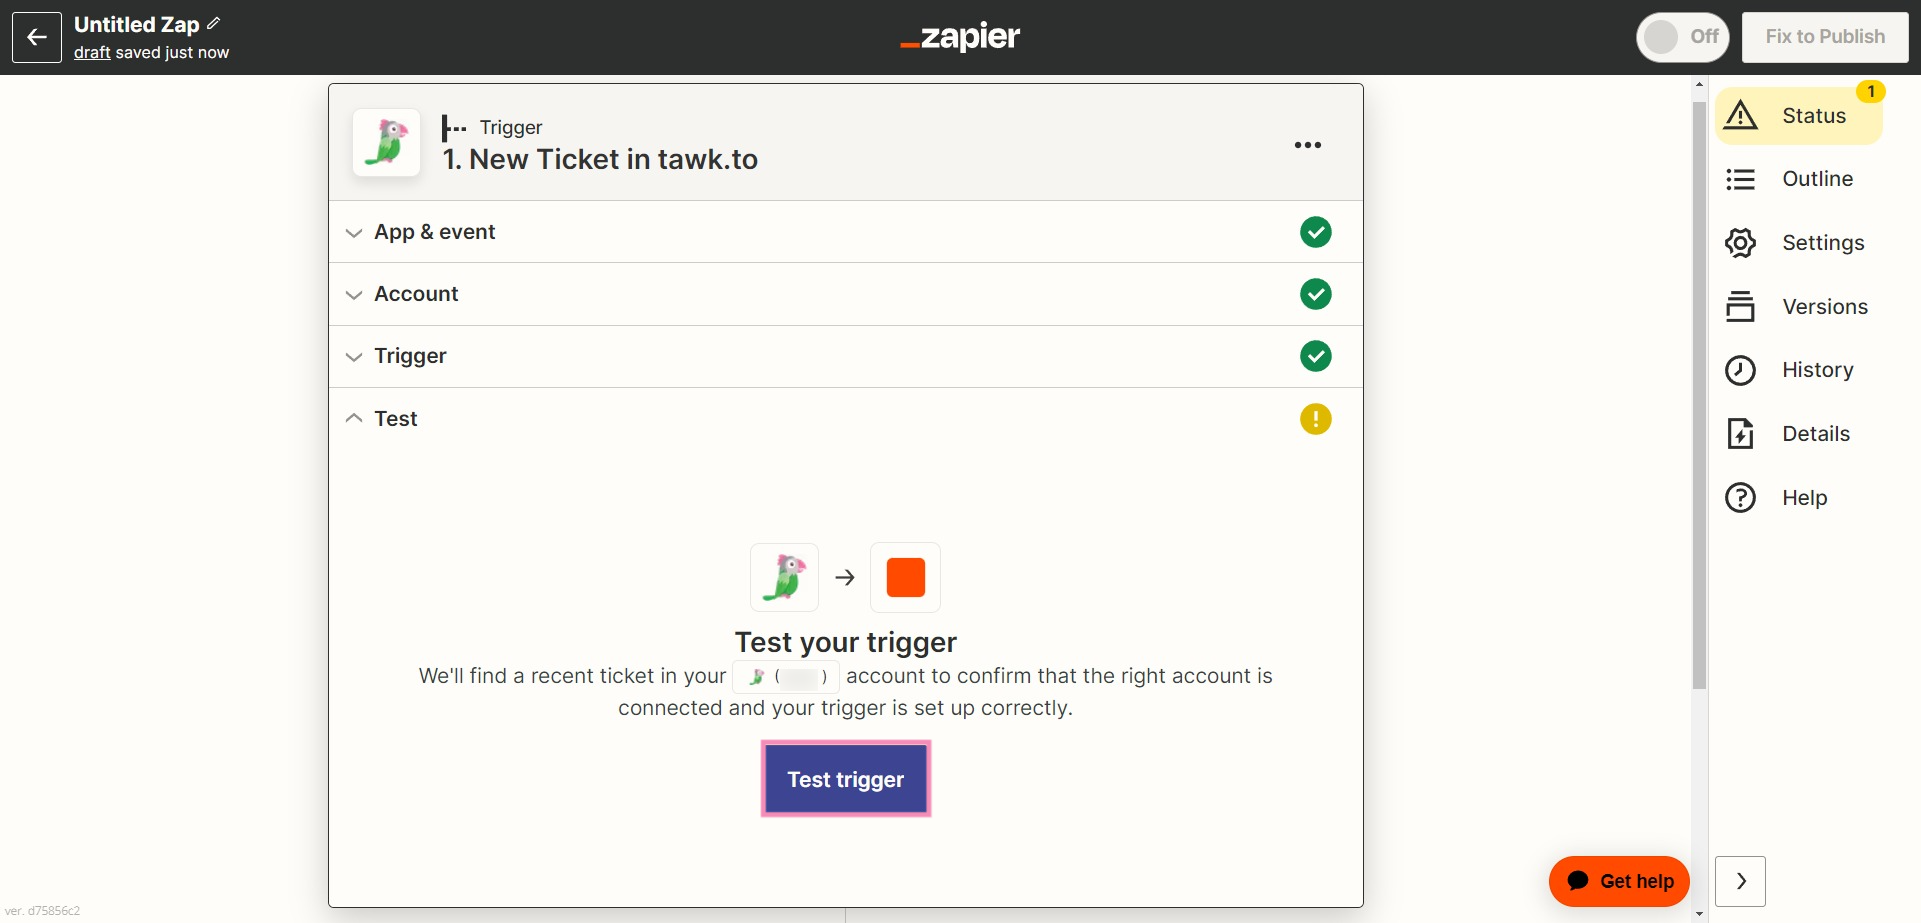
Then, click the Continue button.
Create an Action event
1. Next, search for and select Google Sheets as the Action event app.

2. Under Choose an event, select Select Spreadsheet Row in the drop-down menu.
Then click the Continue button.
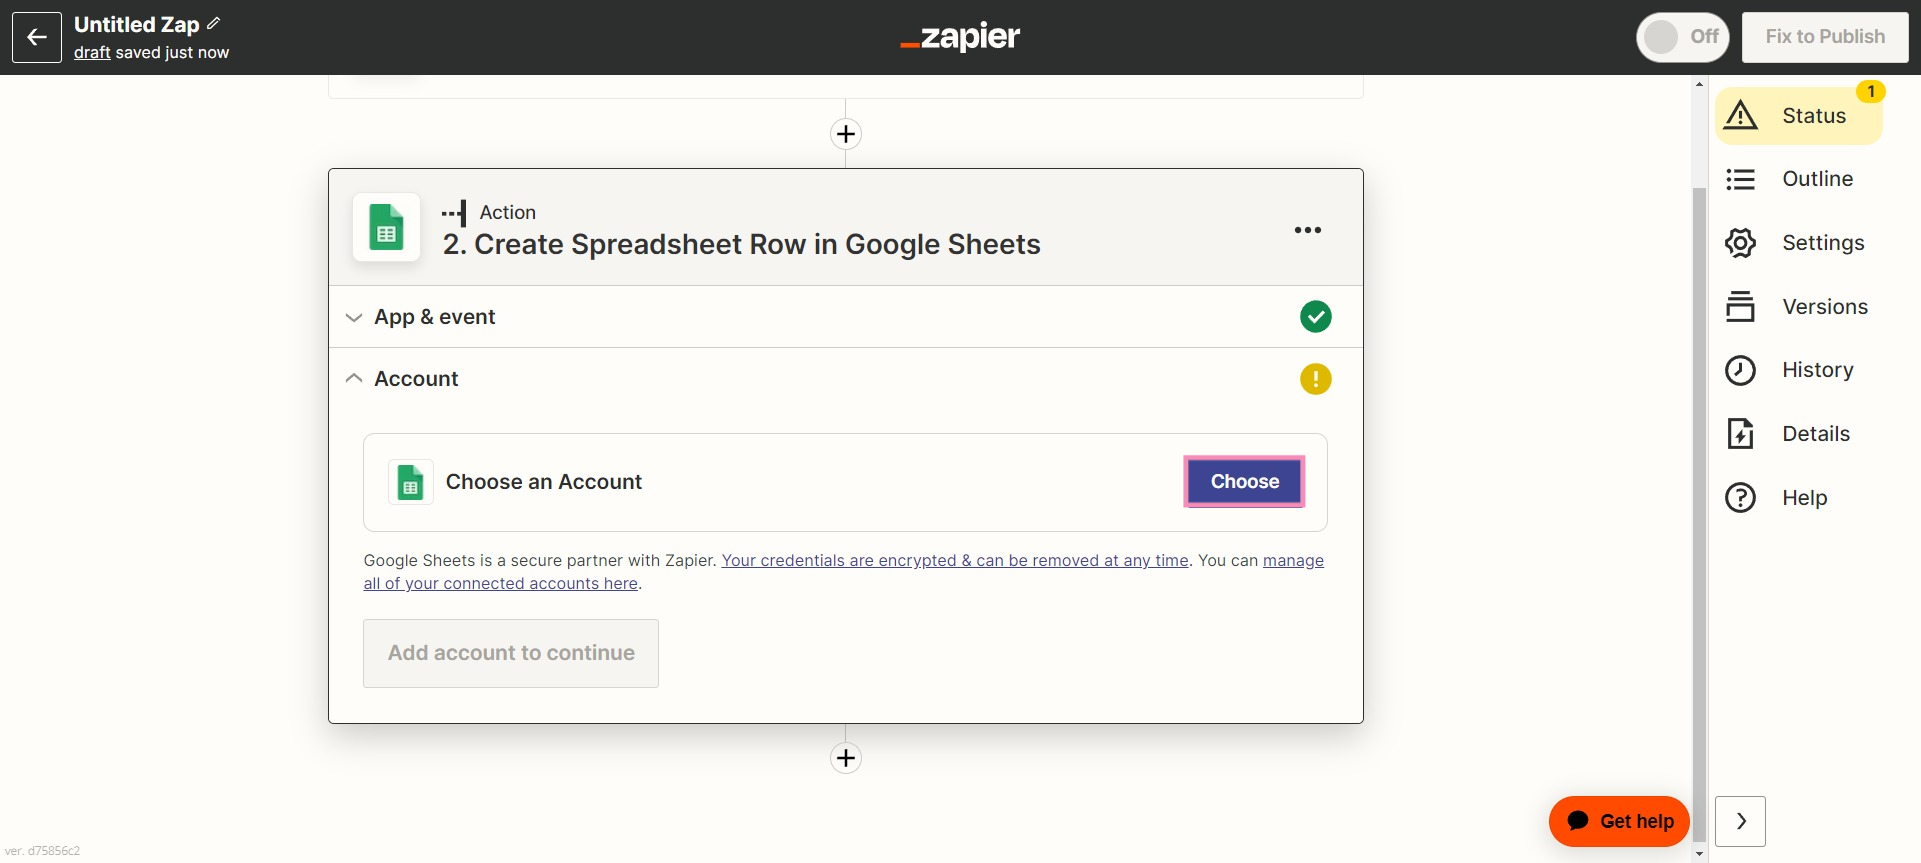
3. Click the Choose button to select or add a Google account to your workflow. Then, click the Continue button.
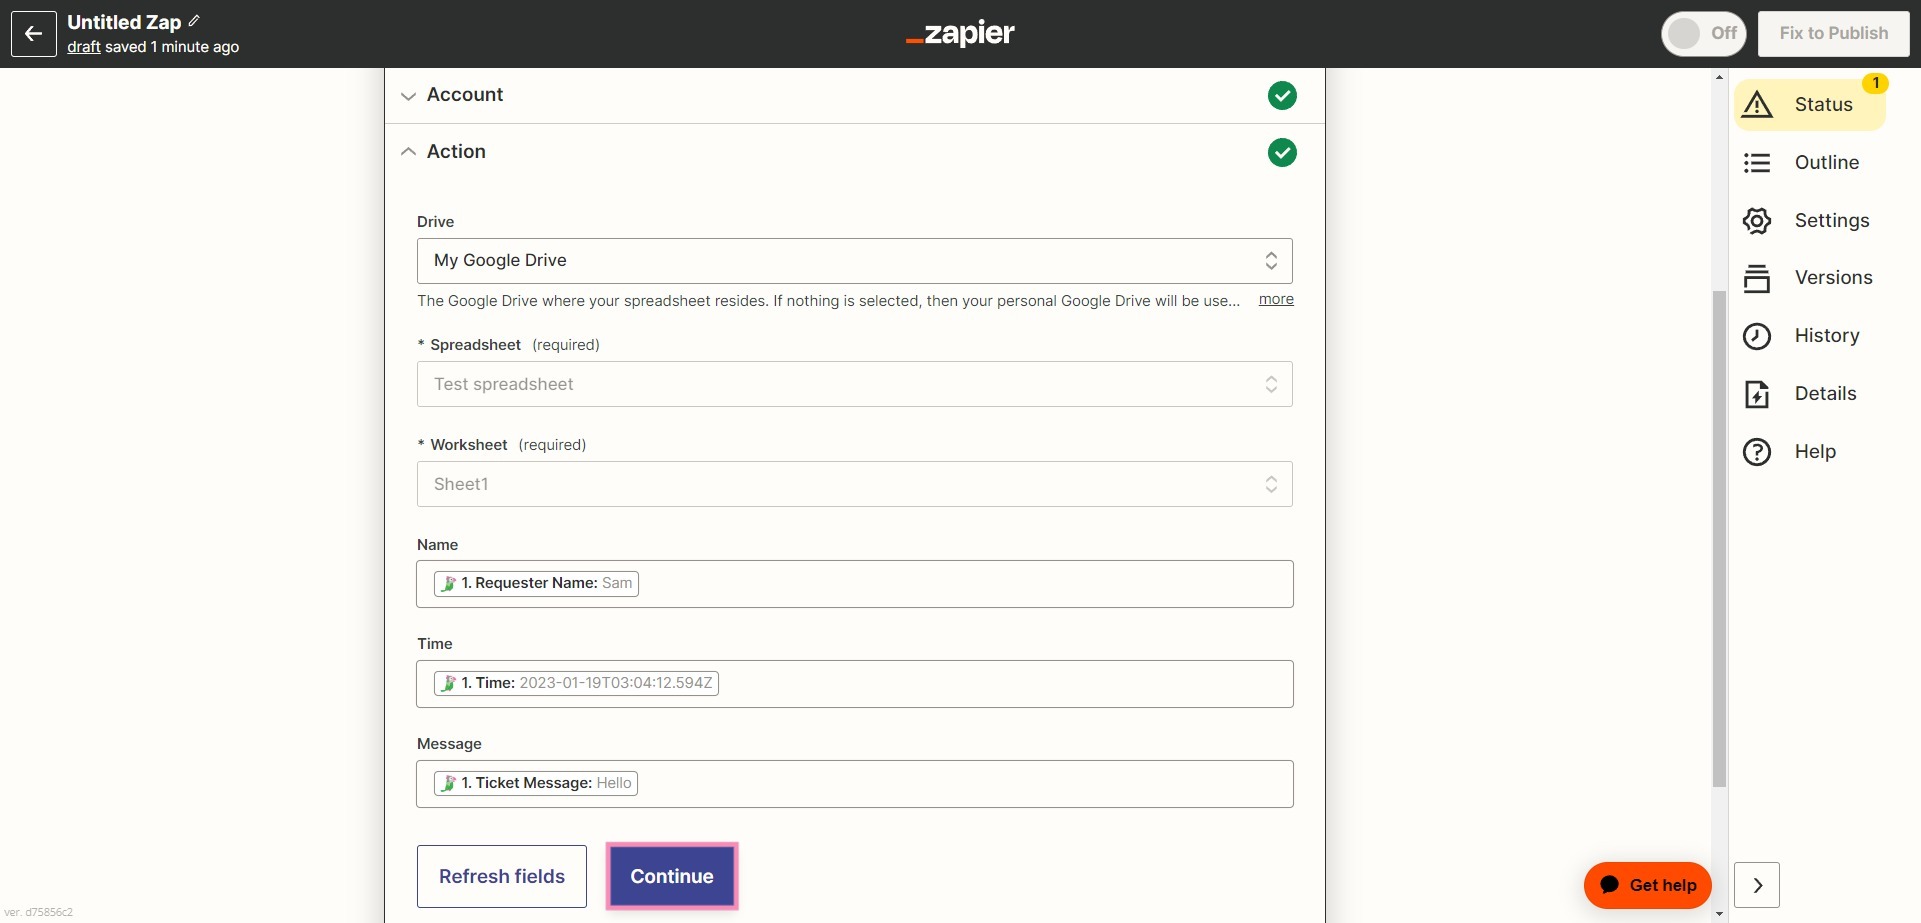
4. Under Action, select the Google Drive where you will store your ticketing data. Then, select a spreadsheet to receive the data and the Worksheet where the data will appear.
Set up a new Google Sheet with the following columns:
- Name
- Time
- Message

In the remaining Action fields, map the data values from the tawk.to ticket to the Google Sheets column labels:
- Requester name > Name
- Time > Time
- Ticket Message>Message
Click the Continue button.
5. Click the Test action button to populate a row in the Google Sheet with data from a recent ticket.
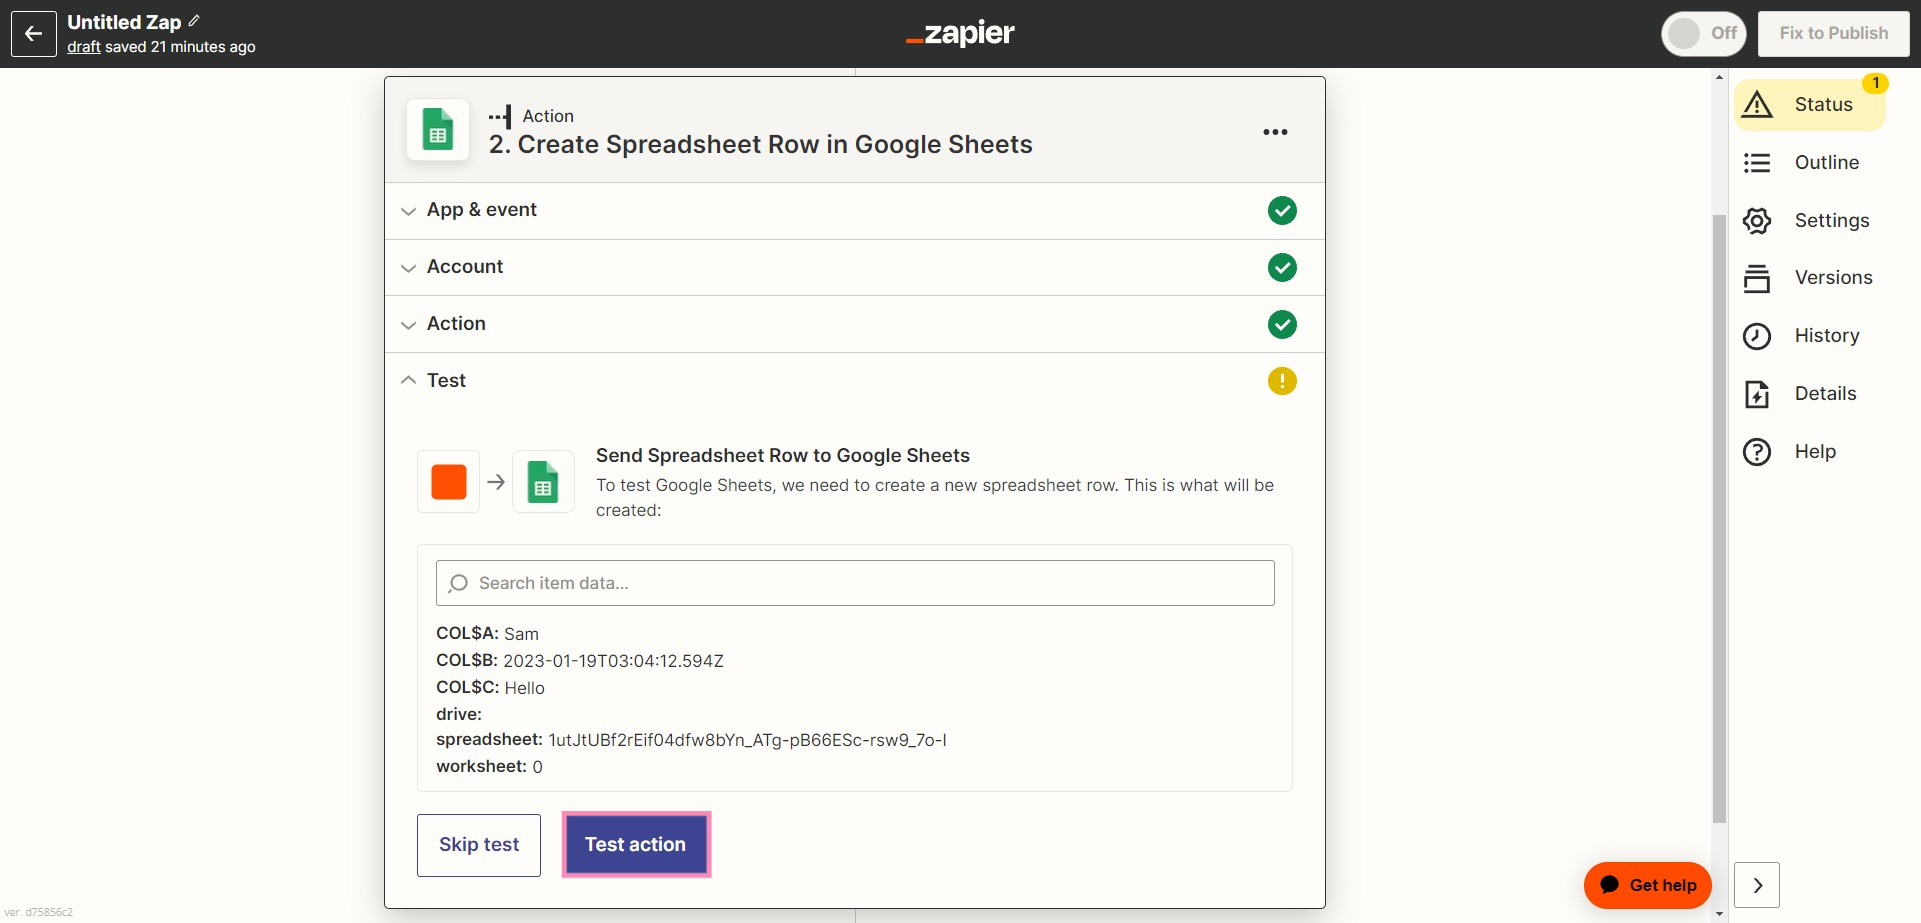
Check the results in your Sheet.

6. Finally, click the pencil icon in the upper-right corner and give your Zap a name.
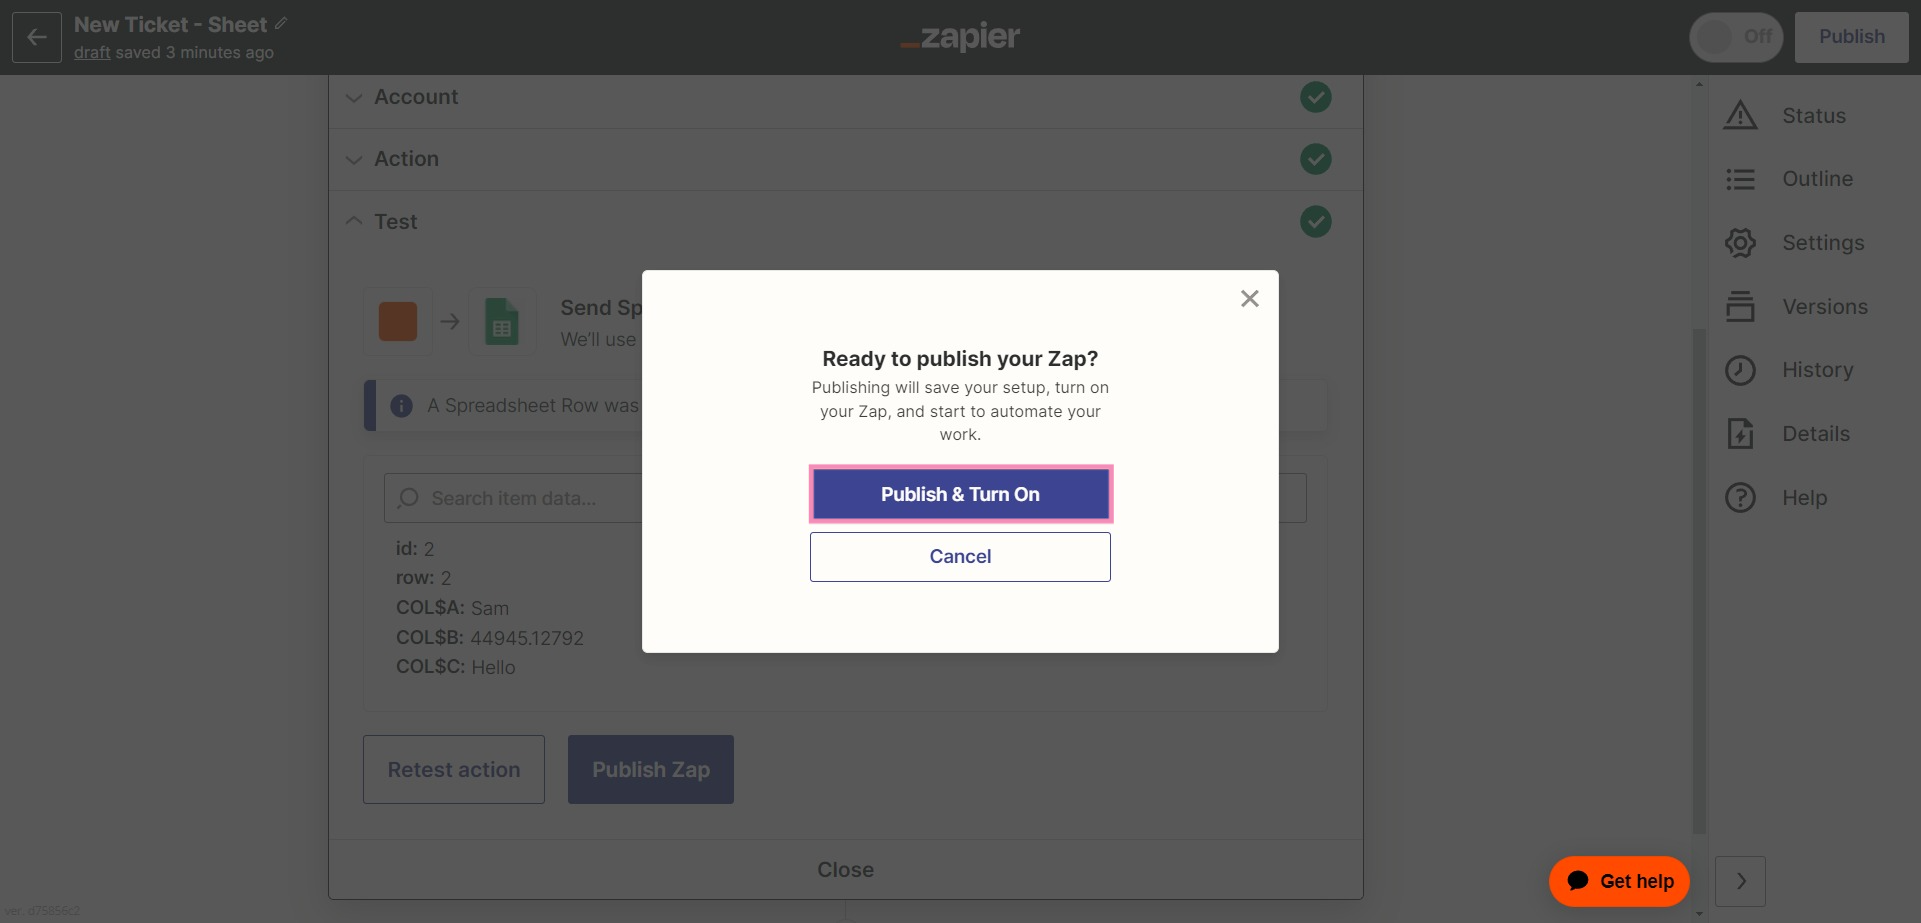
Hit the Publish Zap button.

7. To activate your new Zap, click the Publish & Turn On button.
Congratulations! You’re now collecting all your ticketing information in Google.
Looking for more Zaps? Check out the list on Zapier’s tawk.to Integration page.
If you have questions or need assistance, reach out to our support team or schedule a call.