Create Zapier integrations with tawk.to
Zapier saves you time by connecting the apps you already use — no code required. Automation workflows called “Zaps” use conditional logic and data reformatting, allowing you to pass data from tawk.to to other apps.
You can create a simple one-step workflow or add a hundred steps, and you can choose from any of 5000+ apps.
Here are just a few of the most popular tawk.to integrations with Zapier:
- Create a new spreadsheet entry when a ticket is created
- Post a message in a Slack channel when a new chat begins
- Add a new Trello card when a new ticket is created
- Post a Slack channel message for each new support ticket
- Add a row to a Google Sheet when a chat ends
- Add a new deal in Pipedrive when a chat ends
- Send a SurveyMonkey survey when a chat ends
- Add a contact to Mailchimp when a chat ends
- Add a new contact to HubSpot when a chat ends
How do I create a tawk.to integration with Zapier?
Connect your tawk.to account to Zapier
1. Log in to your Zapier account or create a new account.
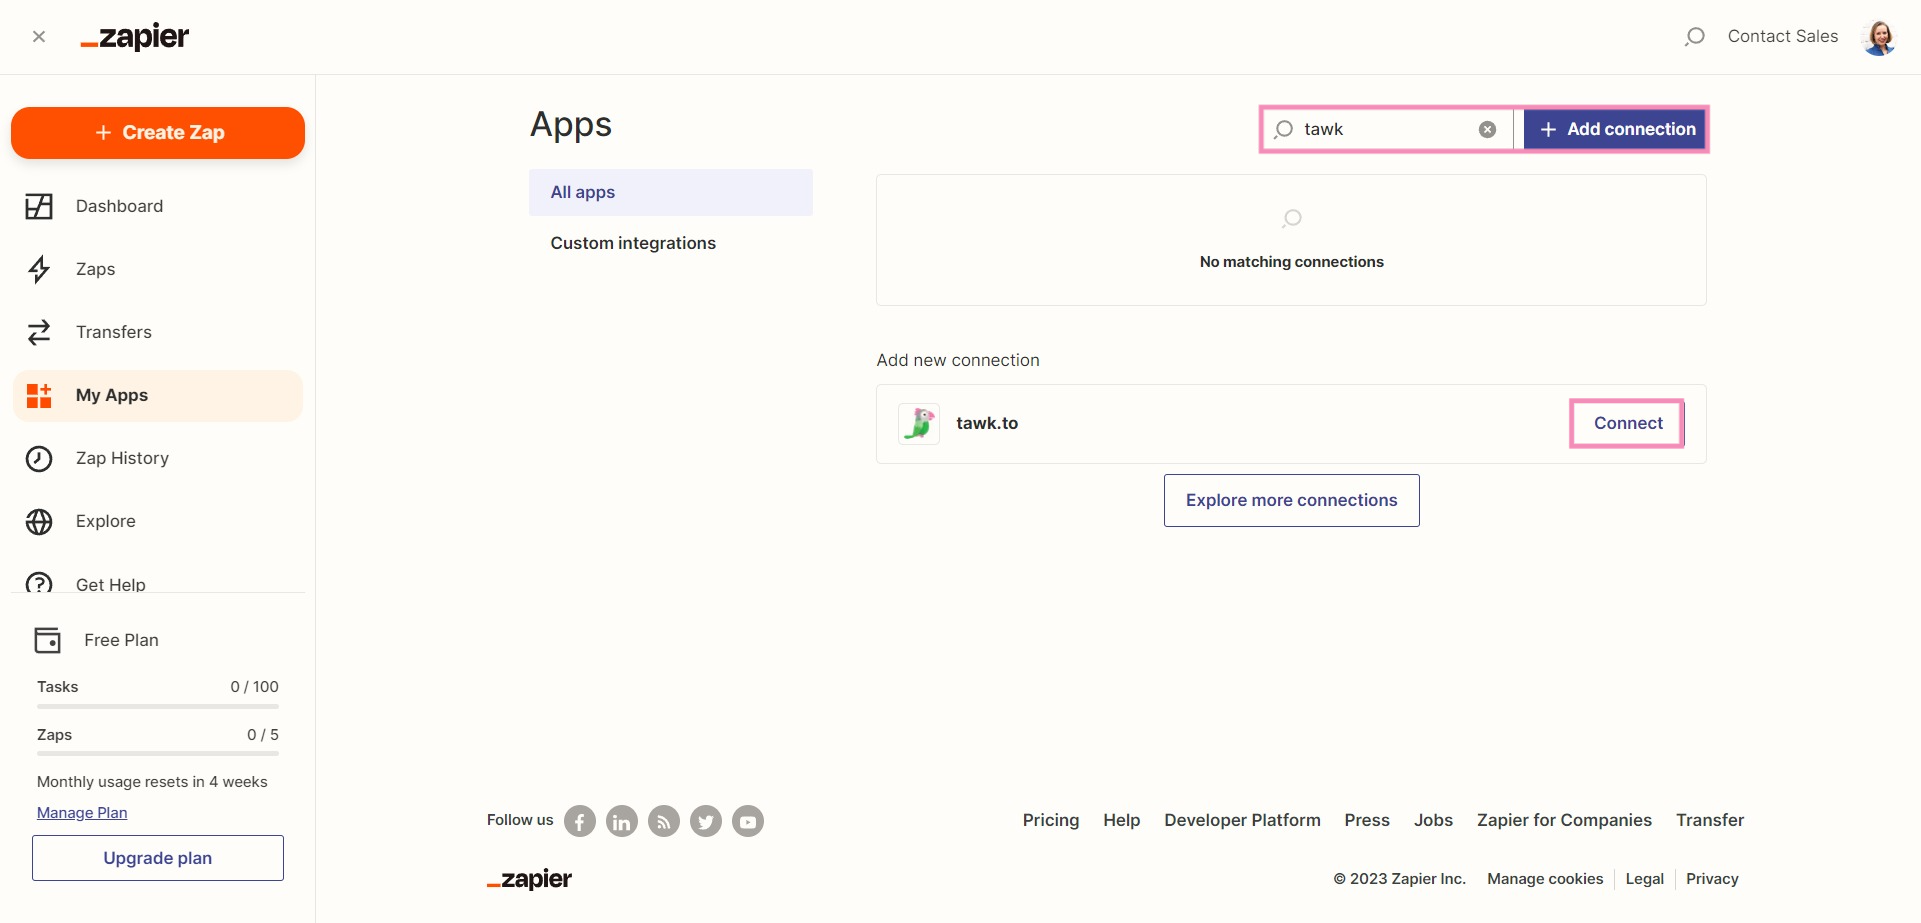
2. Select My Apps in the left sidebar menu.

3. In the upper right, select + Add Connection and search for “tawk.to.”
Click the Connect button next to tawk.to in the list of results.
4. Log in to tawk.to or sign up for an account.

5. Then, click the Allow button to give Zapier the necessary permissions to connect your accounts.

Now, you can start creating automations.
You can use one of the pre-made Zap workflows available or let the Zap editor walk you step-by-step through custom Zap creation.
Looking for ideas? Check out the list of existing Zaps on Zapier’s tawk.to Integration page.
Create a custom Zap
1. To create a custom Zap, click the Make a Zap button in the upper-left (sidebar menu).

2. Every Zap is made up of one or more trigger events and actions. Every time a trigger event occurs, the action you select is performed.
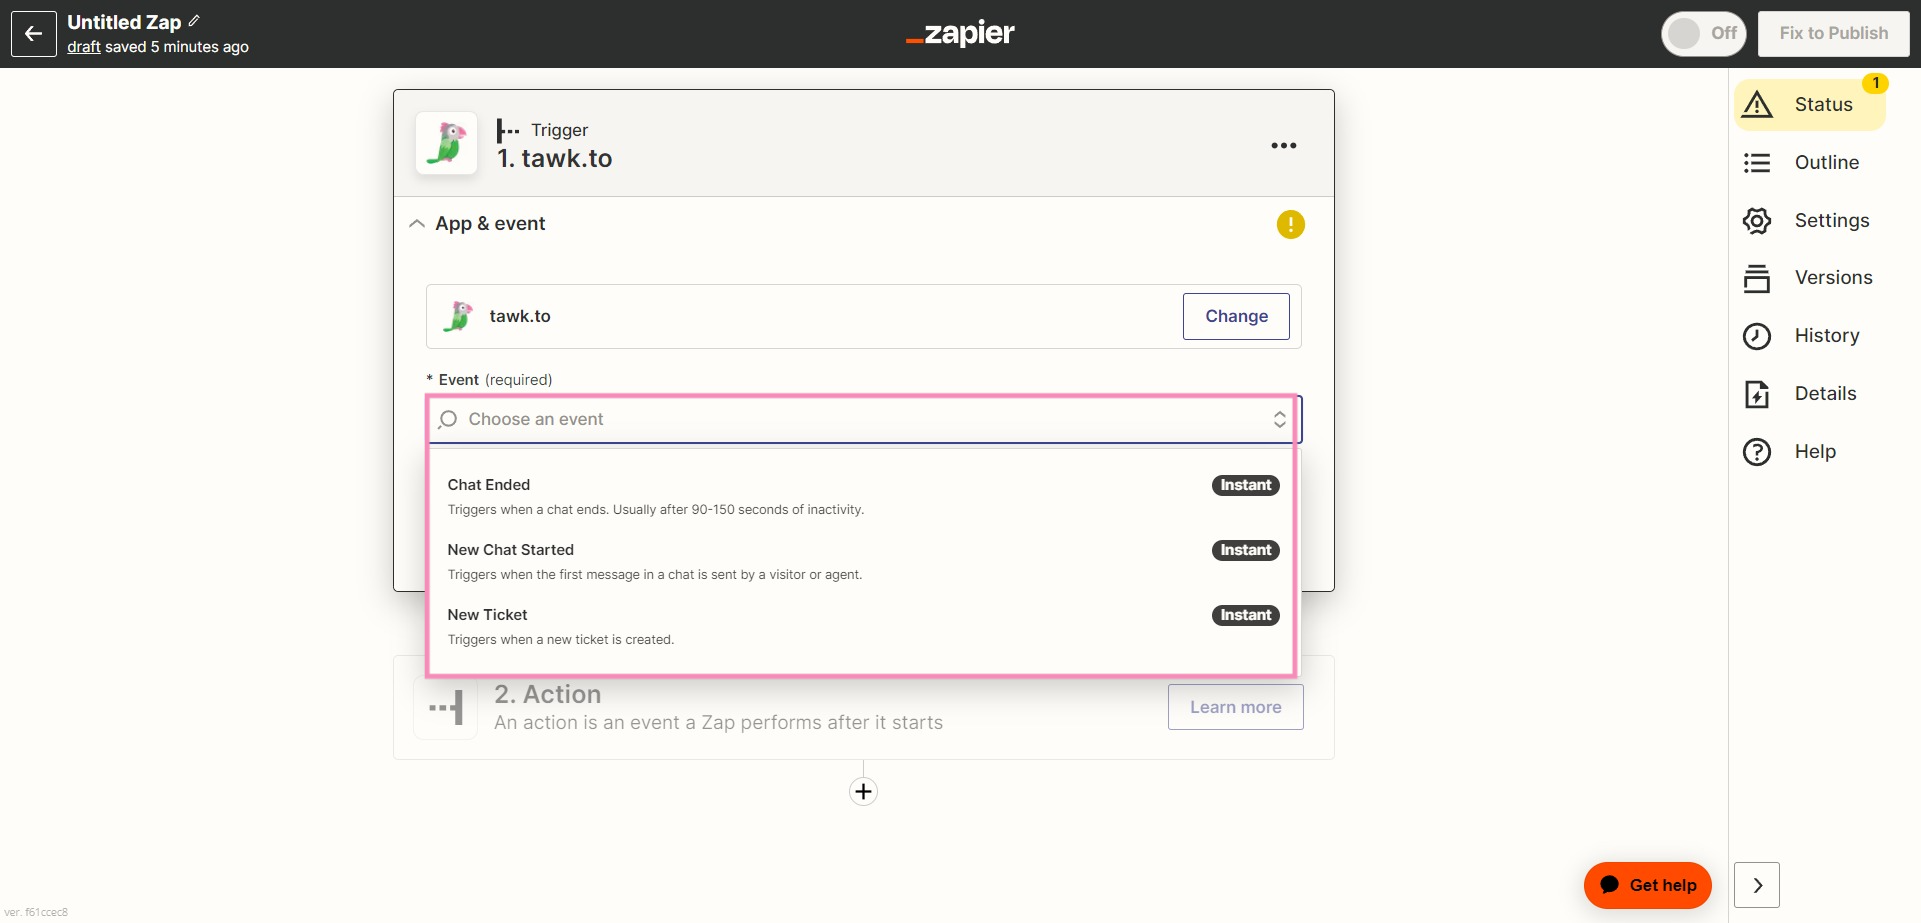
Choose tawk.to as your Trigger App.
Choose your Trigger Event:
- Chat Ended
- New Chat Started
- New Ticket
Click the Continue button.
Then, confirm your tawk.to Account and select a Property.
3. You’ll be prompted to test your trigger. Click the Test trigger button to confirm that the right account is connected and your trigger is set up correctly.

4. After your test is successfully completed, click the Continue button.

5. Next, search for and select the app where the action will take place when the trigger is fired.

6. After you select an app, you’ll be prompted to decide what the Zap will do in the receiving app.
Follow the prompts to select an event, sign in, and configure the data for the event in this second app.
Click the Test action button.

7. Then, click the pencil icon in the upper-left corner to name your Zap, click the Publish Zap button in the lower right, and you’re done.

Congratulations! Your life just got a little easier with automation.
If you have questions or need assistance, chat with our support team or schedule a call.