Adding the tawk.to widget to WordPress
[Desktop]
tawk.to for WordPress
There are a couple of ways to add a tawk.to widget to your WordPress site.
- You can use the WordPress plugin
- You can install the widget manually using the widget code in your tawk.to dashboard
Follow the instructions below to start chatting with customers on your WordPress website in just a few clicks.
To get started, you'll need an active tawk.to account
Installing the tawk.to widget using the WordPress plugin
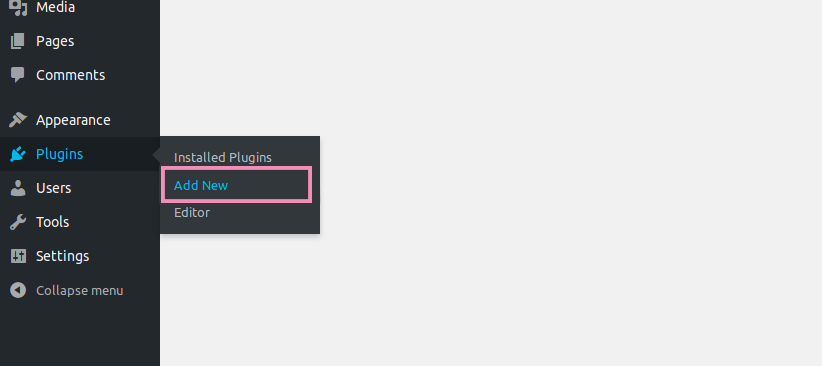
1. Log in to your WordPress Admin panel.
In the left menu, select Plugins ➞Add New.
2. In the upper-right of the Add Plugins page, search for “Tawk.To Live Chat”

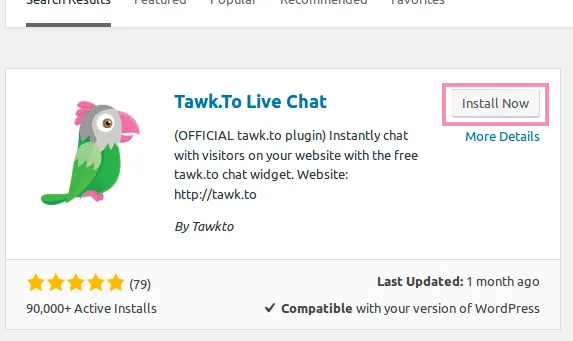
3. Select Tawk.to Live Chat by Tawkto in the results and click the Install Now button.
Then, click the blue button to Activate.


5. Log in to your account by entering the email and password for your tawk.to account. Then, select the property and widget you intend to use for your website and click Use Selected Widget.

Congratulations! The widget will now appear on all pages of your WordPress site!
The tawk.to plugin also supports WordPress Multisite. Learn how to add tawk.to to a network of WordPress sites in this article: WordPress Multisite
FEATURES
Exclude on specific URL
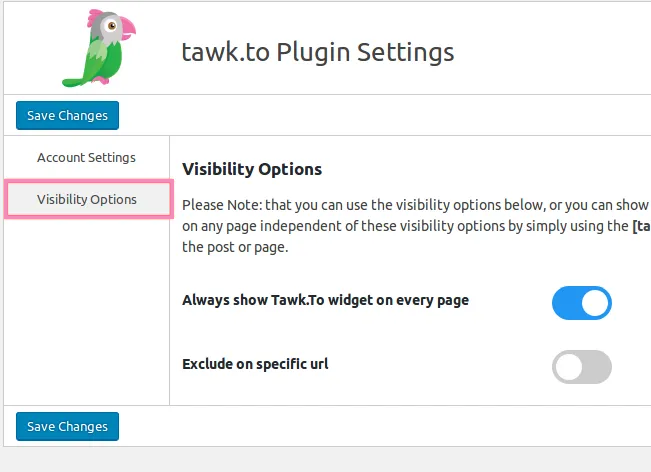
You can hide the widget on specific pages by toggling on Exclude on specific url and entering URLs for the pages on which you do not want the widget to appear.
Turn the toggle off on Always show Tawk.to widget on every page. In the new menu that appears, turn the toggle on for options that fit your needs.

Other Visibility Options
You can limit the display of the tawk.to widget to specific pages such as the front page, category pages, tag pages, or post pages.
First, use the toggle to deactivate Always show Tawk.to widget on every page.
Then, in the new menu that appears, slide the toggle to the on position for the options that fit your needs.

Include on specific URL
You also have the option to make the widget appear only on specific URLs.
Note: You'll have to enter the full URL of the page on which you want to display the tawk.to widget. You may list several full URLs in the textbox provided. Don't forget to separate each entry with a comma.

These settings can work with each other, and you can select multiple options. With tawk.to, you can set the widget visibility based on your specific needs.
Save changes
Always remember to save any changes you make. Click one of the Save Changes buttons to save your configuration.
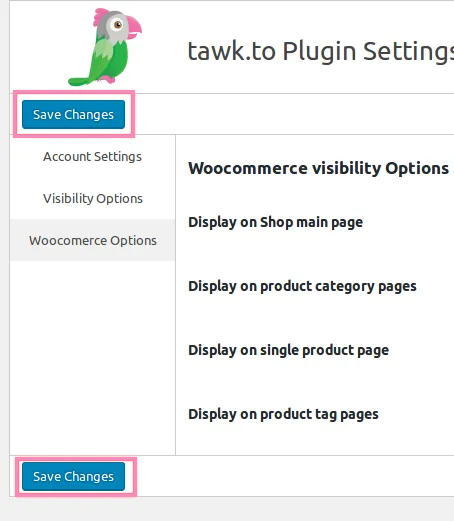
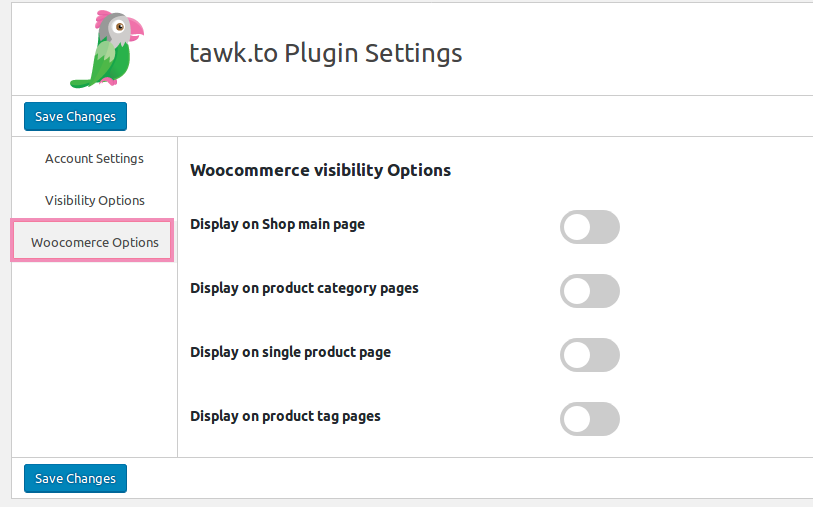
WooCommerce
For WooCommerce, there are additional visibility options. Select WooCommerce Options to view these.
Using the embed code instead of the plugin
You can also add tawk.to functionality to your site without installing the plugin.
Follow these steps to add the widget to your site using the Widget Code.
To find the embed code for the widget, log in to your tawk.to account.
1. If you have multiple properties, check to make sure you're viewing the correct one. Hover over the current property name in the upper-left menu to select a new property from the list.
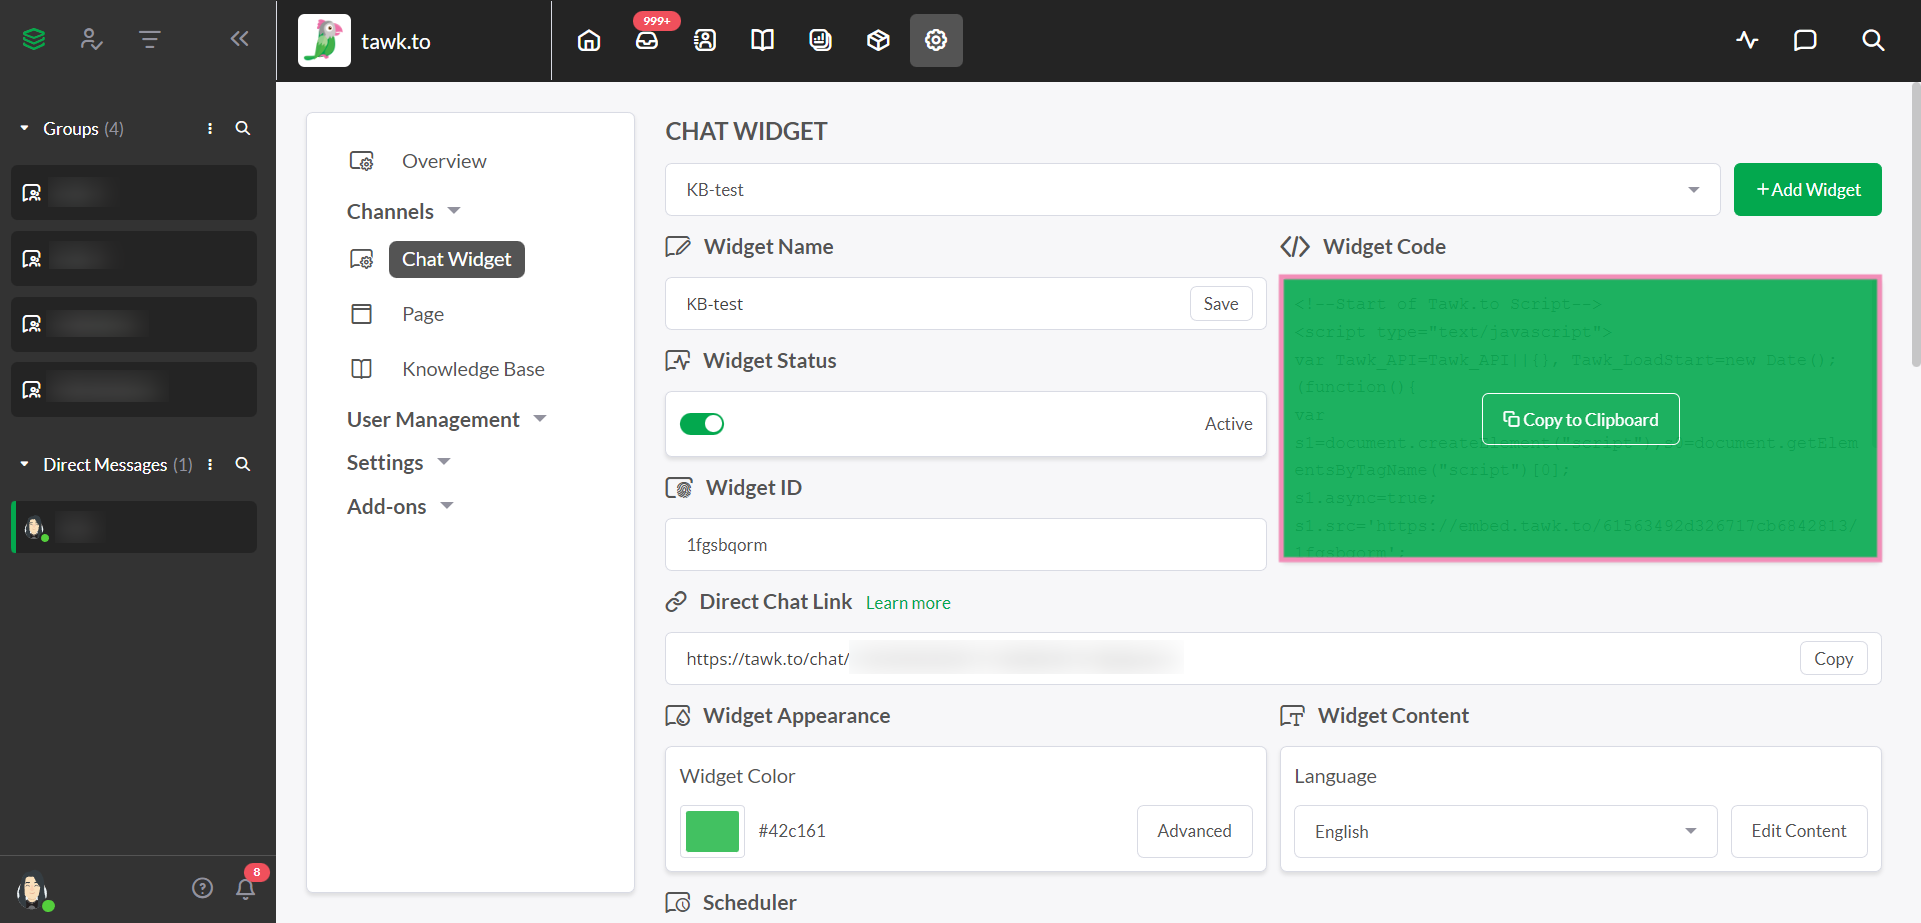
2. Select ⚙️Administration ➞ Channels ➞ Chat Widget.
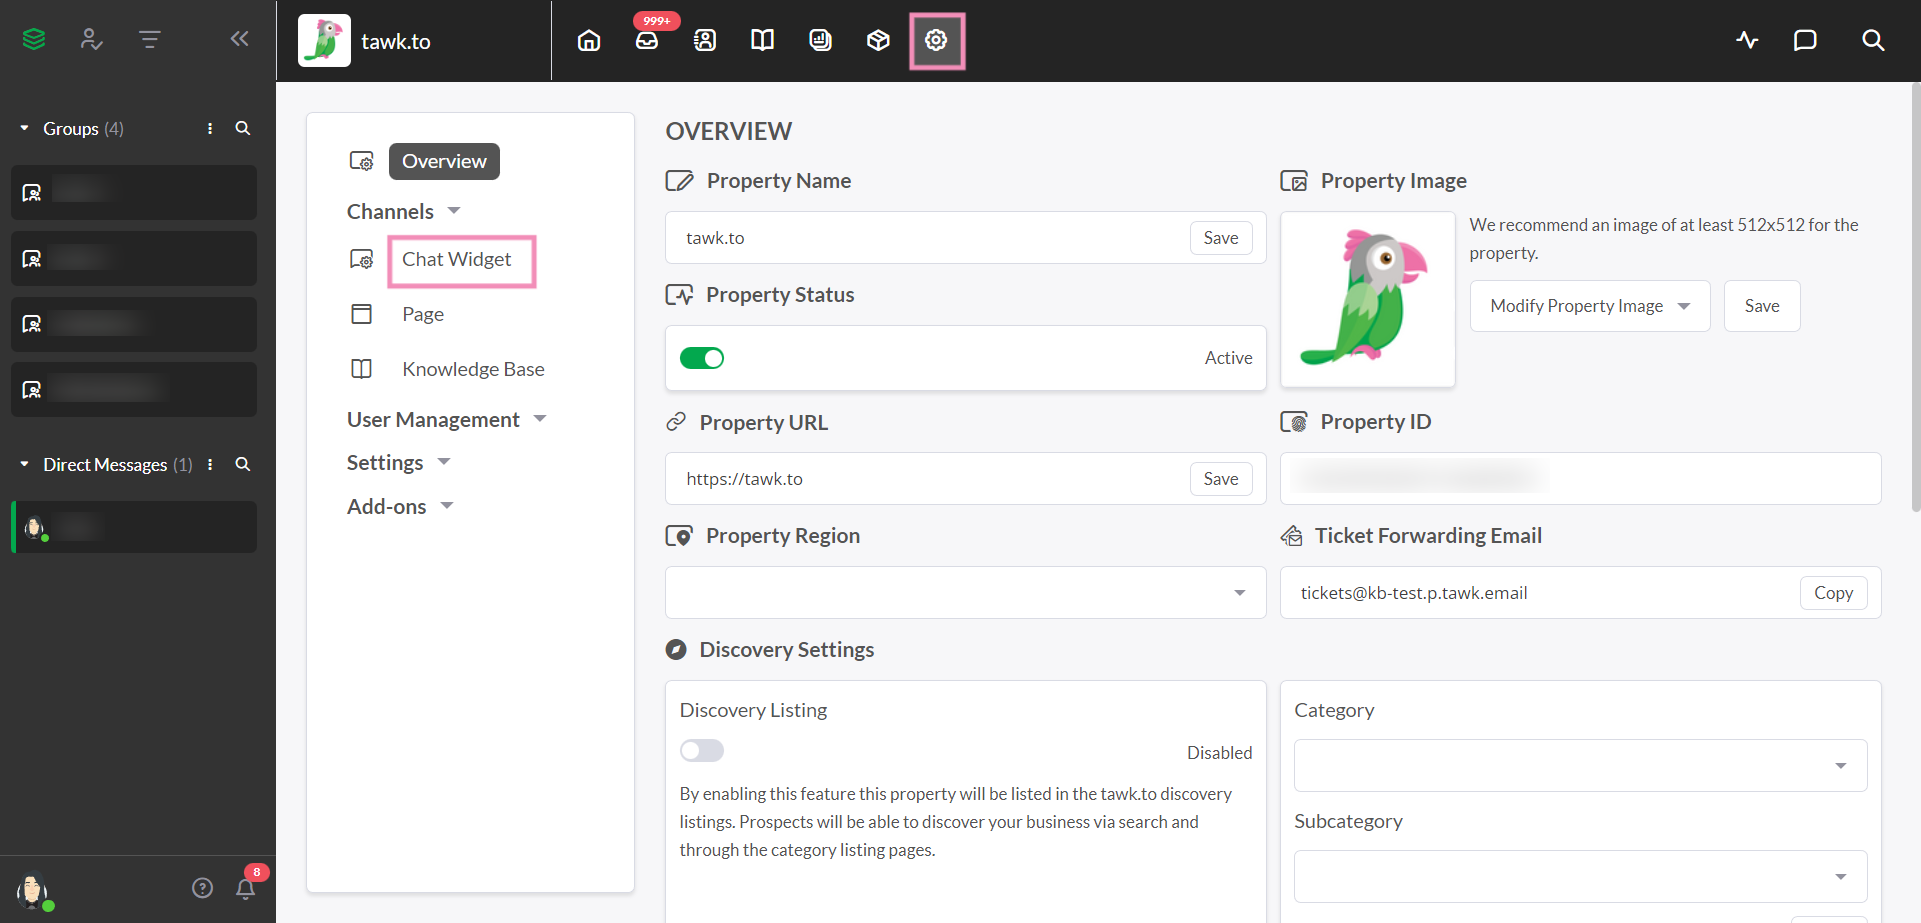
Then, click the </> Widget Code to copy it to your clipboard.
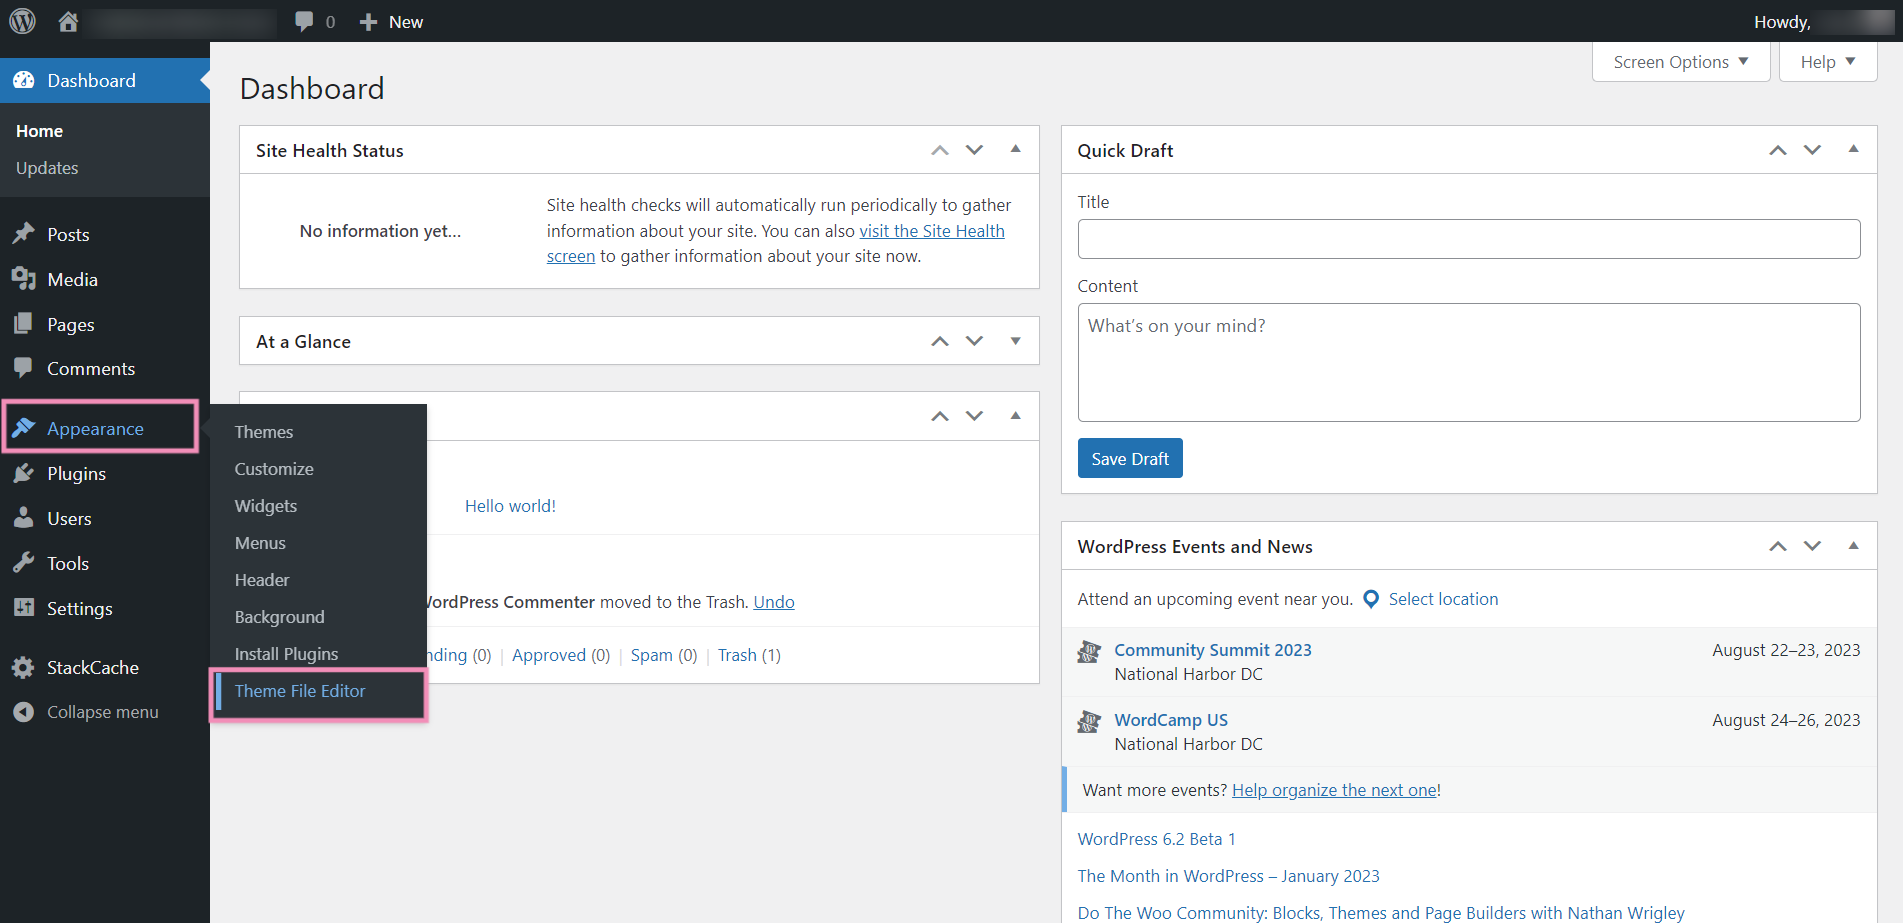
3. Log in to your WordPress Admin panel.
In the left menu, select Appearance ➞ Theme File Editor.
In the upper right, select the current theme in the drop-down menu (the active theme is usually selected by default).
Under Theme Files, select Theme Footer (footer.php).
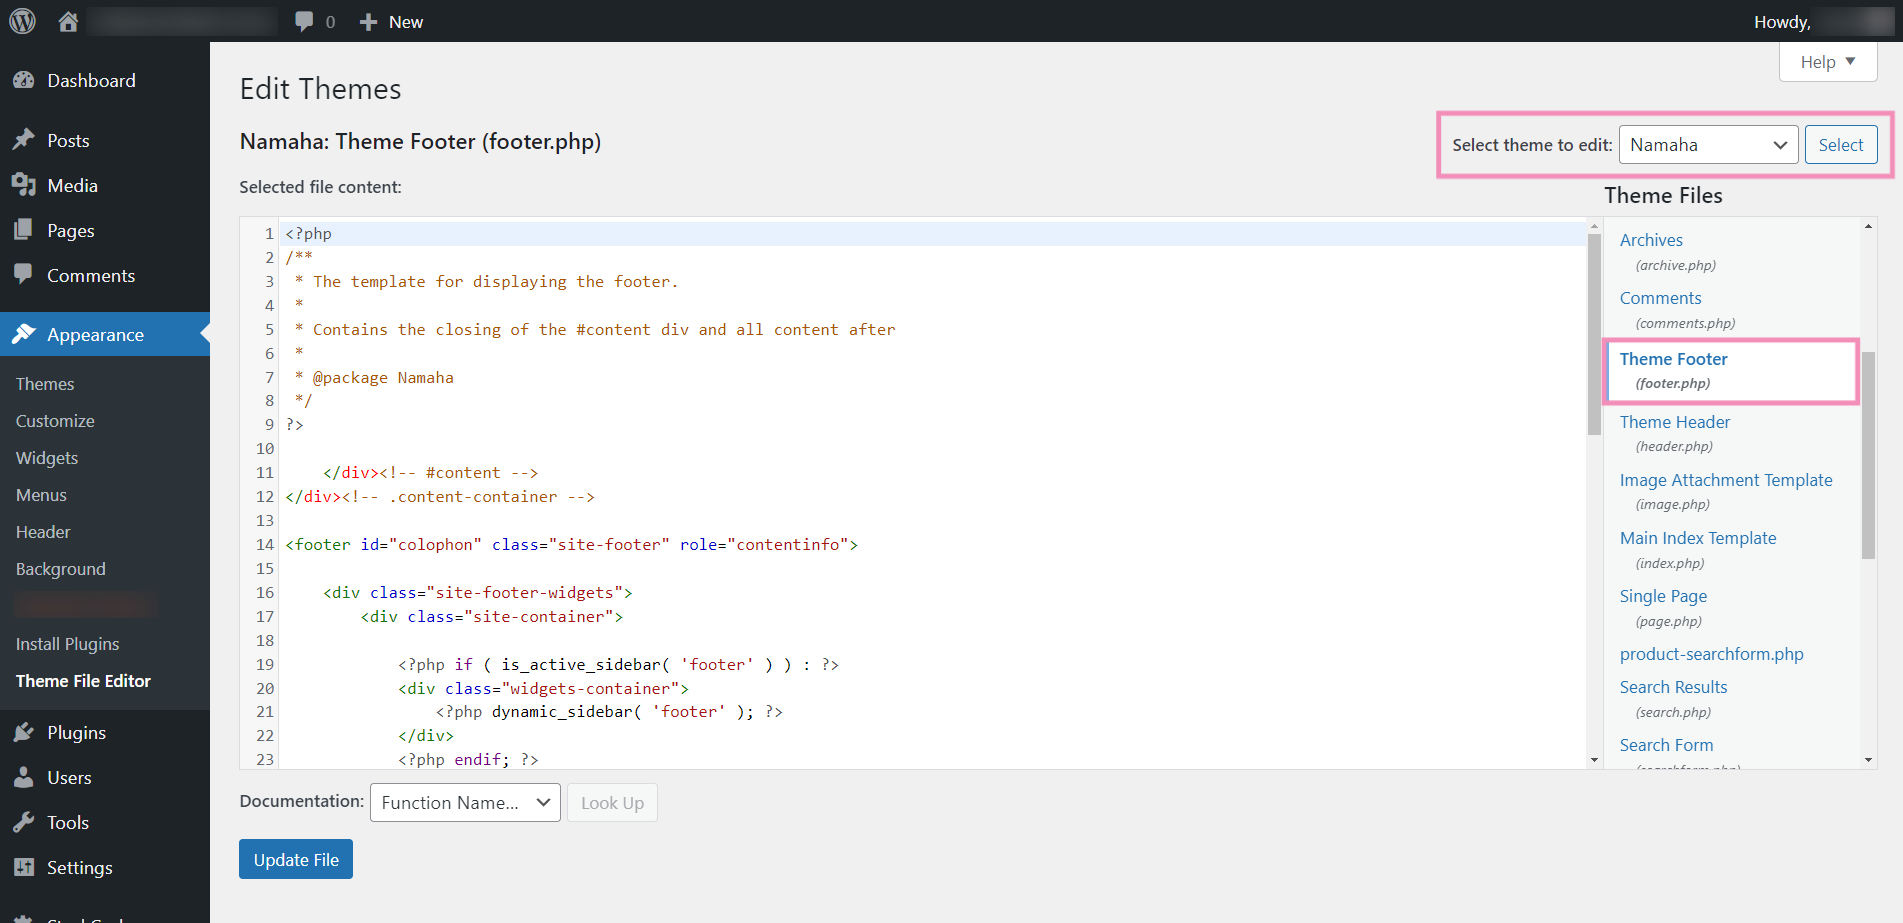
In the text area to the left, add the tawk.to widget embed code right above the closing tag.
Then, click Update File under the text window.

Your tawk.to widget will now appear on every page of your site.
If you are using Cloudflare for your WordPress site, you can install your widget using Cloudflare Apps. Click here to learn more about that process.
Need help integrating tawk.to in WordPress? Reach out to our support team or schedule a call.