How to white label your Knowledge Base
The Remove Branding Add-on allows you to build a Knowledge Base completely in your own brand — without hiring developers to build it for you or needing to provide maintenance and security updates
In this article you will learn:
- How to remove the tawk.to branding from the Knowledge Base and white label it as your own
- How to create a subdomain and add a CNAME record in cPanel
- Answers to FAQs
White labeling the Knowledge Base
It only takes a few minutes to replace the tawk.to domain with your own. Let’s walk through the steps.
What you'll need:
- Domain or subdomain (name that will show up in the URL address bar)
- CNAME
A popular way to white label a Knowledge Base is to assign it to a subdomain of a primary domain.
What is a subdomain?
A subdomain is listed before the primary domain in a URL. Subdomains can be used to organize your site with related domains for stores, help centers or online courses.
For example, the subdomain URL for the tawk.to Knowledge Base is https://help.tawk.to
- The primary domain is tawk
- The top-level domain, or most general, is .to
- The subdomain is help
Alternatively, you dedicate a separate primary domain to your Knowledge Base.
Assign your domain or subdomain to your Knowledge Base
If you have multiple properties, select the correct property.

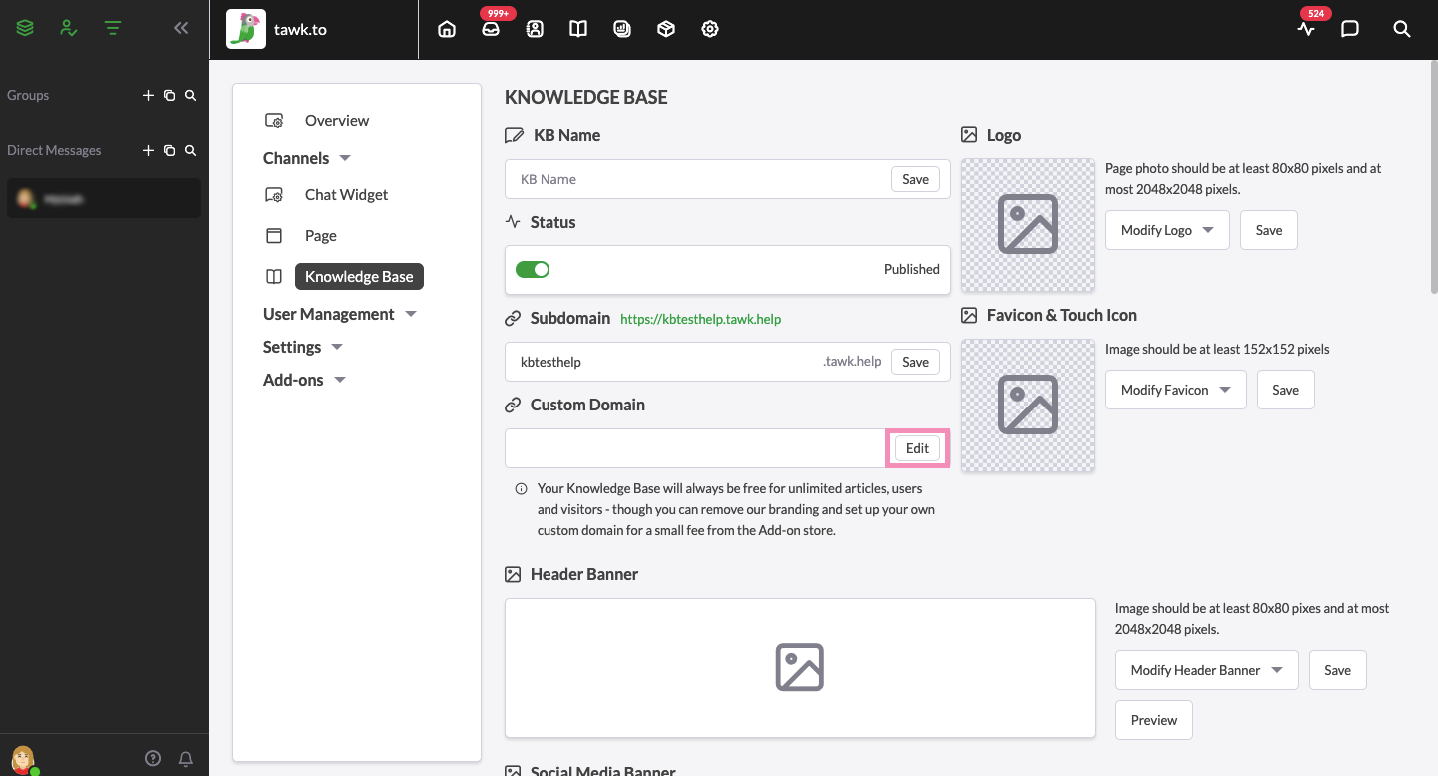
Then, click Knowledge Base on the left navigation bar,

Head over to the Custom Domain field and click the Edit button.
This will take you to a new view where you can set up your new domain.
Next, you’ll want to copy the CNAME record and keep it handy, so you can add it to the DNS records in the account where you manage your domains.

Click the icons at the bottom of the page for directions on how to change or add a CNAME record for major domain hosts.

Follow the directions and add the CNAME record. We’ll go through the steps in a moment, so you can see how it will look in cPanel, which is used by major hosting platforms.
Type the name of the domain you would like to assign to your Knowledge Base and click the green Add Domain button.

You’ll see a notice that your verification is pending. If your CNAME has been added properly, you should be able to verify the change.
There may be a delay of up to 24 hours for DNS record changes to take effect. Check with your hosting provider for details.
How to create a subdomain and add a CNAME record in cPanel
Here’s how to add the CNAME record If your website host uses cPanel, which is widely used among website hosting services.
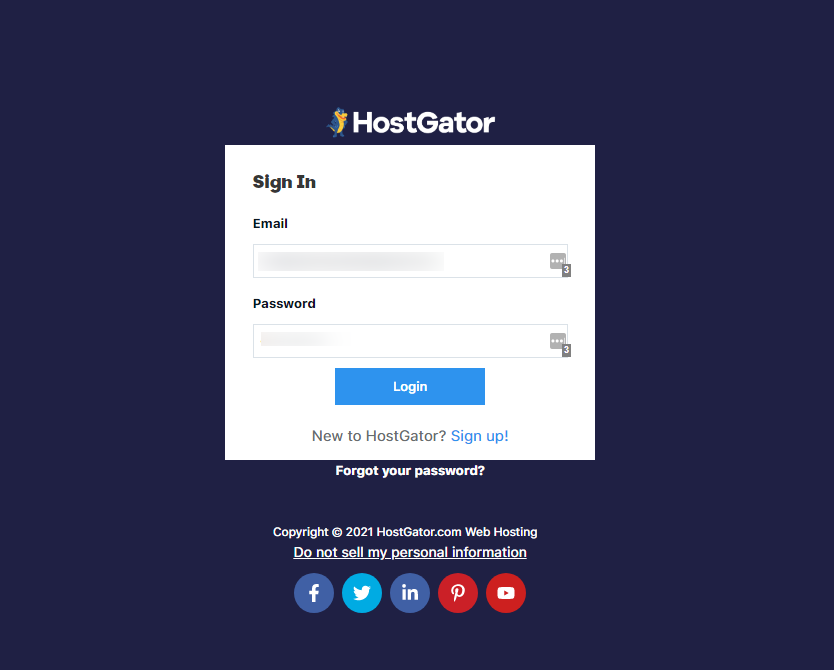
Start by logging in to your hosting account.
Here‘s how the steps look on HostGator:
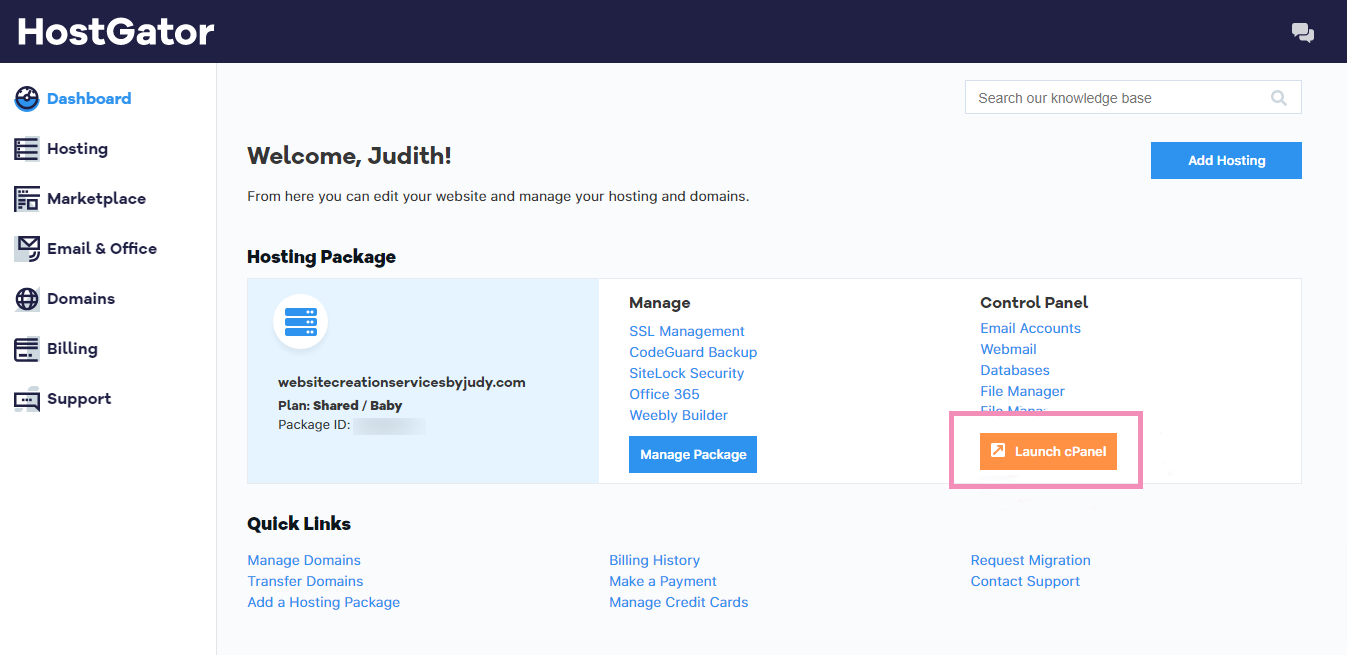
Next, launch the cPanel and log in if necessary.
Creating a subdomain
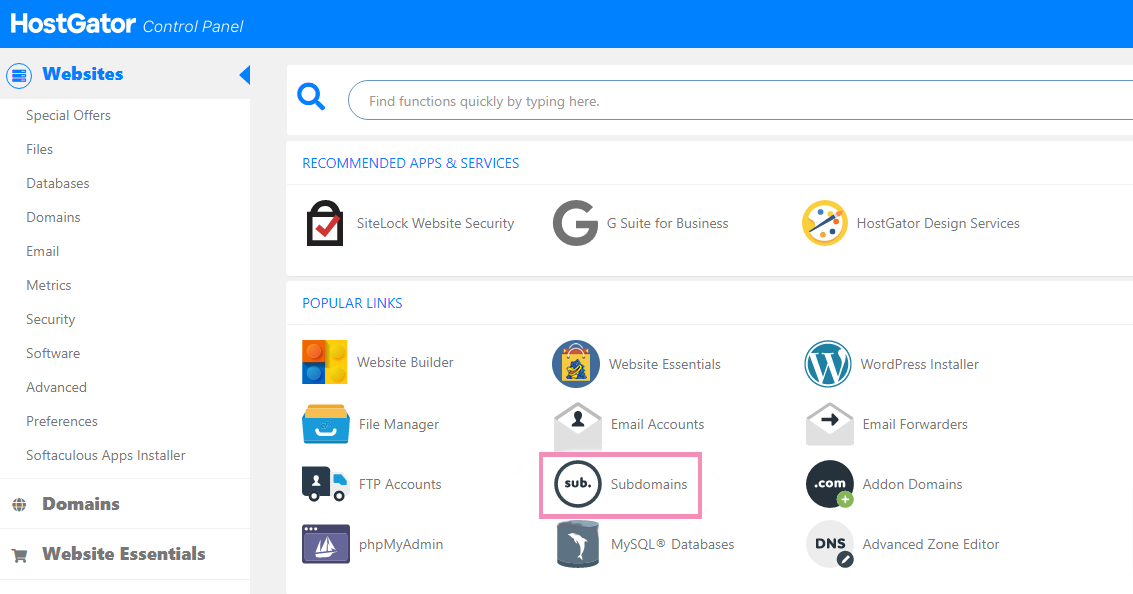
Once you’re in cPanel, select Subdomains.
Select the domain for which you want to create a subdomain in the drop-down menu under Domain. Then enter the name of your subdomain in the field labeled Subdomain.
Your subdomain will appear before the name of your primary domain and will be separated by a dot.
Now it’s time to add the CNAME record you copied from your tawk.to account to the DNS records for your new subdomain.
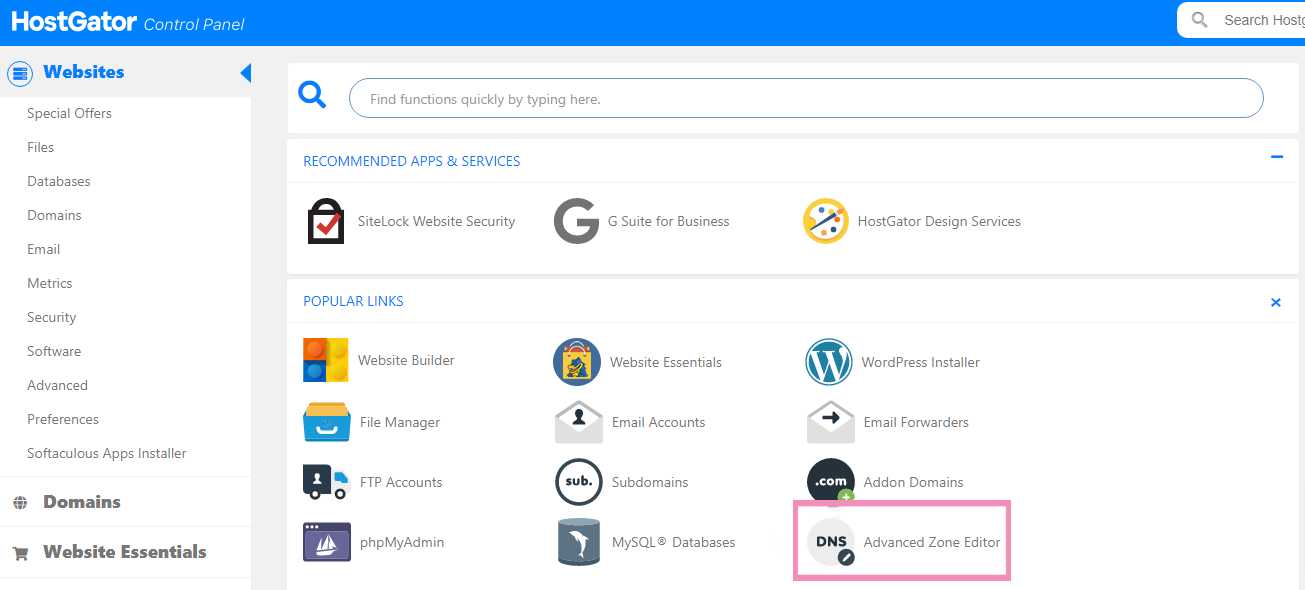
To get started, head back to the main cPanel dashboard and select Advanced Zone Editor.
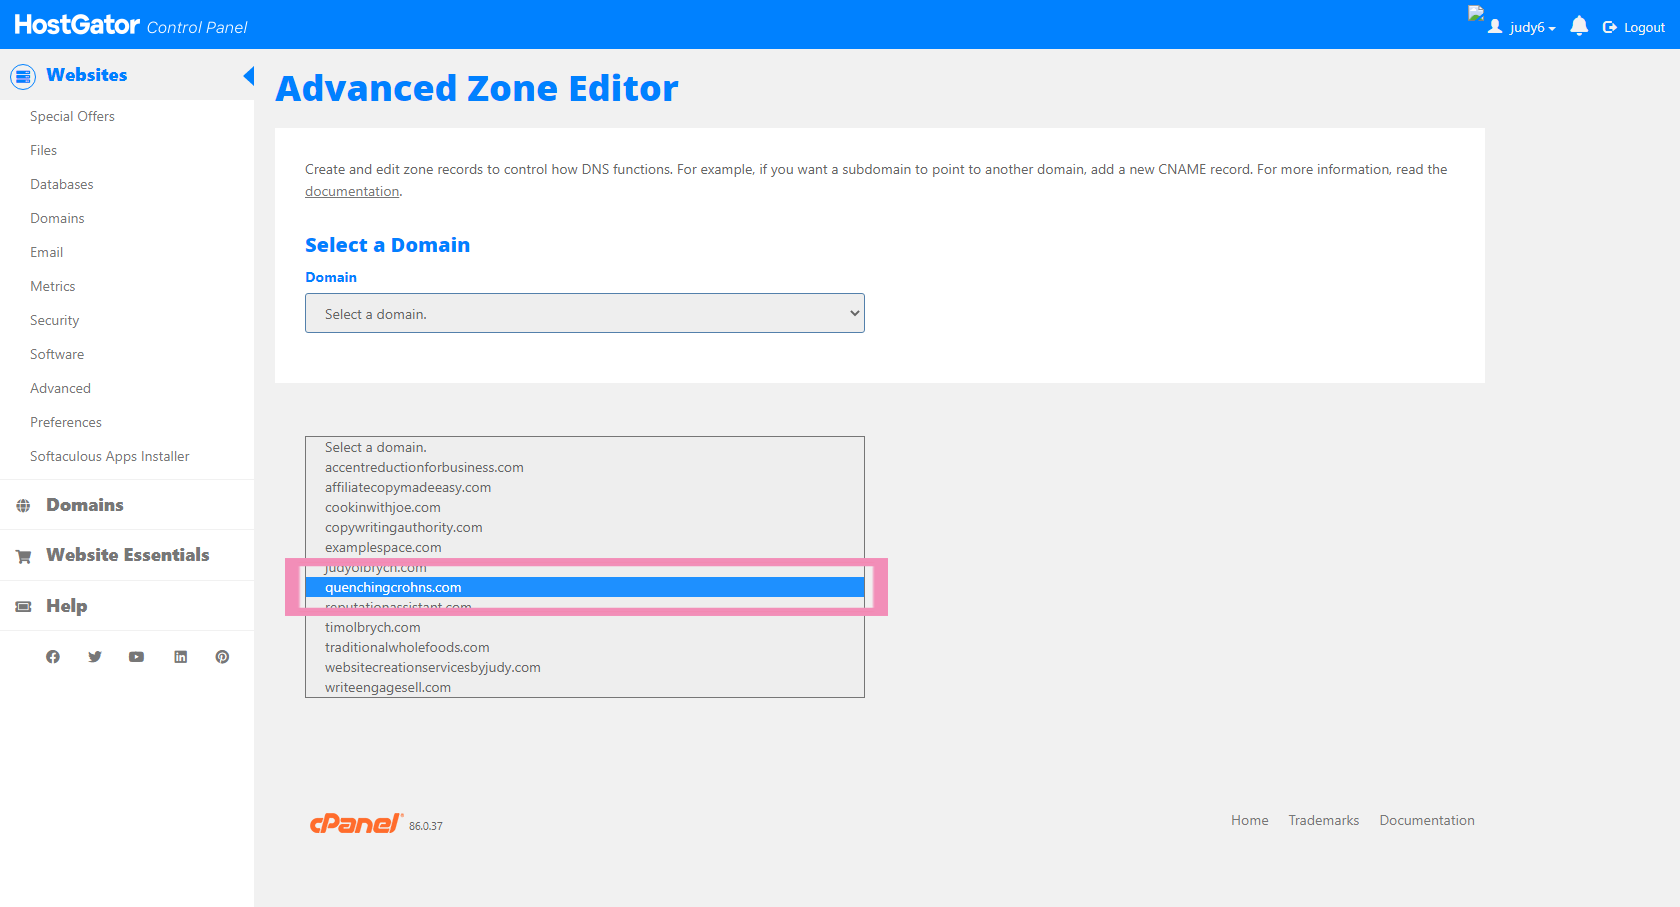
Select the primary domain associated with your subdomain in the drop-down list under Select a Domain.
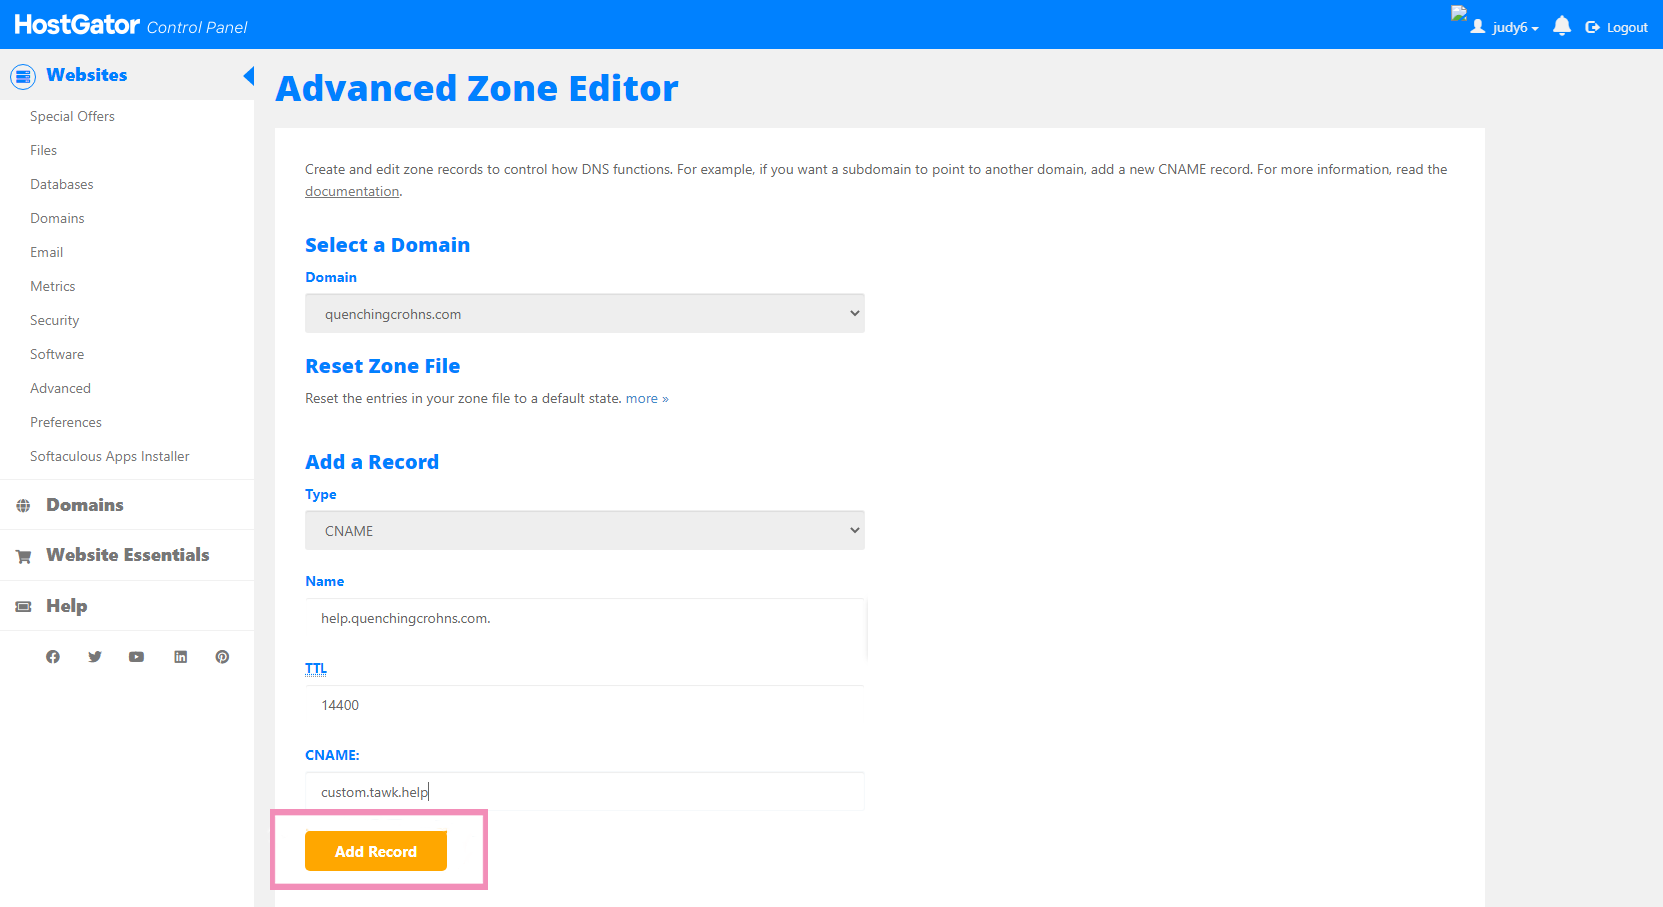
Once you’ve selected a domain, the Add a Record section along with a list of current records for your domain will appear below.
1 - Under Type, select CNAME
2 - Under name, list the name of your new subdomain, e.g. help.example.com. After you enter it, a period will likely appear at the end of the name.
3 - Under TTL, enter the Time to Live. TTL tells how long a record should be stored locally in a cache before a new record is pulled up. For example, if TTL is 14400, it means it will take 14400 seconds or 240 minutes for an updated record to take effect so people see the new changes.
4 - In the CNAME field, paste the CNAME record you copied earlier — it’s the CNAME text from the Domain Settings panel.
If you need to go back and find it again, go to ⚙️Administration ➞ Channels ➞ Knowledge Base. Then, select Edit in the Custom Domain field.
Now, go back to tawk.to, enter your subdomain if you haven’t already, and click Verify.
Congratulations! You did it!
Remember, it may take extra time for the CNAME record change to take effect so your Knowledge Base shows up at your new subdomain. Contact your hosting provider for details.
Frequently Asked Questions
How can I find my DNS manager?
Go to your domain registrar or website host.
How can I find out where I registered or hosted my domain?
If you aren’t sure where your domain is registered or being hosted, you can look it up by typing the name of your domain in the search at https://www.whois.com/whois/.
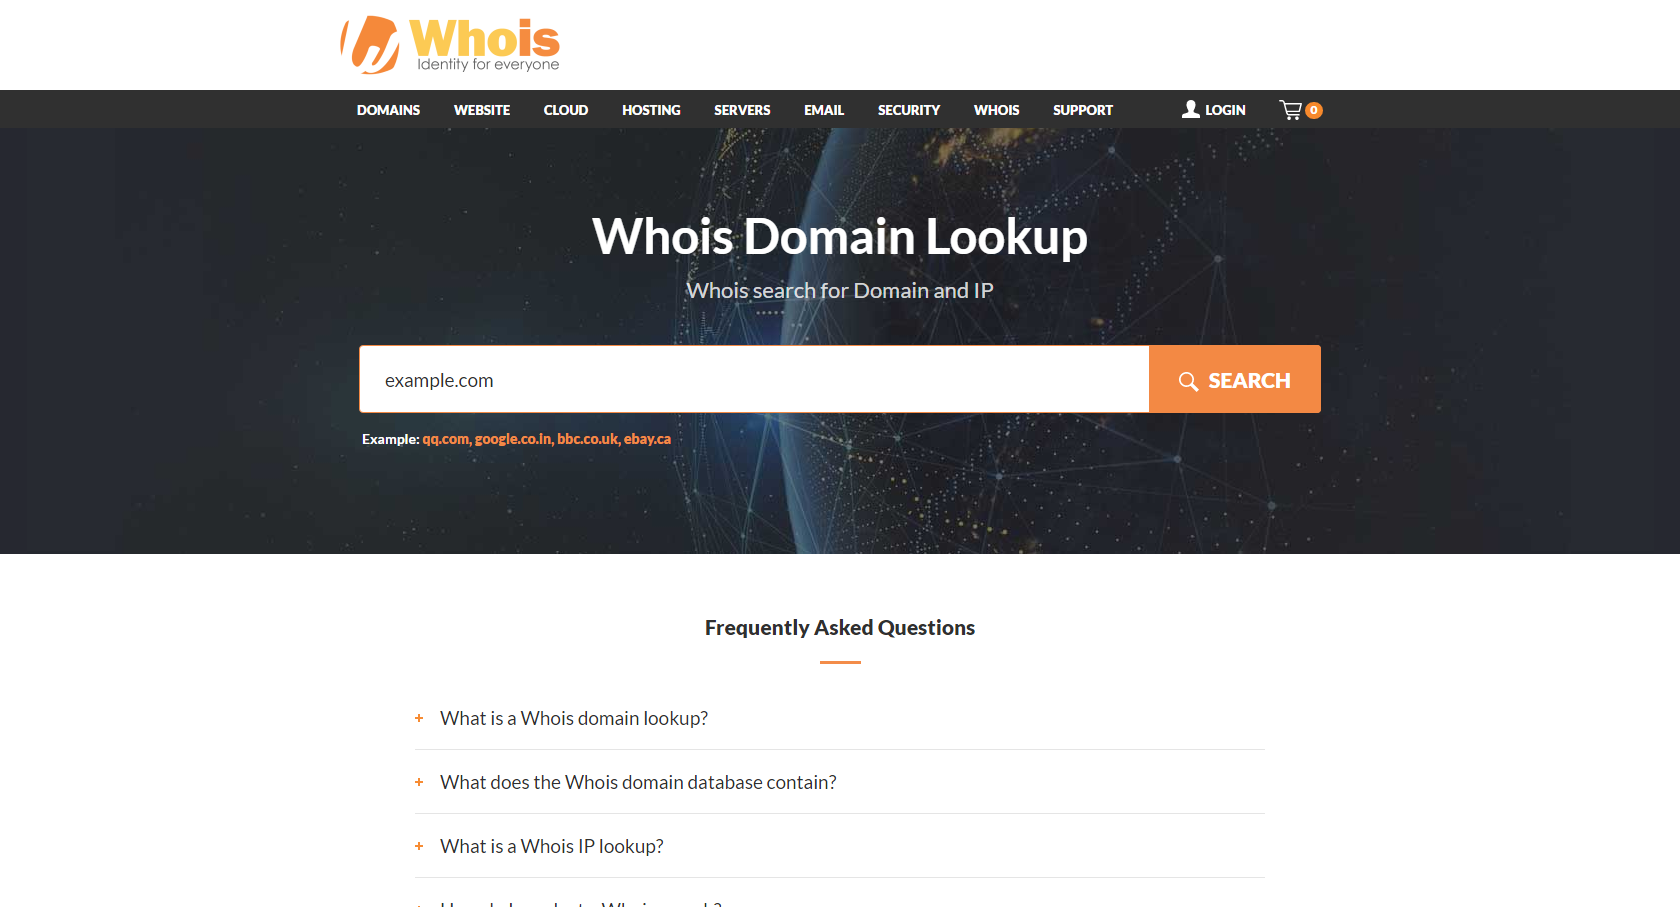
Then scan the results to find information about when and where your site was registered, the organization that registered it, and the current name servers which store and share the DNS records to direct traffic to and from your site.
Do I need a TXT record to white label the Knowledge Base?
No. However, you will need a TXT record when removing branding from your ticketing and support emails. You can read more about that here: Setting up the Remove Branding add-on.
If you have other questions, don’t hesitate to reach out to our support team or schedule a call.
