Advanced Trigger — Chat Rescuer: Auto respond if agents don’t respond in time
The instructions below are for desktops and laptops only.
Advanced Triggers allow you to send automated messages to visitors based on a set of conditions.
The Chat rescue trigger is an advanced trigger available by default on your tawk.to account. It sends a message when visitors start a chat but your agents are offline, like this:
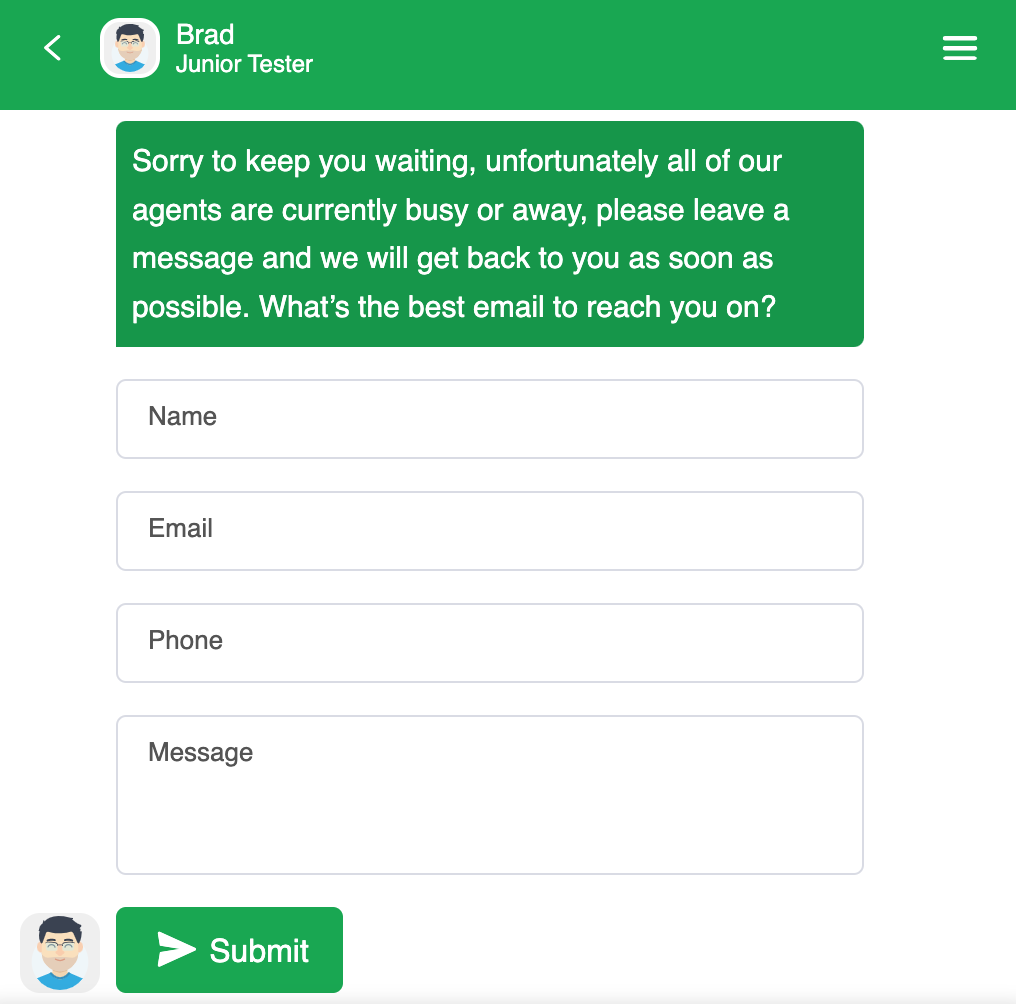
Visitors will get an automated message with the Lead Capture Form, allowing them to enter their details so you and your team can get back to them. To learn more about the Lead Capture Form, click here.

3. Click Administration in the left navigation bar.

4. Click Triggers under Settings in the left submenu.

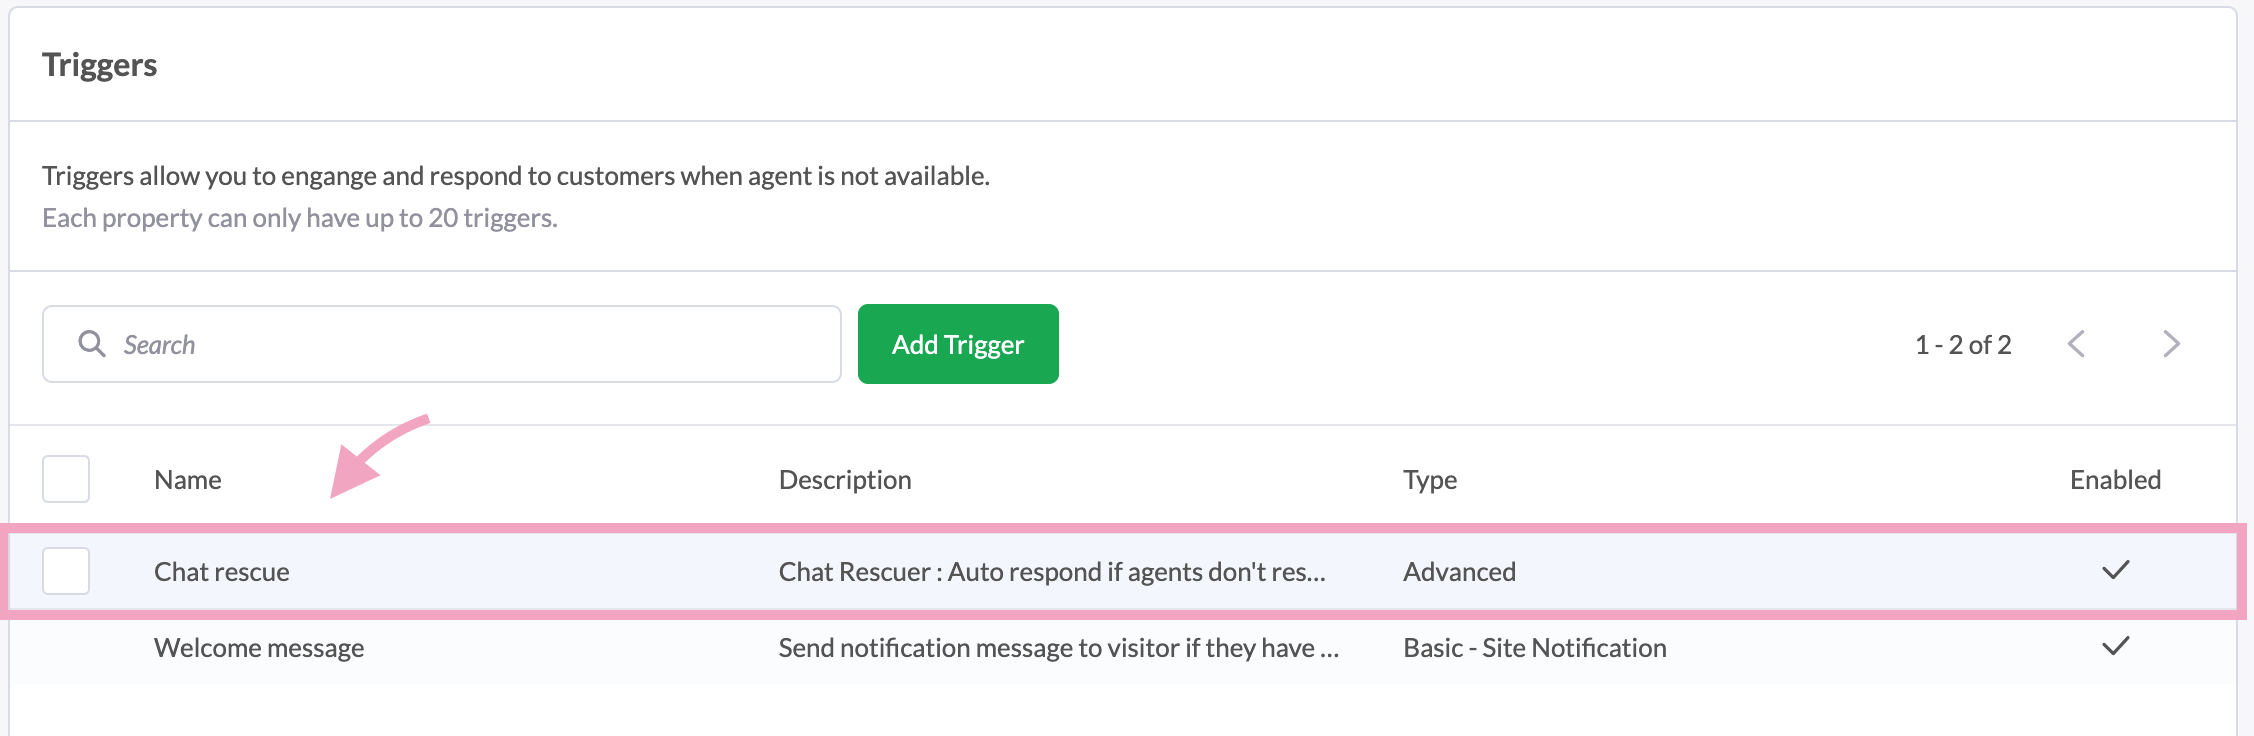
5. Select the Chat rescue trigger.
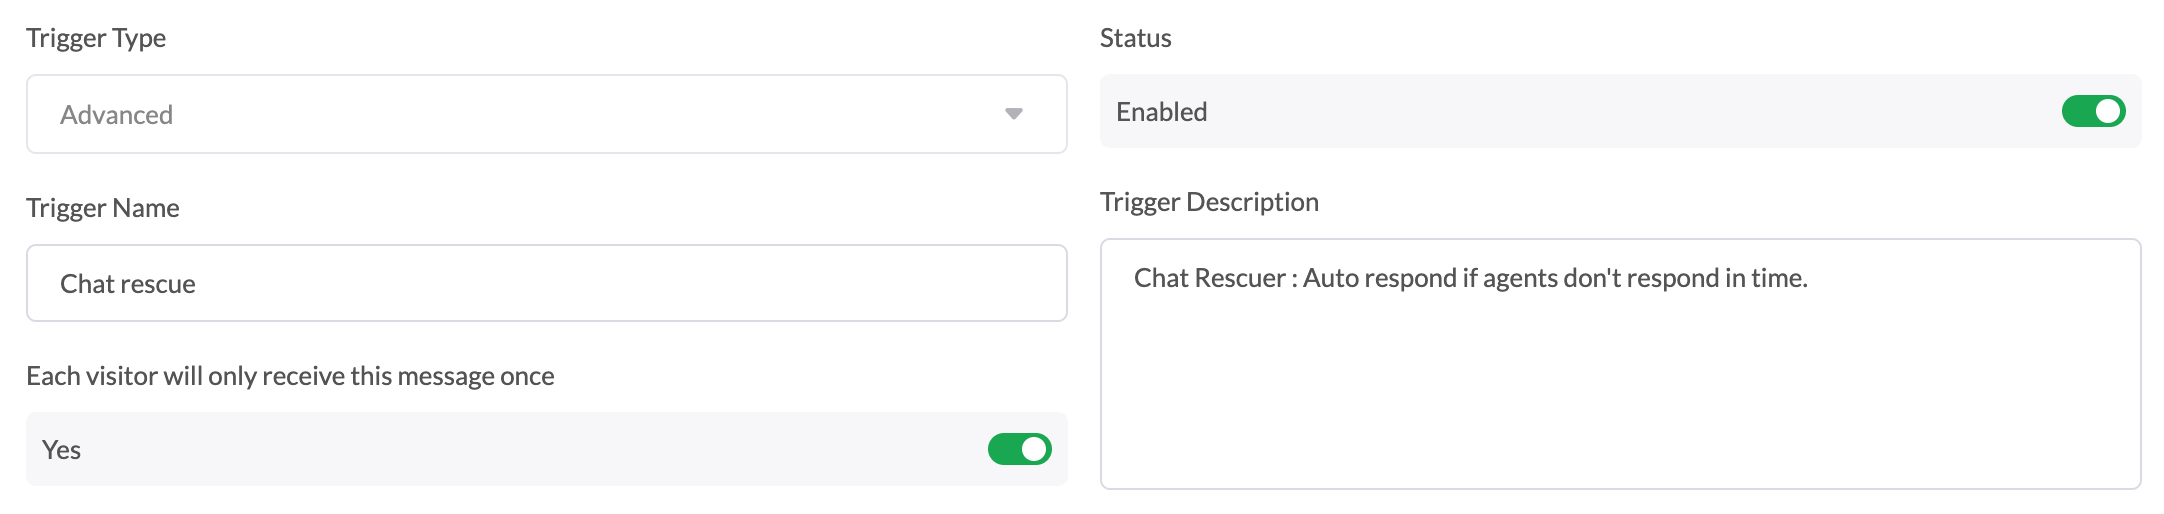
6. In the first section of the settings page, you can modify the Trigger Name, Description, and Status. You can also set it so that each visitor receives the trigger message once.
Note: The Trigger Type cannot be changed once a trigger is created and saved.
7. Scroll down to Conditions.
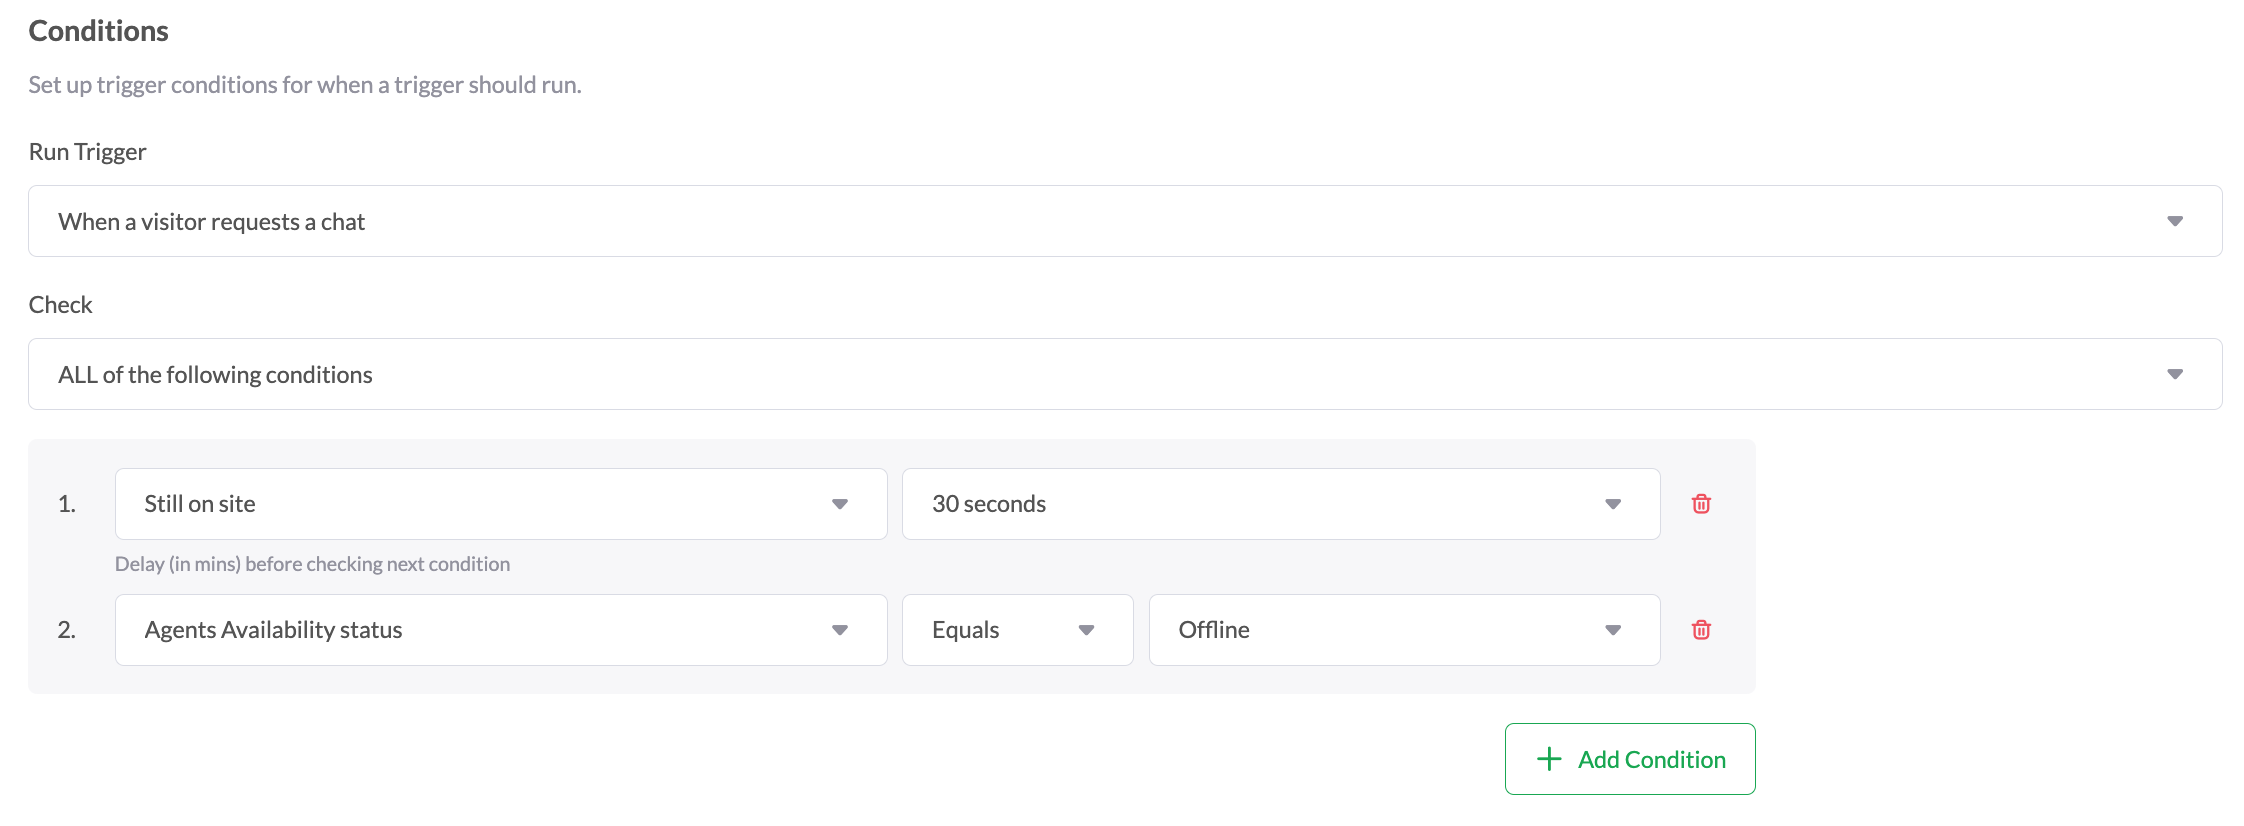
These are the default conditions that will fire the trigger:
Run Trigger is set to When a visitor requests a chat so the trigger kicks in when the visitor starts a chat.
Check is set to All of the following conditions so that all conditions must be met for this trigger to kick in.
Still on site checks if the visitor has been on your site for at least 30 seconds.
Agents availability status checks if agents are offline.
You can modify these conditions or click Add Condition to add up to 10 conditions.
For example, if your Pre-Chat Form has a Department field, like this:
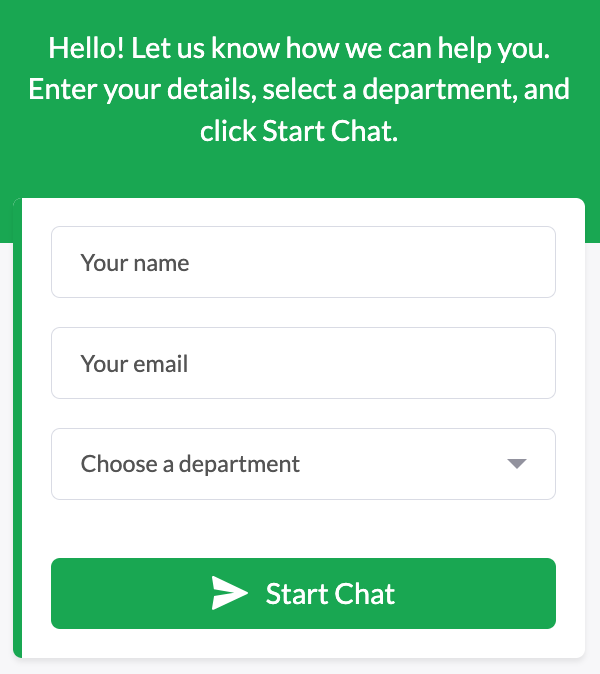
You can add a condition to check if the visitor chooses a specific department, like this:

8. Scroll down to Actions.
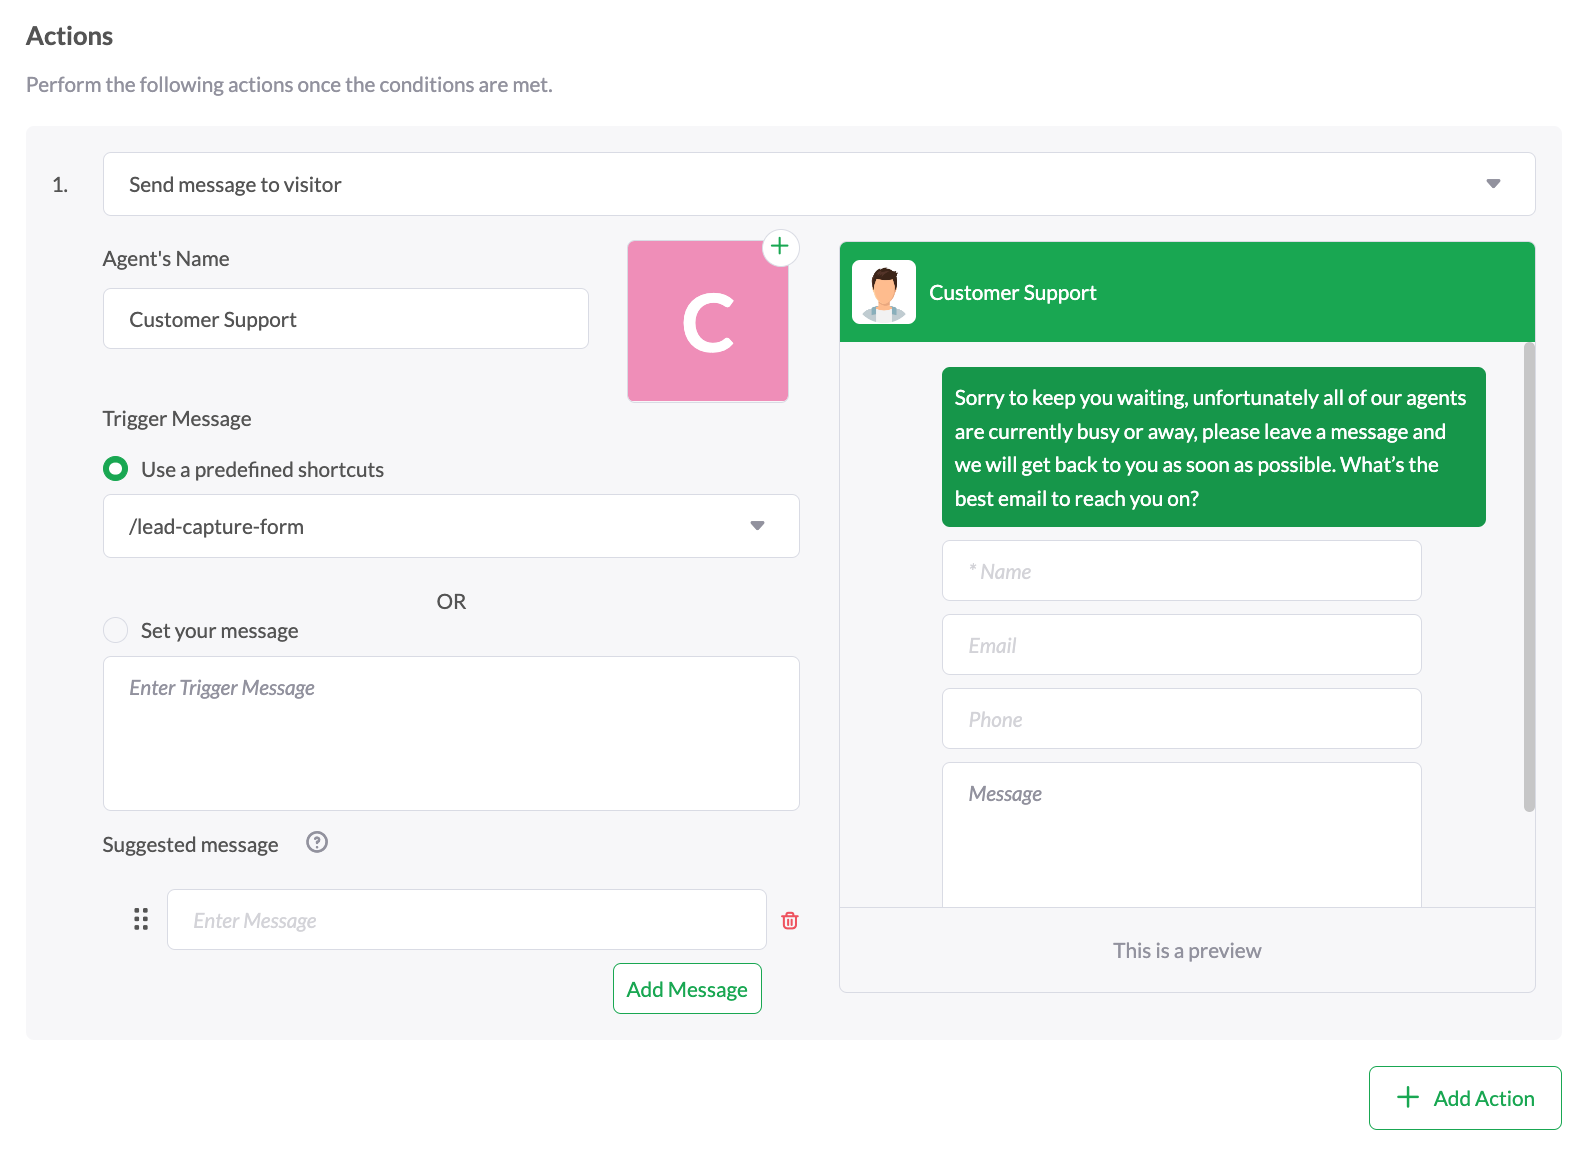
These are actions that will be performed if the above conditions are met:
Send message to visitor sends the trigger message to the visitor in chat.
The lead-capture-form shortcut is used for the Trigger Message. This sends a predefined message with the Lead Capture Form. To learn more about the Lead Capture Form, click here.
Note: The Lead Capture Form fields are fixed and cannot be edited.
You can enter a suggested message. Suggested messages are preset responses your visitors can select. To learn more about suggested messages, click here. Click Add Message to add up to 4 suggested messages.
You can modify these actions, including the Agent’s Name and image. Click Add Action to add up to 5 conditions.
9. Double-check your settings and click Save.
Now, your Chat rescue trigger will help engage visitors and collect valuable lead information when your agents are offline.
Check out these articles to learn more about triggers:
Still missing chats?
Turn on AI Assist and never miss a chat again. See these guides to learn more:
Getting started with AI Assist
Deploying multiple AI Agents across support channels
How to get your AI agent to greet visitors when they start a chat
Using Suggested Message and AI Assist to create scripted chat sequences
If you have feedback about this article, or if you need more help:
Click the green live chat icon.
Schedule a call with us.
Visit our community.