An introduction to suggested messages
The instructions below are for desktops and laptops only.
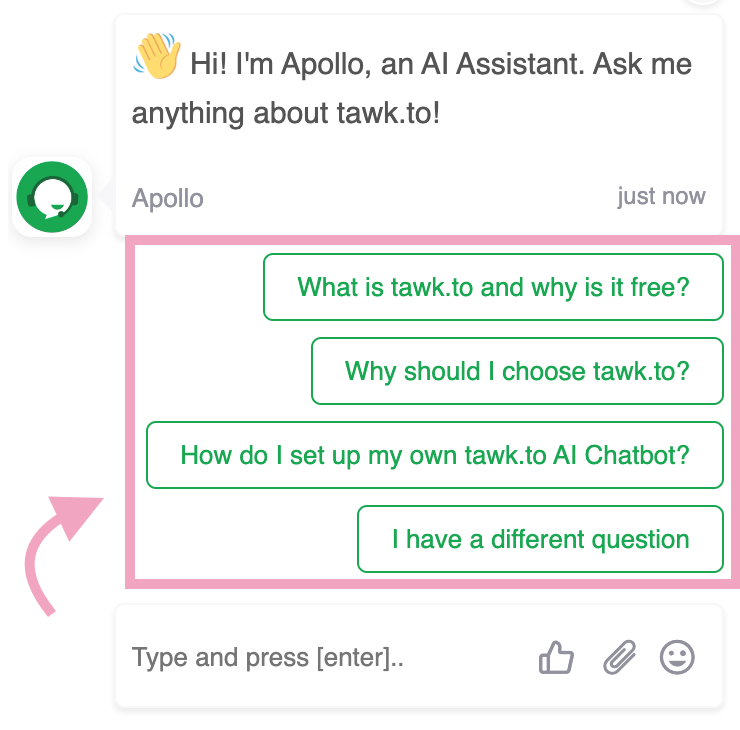
Suggested messages are preset responses your visitors can select in the tawk.to chat widget. It’s a handy feature that helps you engage website visitors and guide live chat conversations towards your desired outcome.
Suggested messages can be sent to your visitors at specific times, guiding them as they discover your products and services. They appear as multiple-choice options in the chat widget, like this:
You can add suggested messages to:
Read on for an overview of sending suggested messages, customizing their appearance, and creating conversation flows.
You can send up to 4 suggested messages with each shortcut. Follow these steps to add suggested messages to your shortcuts:
1. Log in to your tawk.to account.
2. On your dashboard, select the property to which you want to add suggested messages. Hover over the property name to ensure you’ve selected the correct one.

3. Click the gear icon on the top menu to go to the Administration panel.

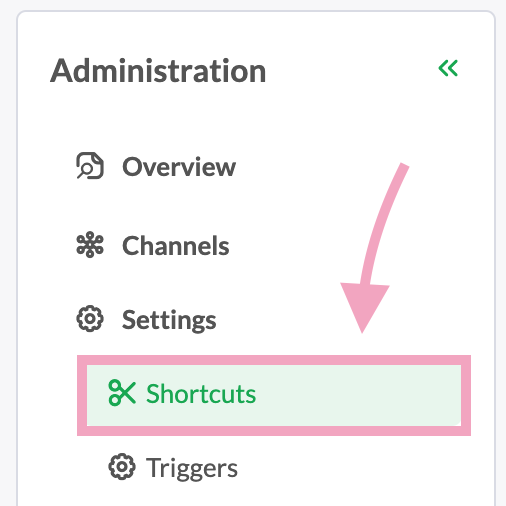
5. If you’ve created shortcuts before, click a shortcut from the list. If you don’t have any shortcuts yet, click Add Shortcut and then New Shortcut.

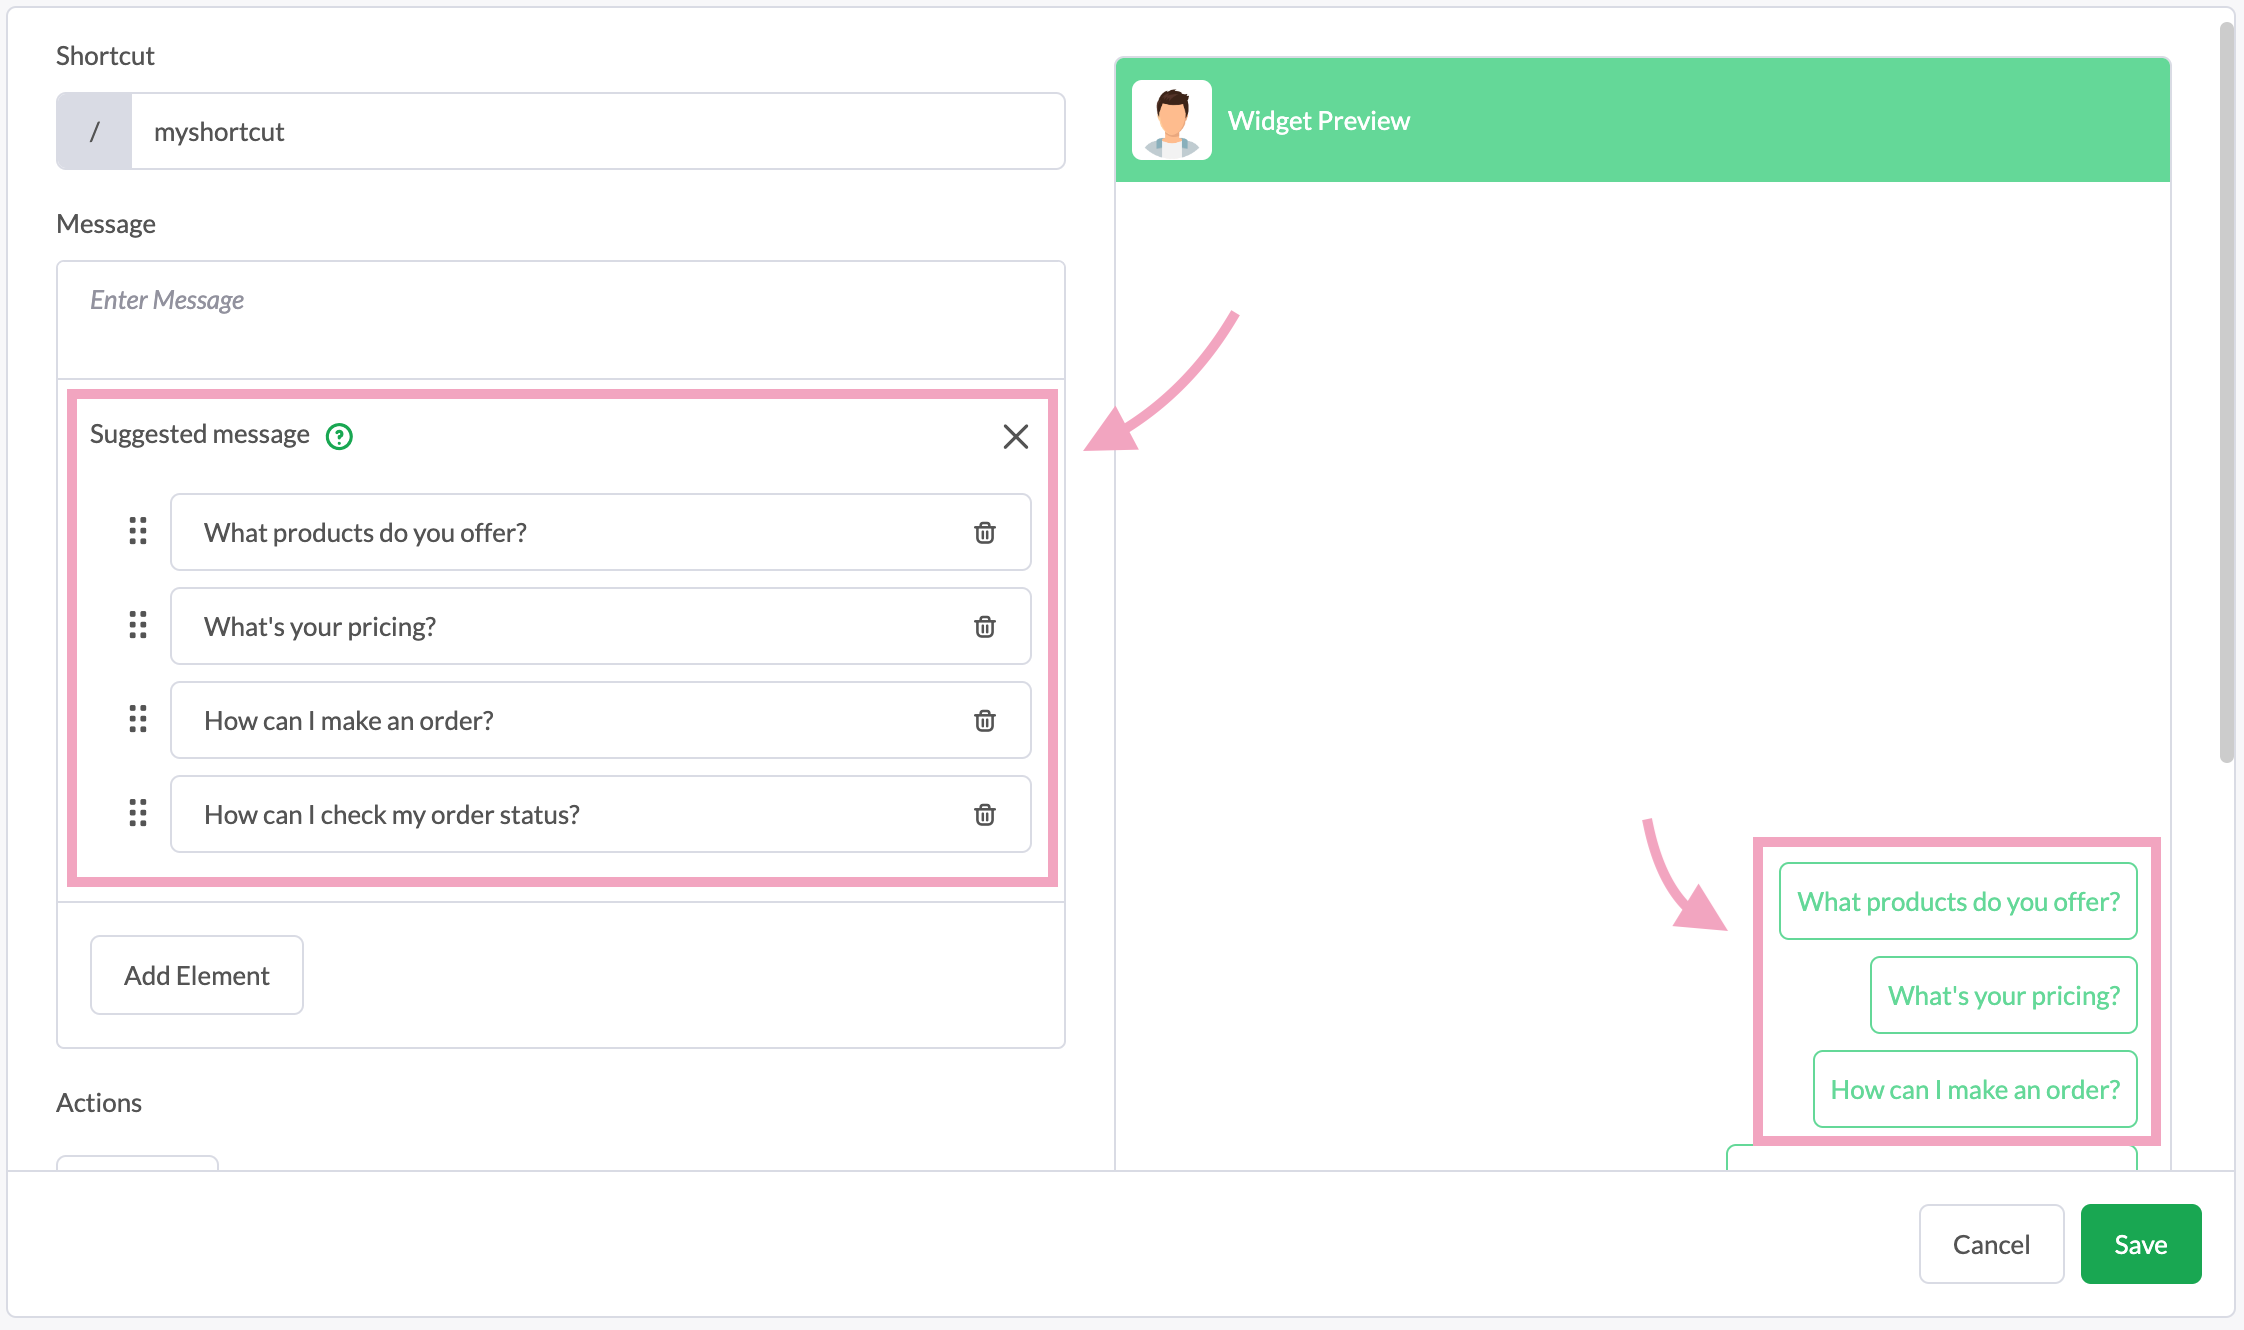
6. Under Message, click Add Element, and then choose Suggested Messages.

7. Enter the message and you’ll see the preview on the right. You can add up to 4 suggested messages per shortcut.
You can send up to 4 suggested messages with each trigger. Follow these steps to add suggested messages to your triggers:
1. Log in to your tawk.to account.
2. On your dashboard, select the property to which you want to add suggested messages. Hover over the property name to ensure you’ve selected the correct one.

3. Click the gear icon on the top menu to go to the Administration panel.

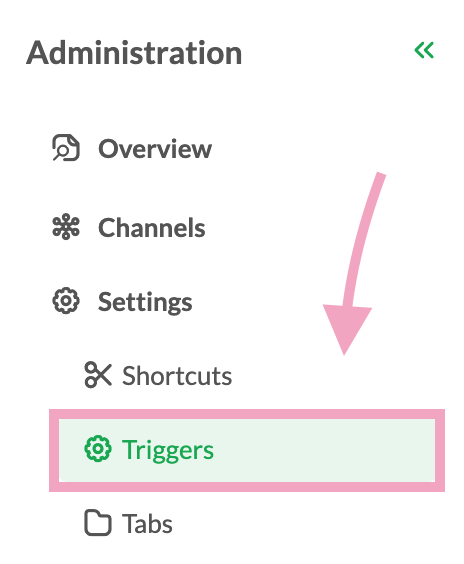
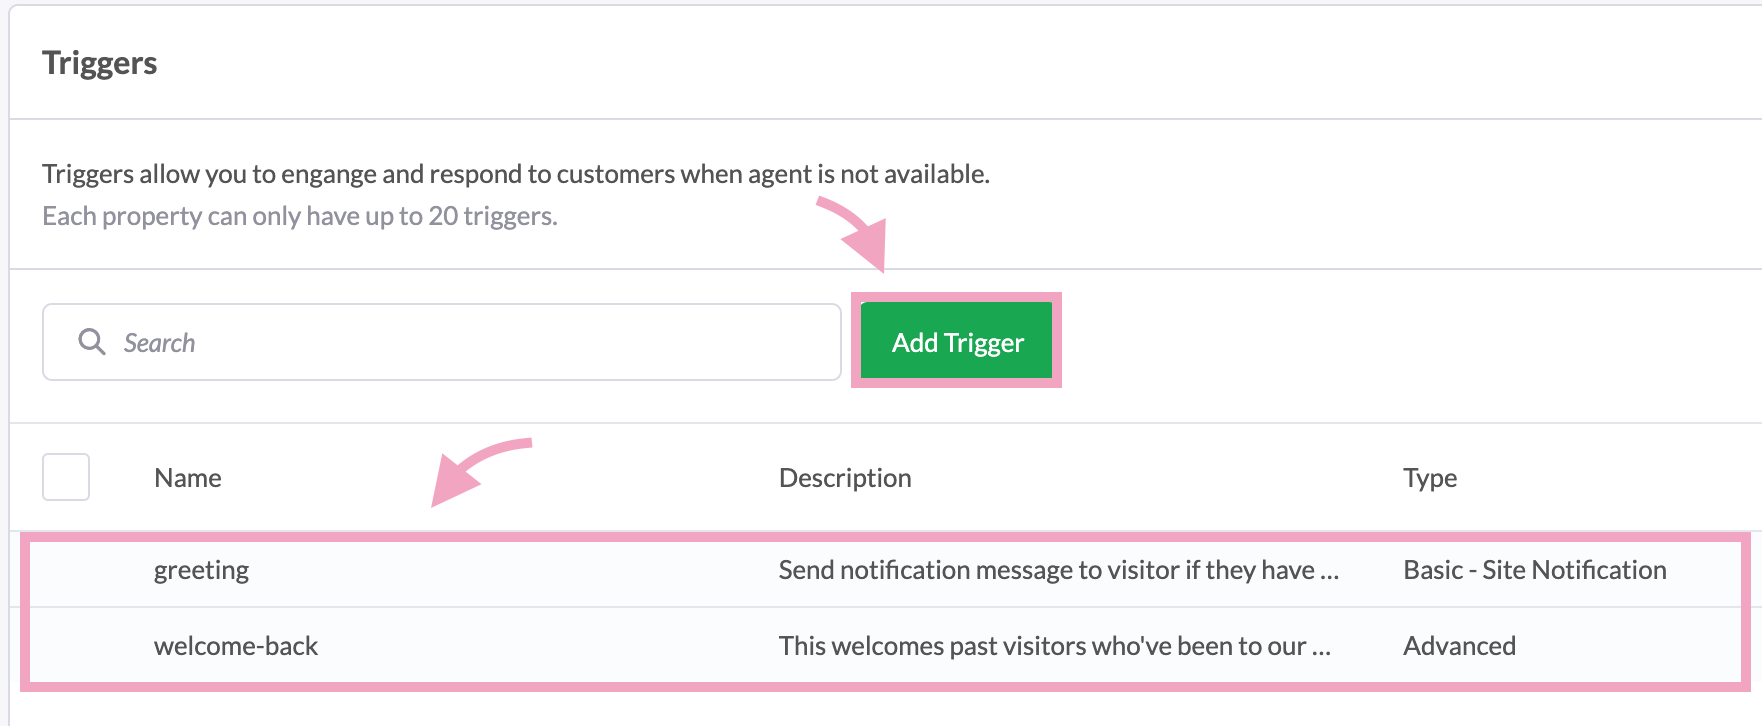
4. On the Administration menu, select Triggers under Settings.
5. If you’ve created triggers before, click a trigger from the list. If you don’t have any triggers yet, click Add Trigger.
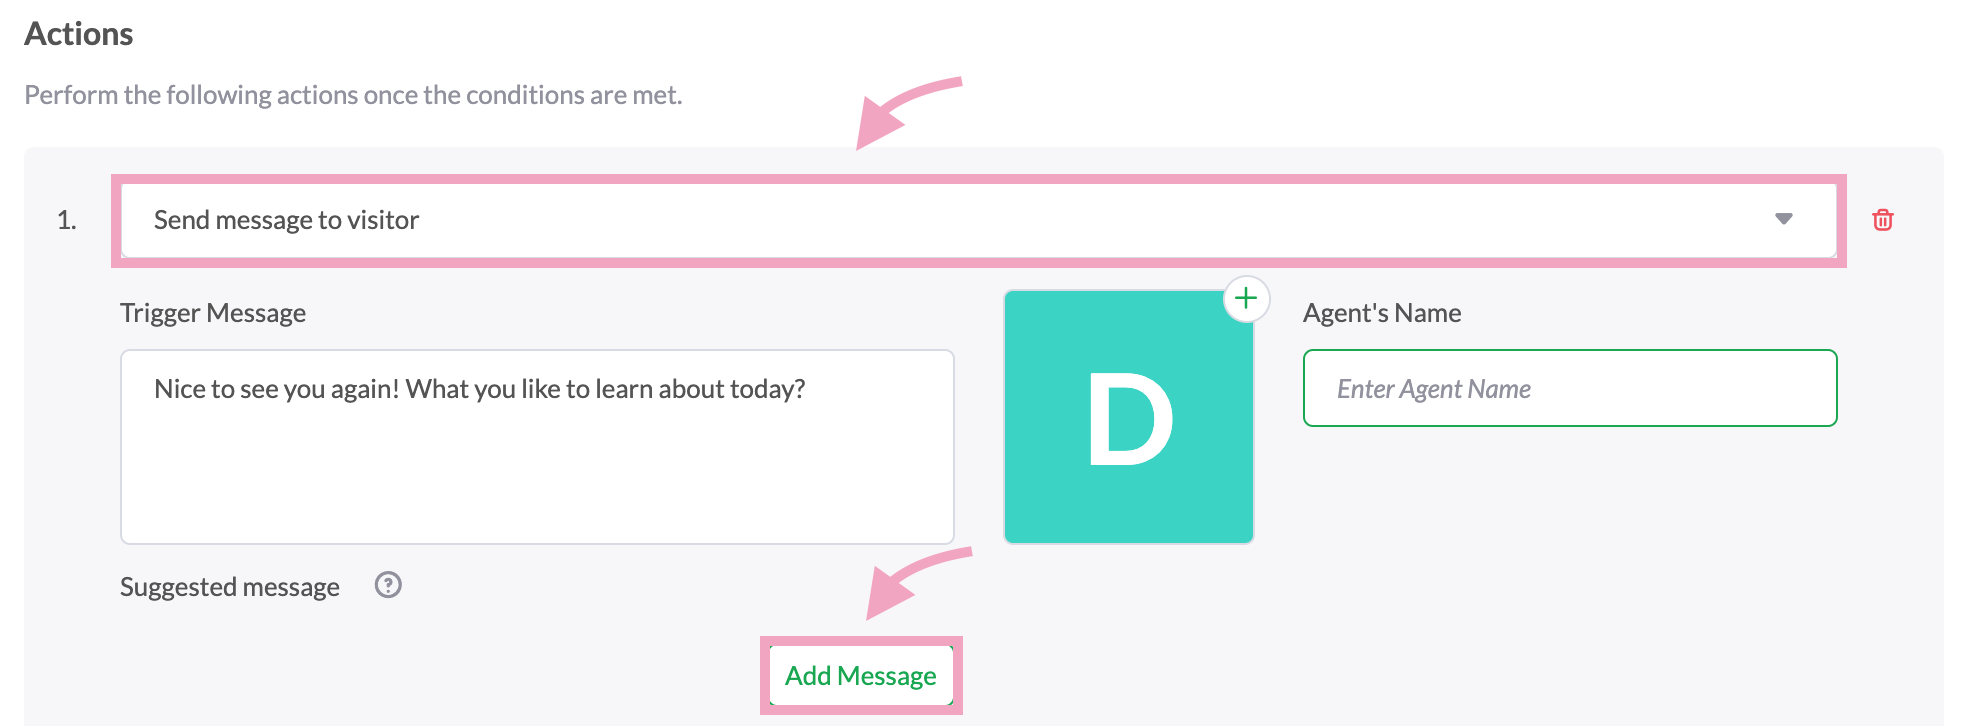
6. For basic triggers, scroll down to Suggested message and click Add Message.

Adding suggested messages to the AI Assist’s base prompt
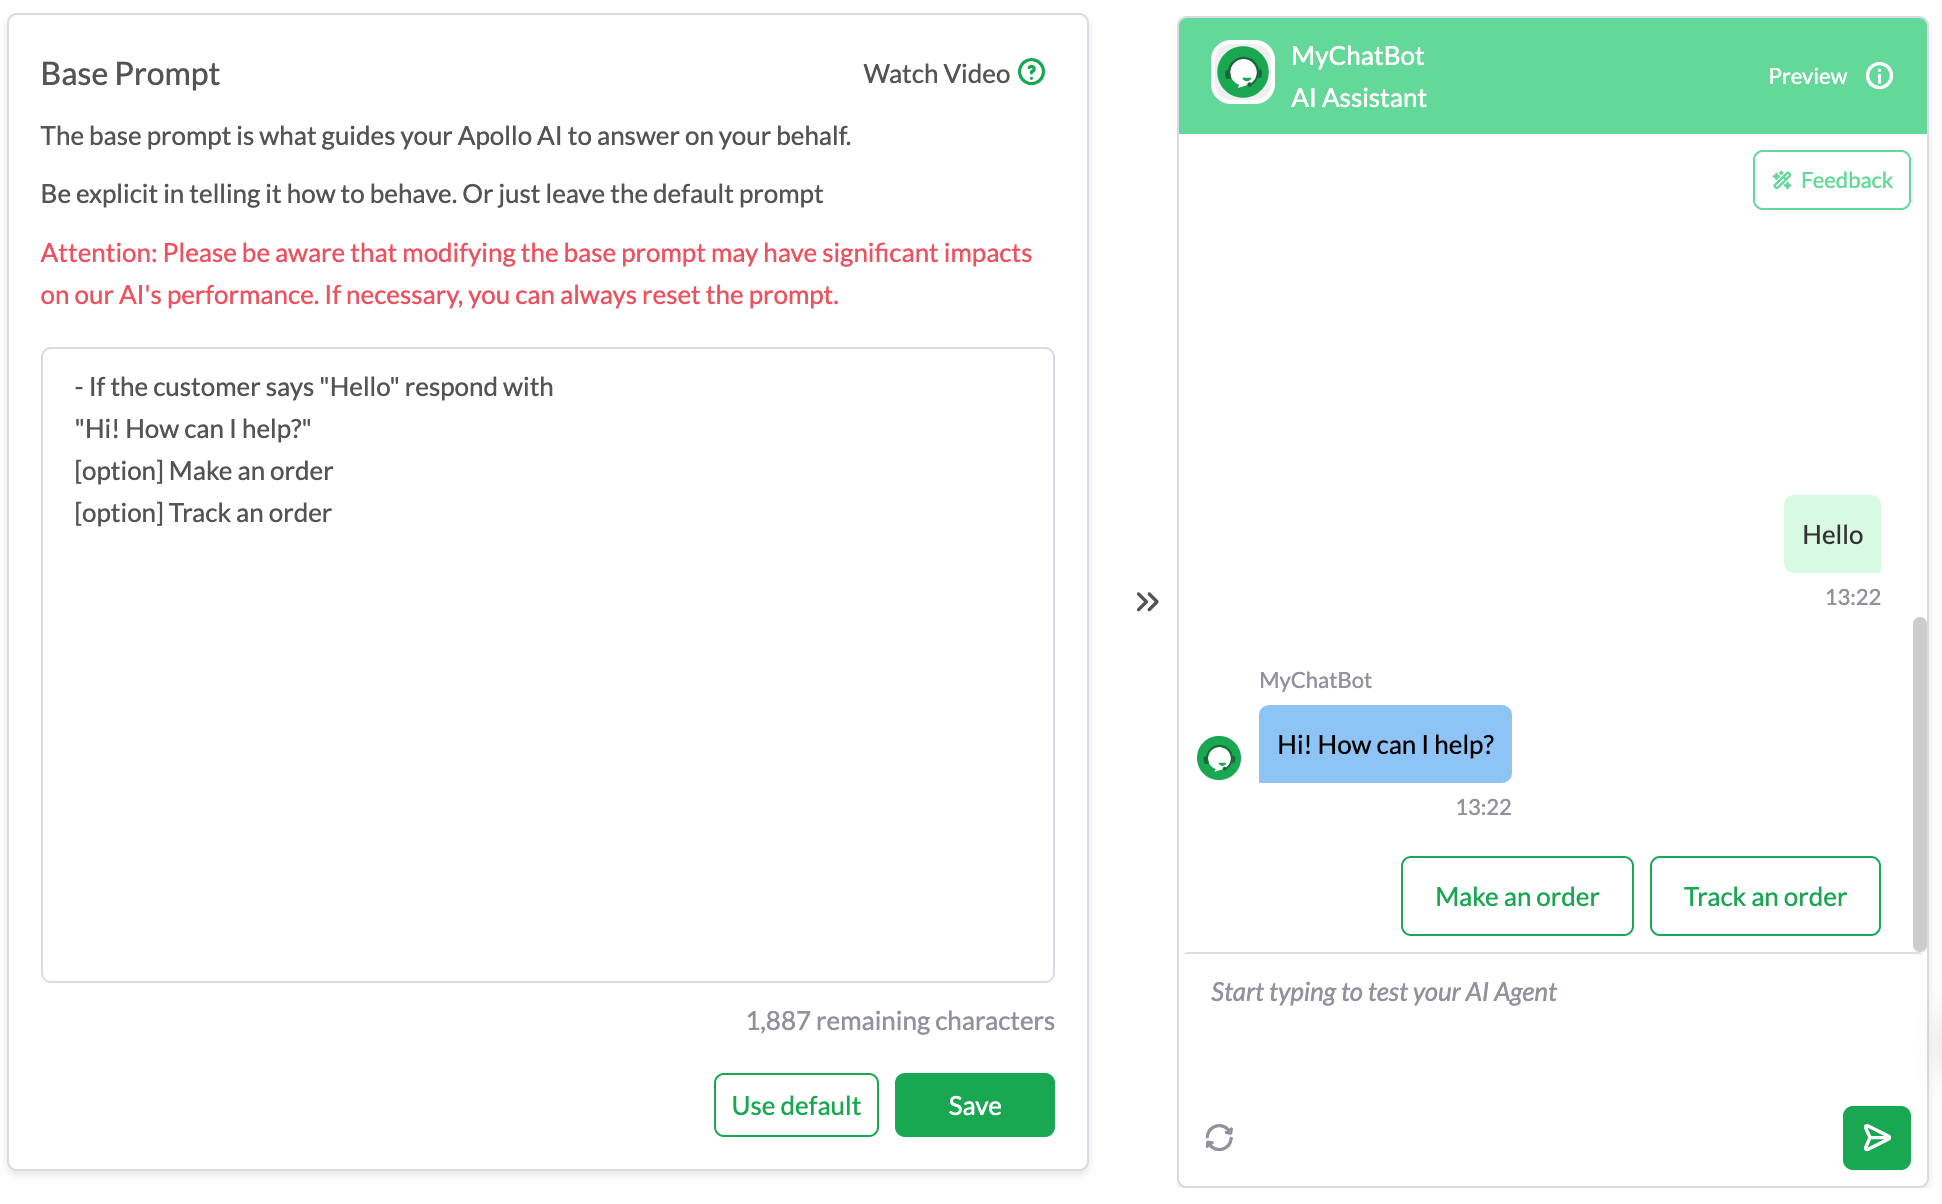
The Base Prompt guides AI Assist in providing appropriate automatic responses to visitors’ queries. Using the Base Prompt, you can give AI Assist specific instructions to respond to specific situations.
You can add as many suggested messages as you want in the Base Prompt. Follow these steps to add suggested messages to your Base Prompt:

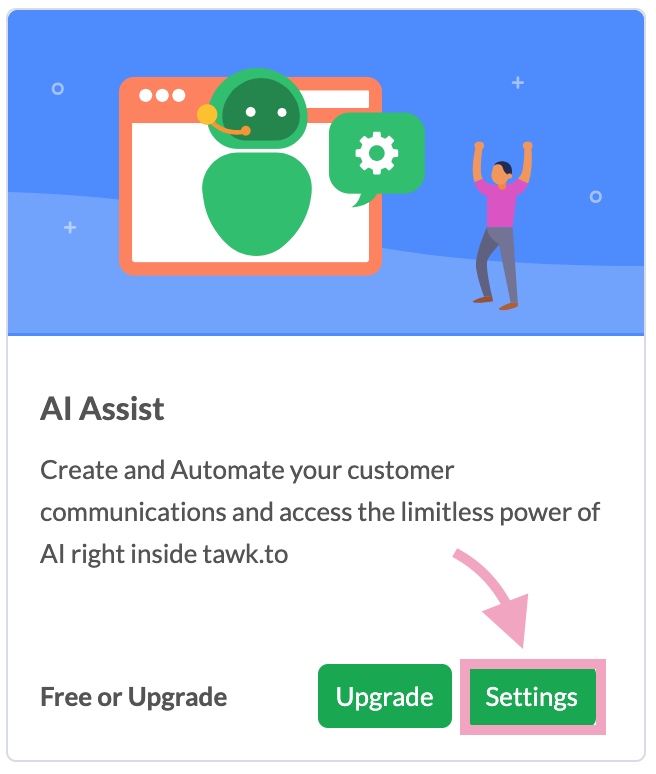
3. Click Add-ons on the top menu.

4. Click Settings under AI Assist.
5. Select your AI agent.

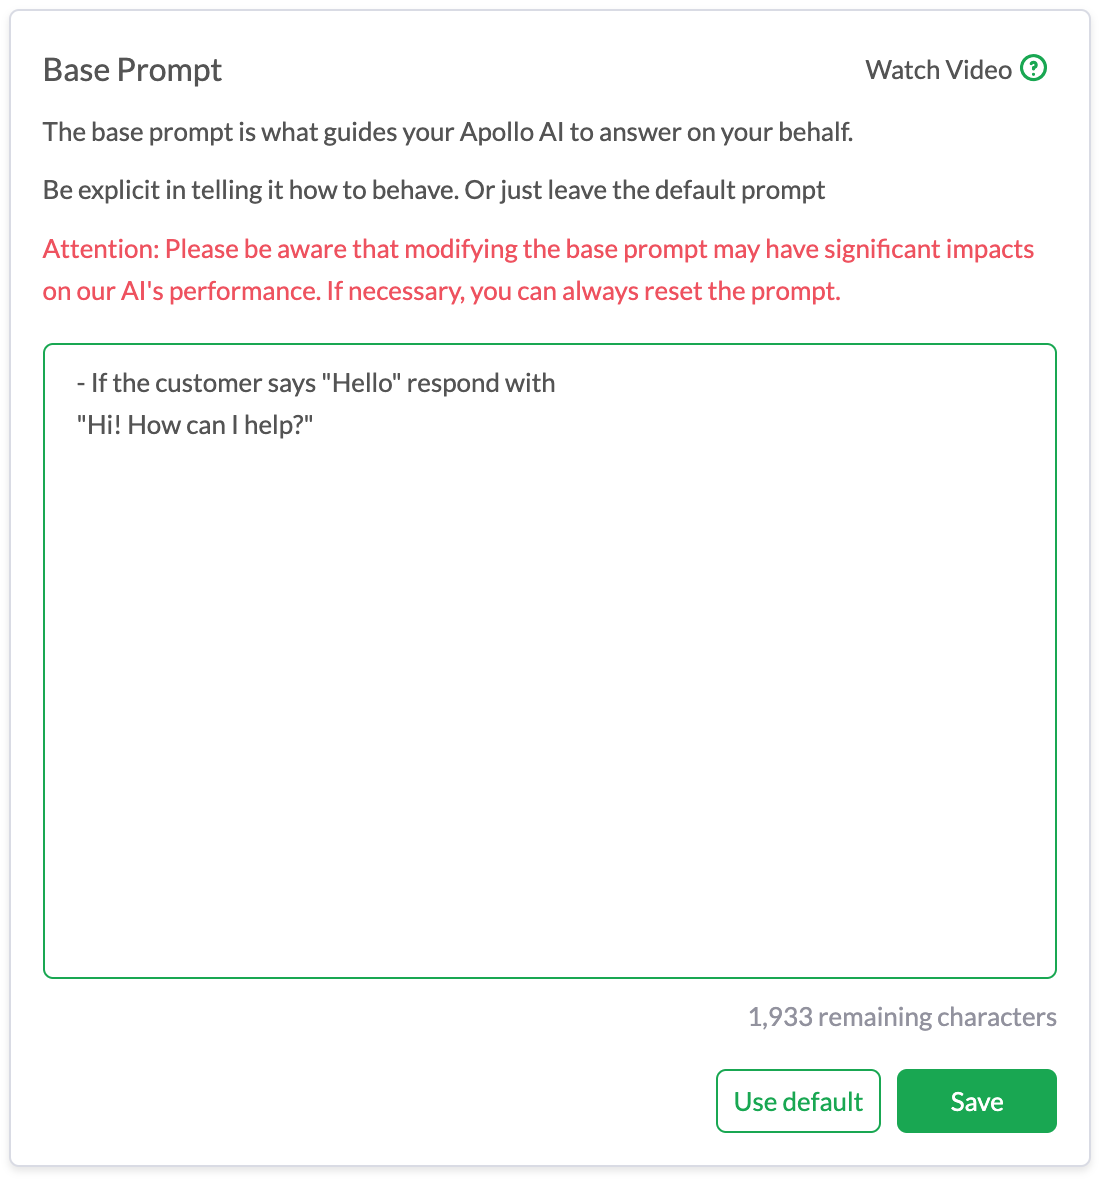
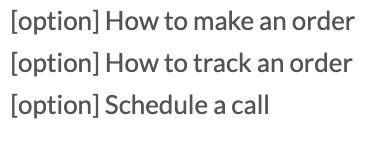
6. Enter “[option]” followed by the message, like this:
Note: Avoid giving your visitors too many selections as it may cause an unpleasant customer experience.
7. Click Save and you can preview the messages on the right.
Follow these steps to change the color of your suggested messages:
2. On your dashboard, select the property you want to customize suggested messages for. Hover over the property name to ensure you’ve selected the correct one.

3. Click the gear icon on the top menu to go to the Administration panel.

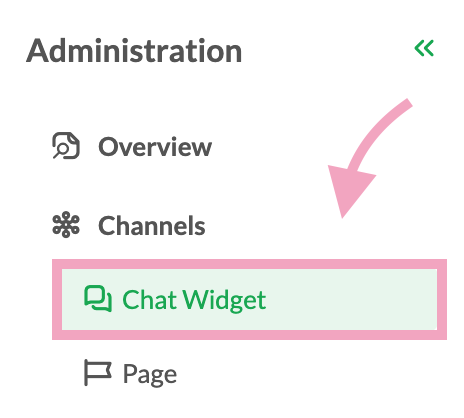
4. On the Administration menu, select Chat Widget under Channels.
5. Under Widget Appearance and Widget Color, click Advanced.
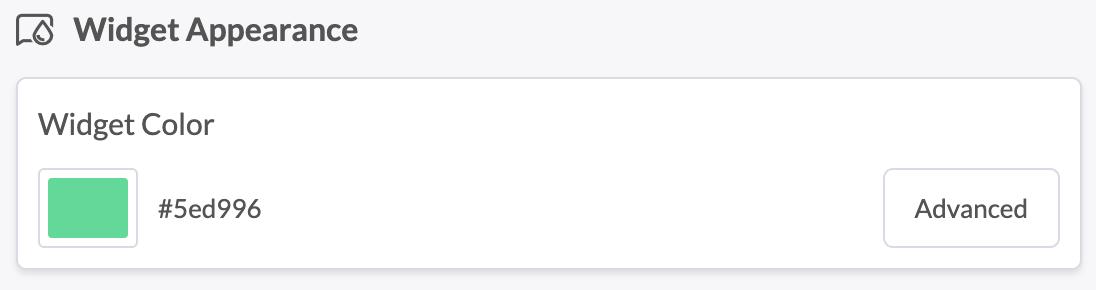
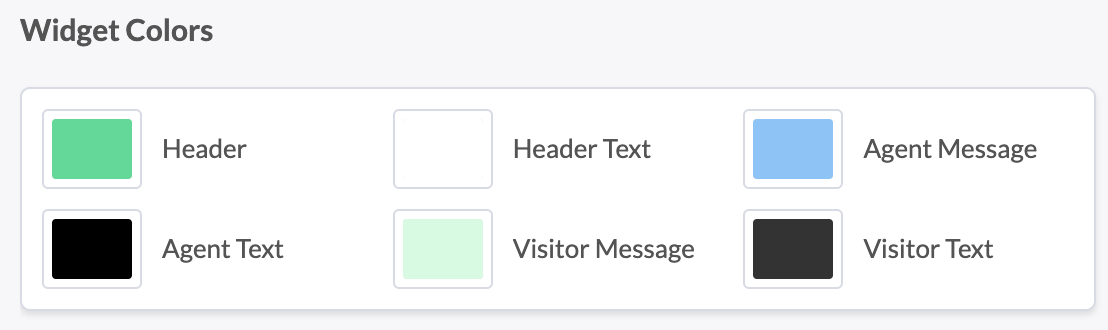
6. Scroll down to Widget Colors. Header changes the text color of your suggested messages while Header Text changes the background color.
Note: Changing these settings will also affect the colors of the header.
7. Click Save, and then click X to exit the Widget Appearance screen.
A conversation flow is a series of preset responses sent to your visitors based on their queries. You can create conversation flows using suggested messages and AI Assist.
AI Assist is designed to understand your visitors’ intent and respond appropriately. To learn all about creating a conversation flow using suggested messages with AI, check out this guide:
Using Suggested Message and AI Assist to create scripted chat sequences
Note: Avoid creating a conversational maze that may lead to an unpleasant customer experience for your visitors.
If you have feedback about this article, or if you need more help:
Click the green live chat icon.
Schedule a call with us.
Visit our community.