Capturing leads via the tawk.to Lead Capture Form
The instructions below are for desktops and laptops only.
The Lead Capture Form is an excellent tool for collecting valuable visitor information. You can prompt visitors to provide their information in chat conversations with the Lead Capture form, like this:


You can customize the Lead Capture Form and use it with shortcuts to:
Capture valuable lead information and prioritize follow-ups based on customers’ needs
Analyze the data to understand customers’ preferences and tailor your responses to improve their experience
In this guide, we’ll show you:
- How to use the pre-built lead-capture-form shortcut
- How to create a shortcut with the Lead Capture Form
- How to customize the Lead Capture Form
- How to add the Lead Capture Form to a trigger
- How to download your leads

You can use it in chat conversations by typing forward-slash (“/”) followed by the shortcut name, like this:


When a visitor starts a chat but no one can respond, the trigger kicks in, offering the Lead Capture Form.
Read on to learn how to create a shortcut with the Lead Capture Form.
Follow these steps to create a shortcut with the Lead Capture Form:


4. Click Shortcuts under Settings in the left submenu.

5. Click Add Shortcut and select New Shortcut.
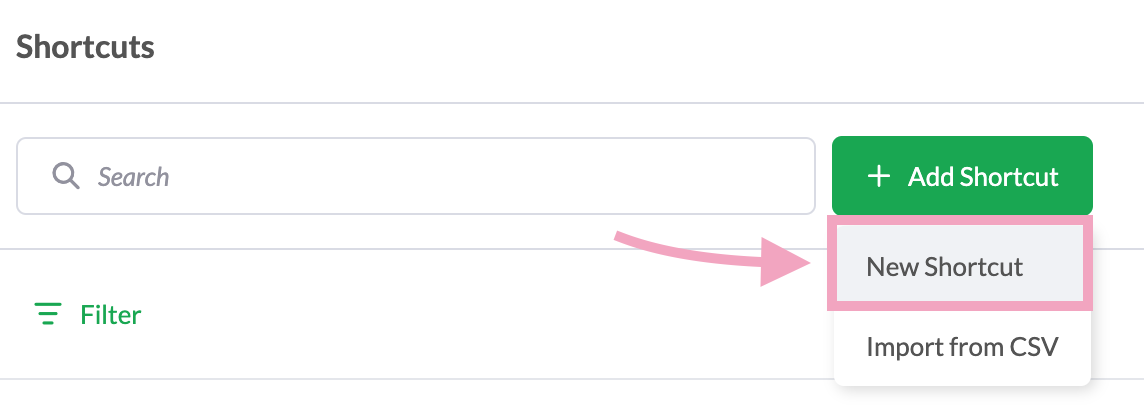
6. Enter the name of the shortcut. A descriptive name helps team members find the shortcut easily.

7. Enter the message.

8. Click Add Element and select Lead Capture Form.
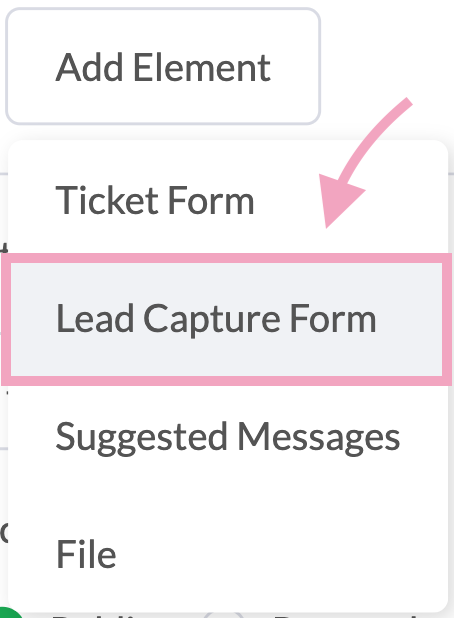
A preview of the form should appear on the right, like this:
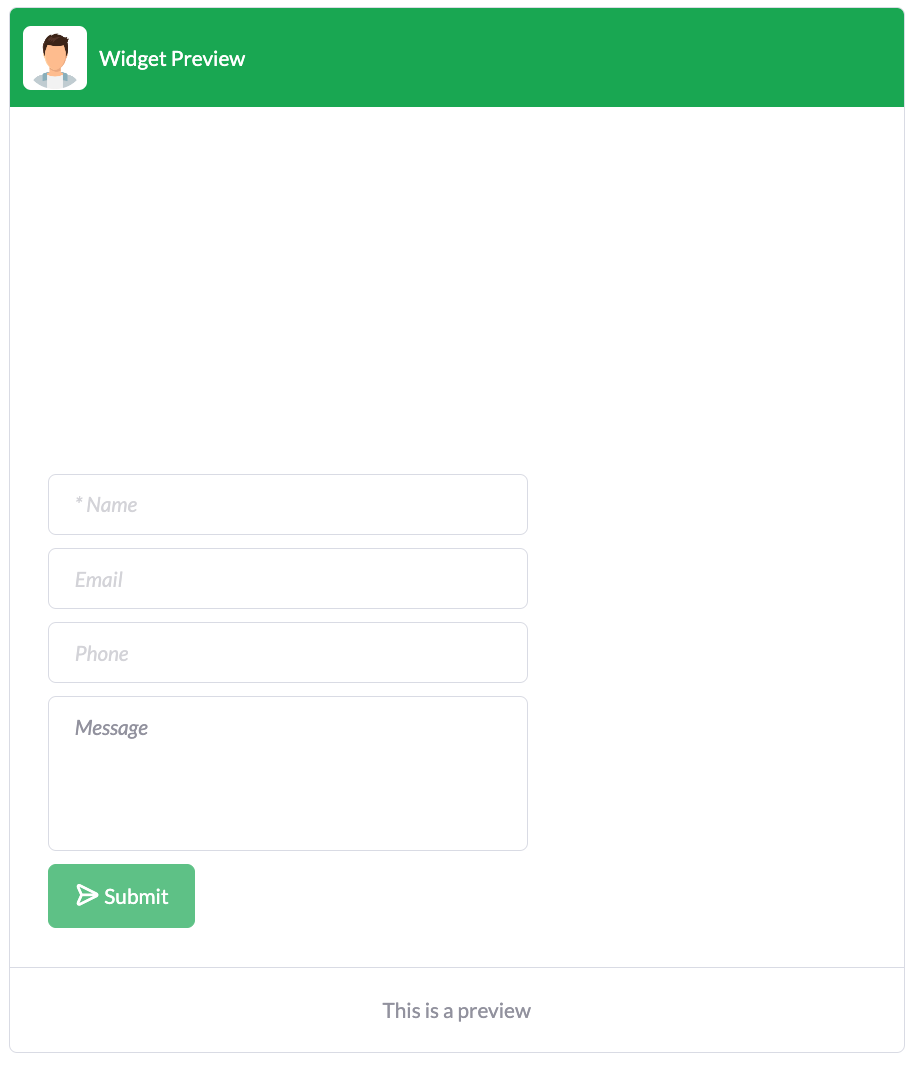
9. To edit the Lead Capture Form, click the pencil icon.

You can add, edit, and remove the fields in the pop-up window. You can have up to 10 fields in your Lead Capture Form.

For example, you can have a question with a dropdown list of answers, like this:

When you’ve finished editing your Lead Capture Form, click Update.
Note: While you can use the Lead Capture Form with multiple shortcuts, the form is the same for all shortcuts. You cannot edit the Lead Capture Form separately for each shortcut.
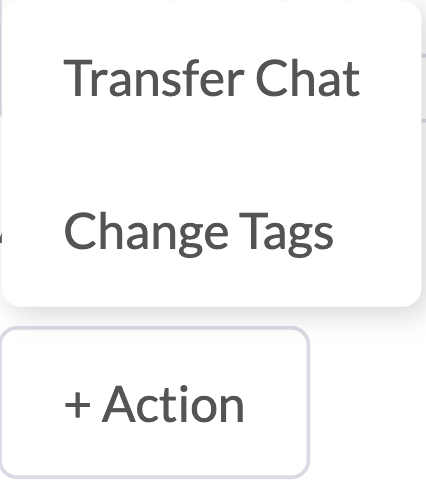
10. Click + Action to either tag the chat or transfer it to other agents.
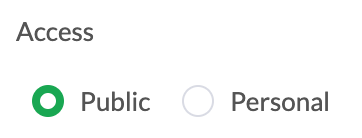
12. You can get Apollo AI to use this shortcut when customers ask related questions. Click Add Question to enter up to 5 examples of customers’ questions.

When customers ask similar questions, Apollo AI will understand the context and respond with the Lead Capture Form. For example:

13. Click Save.
Your agents can now use this shortcut in chat conversations by typing forward-slash (“/”) followed by the shortcut name, for example:

You can also get AI Assist to capture leads using the Lead Capture Form. See this guide to learn more: Using Base Prompt instructions for lead capture
Follow these steps to add the Lead Capture Form to a trigger:

3. Click Triggers under Settings in the left submenu.

4. Select a trigger or click Add Trigger.
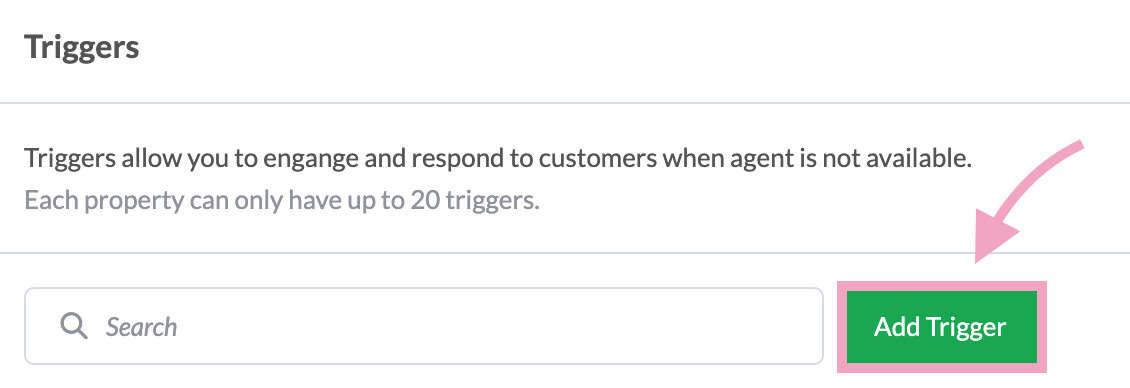
5. Under Trigger Message, select Use a predefined shortcut. Then, choose a shortcut that uses the Lead Capture Form.

6. Set the rest of the trigger settings and click Save.
When the trigger kicks in, visitors will be given the Lead Capture Form in the chat.
Note: While you can use the Lead Capture Form with multiple shortcuts and triggers, the form is the same for all shortcuts. You cannot edit the Lead Capture Form separately for each shortcut.
Once visitors complete the form and submit their information, you can easily download it from your dashboard. Read on to find out how.
Follow these steps to download your lead information:

3. Click Reporting on the left navigation bar.

4. Click Leads under Lead Capture in the left submenu.

5. Select the date range.

Your lead information for the selected date range will appear.
6. Click the download icon. Your lead information will be downloaded in a CSV file.

With the Lead Capture Form, it’ll be easier for you and your team to capture valuable leads, prioritize follow-ups, and nurture them for conversion.
If you have feedback about this article, or if you need more help:
Click the green live chat icon
Schedule a call with us
Visit our community
