How to manage organizations in Contacts
In Contacts, you can group people and organizations into segments and manage the data you view for each.

Next, click Contacts in the left navigation bar.

Customize and sort organizations
To display a list of organizations in Contacts, select Organizations in the left menu. By default, your view will include the Primary Email, Primary Phone, Tags, URL, and last time Updated for each organization.
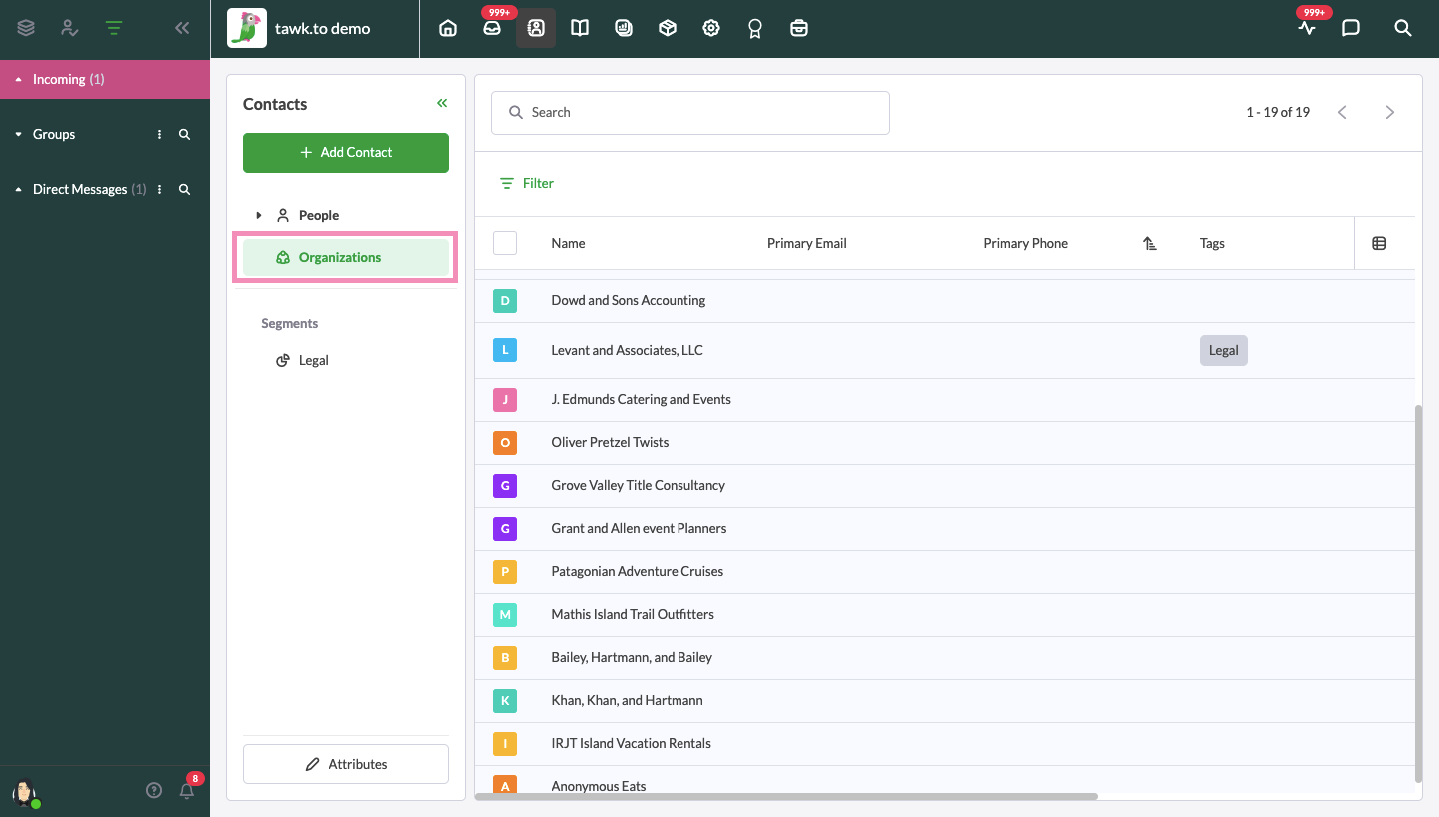
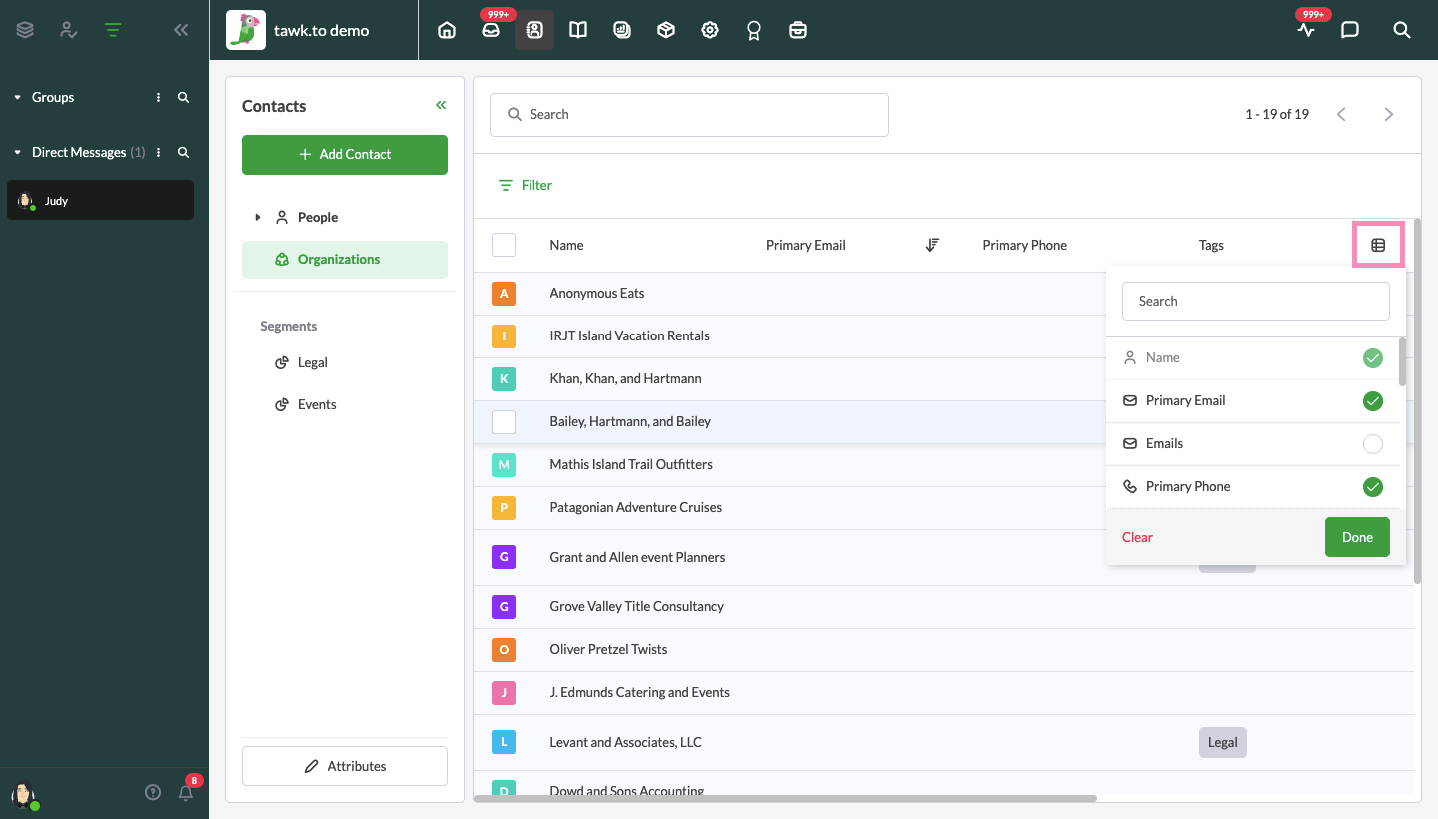
To add a new column or remove an existing one, click the spreadsheet icon in the upper-right corner of the list. Use the drop-down menu to select the attributes you want to display.
Filter your organizations
Filters make it easy to segment your organizations to match your specific marketing and sales priorities.
Click the Filter icon in the upper-left corner to sort and view the organizations using one or more of the 14+ available attributes.
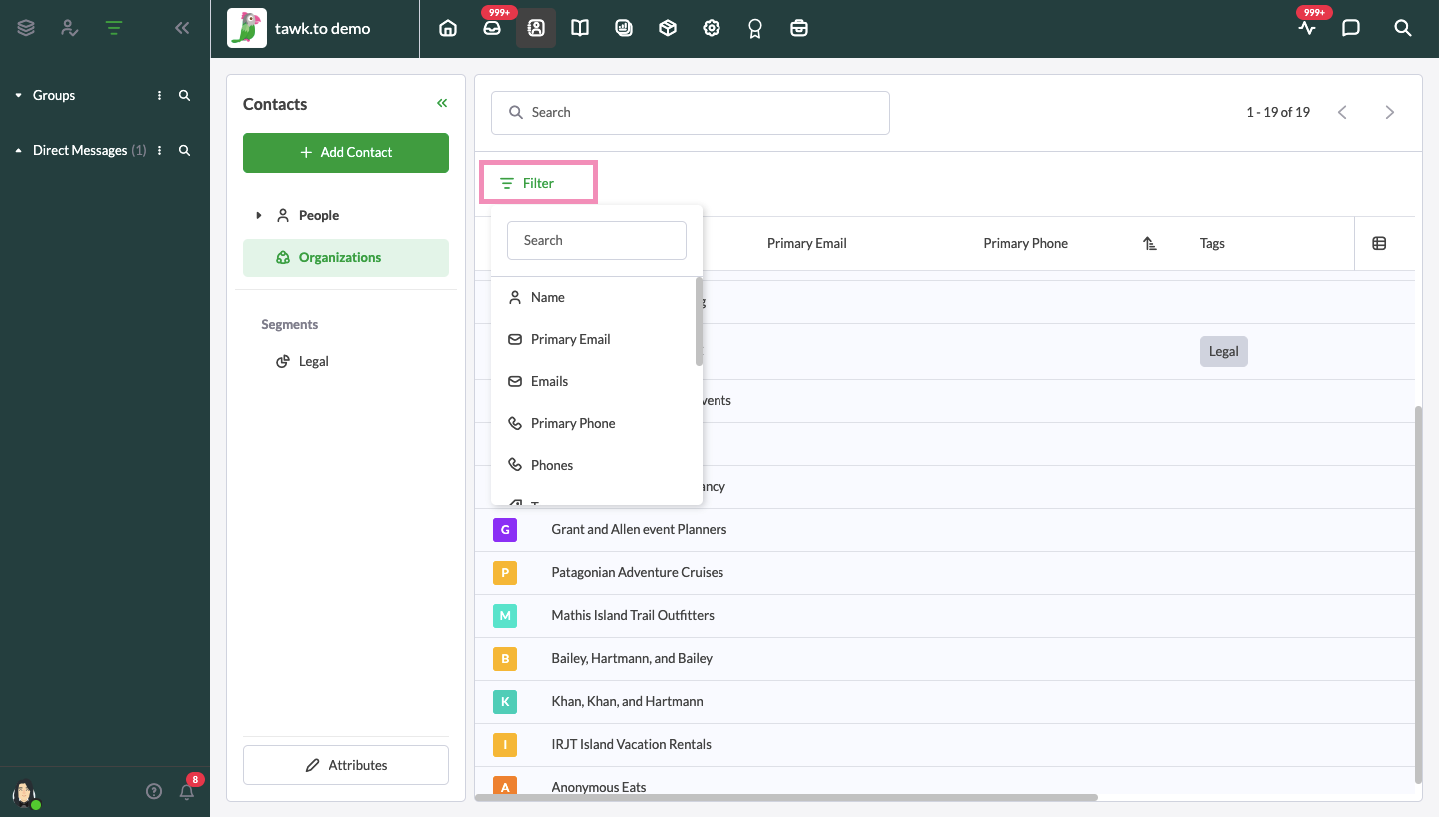
Filters include the following by default:
- Name
- Primary Email
- Emails
- Primary Phone
- Phones
- Organization
- Job title
- Tags
- Facebook URL
- LinkedIn URL
- Twitter Handle
- Instagram handle
- Created
- Updated
Each attribute allows you to select from a list of negative and positive qualifiers.
For example, when you select Tags you’ll have five options:
- is not
- contains
- does not contain
- is unknown
- has any value
Select Add Filter to add an additional filter.
Select Clear Filter to remove all selected filters.
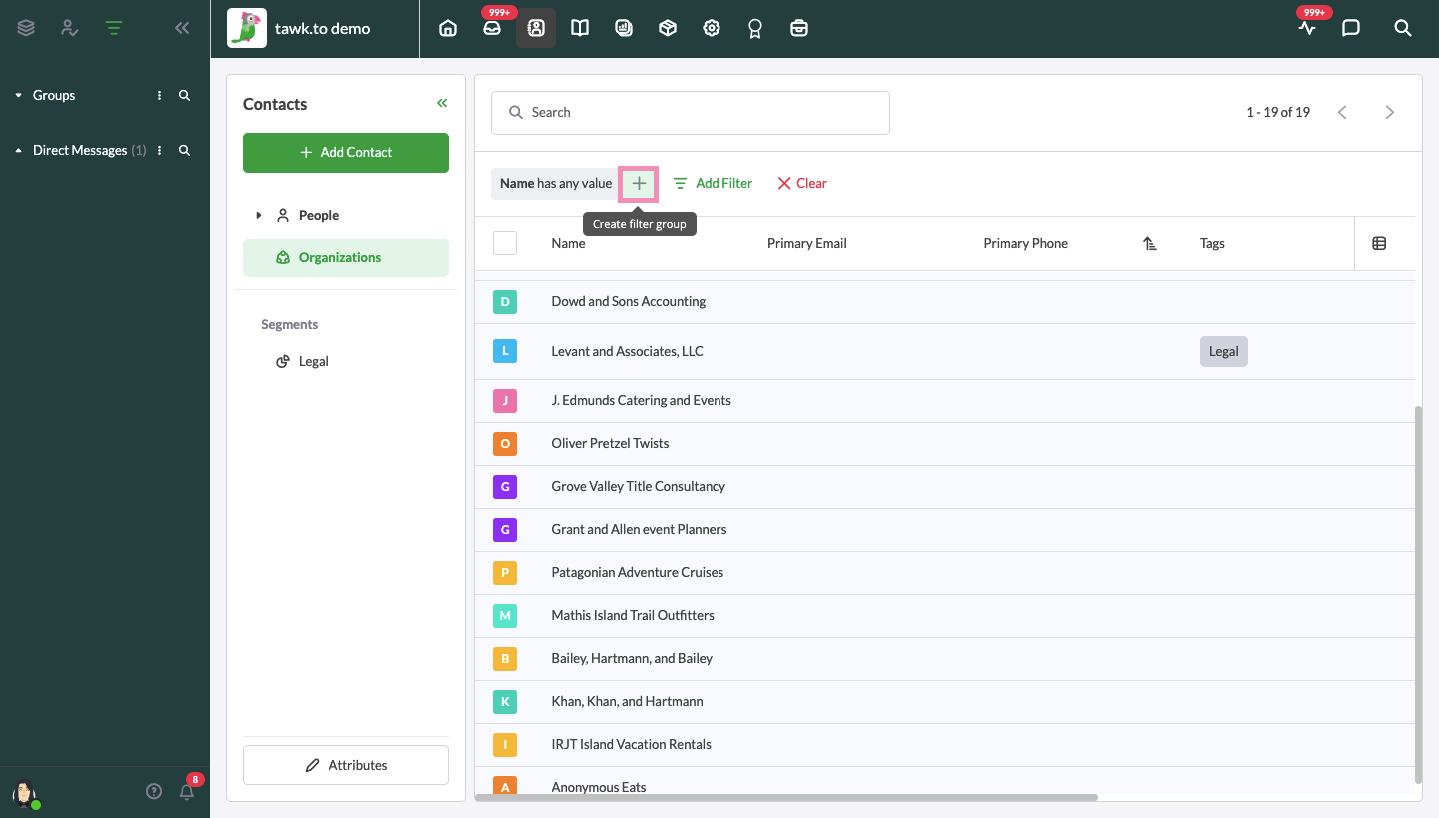
To create a filter group that includes several qualifiers, add a filter. Then, directly to the right of the filter, click the Plus (+) icon for Create filter group. Repeat for any additional filters you would like to include.
Add custom attributes to an organization
Any custom attributes you add to an organization's profile will also appear in the list of filters.
To create a new custom attribute or delete an existing one from the contact list, click Attributes in the lower-left corner of the Contacts panel.
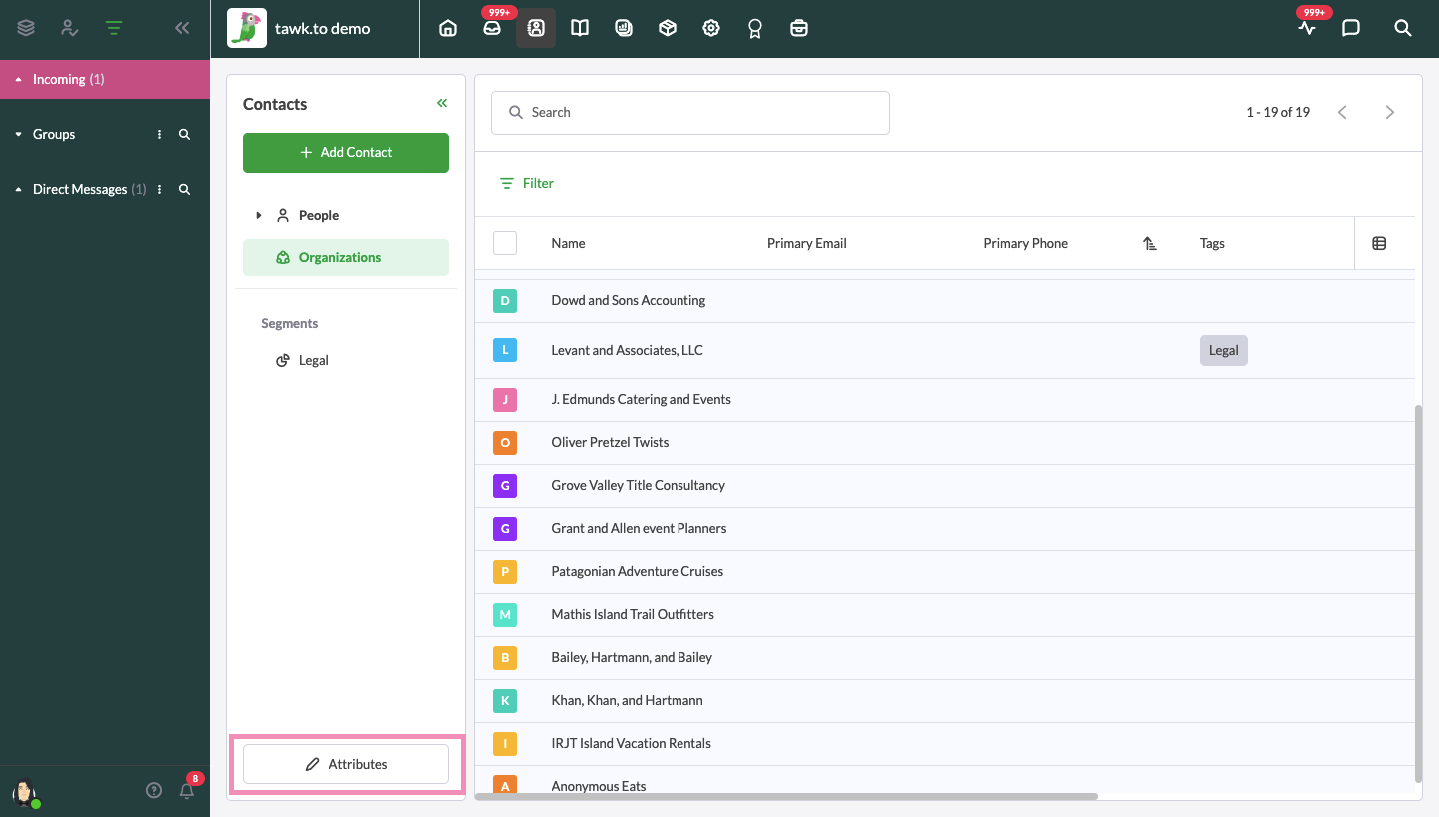
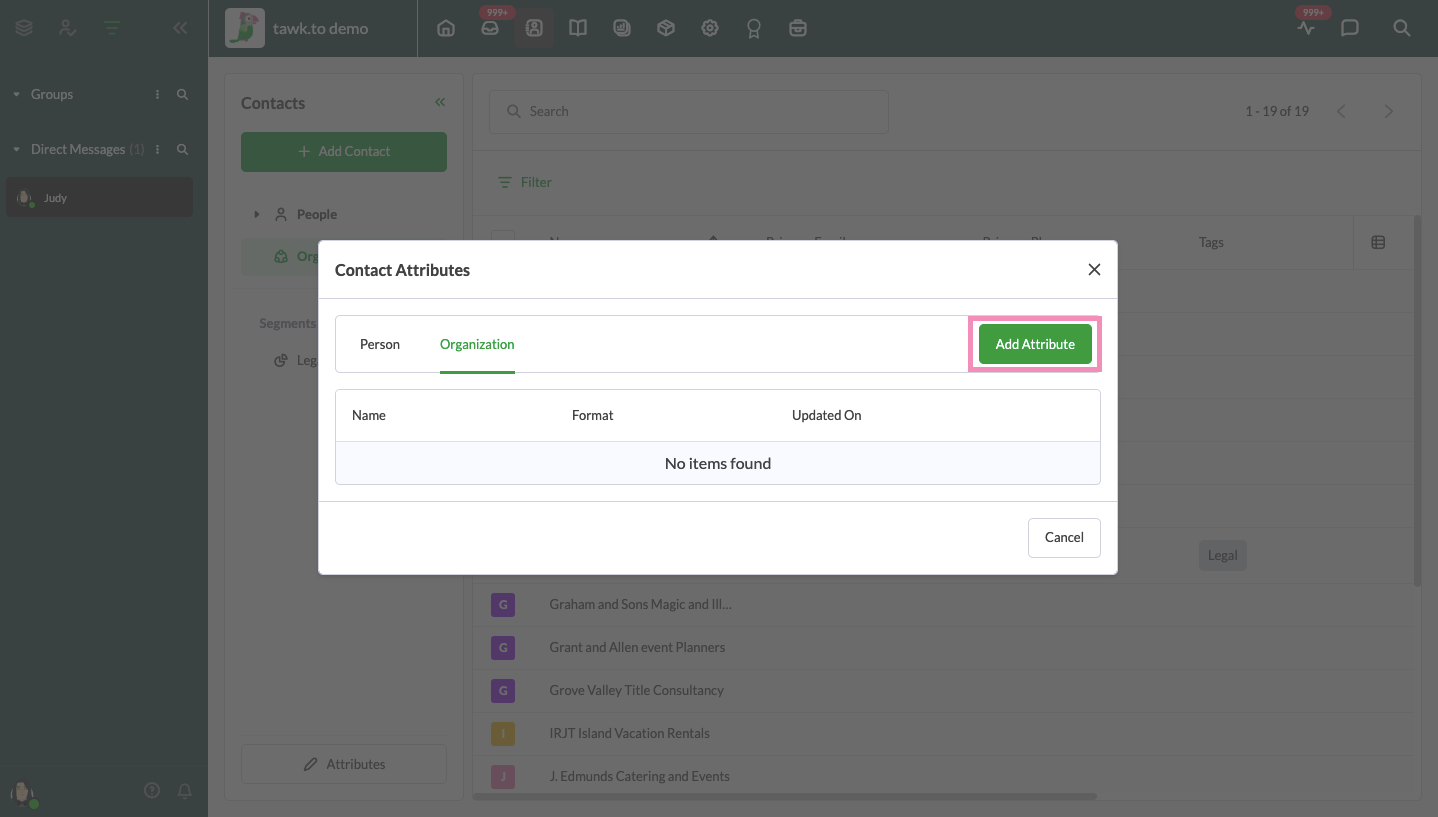
Click the Add Attribute button to create a new attribute.
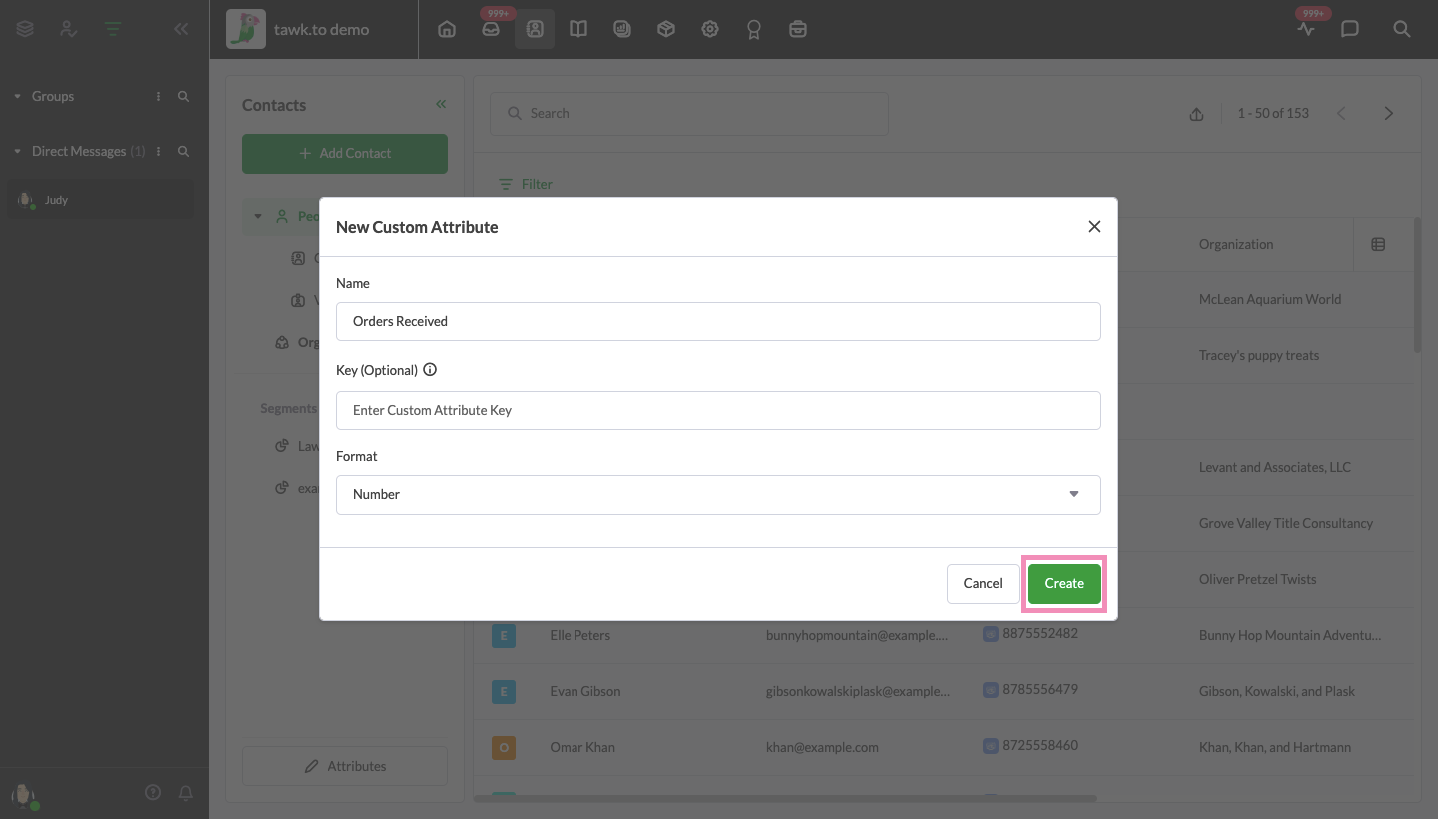
Enter the details for your new custom attribute. Then click the Create button.
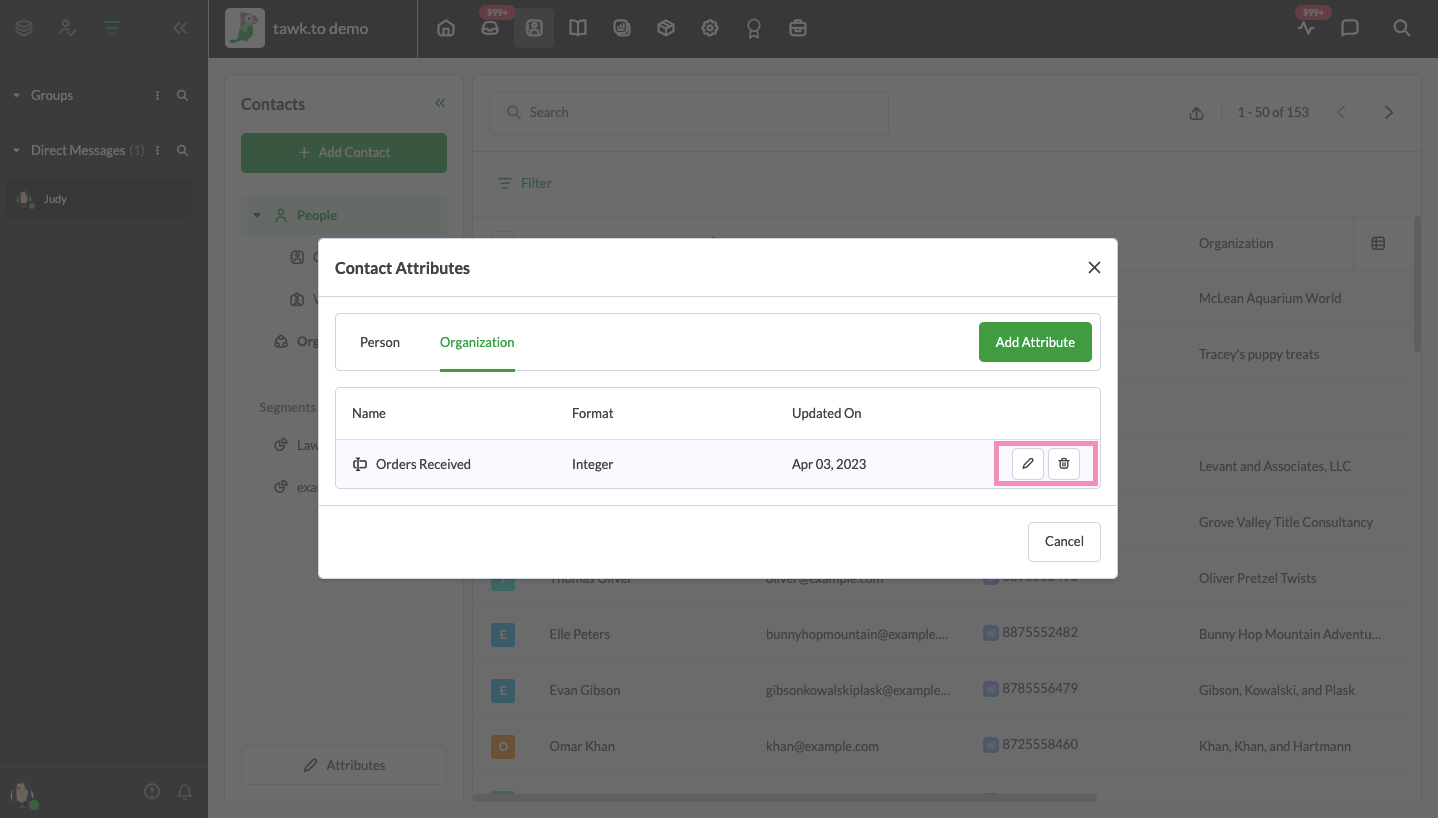
To edit the name of an existing custom attribute, click the Pencil icon to the right of the label. Click the Delete (trash) icon to the right of an attribute to remove it as an option.
Create and save segments
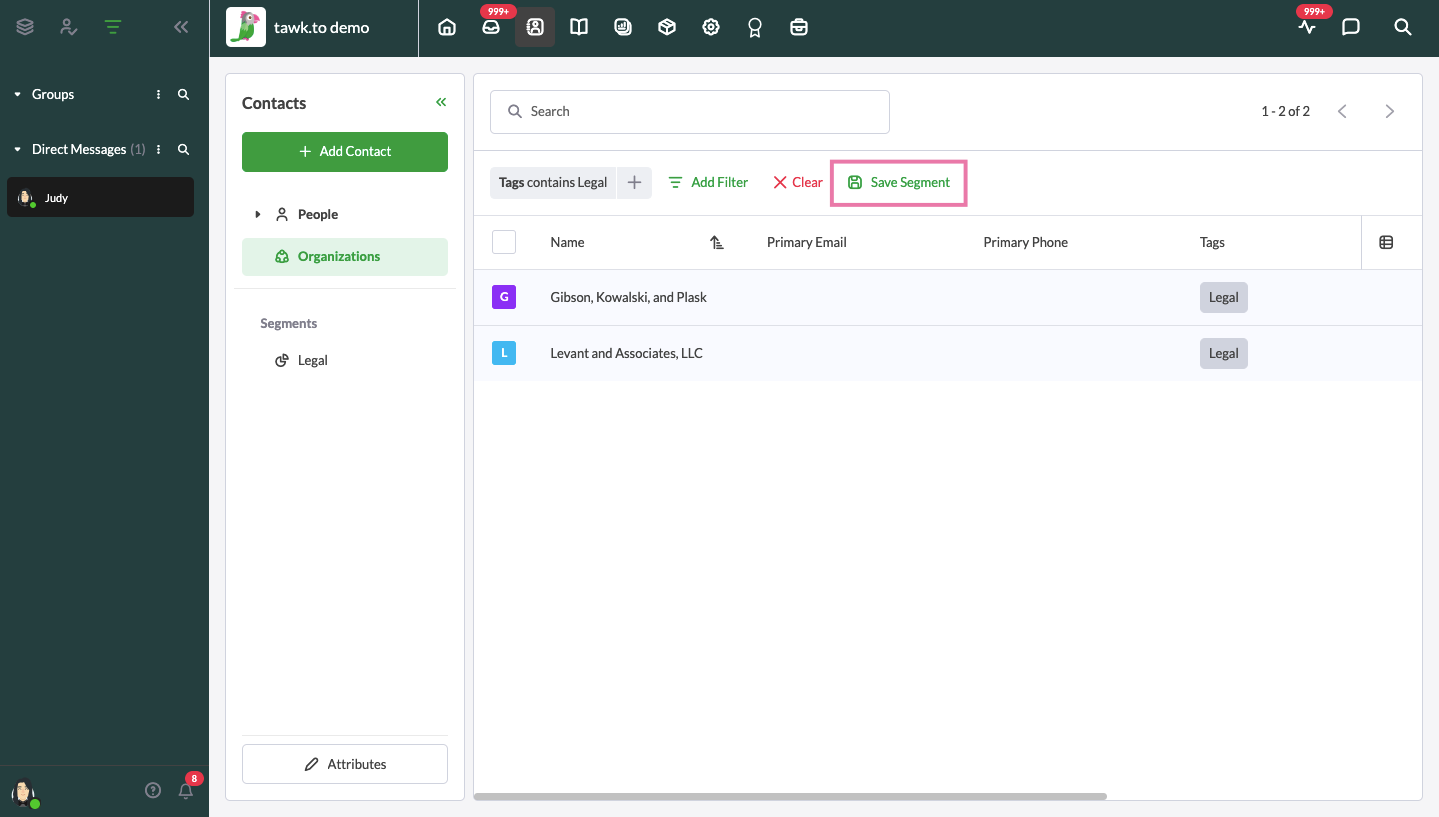
Once you’ve narrowed your list of organizations with filters, click Save Segment in the upper right to confirm your new list.
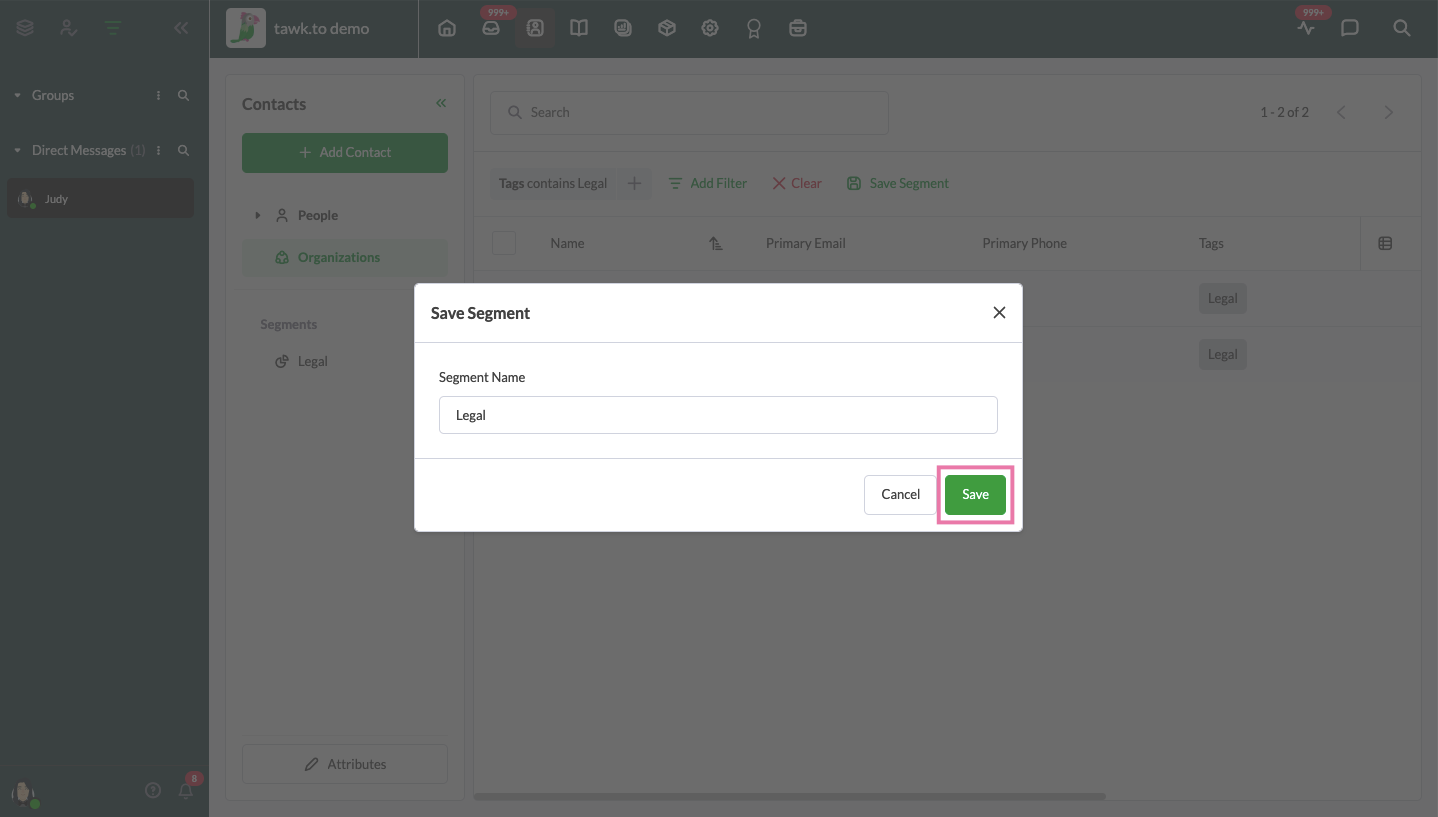
Give your new segment a name in the popup window that appears. Then, click the Save button in the lower-right corner.
Your new segment will appear in the lower right of the Contacts menu under Segments.
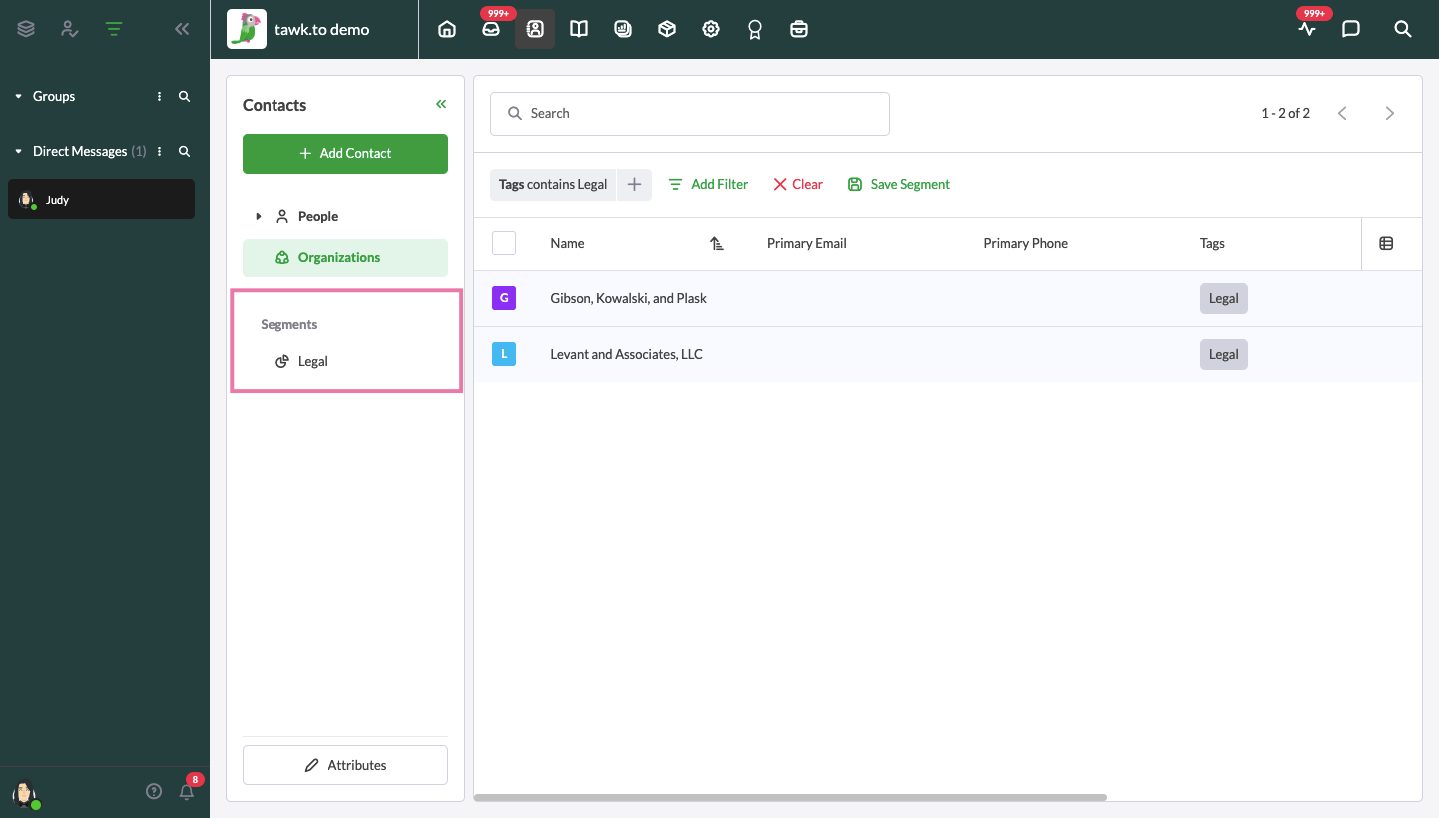
You can refer back to your segment any time to view or modify your list.
View and manage organization profiles
To view and manage messaging and details for an organization, click the organization’s name in the list.
This opens a new view where you can add contact details, social profiles, and custom attributes you can use to sort and segment your contacts.
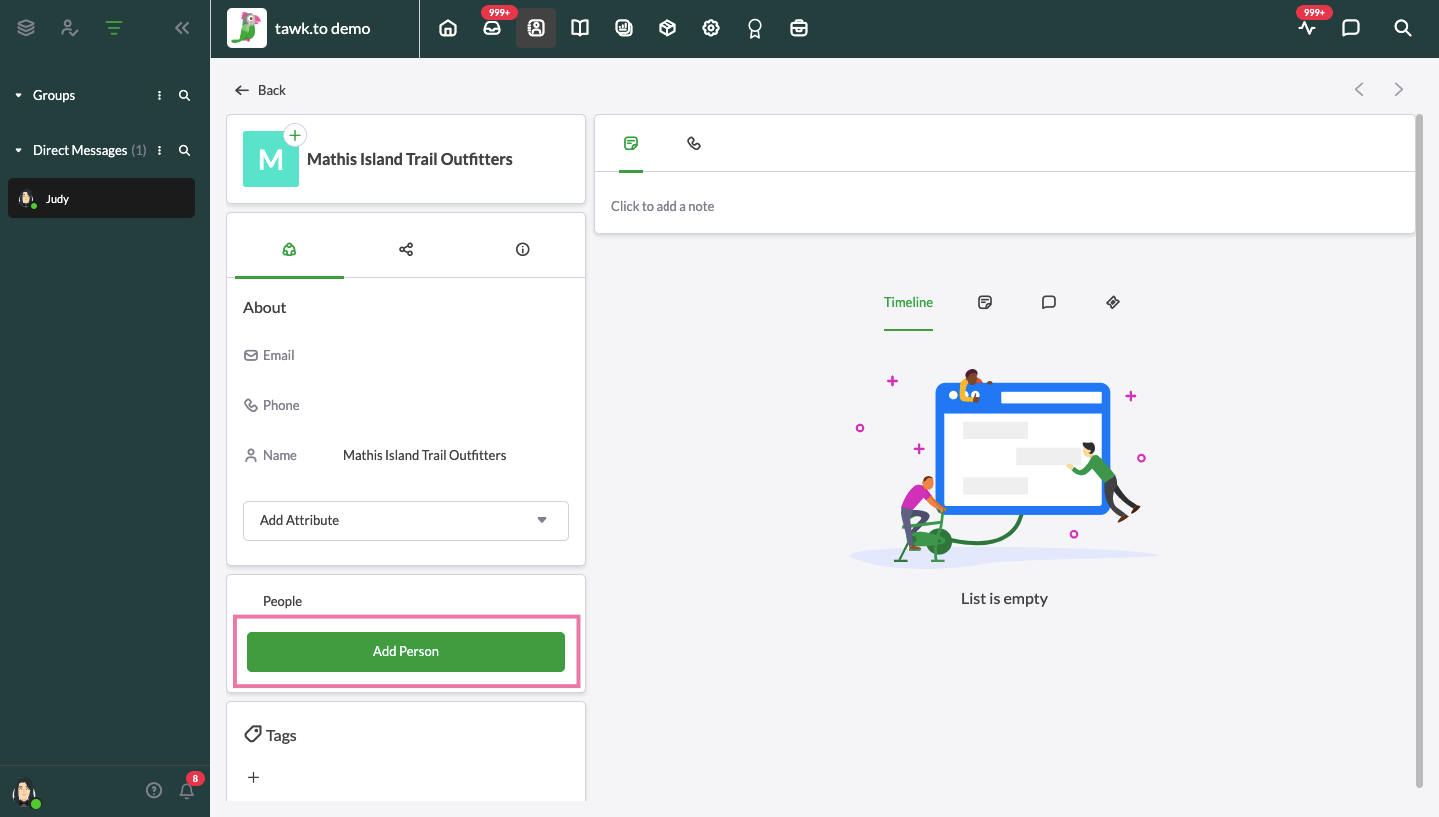
Below the attributes, click the Add Person button to link the organization to any people you’ve added to Contacts.
Learn more about customizing individual profiles in this article: How to customize a profile in Contacts
Manage and respond to conversations in Contacts
In the upper-right menu, select an icon to add a note, start a phone call, or create a new ticket.
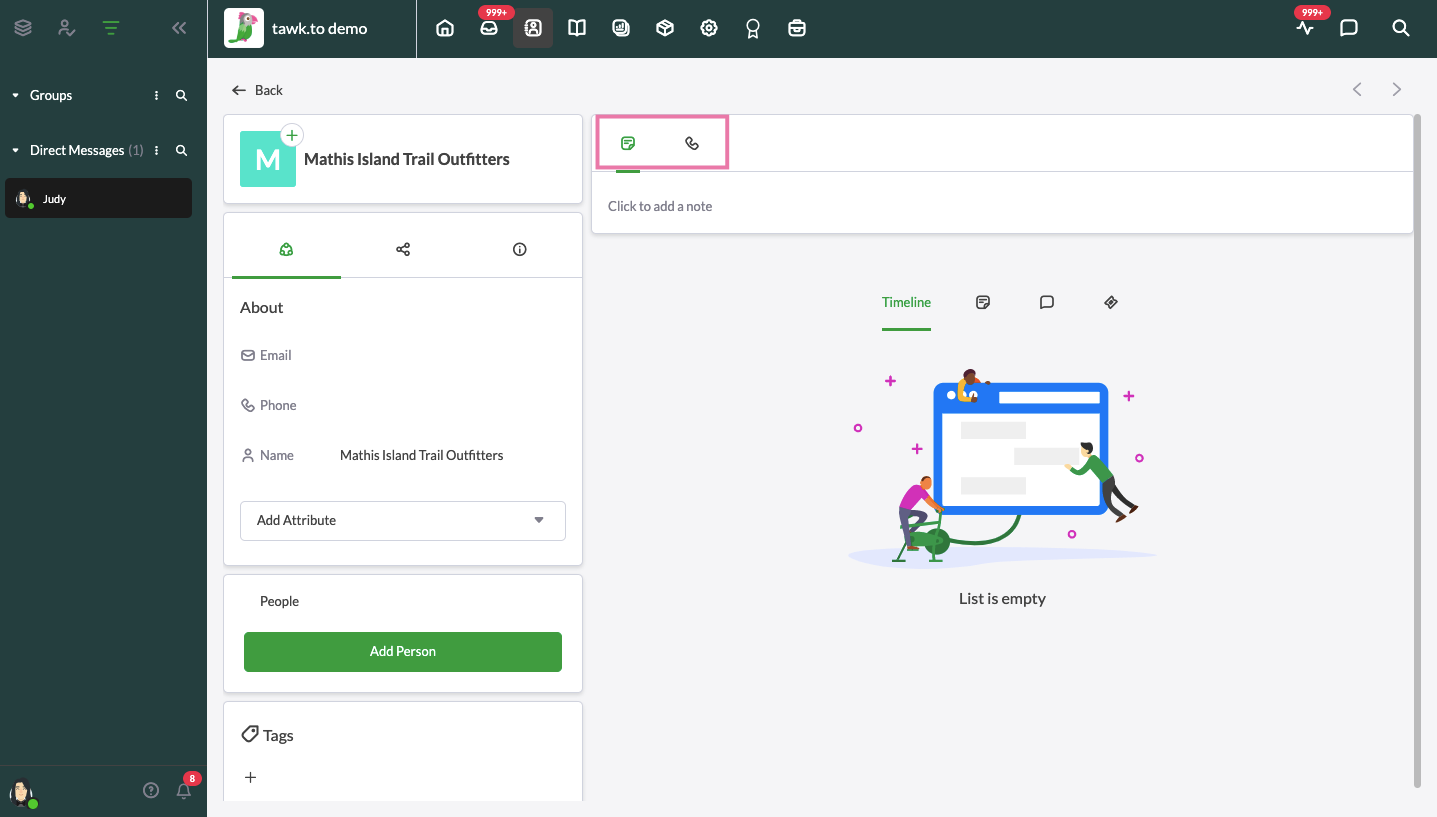
Add a note
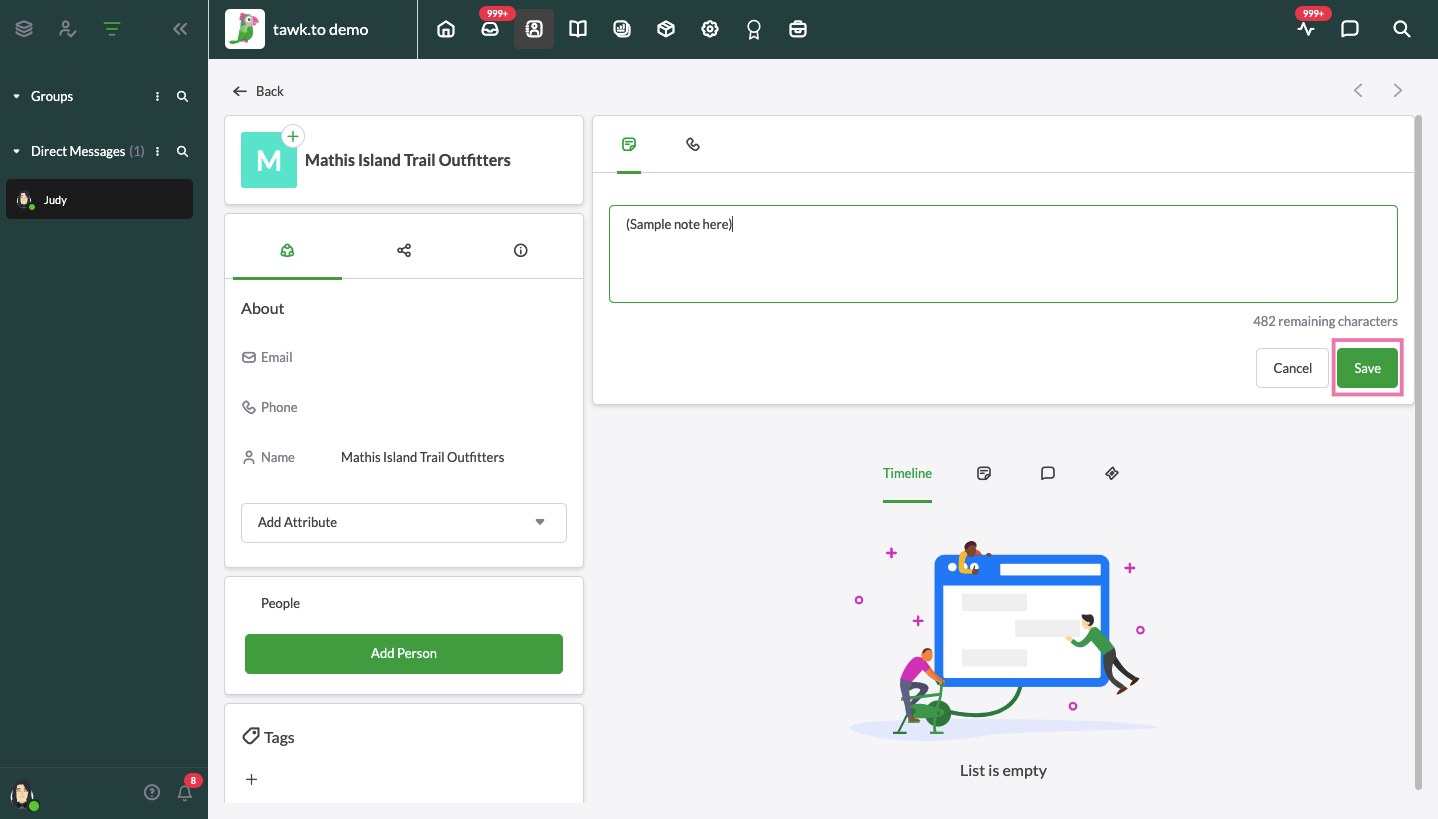
Click the Note icon to add a note to the contact’s record. All property members will be able to view the note. However, your contact will not be able to see it. Enter your note and click the Save button to add it to the record.
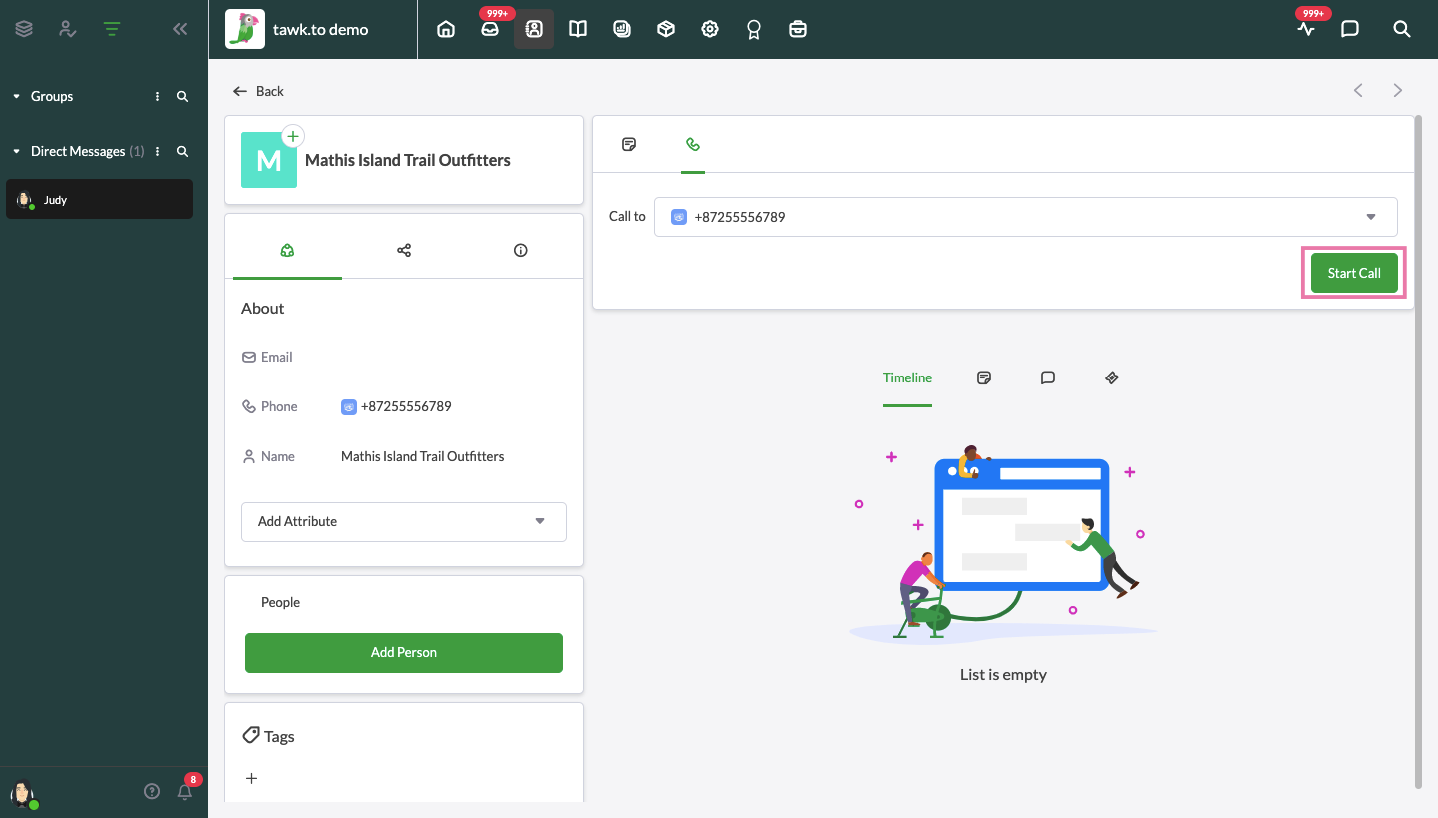
Call an organization
Click the Call (phone) icon and select a number in the menu. Then, click the Start Call button.
If you have not connected your phone carrier to tawk.to, you will be prompted to select a service. This feature is in development and currently allows you to make phone calls via a Skype account.
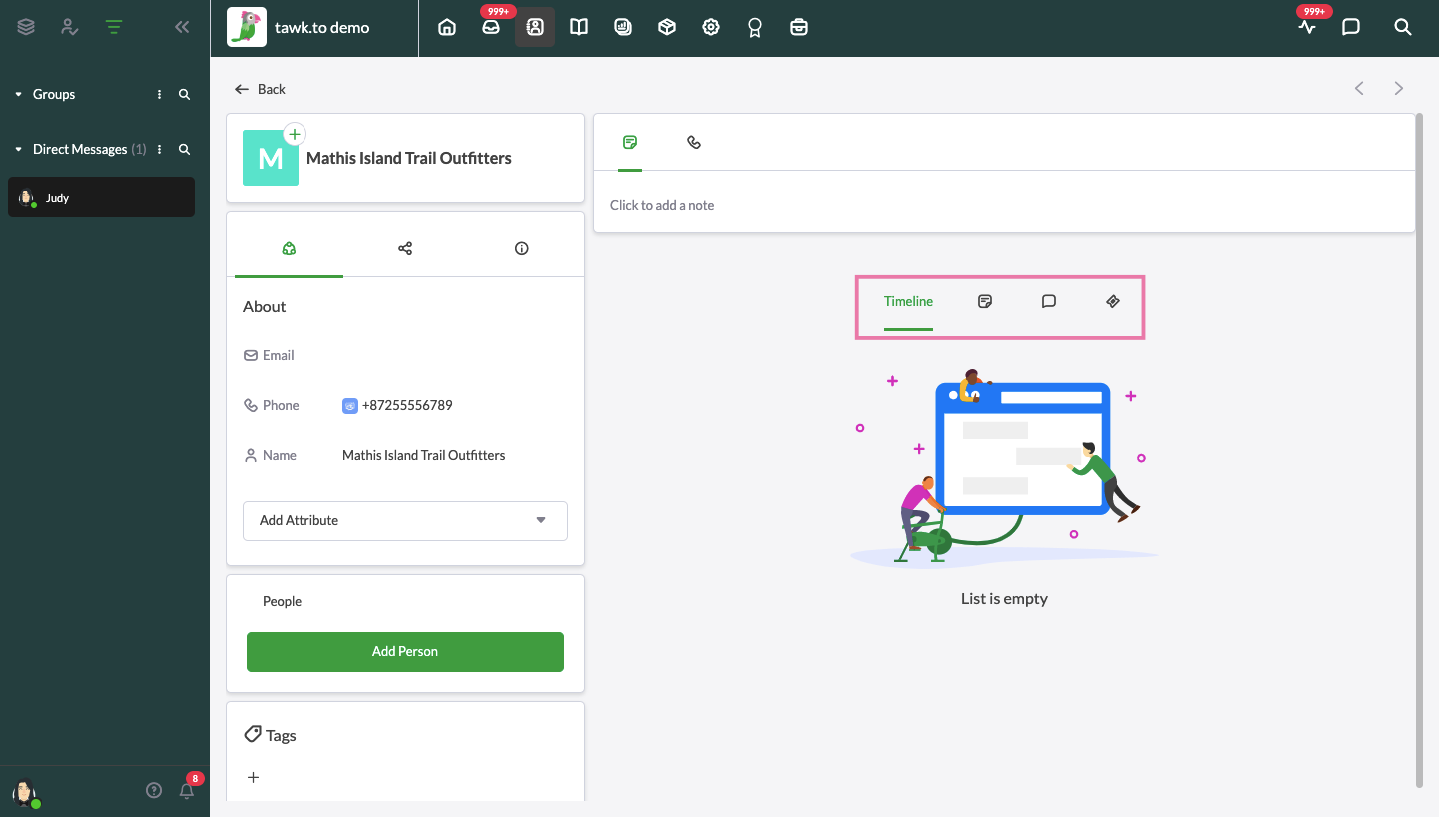
View an organization’s messaging history
The Timeline in the lower-right displays a history of the organization’s interactions with you.
Click the Note icon to view any notes you or other property members have created. To modify an existing note, click the Update (pencil) icon. Make any edits or updates to your note. Then, click the Save button to update your changes.
Click the Chats (chat bubble) icon to view a history of your past chat conversations.
Click the Ticket icon to view past ticketing emails.
Learn about how to add, export and delete Contacts here: How to add, export and delete contacts
Still have questions or need assistance with Contacts? Schedule a call with a member of our support team here.
