How to manage contacts

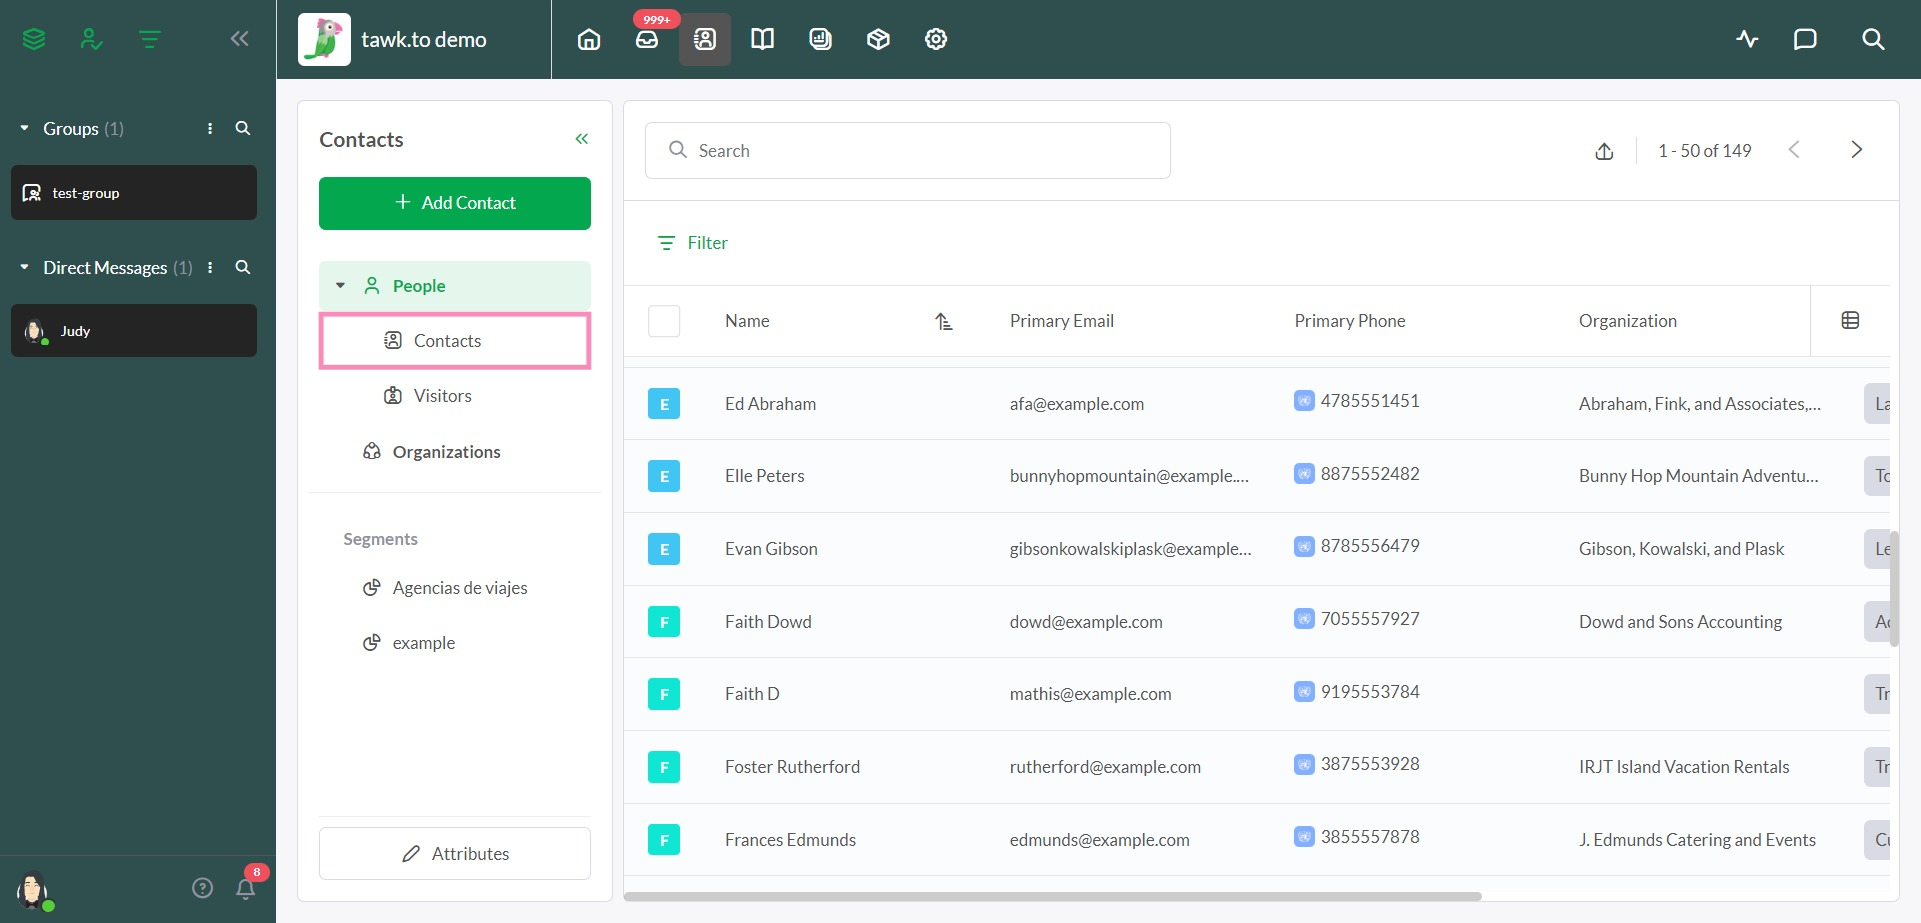
Next, click Contacts in the left navigation bar.

Customize and sort contacts
In the left menu under People, select Contacts.
By default, your view will include the Primary Email, Primary Phone, Organization, Tags, and Last Seen for each contact.
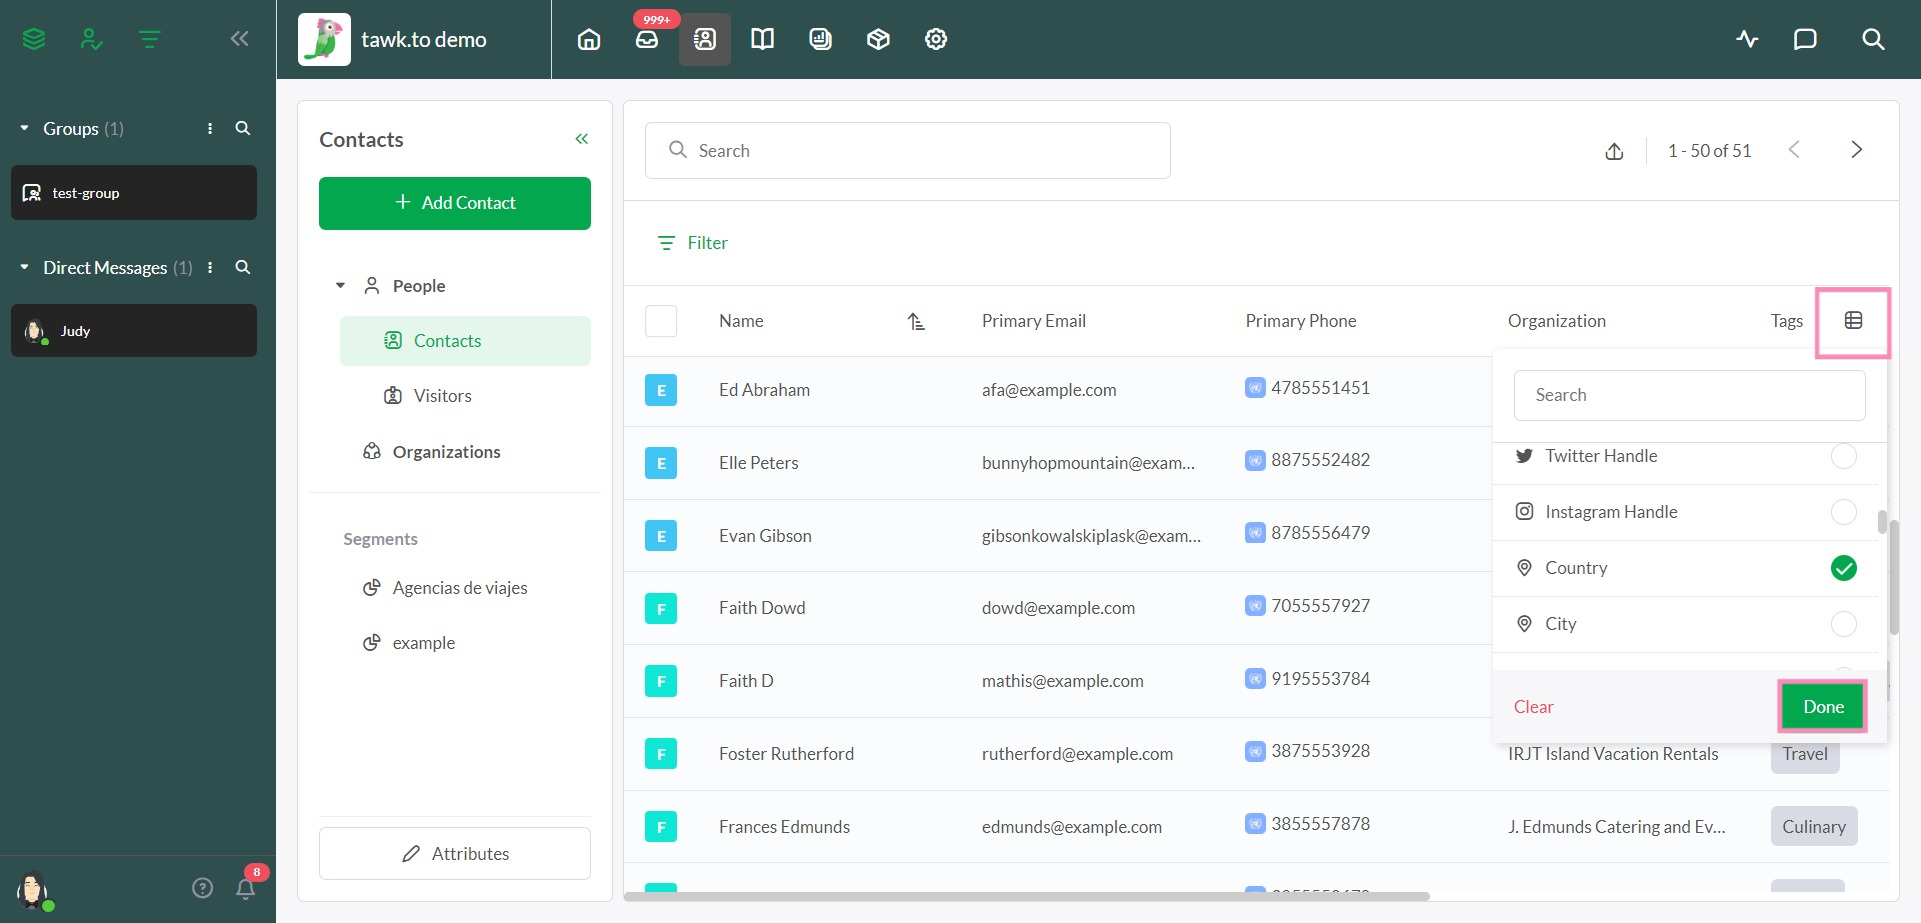
To add another column, click the spreadsheet icon in the upper-right corner of the contact list. Use the drop-down menu to select any attributes you would like to add.
For example, you can find all of the contacts from one part of the world by selecting Country or City. Or you can see who’s reached out to an agent on your site recently by including Latest Live Chat.
Then, click the Done button to update your selection.
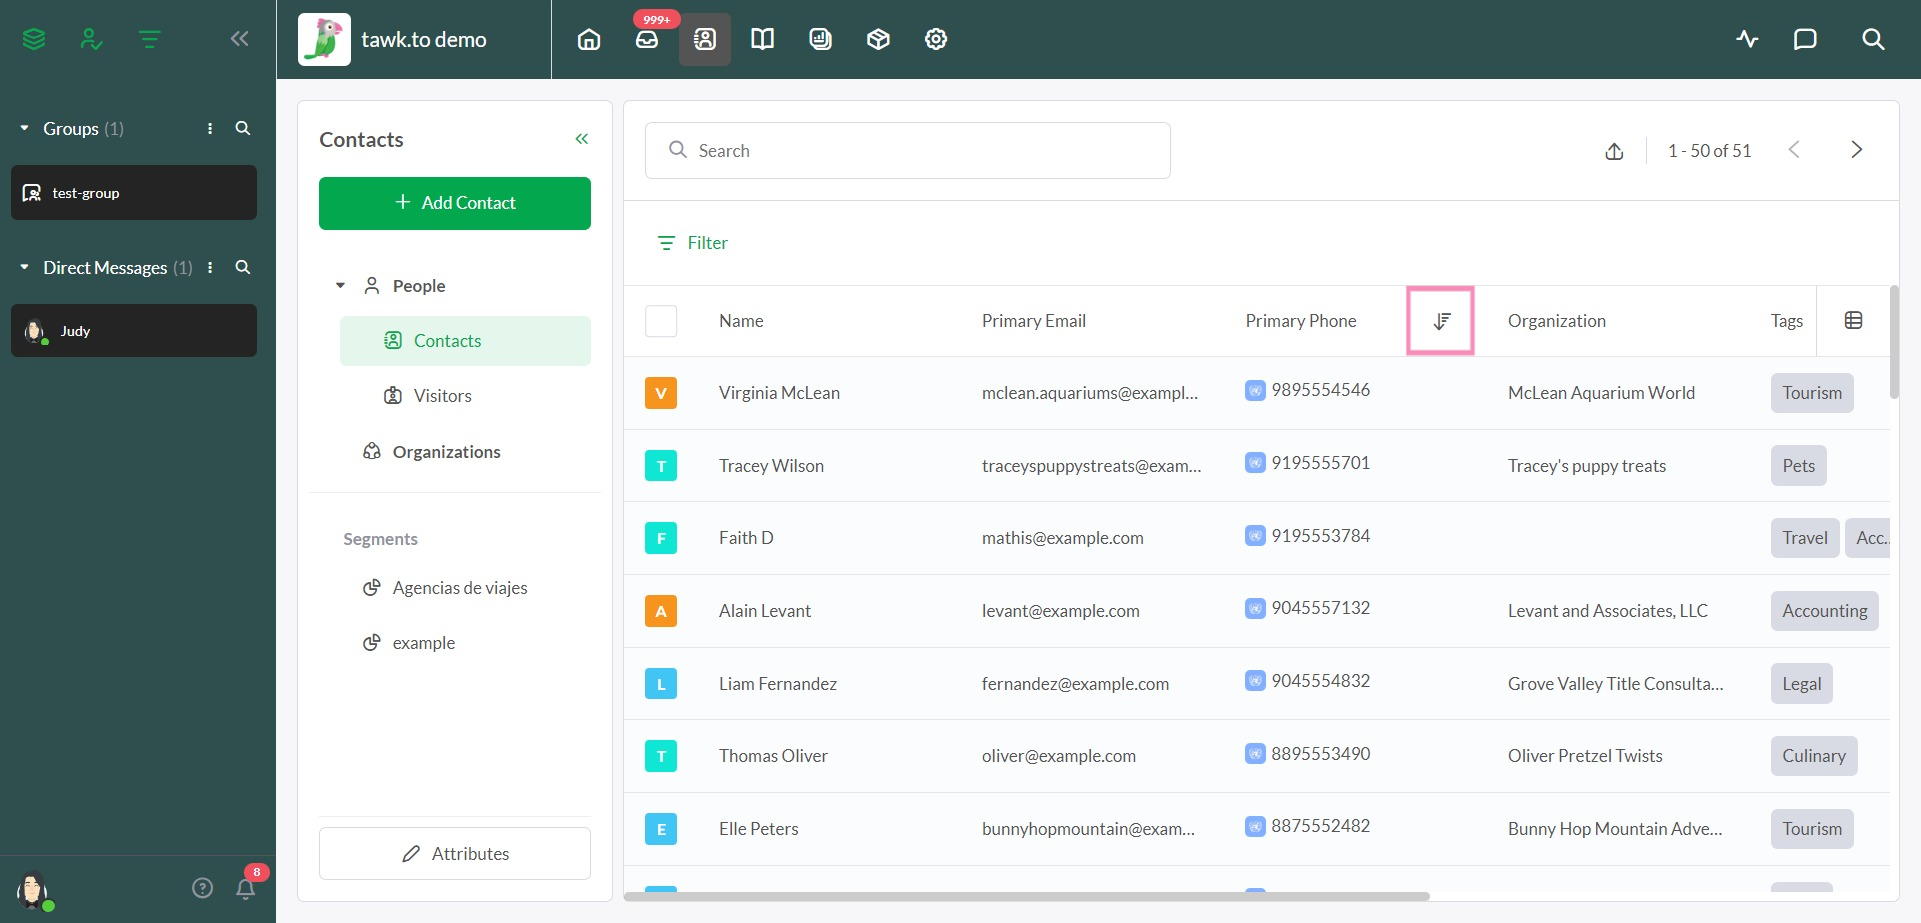
To sort your contacts by attribute, select a column header and click the up or down arrow to the right of each header label (Primary Email, Primary Phone, and Last Seen).
Filter your contacts
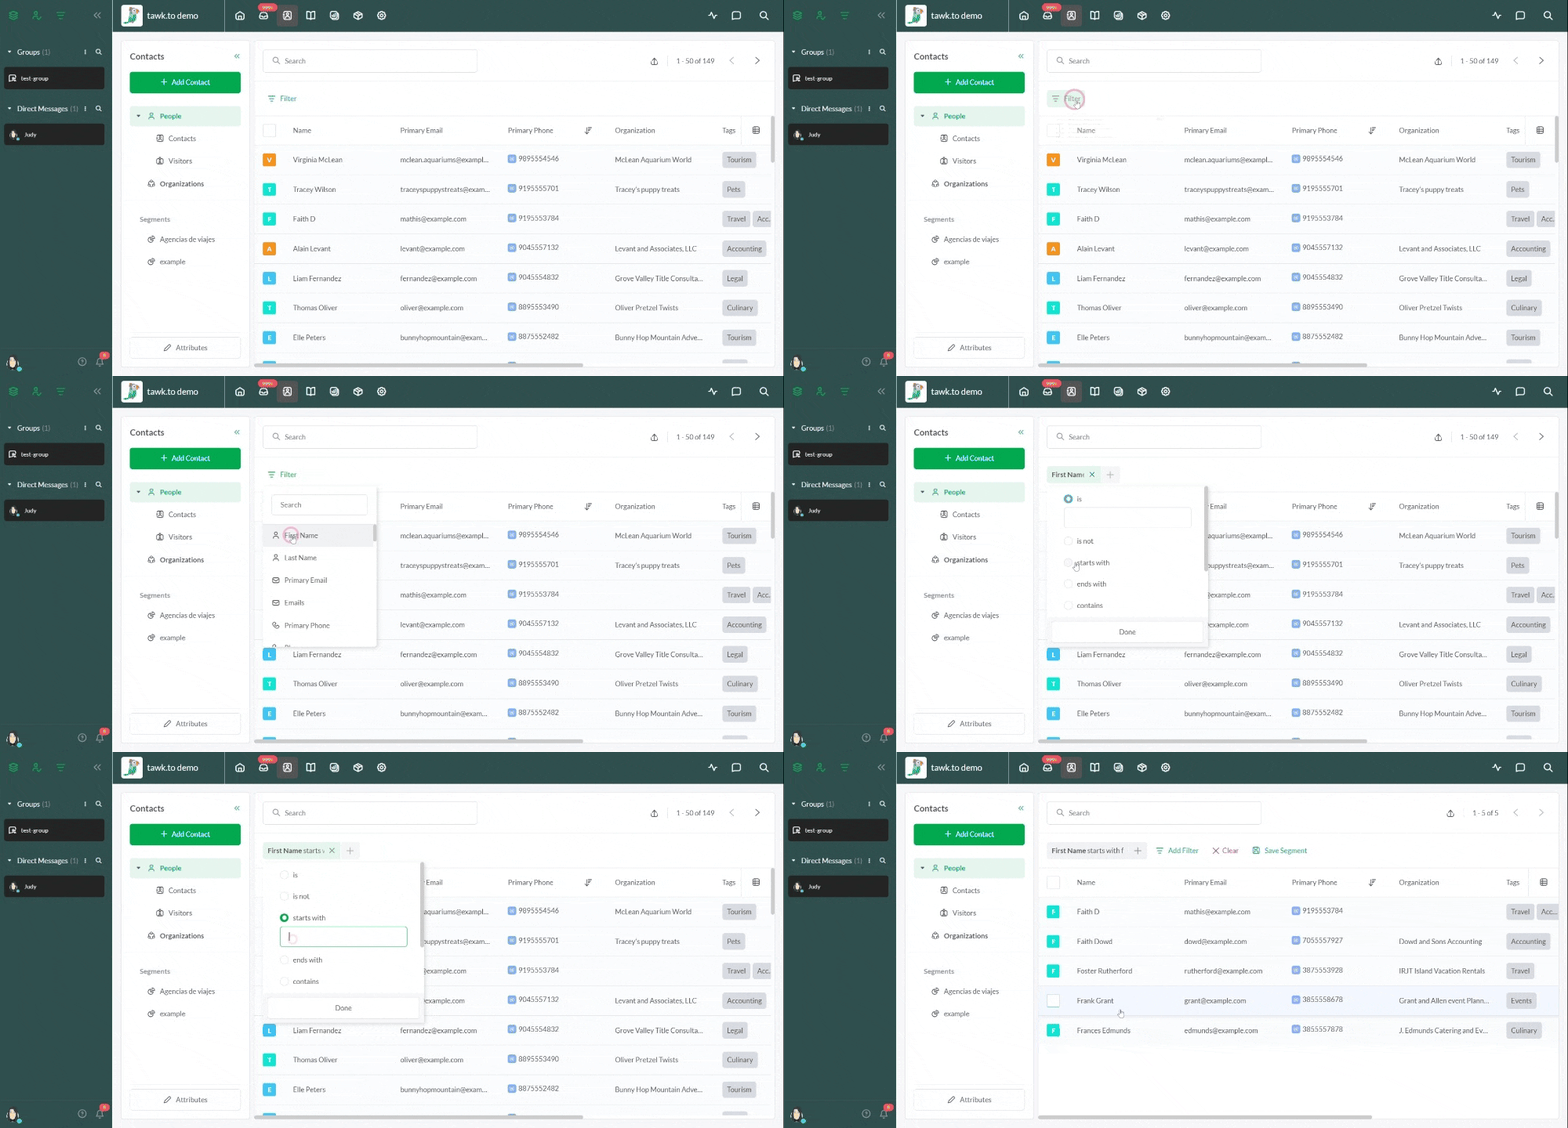
Filters make it easy to segment your contacts to match your specific marketing and sales priorities.
Click the Filter icon in the upper-left corner to sort and view contacts using one or more of the 34+ available attributes.
Filters include the following:
- Name
- Primary Email
- Emails
- Primary Phone
- Phones
- Organization
- Job title
- Tags
- Facebook URL
- LinkedIn URL
- Twitter Handle
- Instagram handle
- Country
- City
- Region
- Hostname
- IP
- OS
- Browser
- First Web Session
- Latest Web Session
- Total Web Sessions
- Page Views
- Time Spent
- First Live Chat
- Latest Live Chat
- Total Live Chats
- First Ticket
- Latest Ticket
- Total Tickets
- Created
- Updated
- First Seen
- Last Seen
Any custom attributes you add to a contact profile will also appear in the list of filters.
Each attribute lets you choose positive and negative qualifiers.
For example, when you select Tags you’ll have four options:
- is not
- contains
- does not contain
- is unknown
Select Add Filter to select an additional filter.
Select Clear to remove all selected filters.
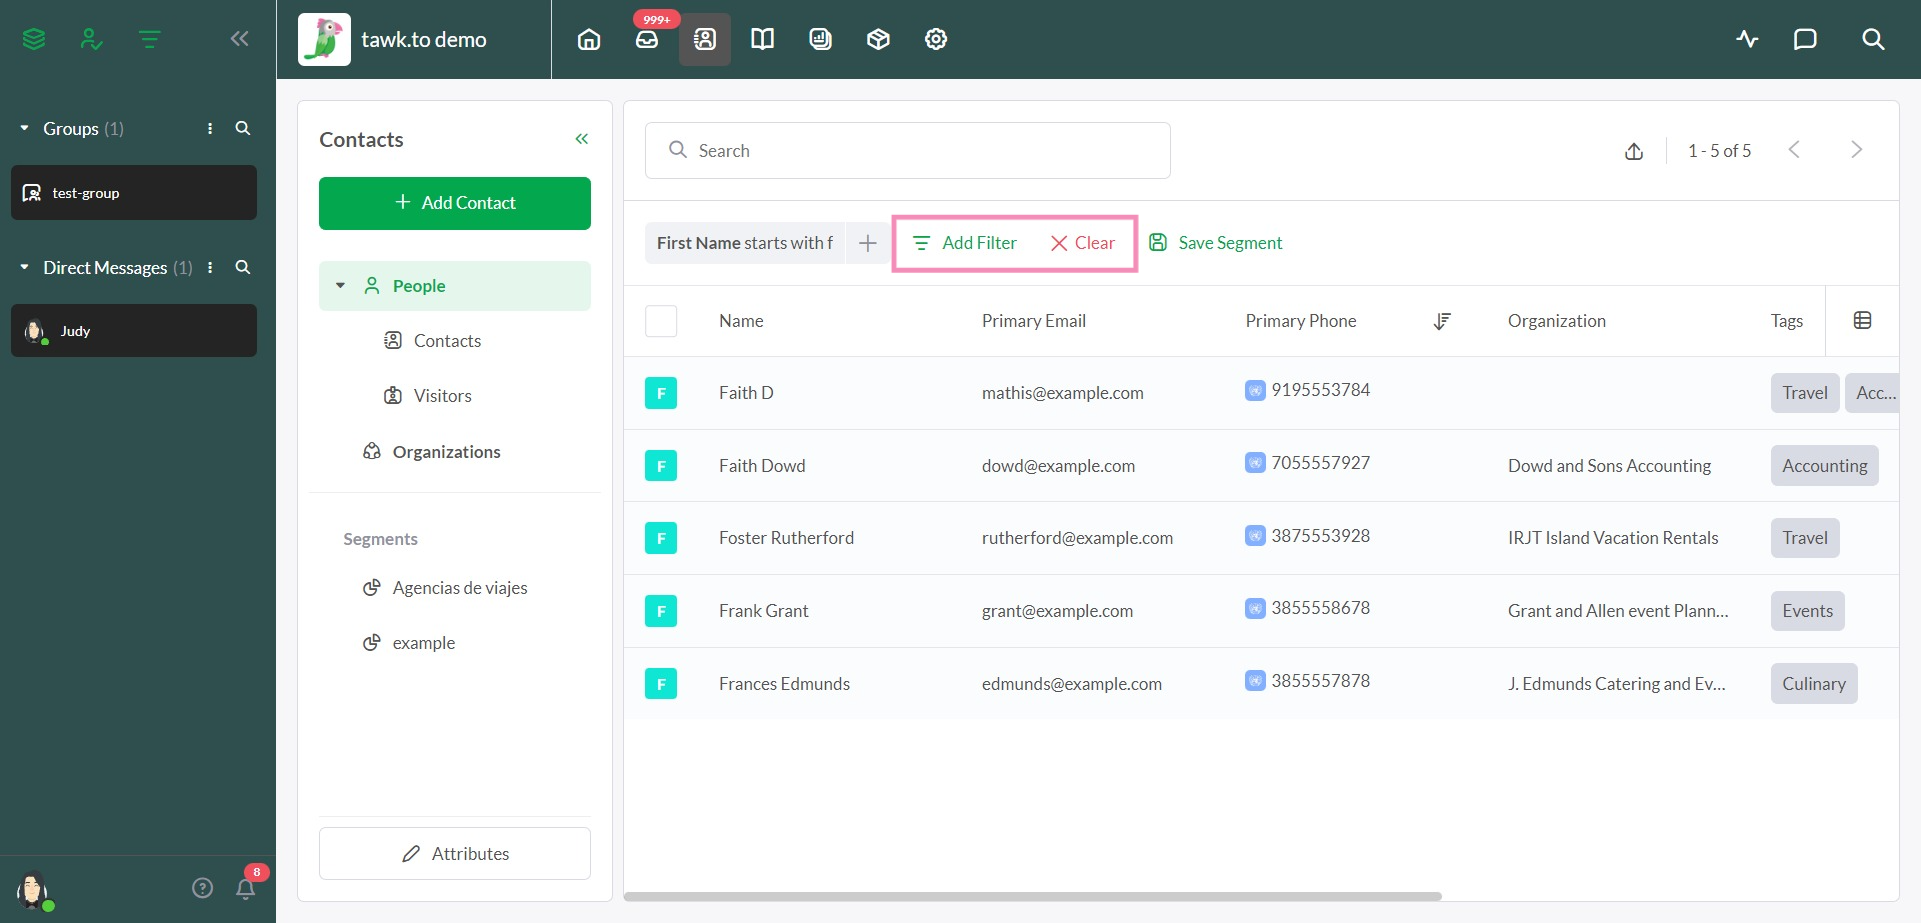
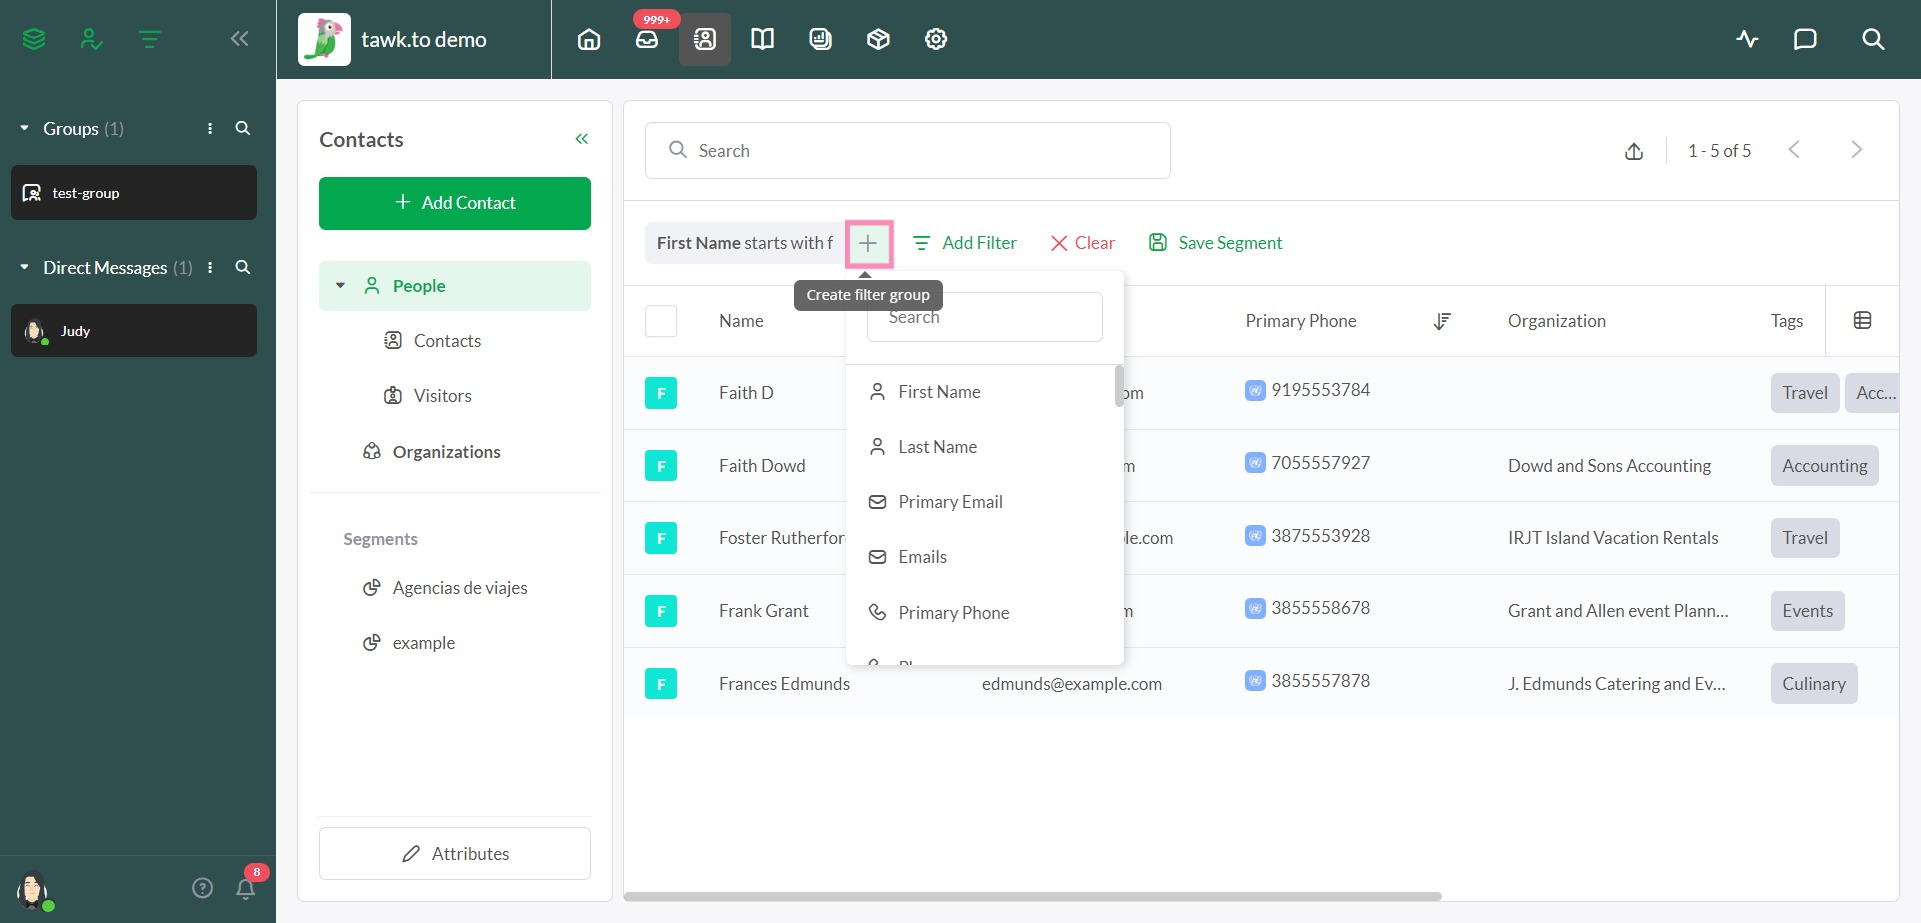
Filter groups help you sort through your contacts quickly. To create a new filter group, add a filter.
Then, directly to the right of your filter, click the Plus (+) icon for Create filter group and select a second filter. Repeat for any filters you would like to include.
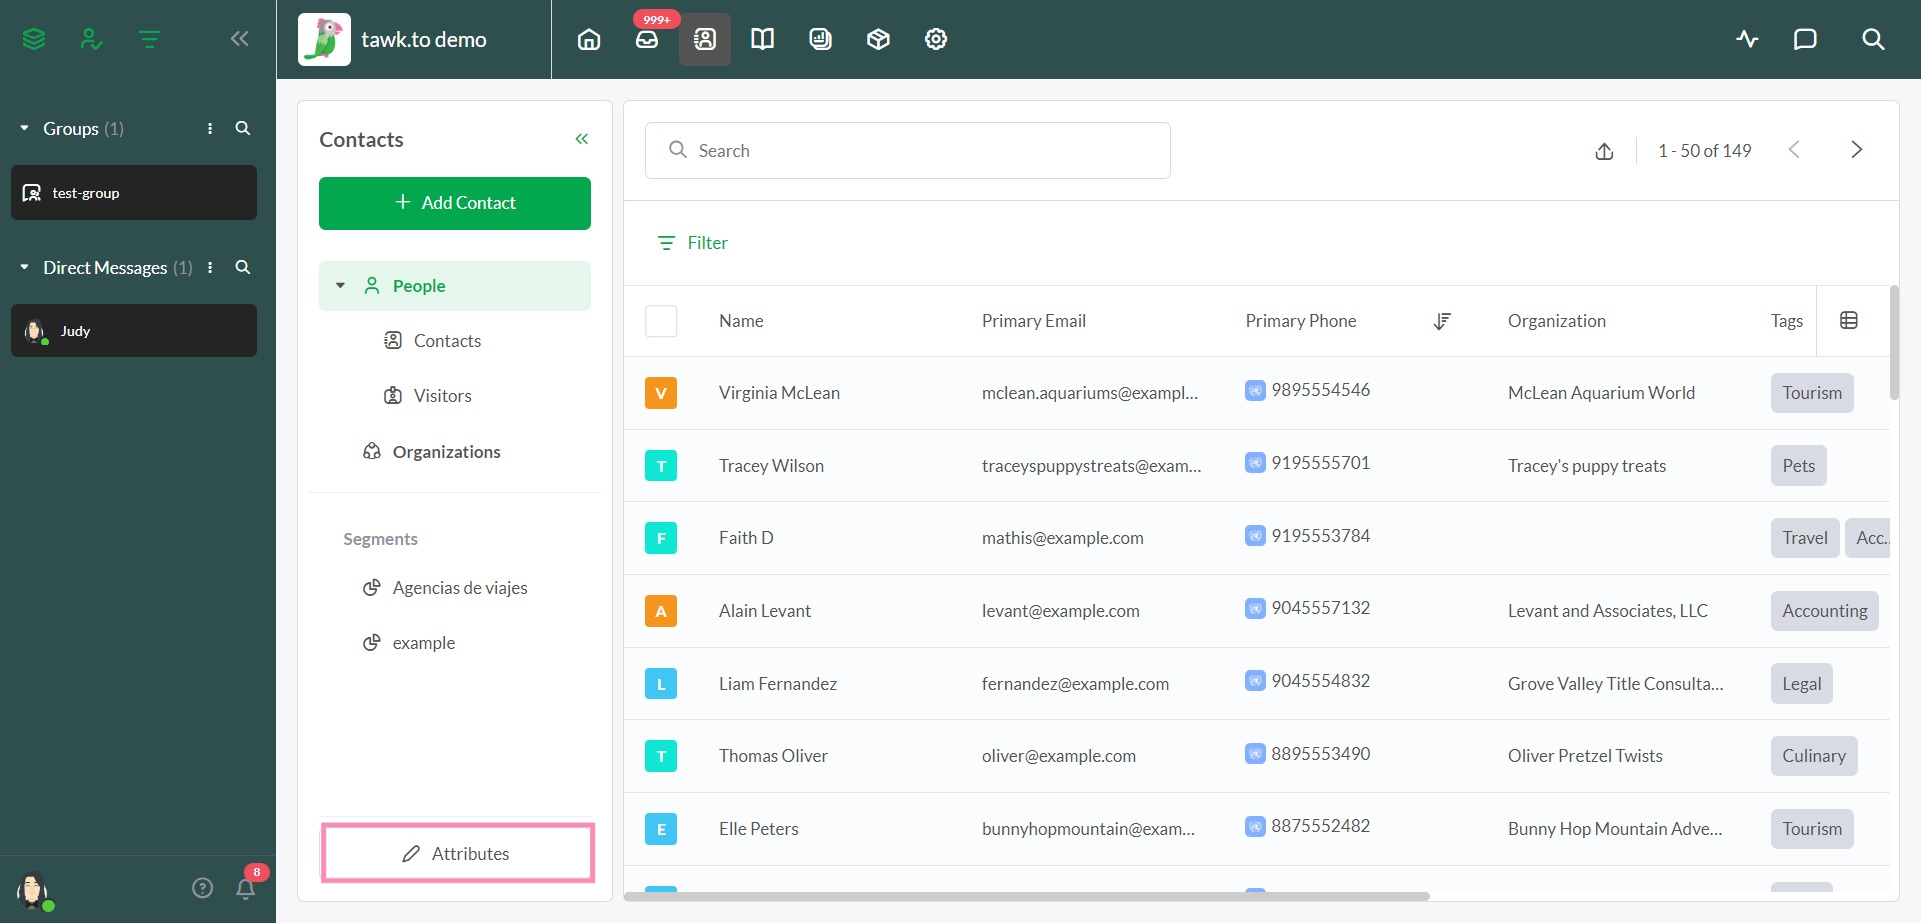
Adding custom attributes
To add a new custom attribute to the list or delete an existing one from the contact list, click Attributes in the lower-left corner of the Contacts panel.
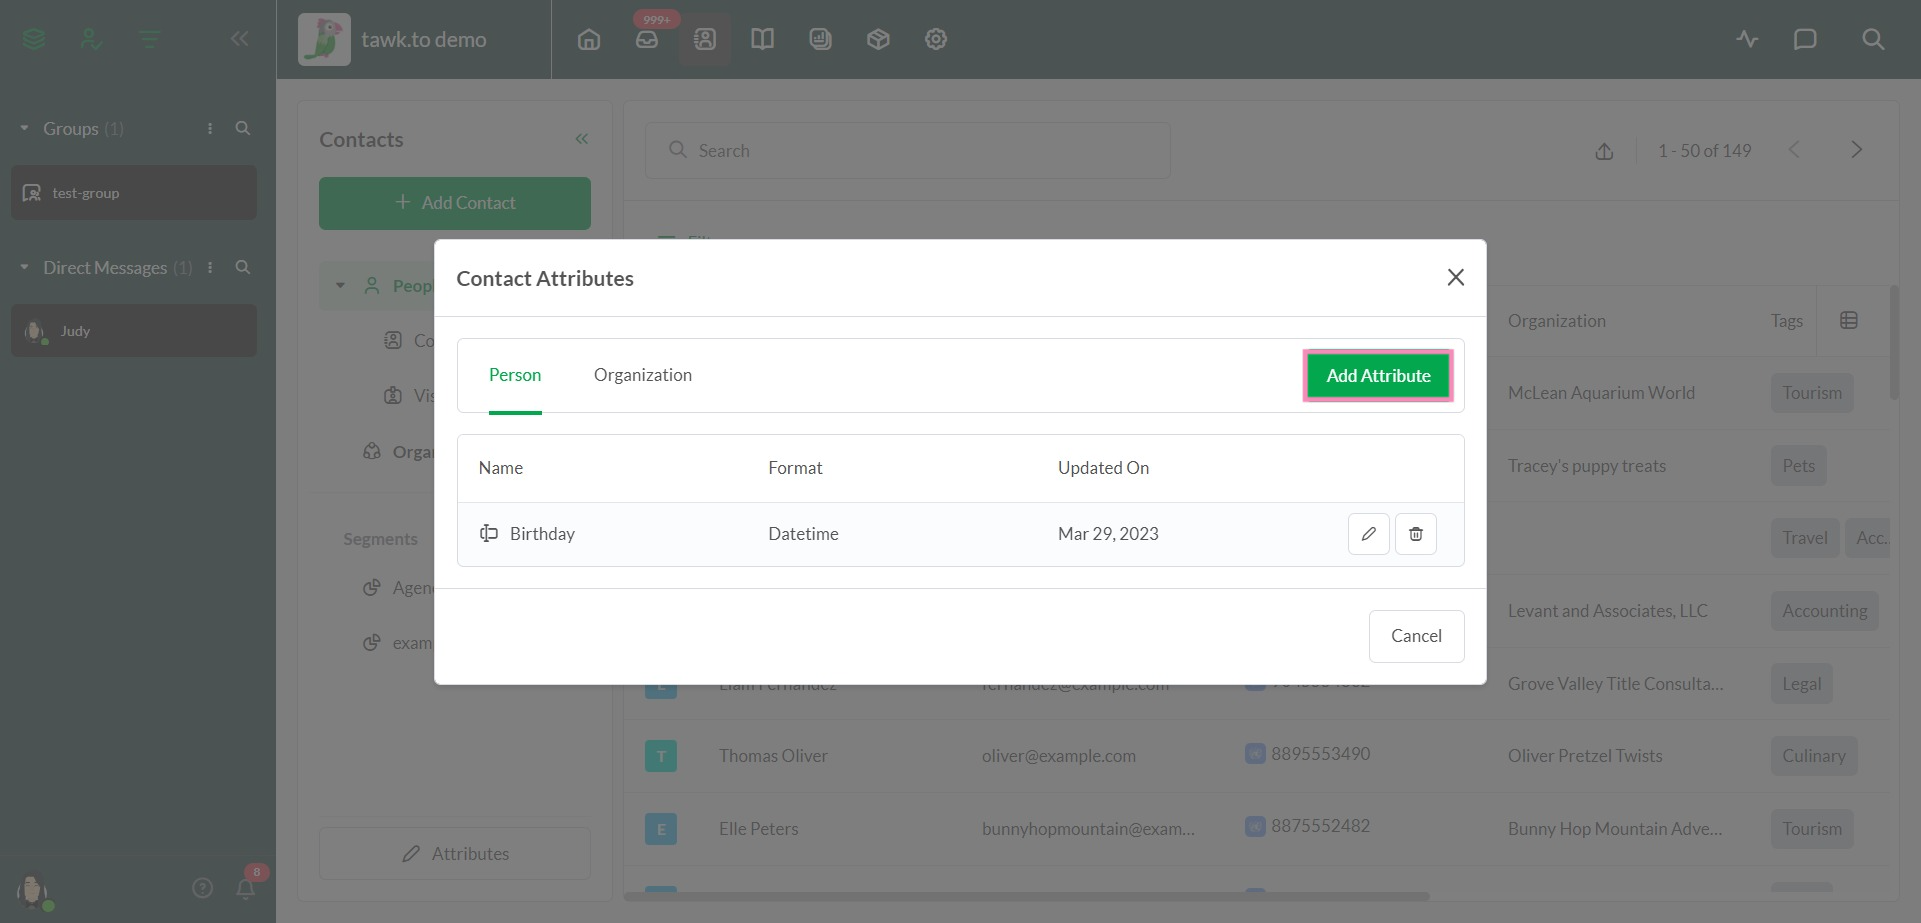
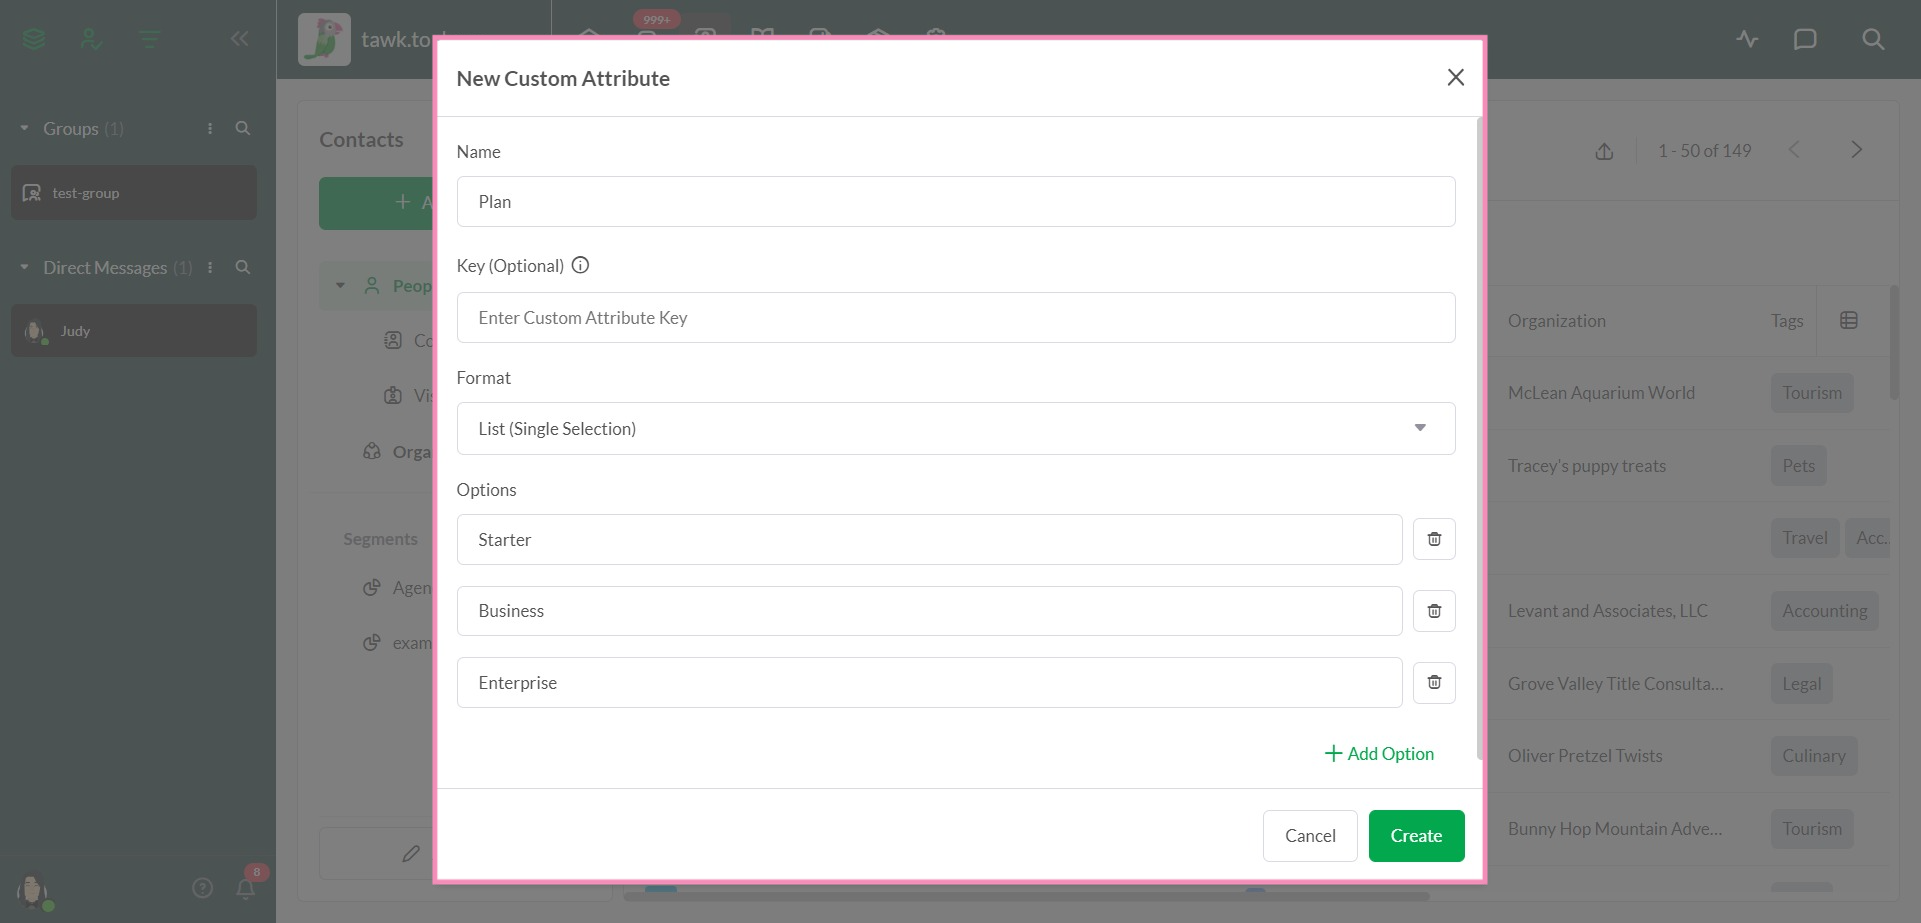
Click the + Add Attribute button to create a new attribute.
Enter the name of your attribute and click the Create button.
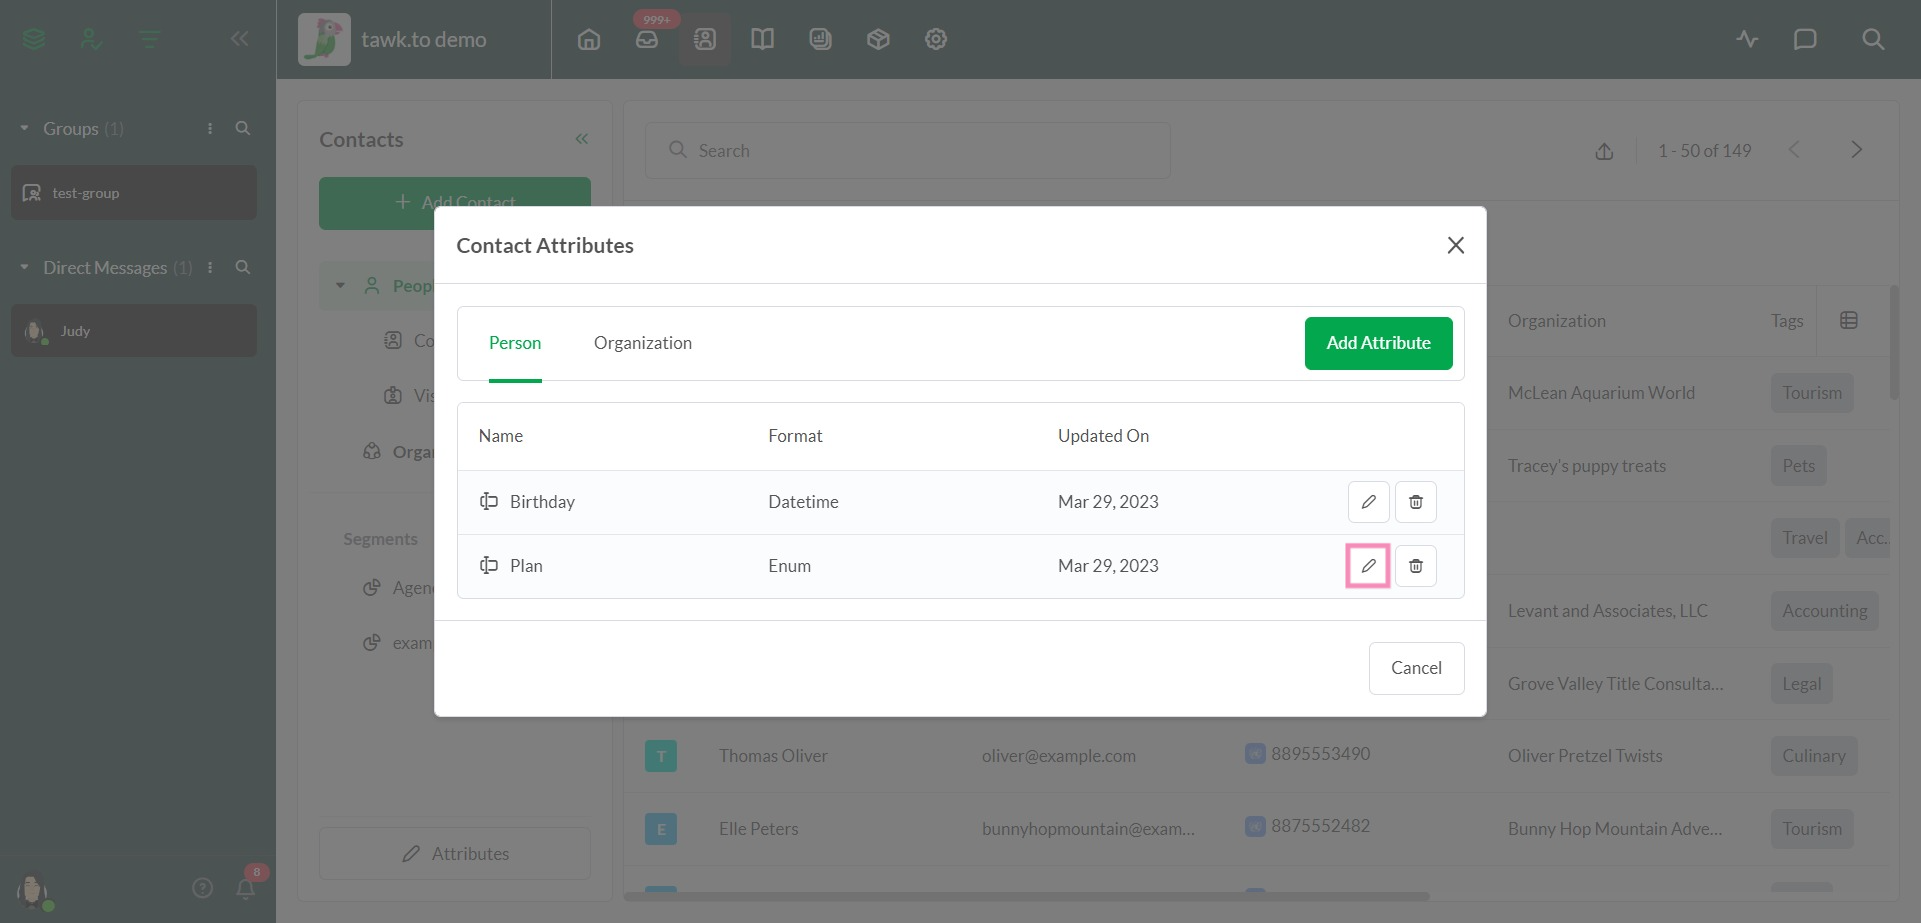
To edit the name of an existing custom attribute, click the pencil icon to the right of the label.
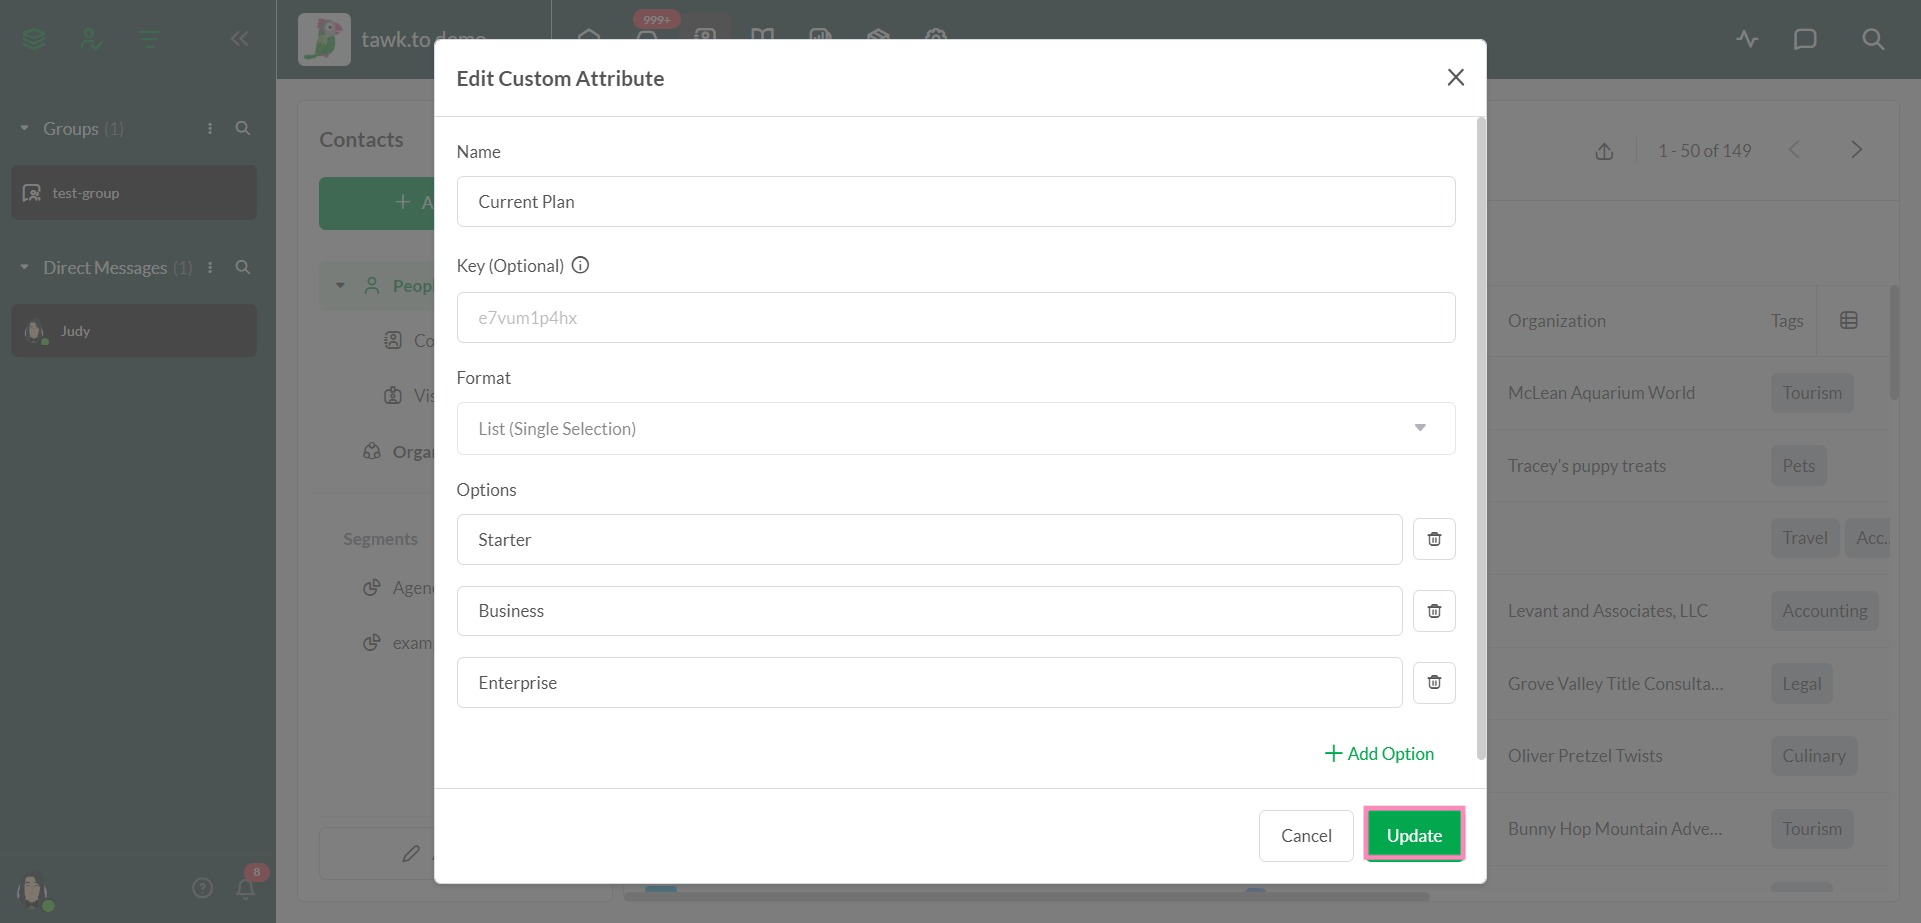
Make your edits. Then, click the Update button to save your changes.
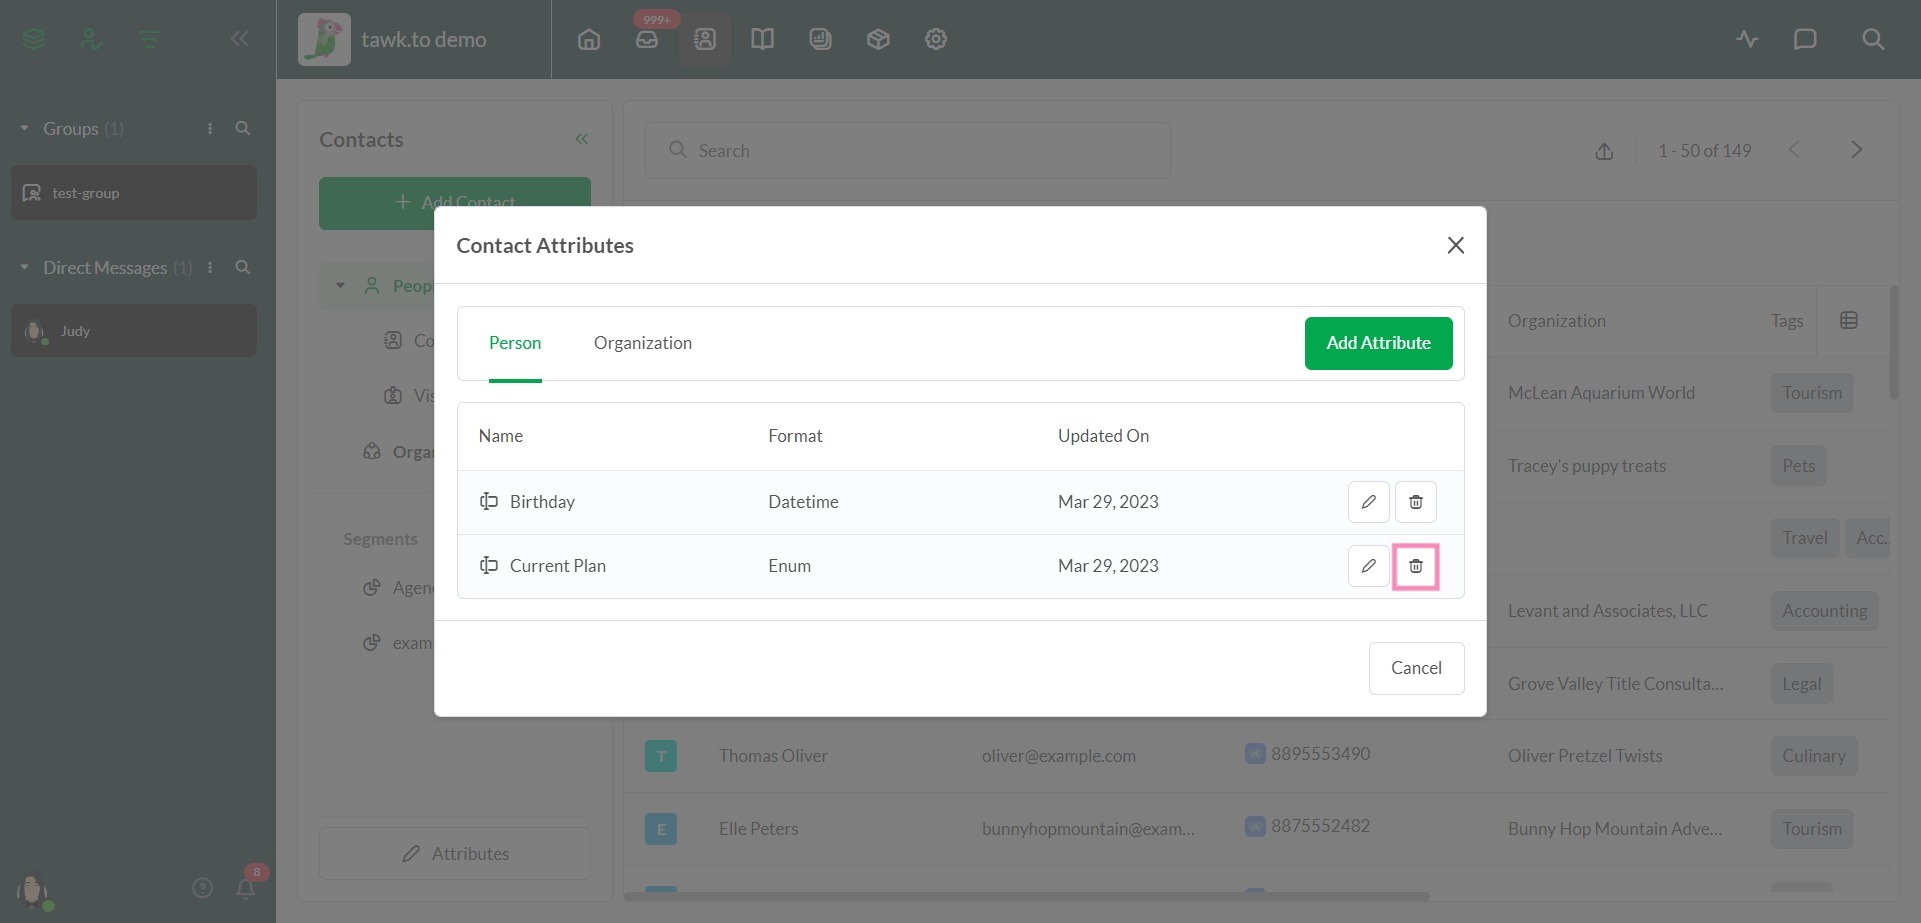
Click the Delete (trash) icon to the right of an attribute to remove it as an option.
Create and save segments
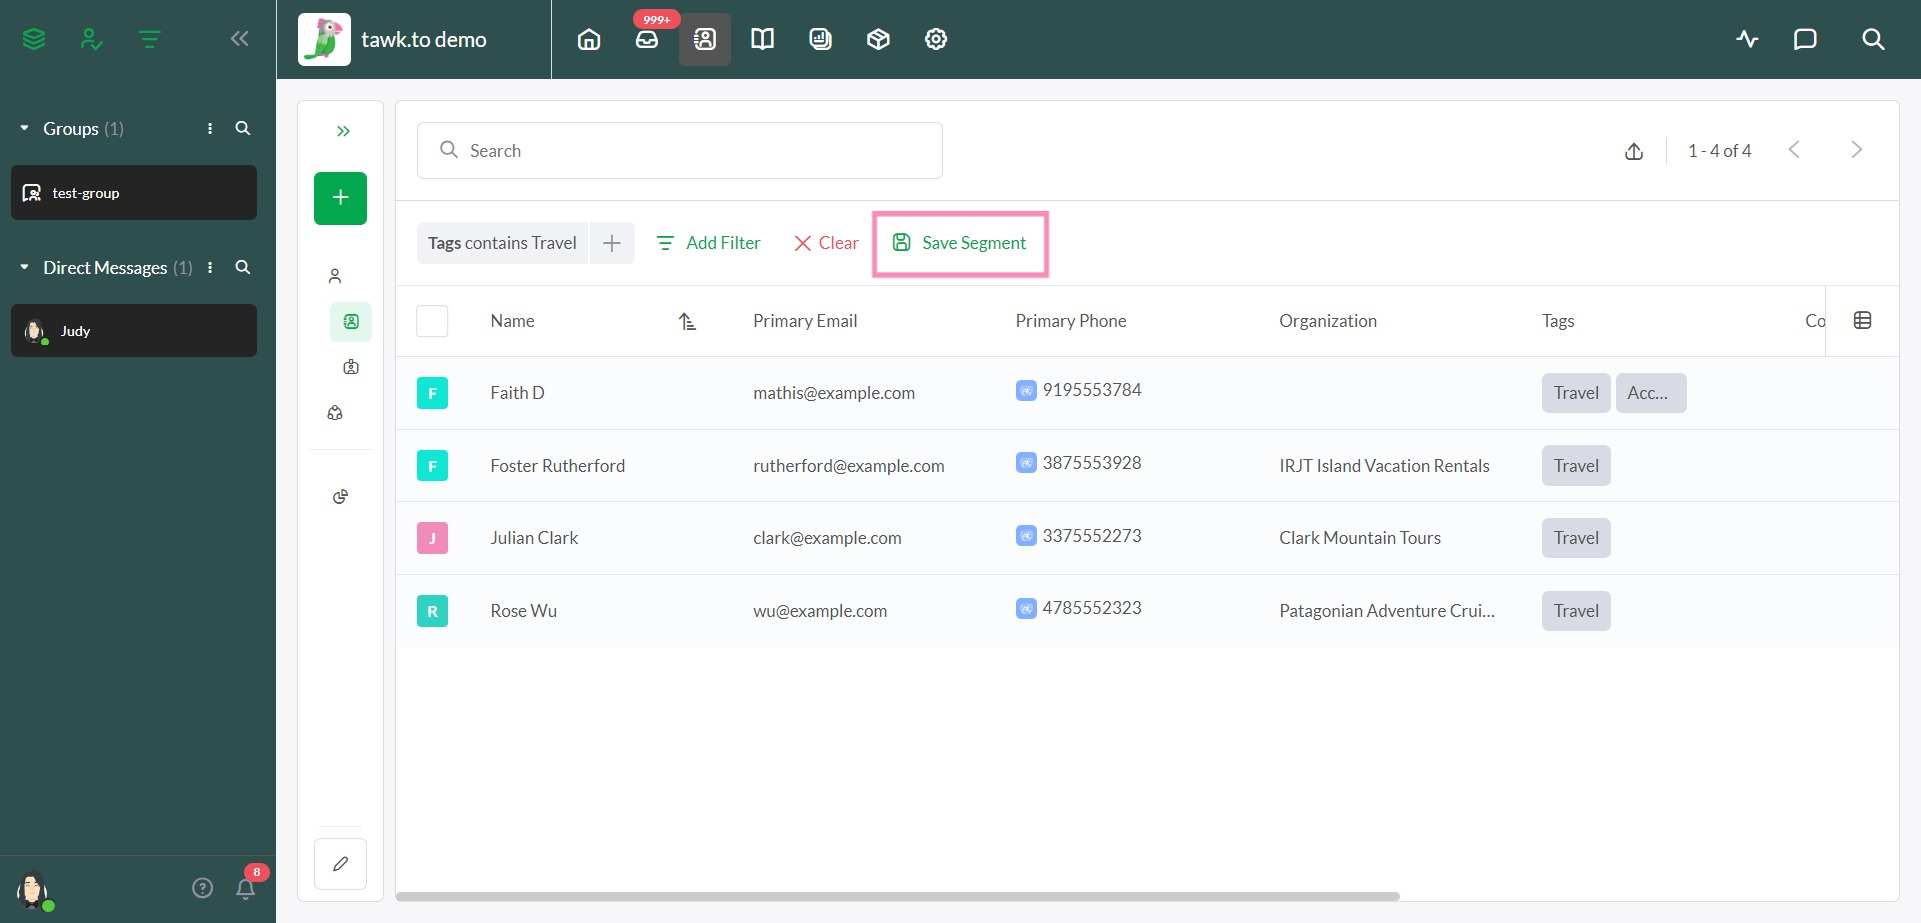
Once you’ve narrowed your list of contacts with filters, click Save segment in the upper right to confirm your new list.
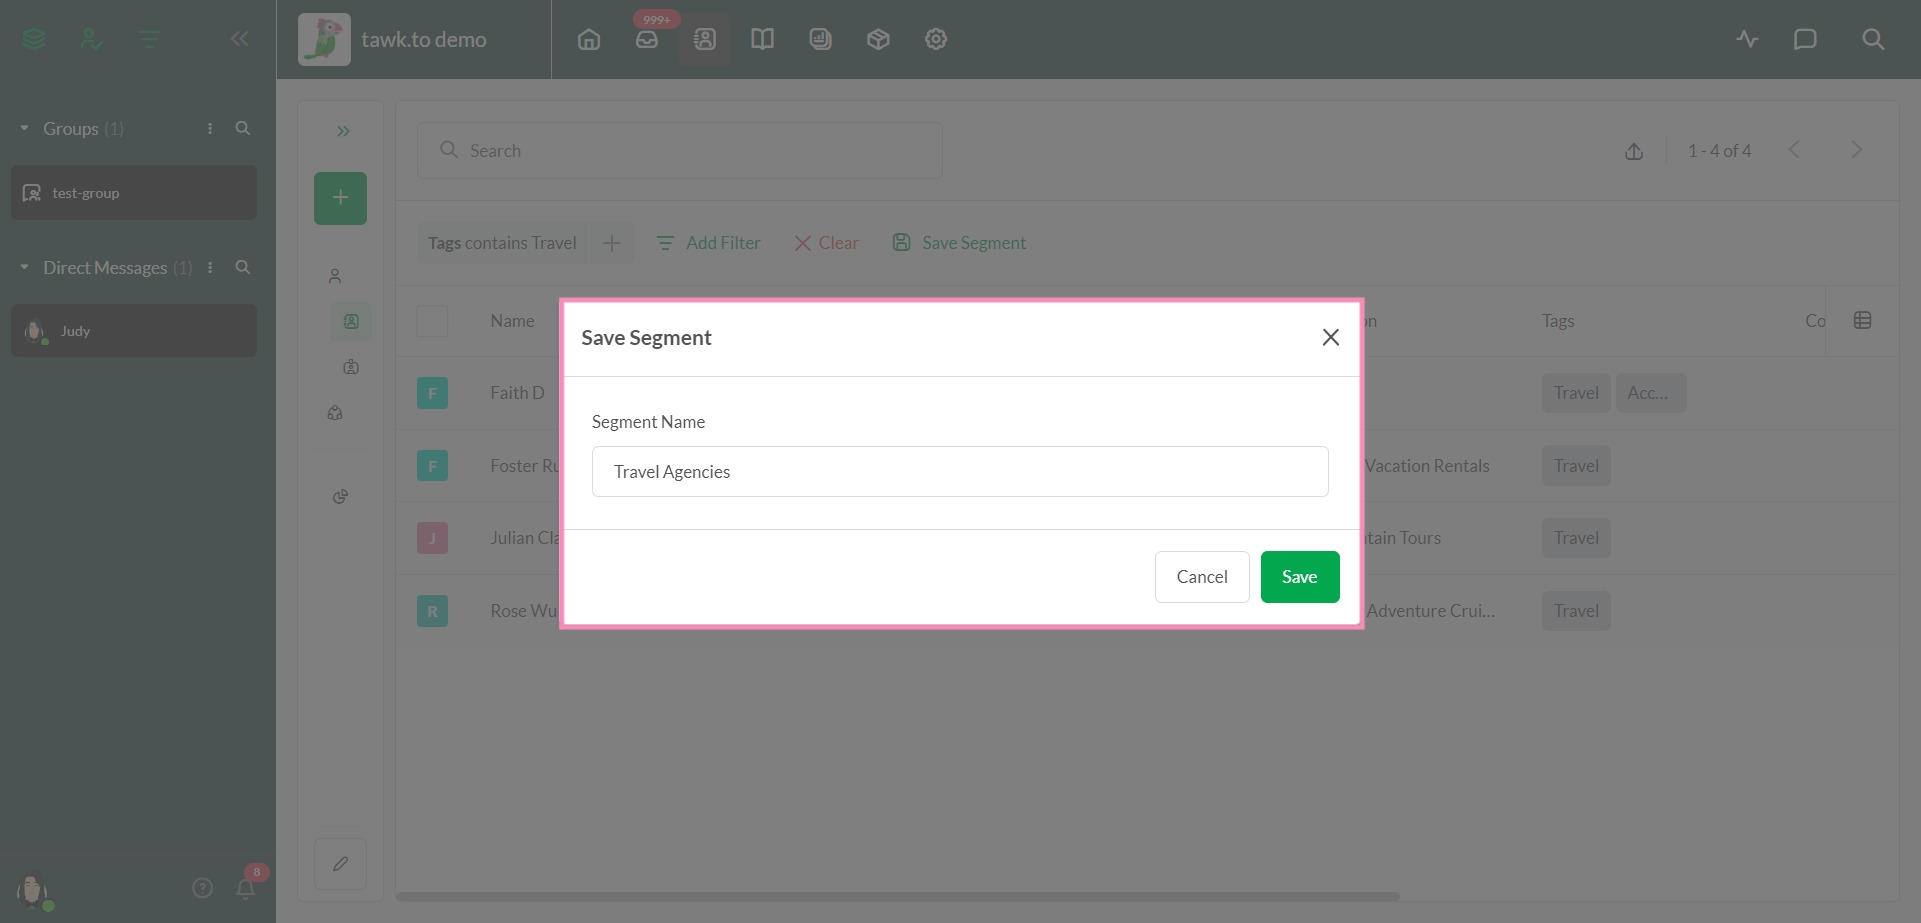
Give your new segment a name in the popup window that appears. Then, click the Save button in the lower-right corner.
Your new segment will appear in the lower right of the Contacts menu under Segments.
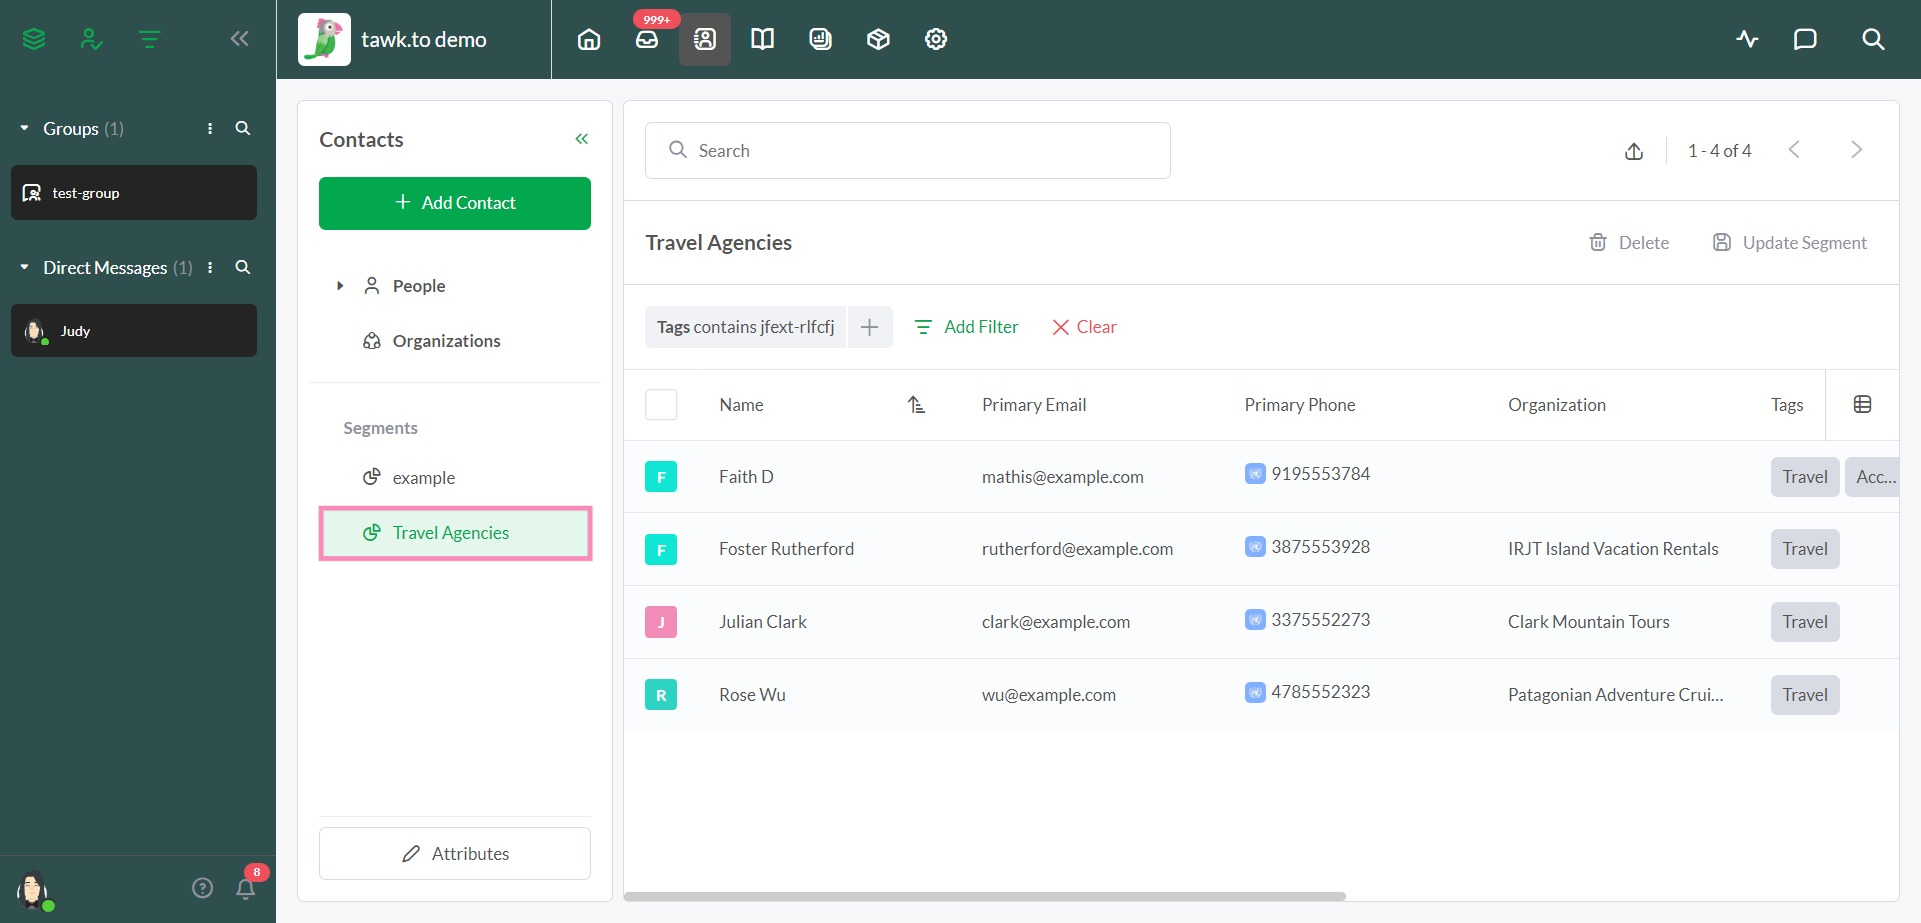
You can refer back to your segment any time to view or modify your list.
View and manage contact profiles
To view and manage an individual profile and messaging history, click a contact’s name in the list.
This opens a new view where you can add a profile photo, contact information, job title, social profiles, and any custom attributes you would like to use for sorting and segmenting your contacts.
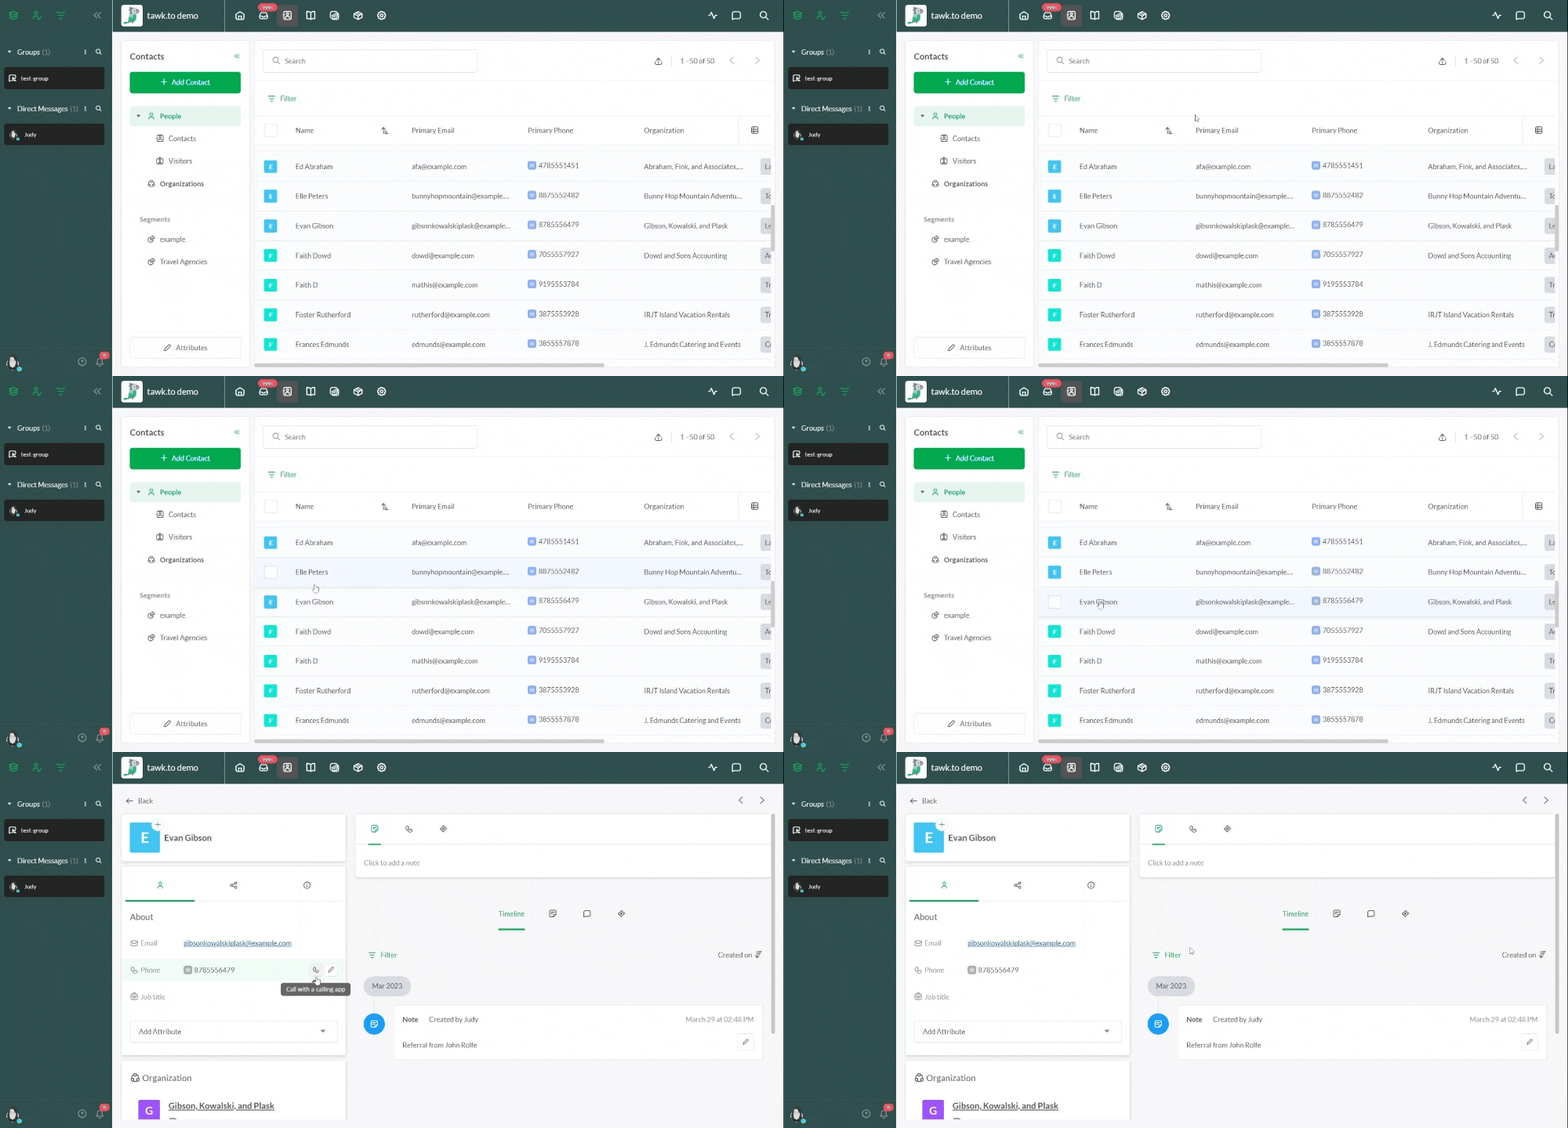
Below the attributes, you can link the new contact to any organizations you’ve added to Contacts.
Learn more about customizing your contact’s profile: How to customize a profile in Contacts
Manage and respond to conversations in Contacts
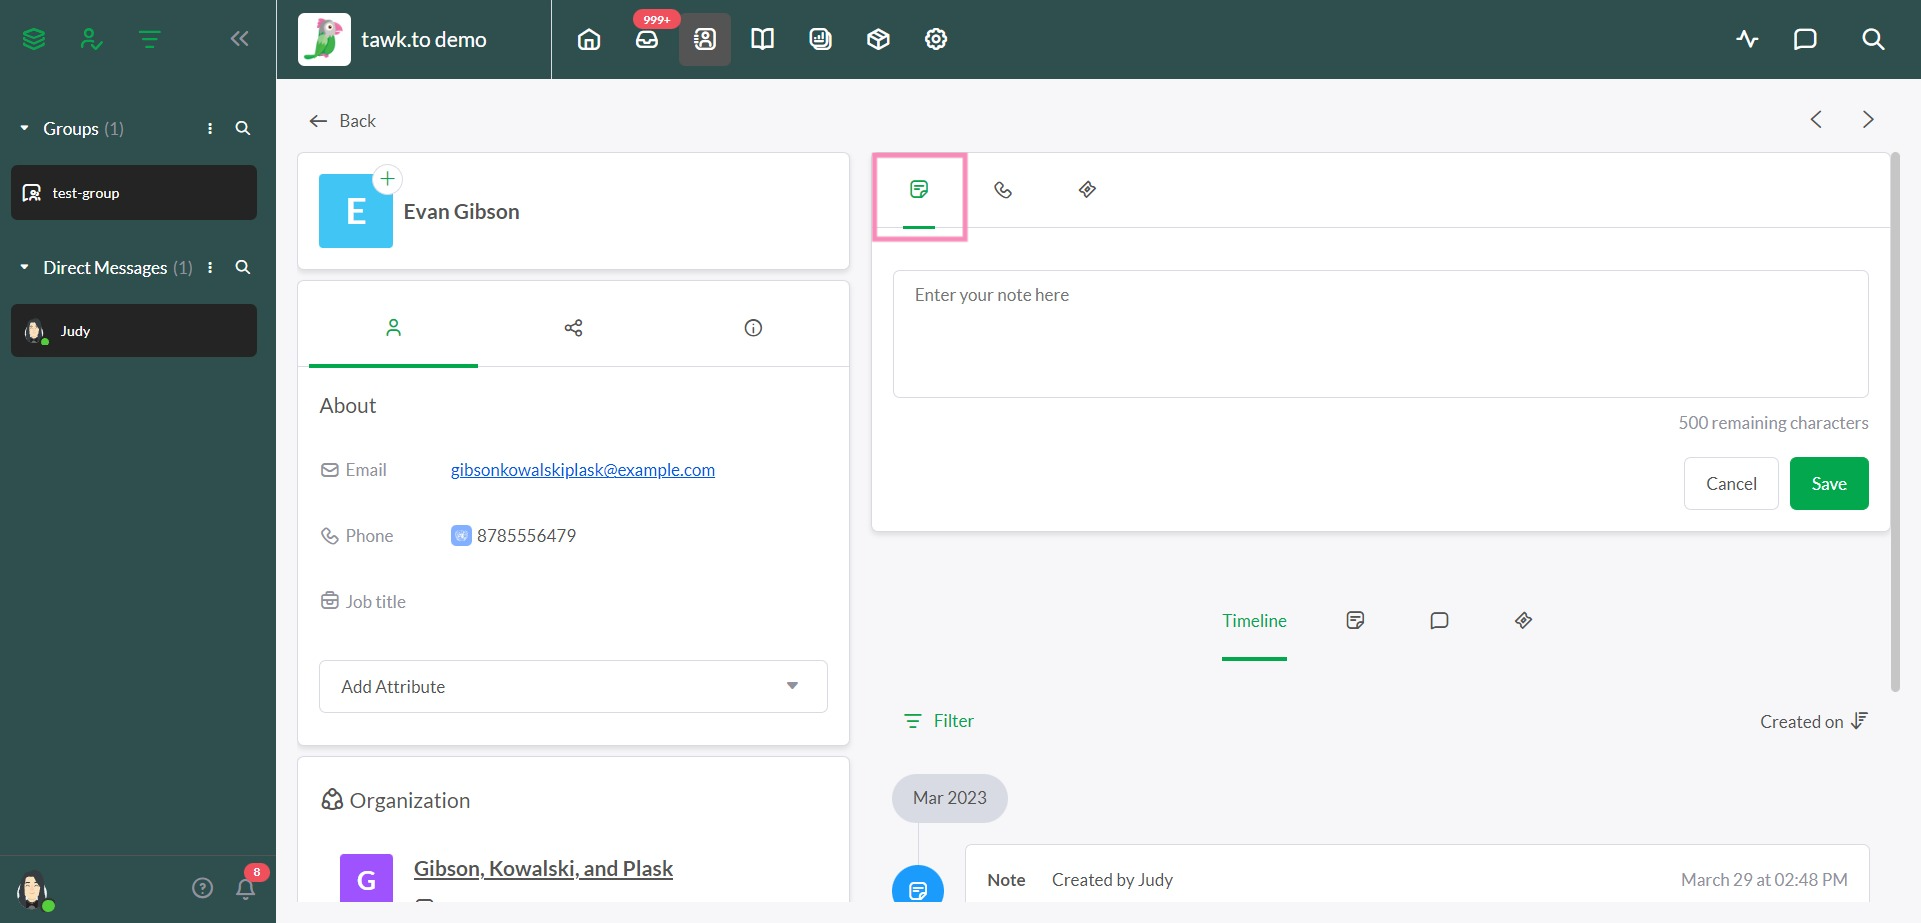
In the upper right menu, select an icon to add a note, start a phone call, or create a new ticket.
Add a note
Click the Note icon to add a note to the contact’s record. All property members will be able to view the note. However, your contact will not be able to see it. Enter your note and click the Save button to add it to the record.
Call a contact
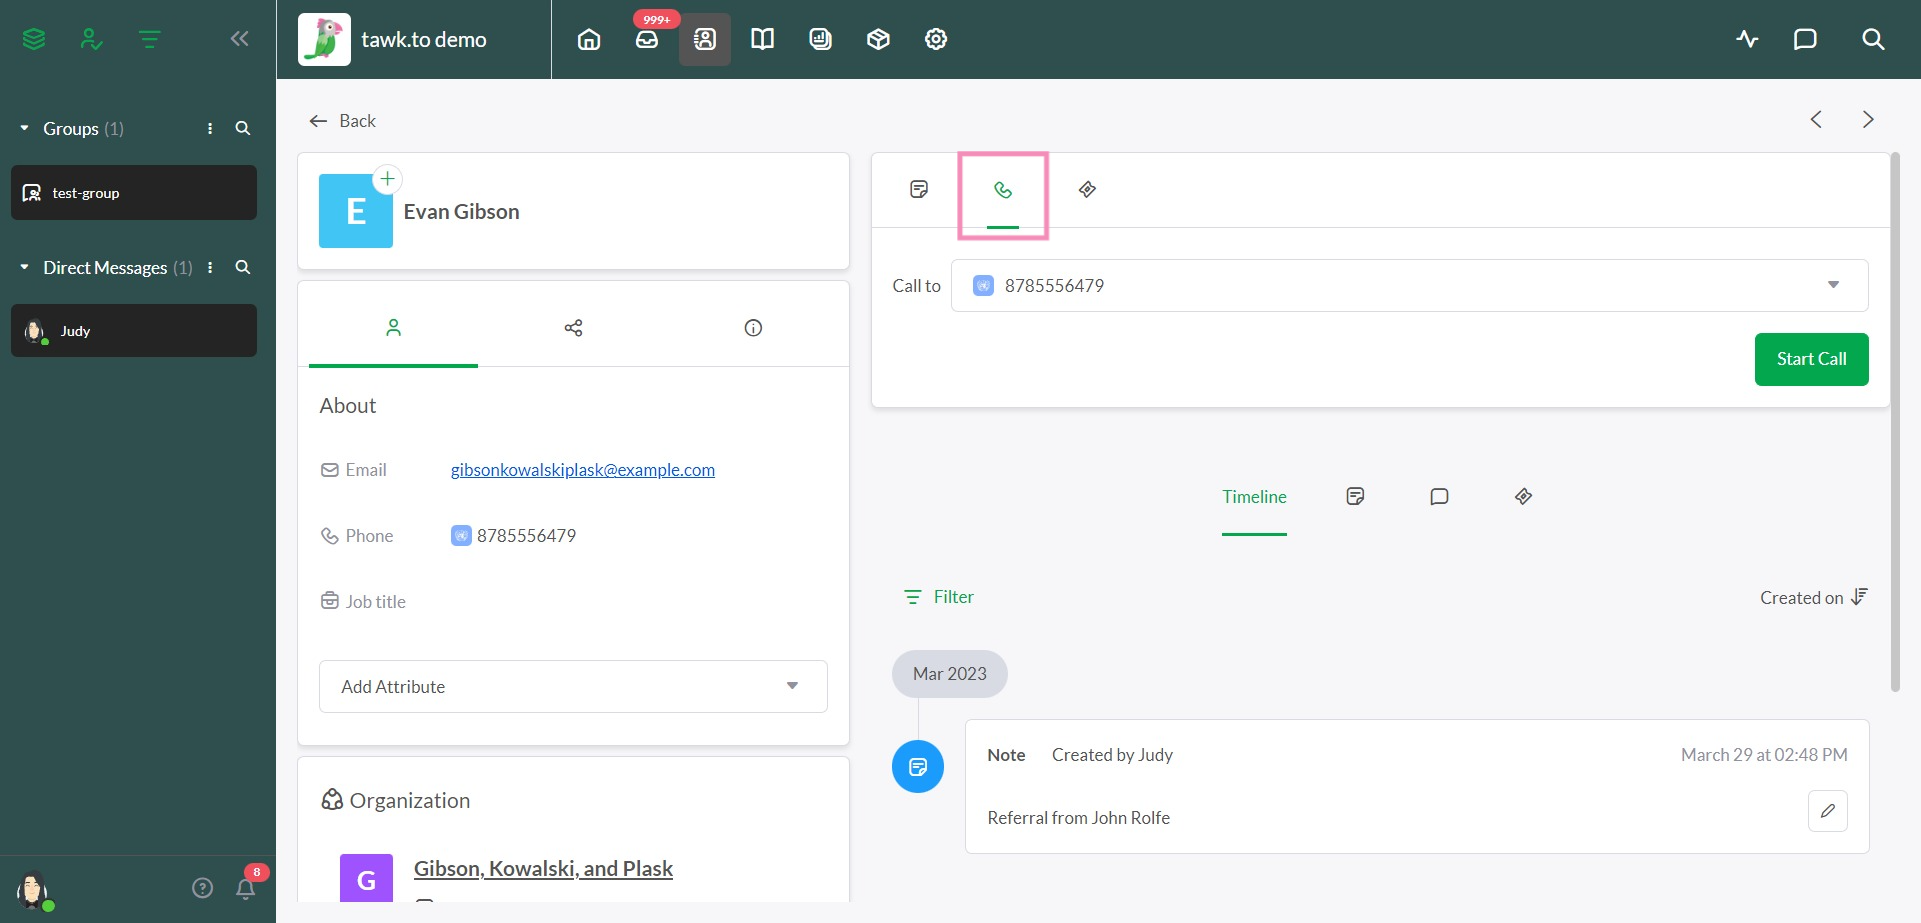
Click the Call (phone) icon and select a number to start a phone call. If you have not connected your phone carrier to tawk.to, you will be prompted to select a service. (This feature is in development and will be available soon.)
Create a new Ticket
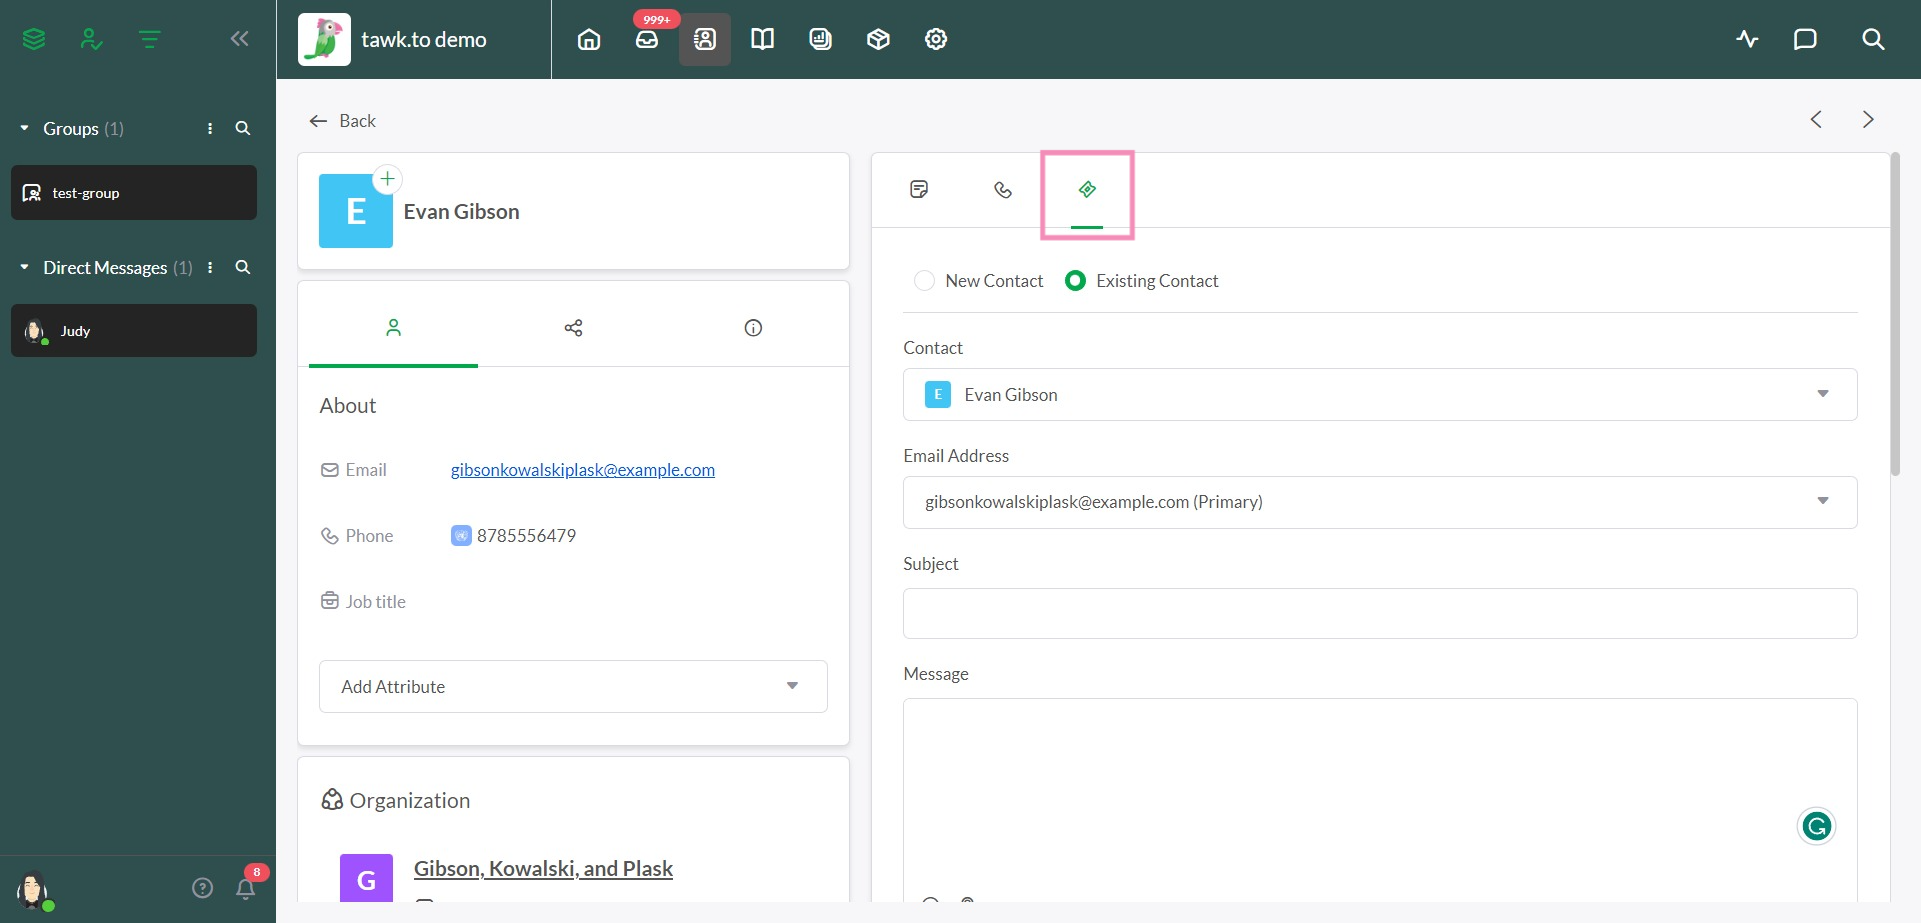
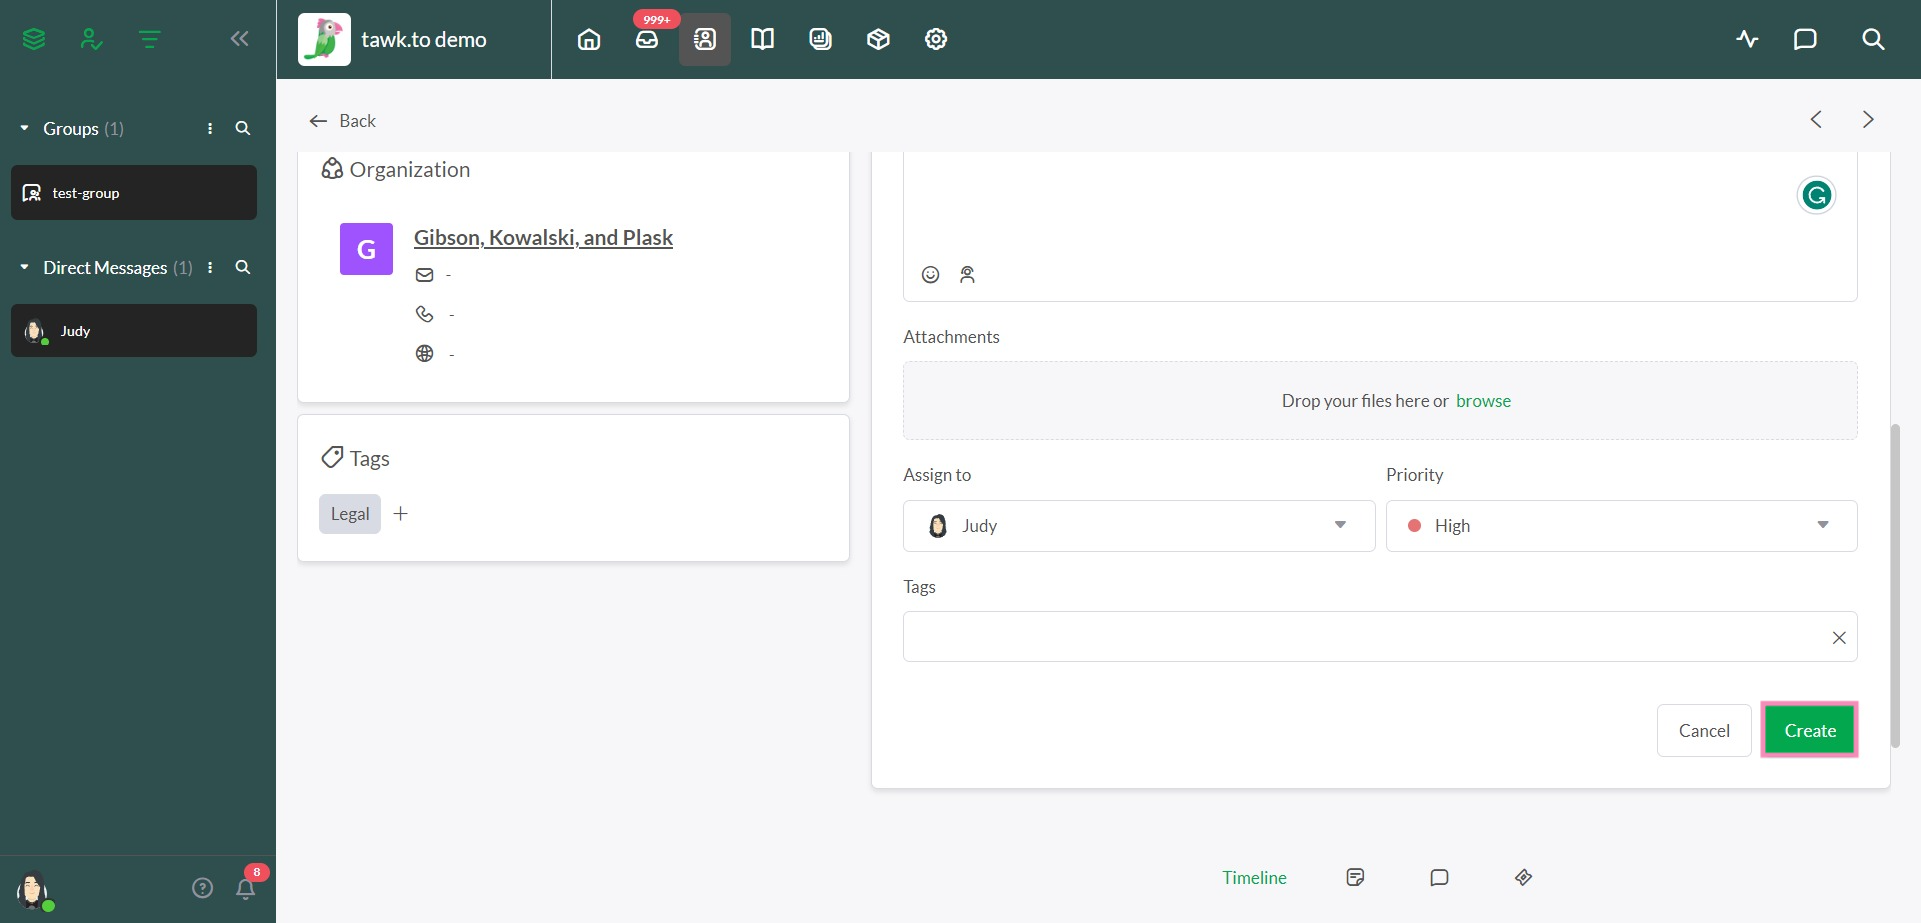
Click the Ticket icon to create a new ticket. This sends an email to your contact from your help desk.
Select an email address in the menu or select New Email to add a new email address to your contact’s profile.
Under Subject and Message, enter your email subject line and email message.
Under Attachments, drag and drop any files you would like to send or click browse to upload a file. To upload an additional file, click the Plus (+) icon to the right of your existing upload(s).
To assign the ticket to an agent or department, use the pull-down menu to make a selection next to Assign to.
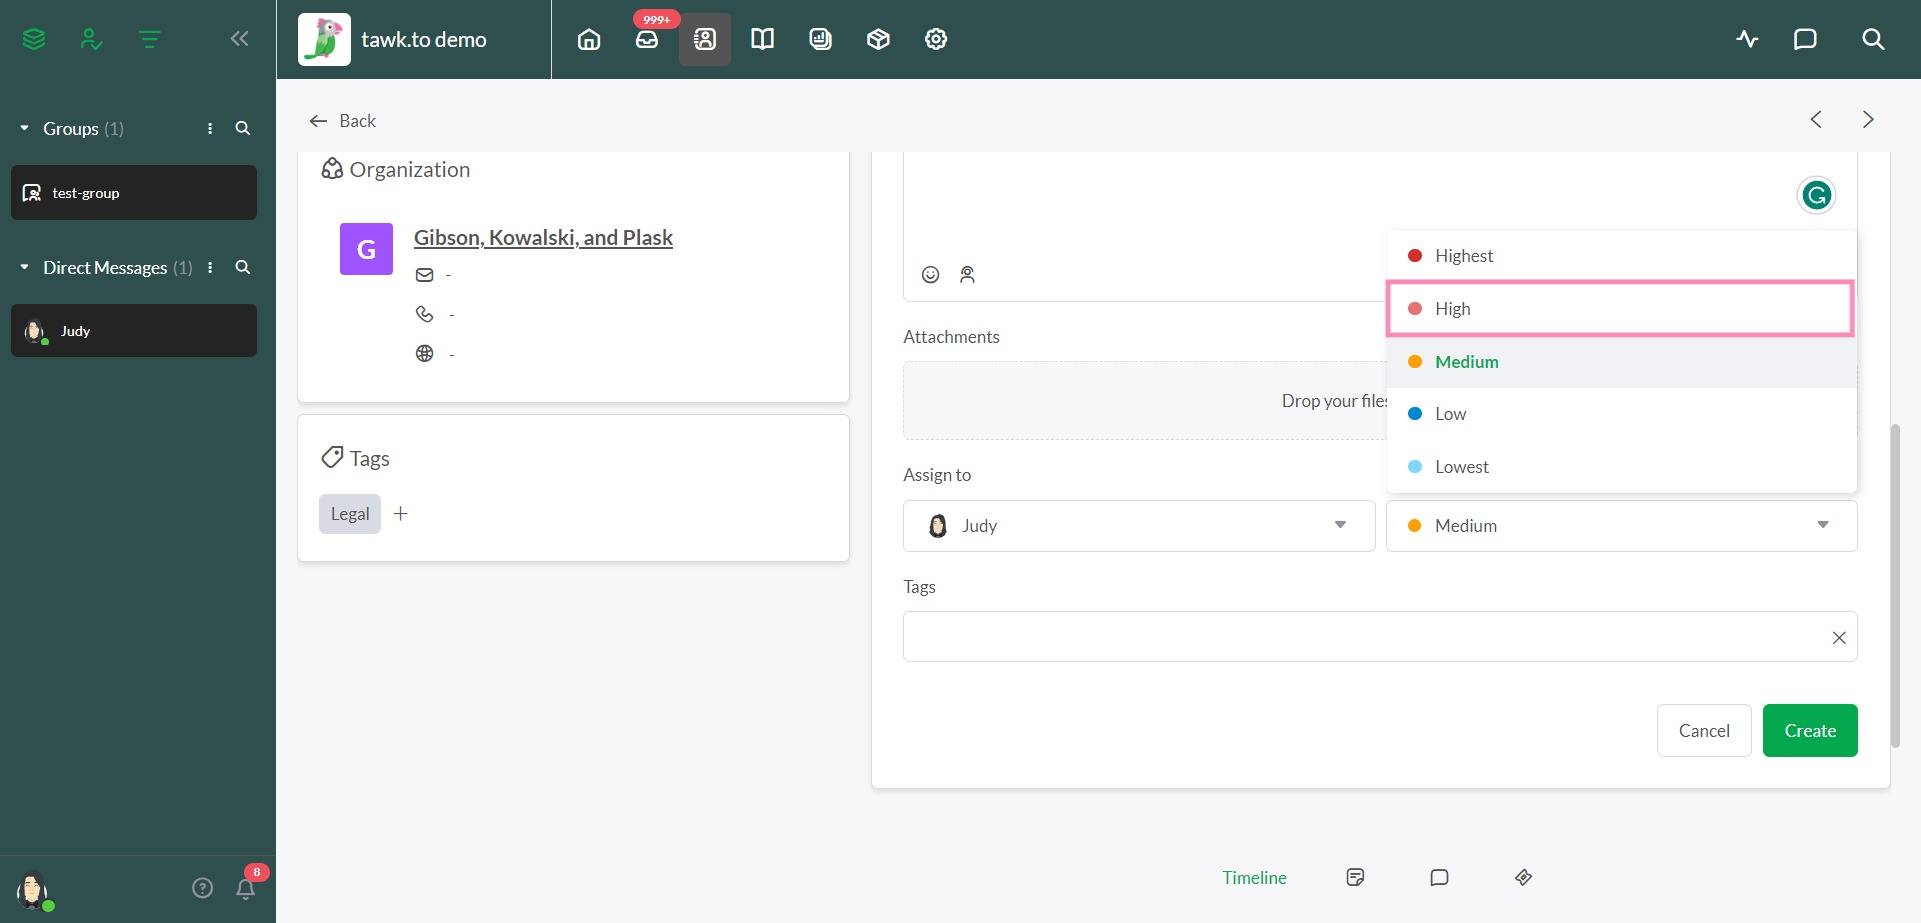
Next, click the pull-down menu to choose a Priority: Lowest, Low, Medium, High, or Highest.
You can also create and assign one or more tags. To add a new tag, enter a name for your new tag. Then, click the Save icon.
Finally, click the Create button to send your ticket. You can view the ticket and continue the conversation in both Contacts and your Inbox.
View a contact’s messaging history
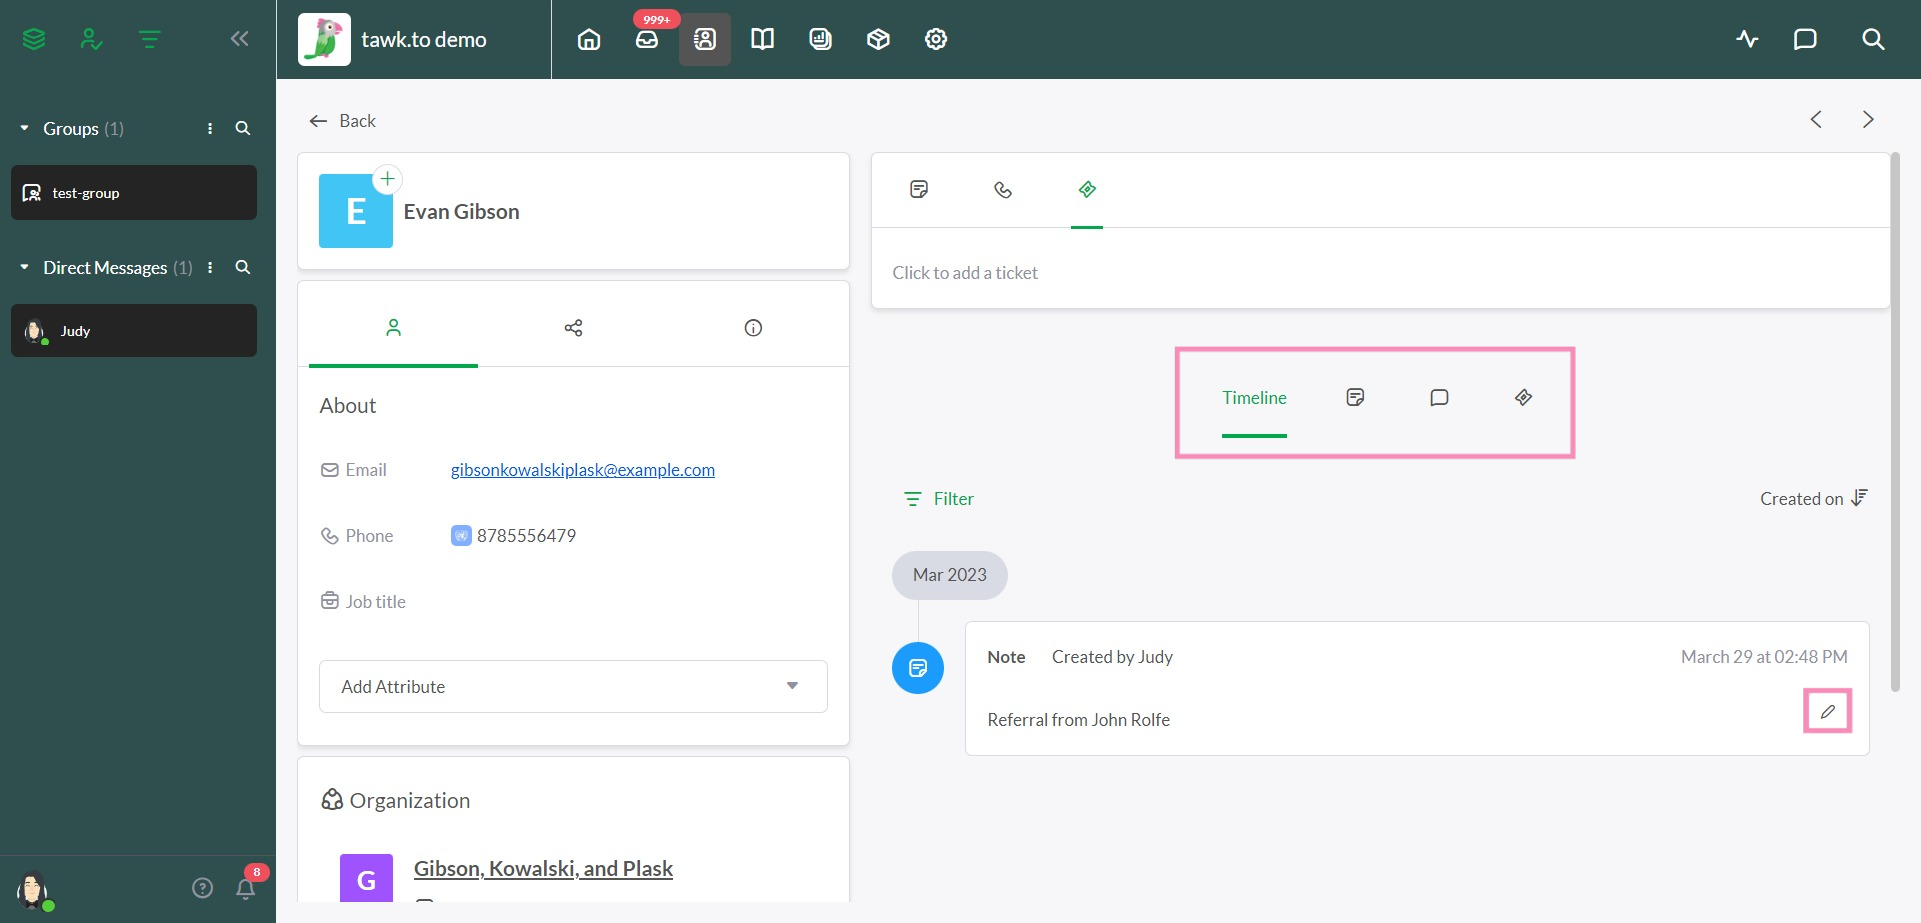
The Timeline in the lower-right displays a history of the contact’s activity on your site.
Here, you can view previously created notes, transcripts of past chat conversations and all ticketing support emails for your contact.
Click the Note icon to view any notes you or other property members have created. To modify an existing note, click the Update (pencil) icon. Make any edits or updates to your note. Then, click the Save button to update your changes.
Click the Chats (chat bubble) icon to view a history of your past chat conversations.
Click the Ticket icon to view past ticketing emails
Still have questions about Contacts or need assistance? Schedule a call with a member of our support team here.
