How to integrate AI Assist with Twilio calls
The instructions below are for desktops and laptops only.
Sometimes, your customers may prefer talking to an agent instead of chatting with a bot. With tawk.to’s AI Assist, you can delight your customers with AI-assisted call escalation.
Using a VoIP service, you can get AI Assist to call your support team when your customers ask to speak to an agent.
In this guide, we show you how to do this using Twilio and AI Assist’s API Integration. You may repurpose the instructions below for other VoIP services, such as Ring Central, Bandwidth or Amazon Connect.
First, set up Twilio
2. Create a TwiML App:
a. On the Twilio Console, go to Develop > Voice > Manage > TwiML apps.
b. Click Create new TwiML App.
c. Set the Voice Request URL to point to your server endpoint that will handle the call.
3. Create an API Key that authorizes you to interact with Twilio APIs:
a. Go to API keys and tokens.
b. Click Create API key.
a. Go to Develop > Functions And Assets > Services.
b. Click Create service.
c. Set the following environment variables:
TWIML_APPLICATION_SID: Your TwiML App SID.
API_KEY_SID: The API Key SID.
API_KEY_SECRET: The API Key Secret.
CALLER_ID: Your Twilio number (include a + and the country code).
5. Configure the dependencies for your Twilio Service:
a. Import the necessary NPM modules for your serverless functions:
a. Go to Develop > Functions and Assets > Functions.
b. Create a /voice-token function to issue voice tokens for authentication.
a. Create a server using a framework like Flask (Python) or Express (Node.js) to handle the outbound call logic.Here’s an example in Python (Flask):
a. Use tools like Ngrok to expose your local server to the internet for testing.
b. Initiate a call by sending a POST request to your /make_call endpoint with the to parameter set to the recipient's phone number.
Here’s an example:
Note: Replace “+12345678” with your phone number(s).
Here’s an example:
Note: Replace “+12345678” with your phone number.
2. On your dashboard, select the property for which you want to set this up. Hover over the property name to ensure you’ve selected the correct one.


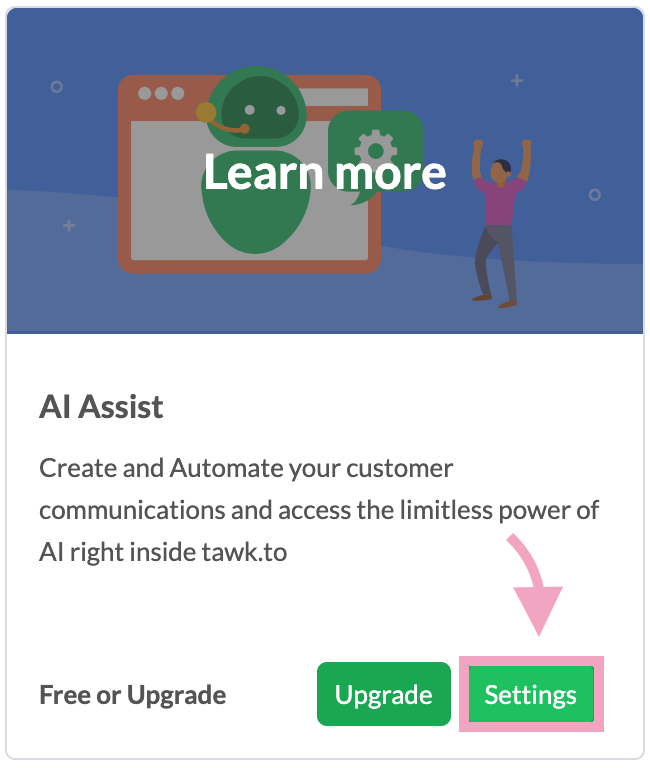
4. Click Settings under AI Assist.

5. Select your AI agent.

6. Scroll down to Escalation. Disable the When a visitor asks to speak to a human toggle button.

If you don’t see the toggle button, select a shortcut first, and then disable the toggle button.

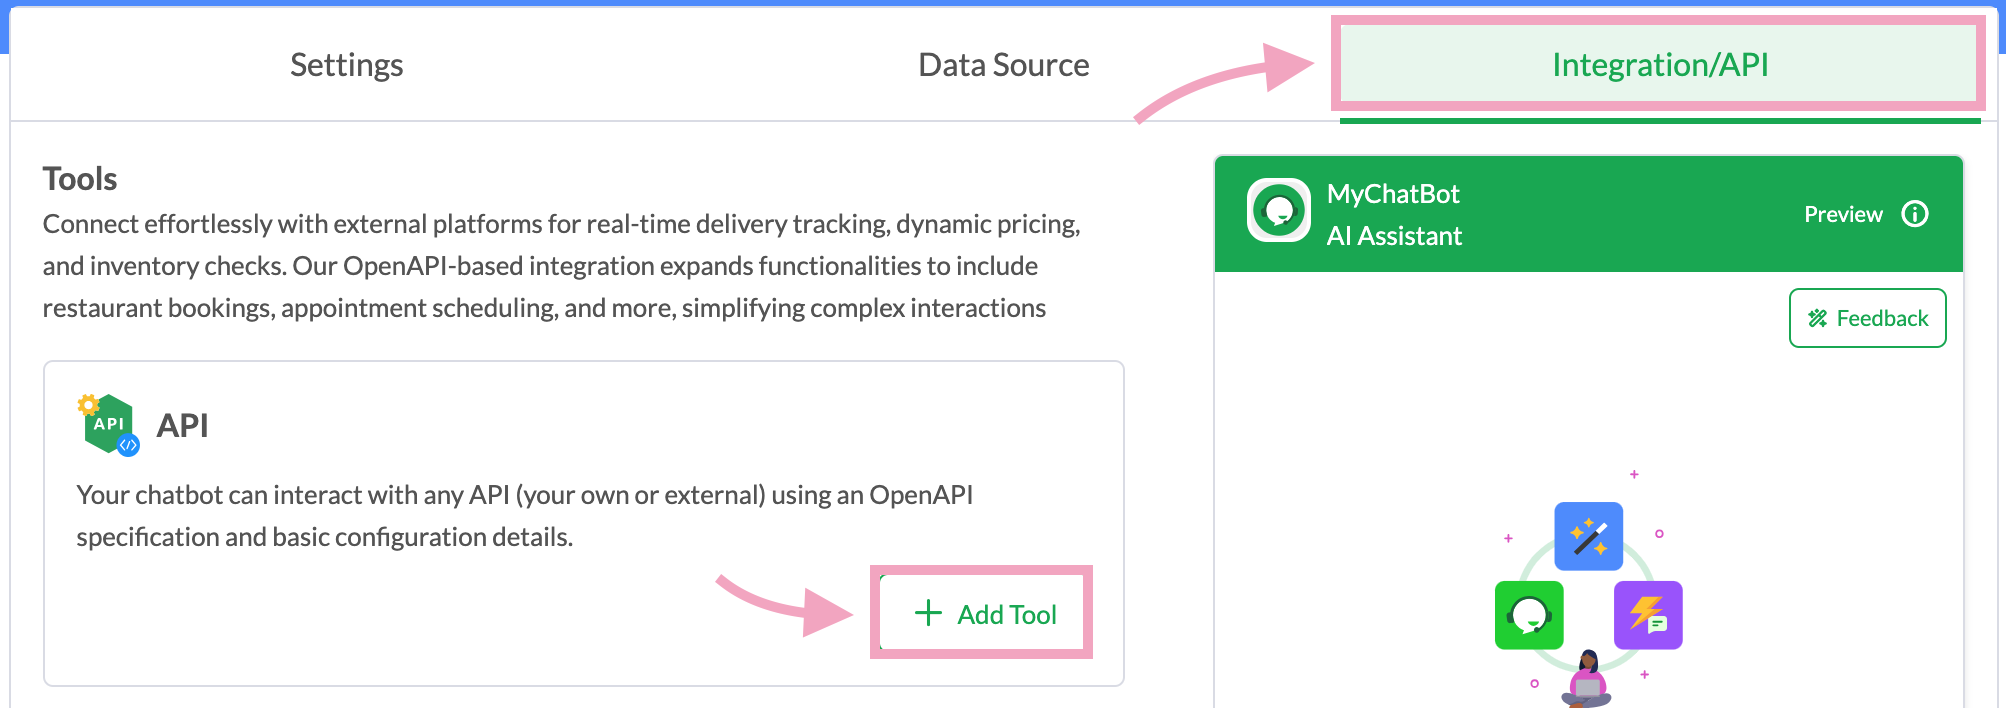
2. Enter the URL of your swagger.json OpenAPI schema in Schema File URL.


4. Select the authentication method and click Save.

With these steps, you’ll be able to receive phone calls from AI Assist via Twilio. Remember to test the integration before you deploy. Identify and resolve any potential issues that may affect your customers’ experience.
If you have feedback about this article, or if you need more help:
Click the green live chat icon
Schedule a call with us
Visit our community
