Vue 3
The instructions below are for desktops and laptops only.
3. Import the plugin in your main JavaScript file (in the src/ folder) and configure it with your widgetId and propertyId. You can find these IDs in your tawk.to dashboard: Go to Administration > Channels > Chat Widget. Learn more here: Where can I find the property and widget IDs?
Using the Plugin with Nuxt.js
2. Add the plugin code.
3. Access API functions in your components via $tawkMessenger.
Instance property
The plugin exposes an instance property called $tawkMessenger. You can use it to access the full set of API functions in your Vue components.
Example:
Event handling
You can listen for events emitted by the widget using the plugin. The event names must match the widget's event names exactly. For a full list of events, see our API documentation.
Example:
Troubleshooting common issues
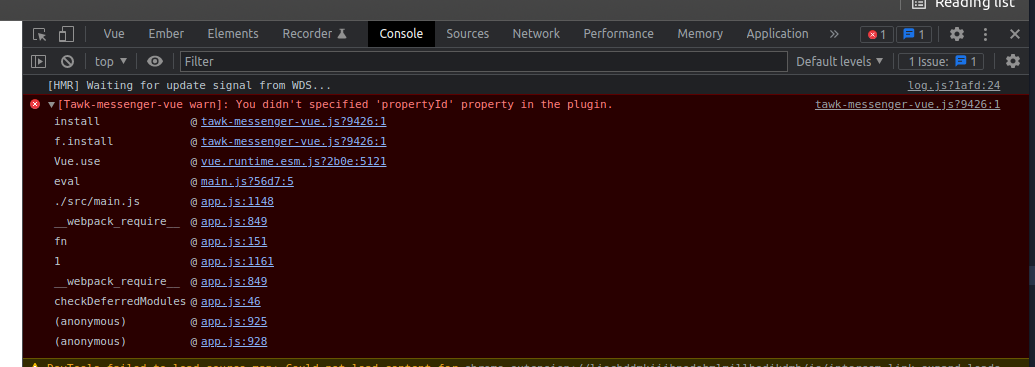
Ensure both propertyId and widgetId are set correctly.
IDs must match exactly.
Confirm the IDs are strings.
Check that the I in propertyId and widgetId is capitalized.
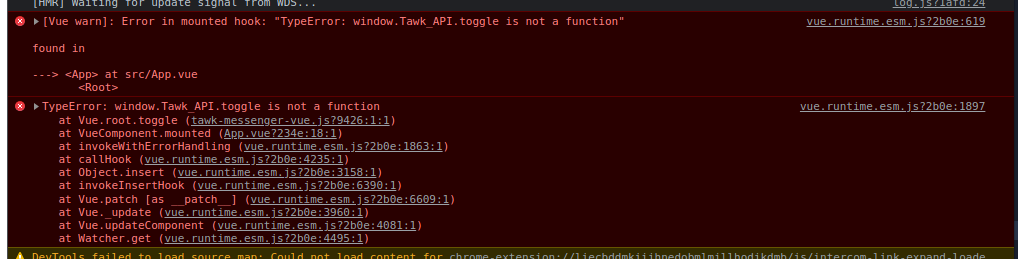
This usually happens when an API function is called before the widget loads.
Wrap calls in this.$tawkMessenger.onLoaded() to ensure the widget is ready before the function is called.
Additional considerations
Always confirm the propertyId and widgetId are correct for your specific property and widget.
If using Nuxt.js, ensure the plugin file is suffixed with .client.js to avoid server-side rendering errors.
Check the plugin version on npm regularly for updates and bug fixes.
Related guides
Other supported frameworks
If you have feedback about this article, or if you need more help:
Click the green live chat icon
Schedule a call with us
Visit our community