Make: Add a row to a Google Sheet when a new ticket is created
Manually entering information into a spreadsheet can be frustrating, especially if your to-do list is already full. Fortunately, tawk.to's integration with Make lets you seamlessly automate your data entry and monitor all your tickets in just a few clicks!
Follow the steps below to create a Make workflow that adds a new row to a spreadsheet every time a new ticket is created.
Note: In order to set up this automation, you need to have an account with Make and Gmail.
Learn more about creating a Make account and connecting it with tawk.to in this article: Make
Create a new scenario from a template
1 - Select a template
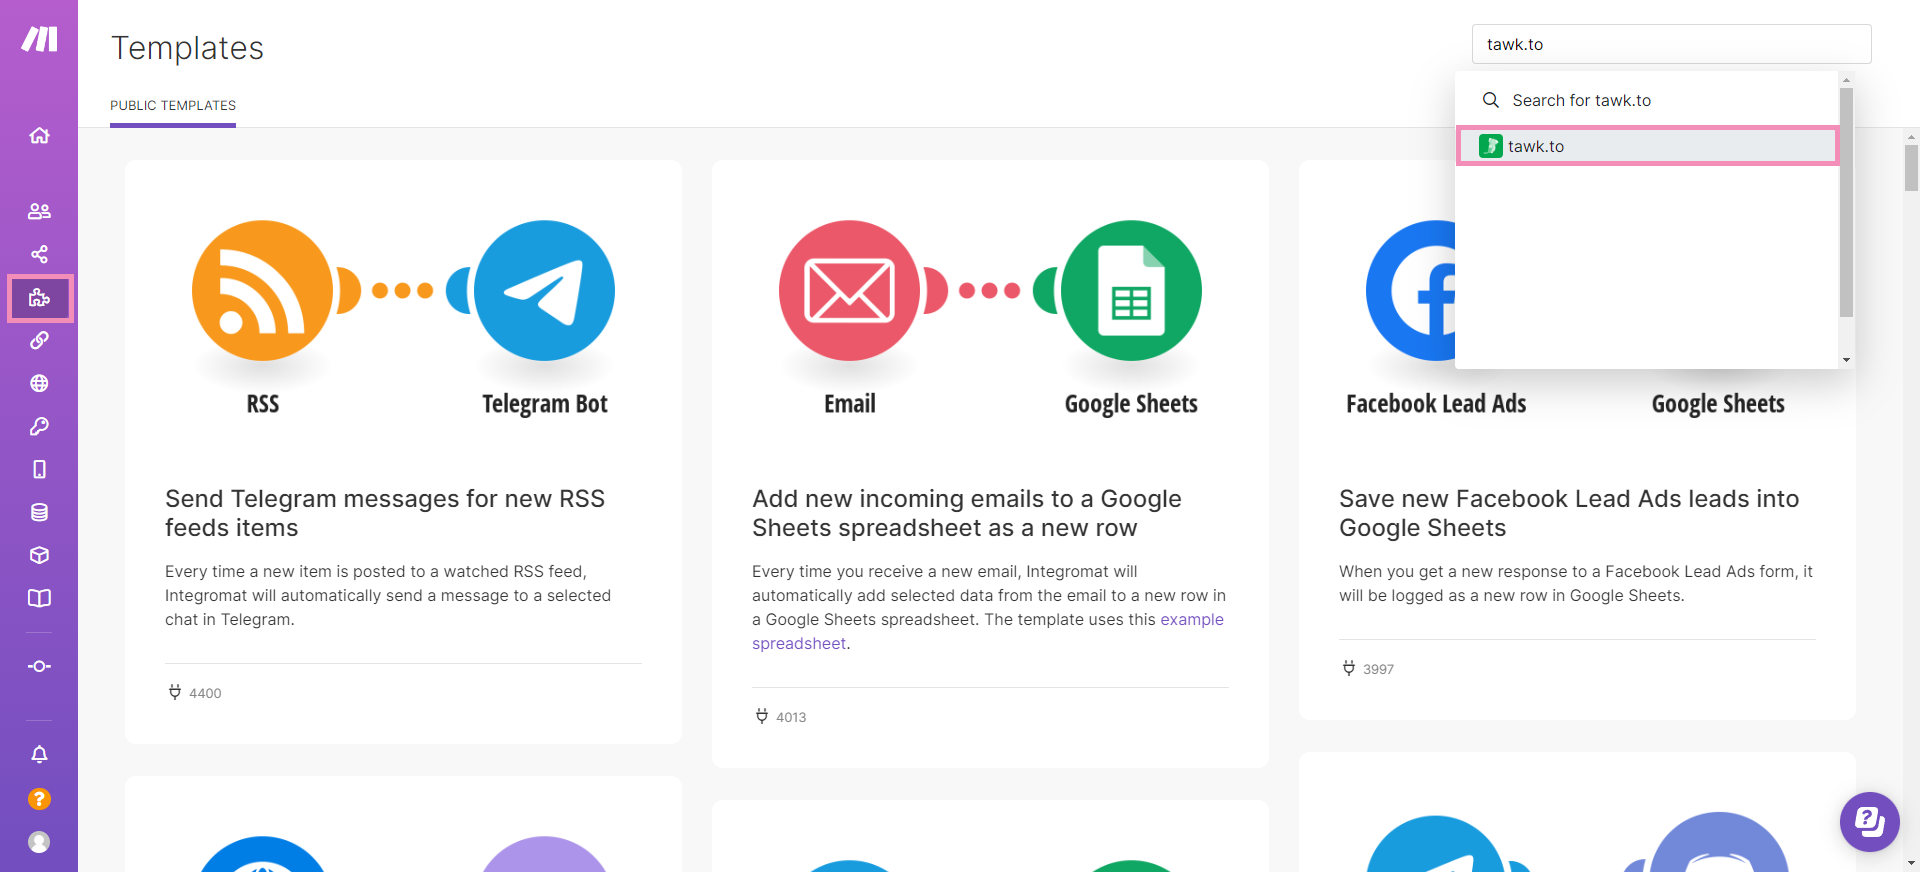
Log in to your Make account. Then, navigate to Templates in the left navigation menu and make your way to the search field in the upper right.
Search for and select the tawk.to app.
Then, in the list of templates, select Add rows in Google sheets for new tickets in tawk.to.
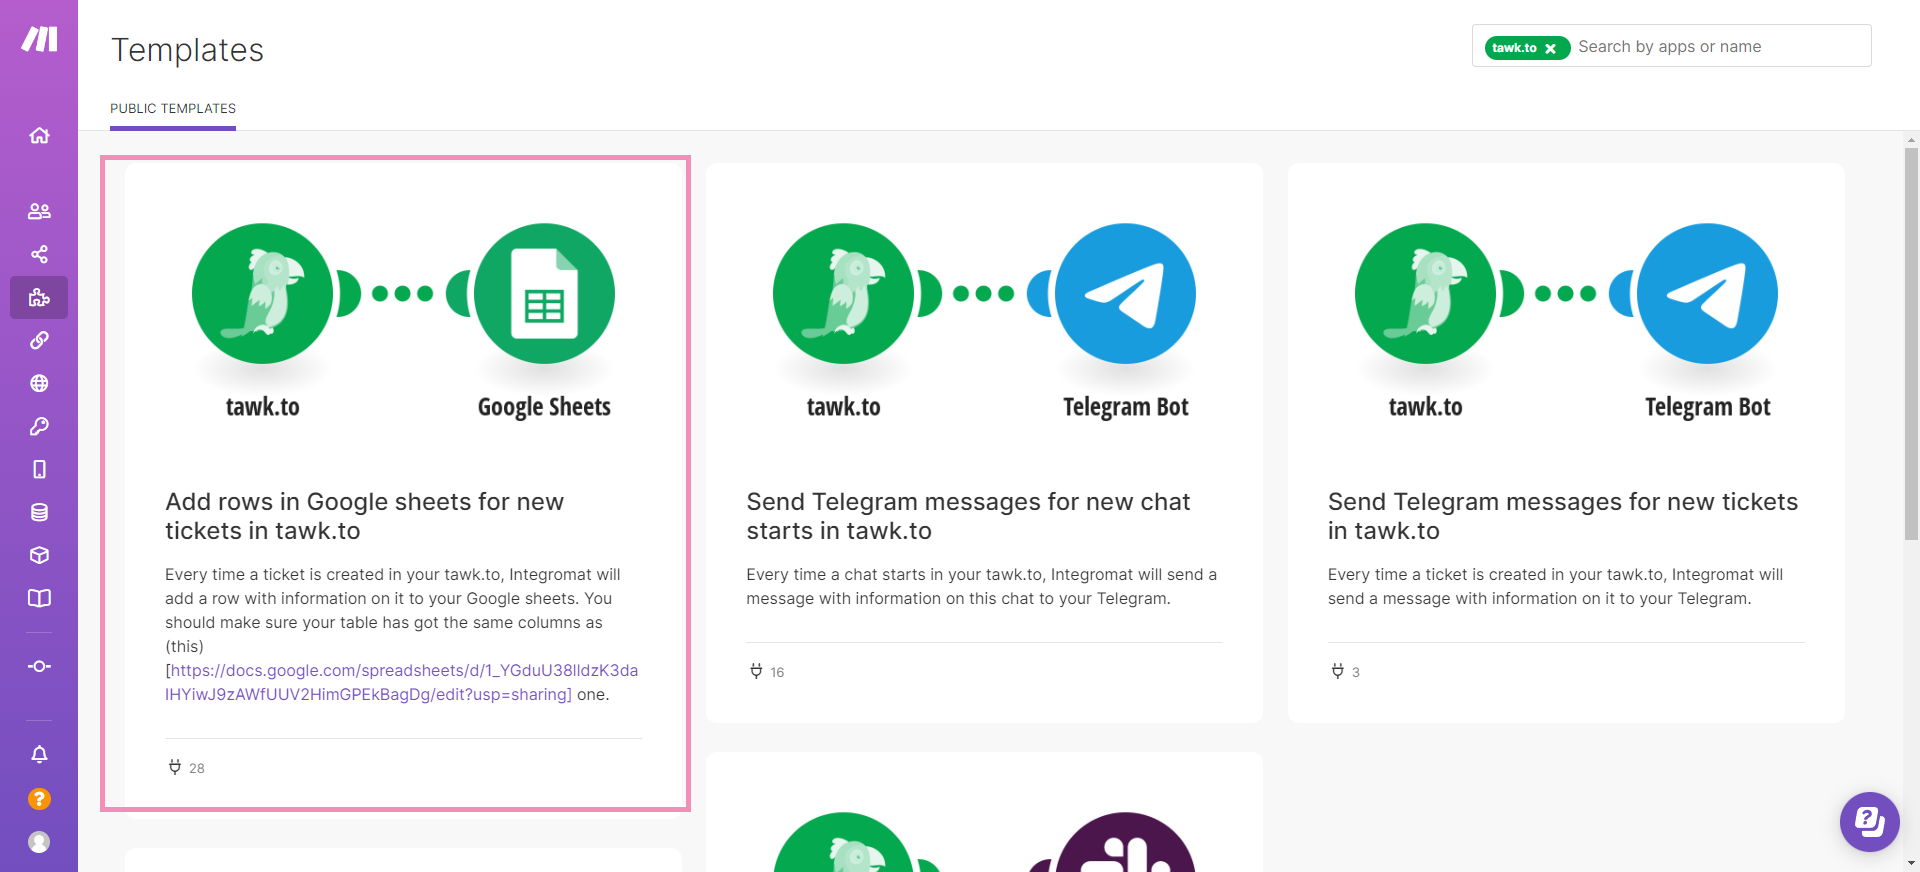
In the lower-right corner, click Create new scenario from template.

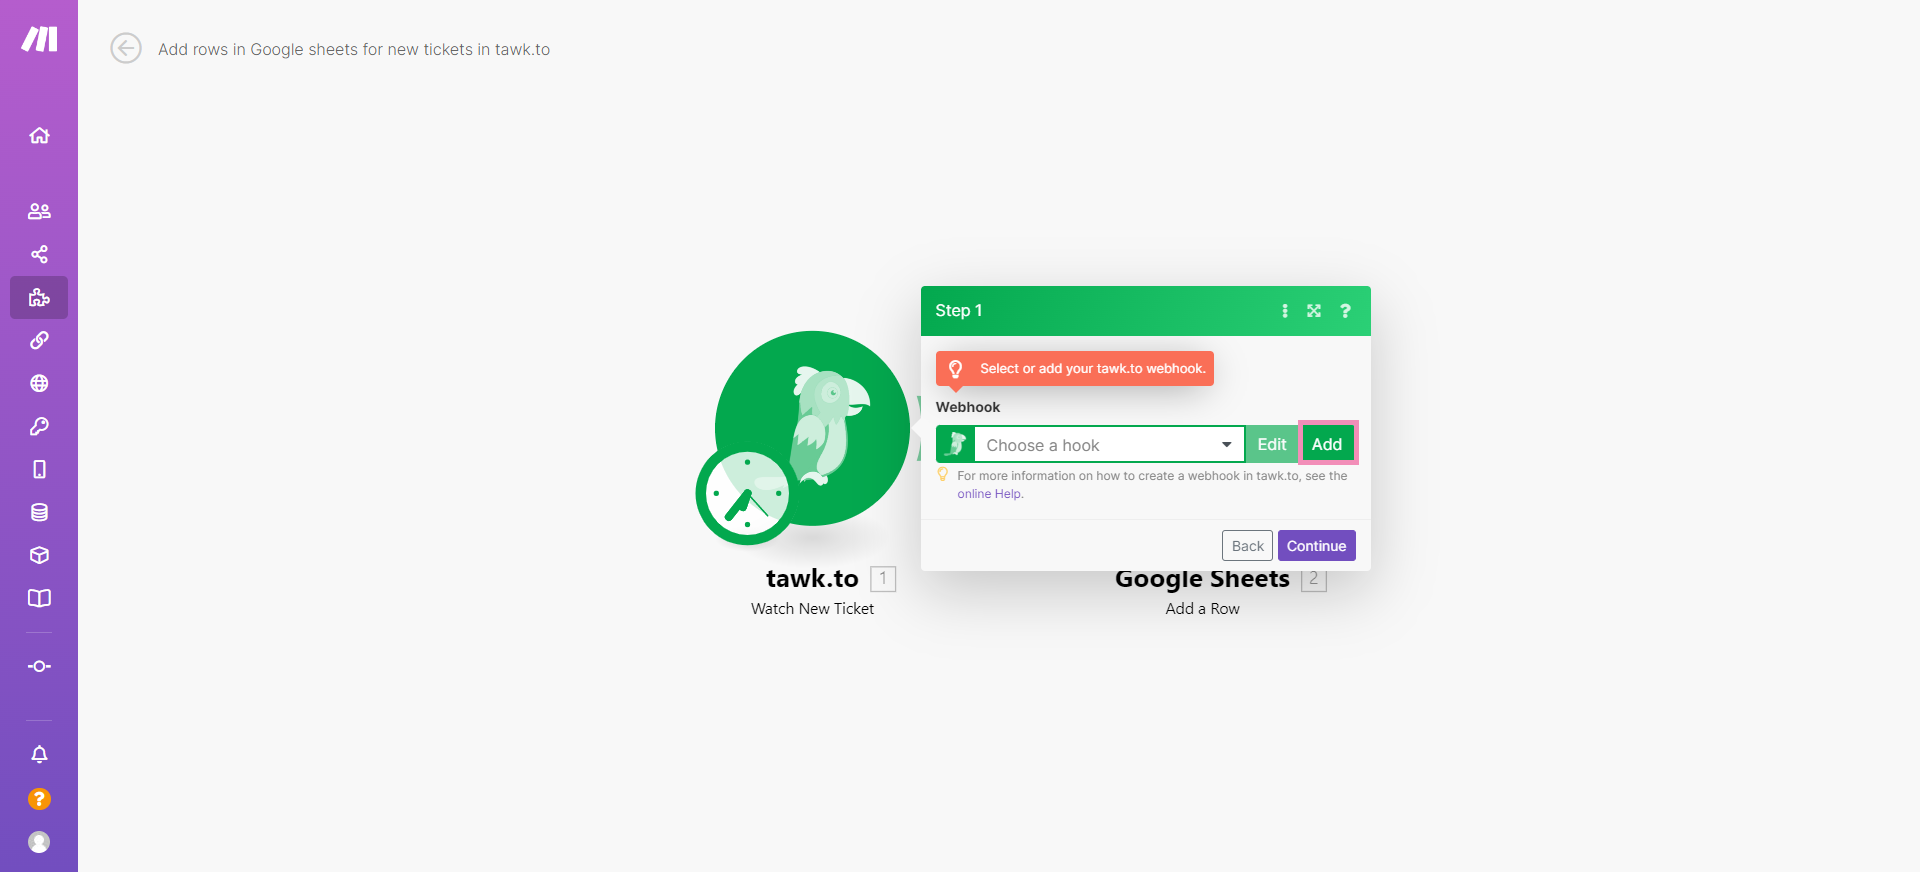
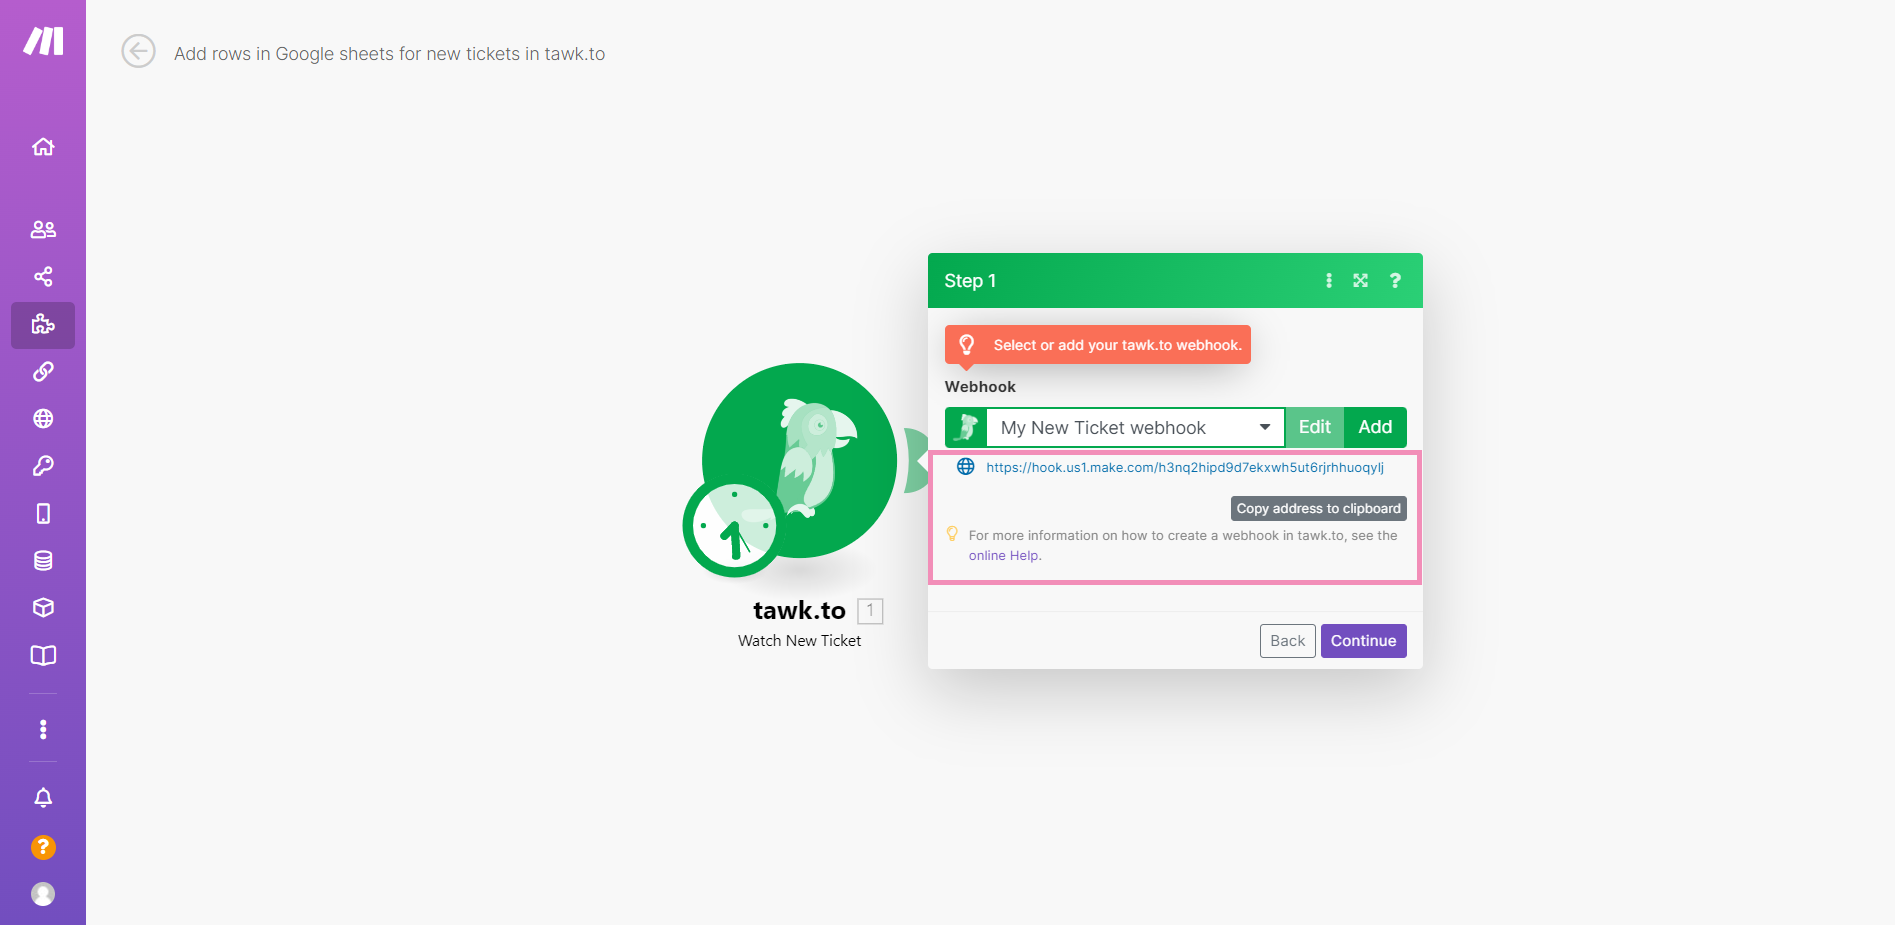
2 - Select or create a webhook
Select an existing webhook. If you do not already have a webhook for watching a new ticket in tawk.to, select the Add button.
Copy the webhook URL address to your clipboard. You’ll need it to create a webhook in your tawk.to account.
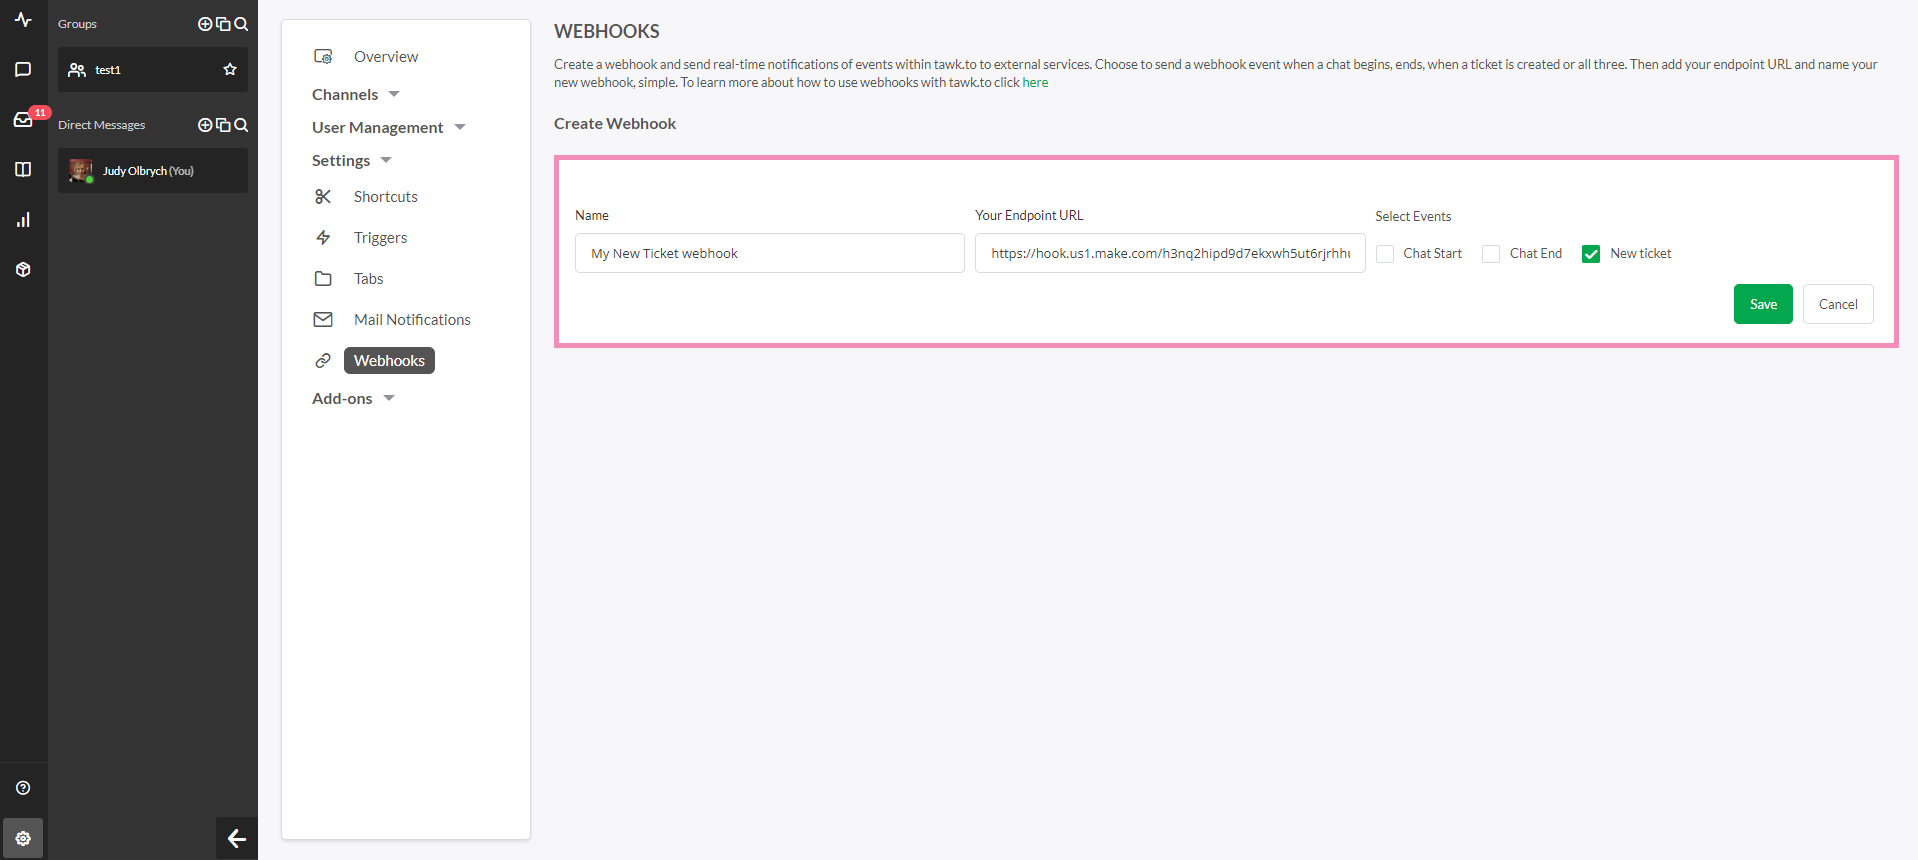
Log in to your tawk.to Dashboard and make your way to⚙️Administration ➞ Settings ➞ Webhooks for your selected property.
Then, click the + Create Webhook button in the upper right.
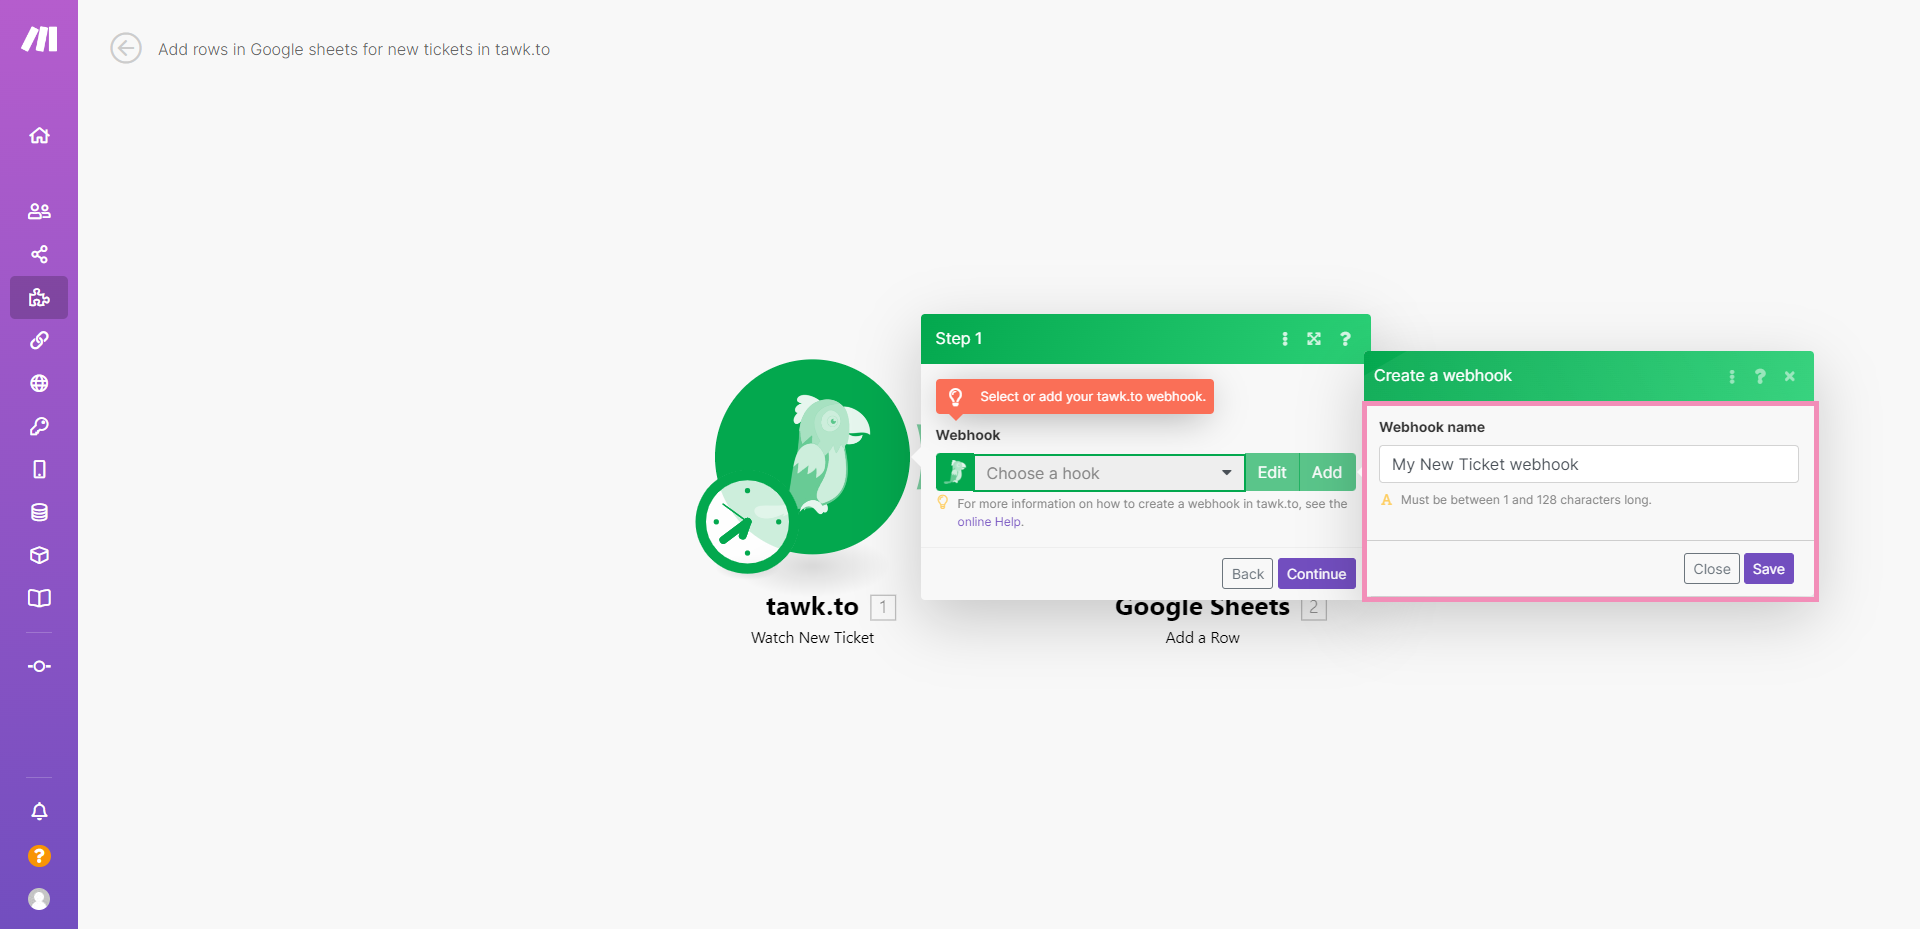
In the Name field, enter the name of your new webhook.
Enter the webhook URL you copied under Your Endpoint URL.
Then, under Select Events, tick the box for New ticket.
Then click the Continue button.
See our guide to creating webhooks here: Creating and managing Webhooks
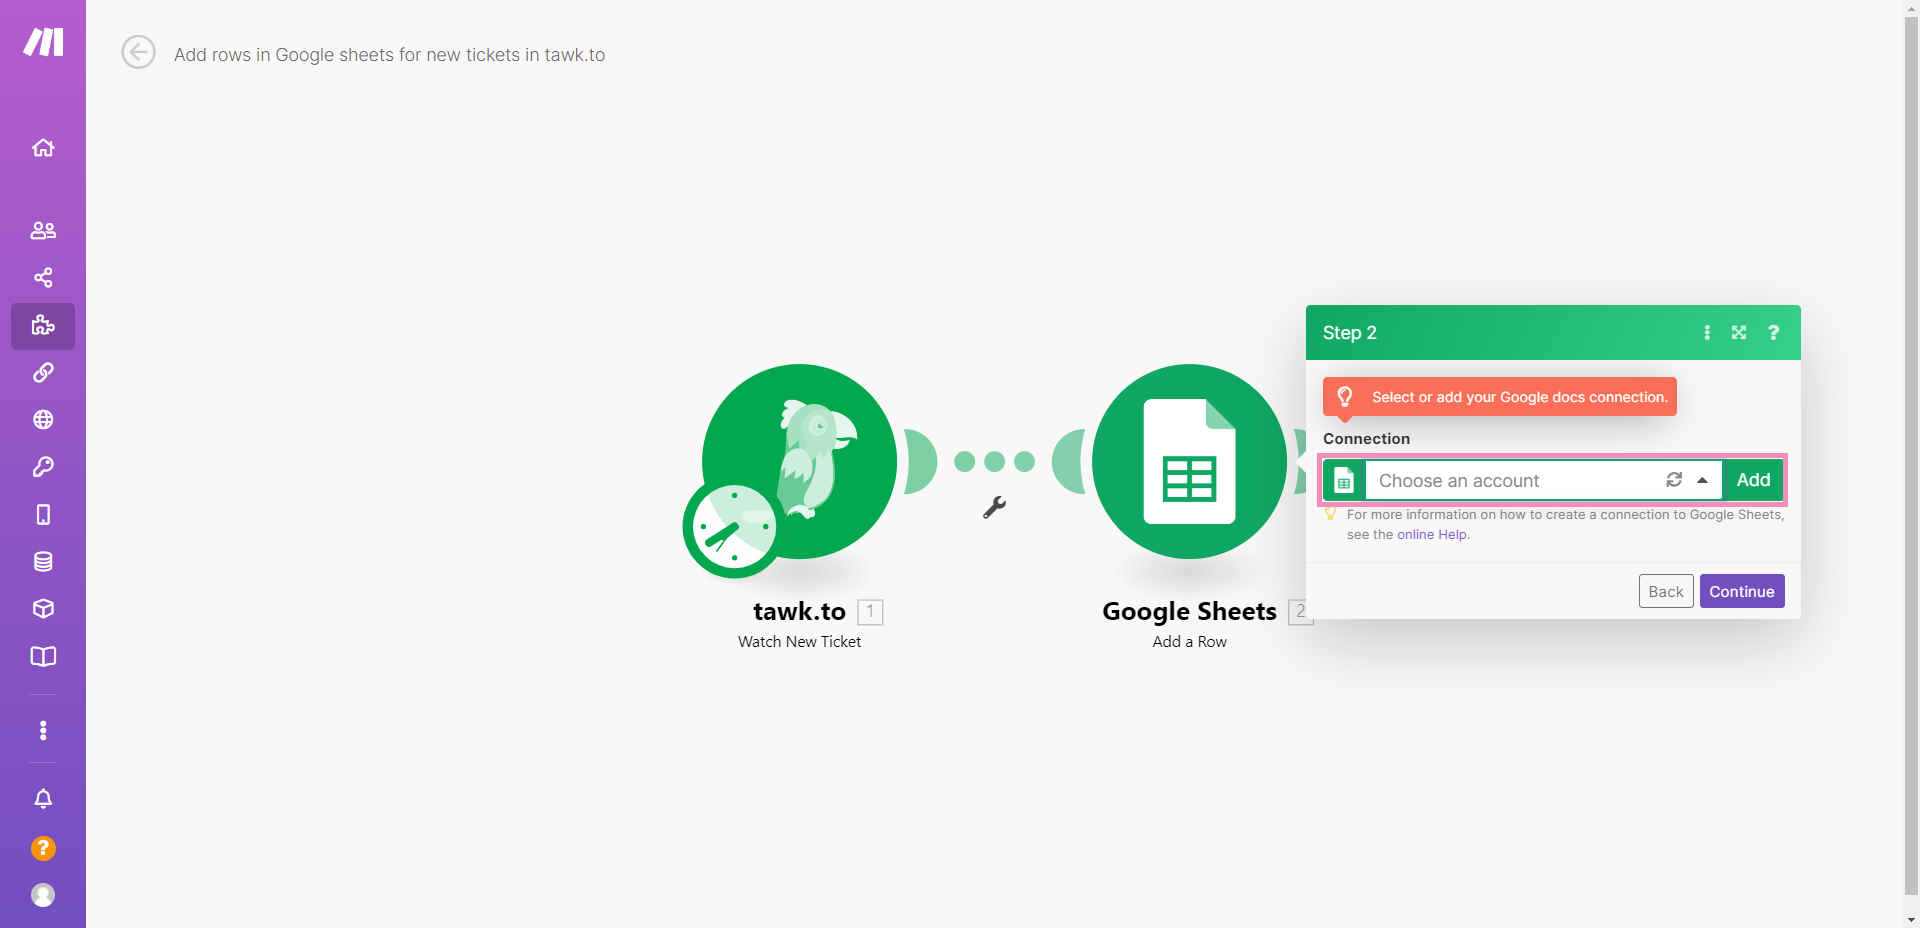
3 - Connect your Google Account and Google Sheet
Select an existing Google connection in Make or click Add to connect a Google account.
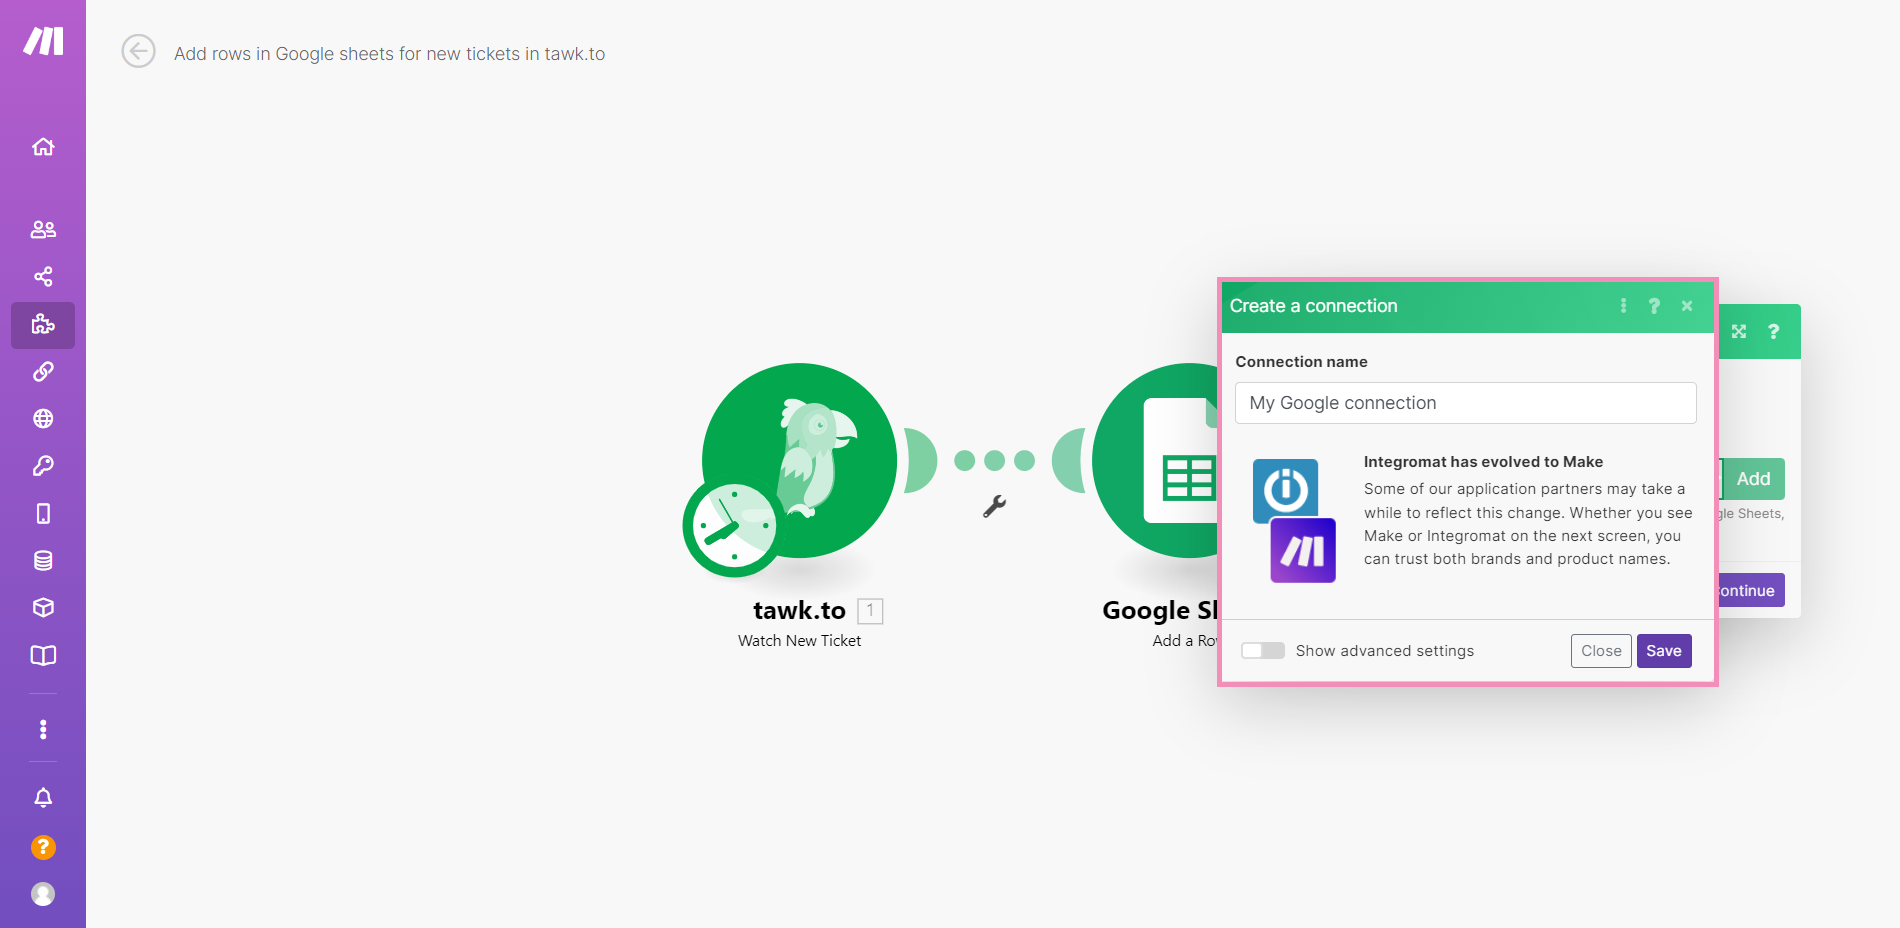
When creating a new Google connection, give it a name so it’s easy to identify it later.
Then select Save.
In the Create a connection window, enter your Google connection name. Then, click Save.
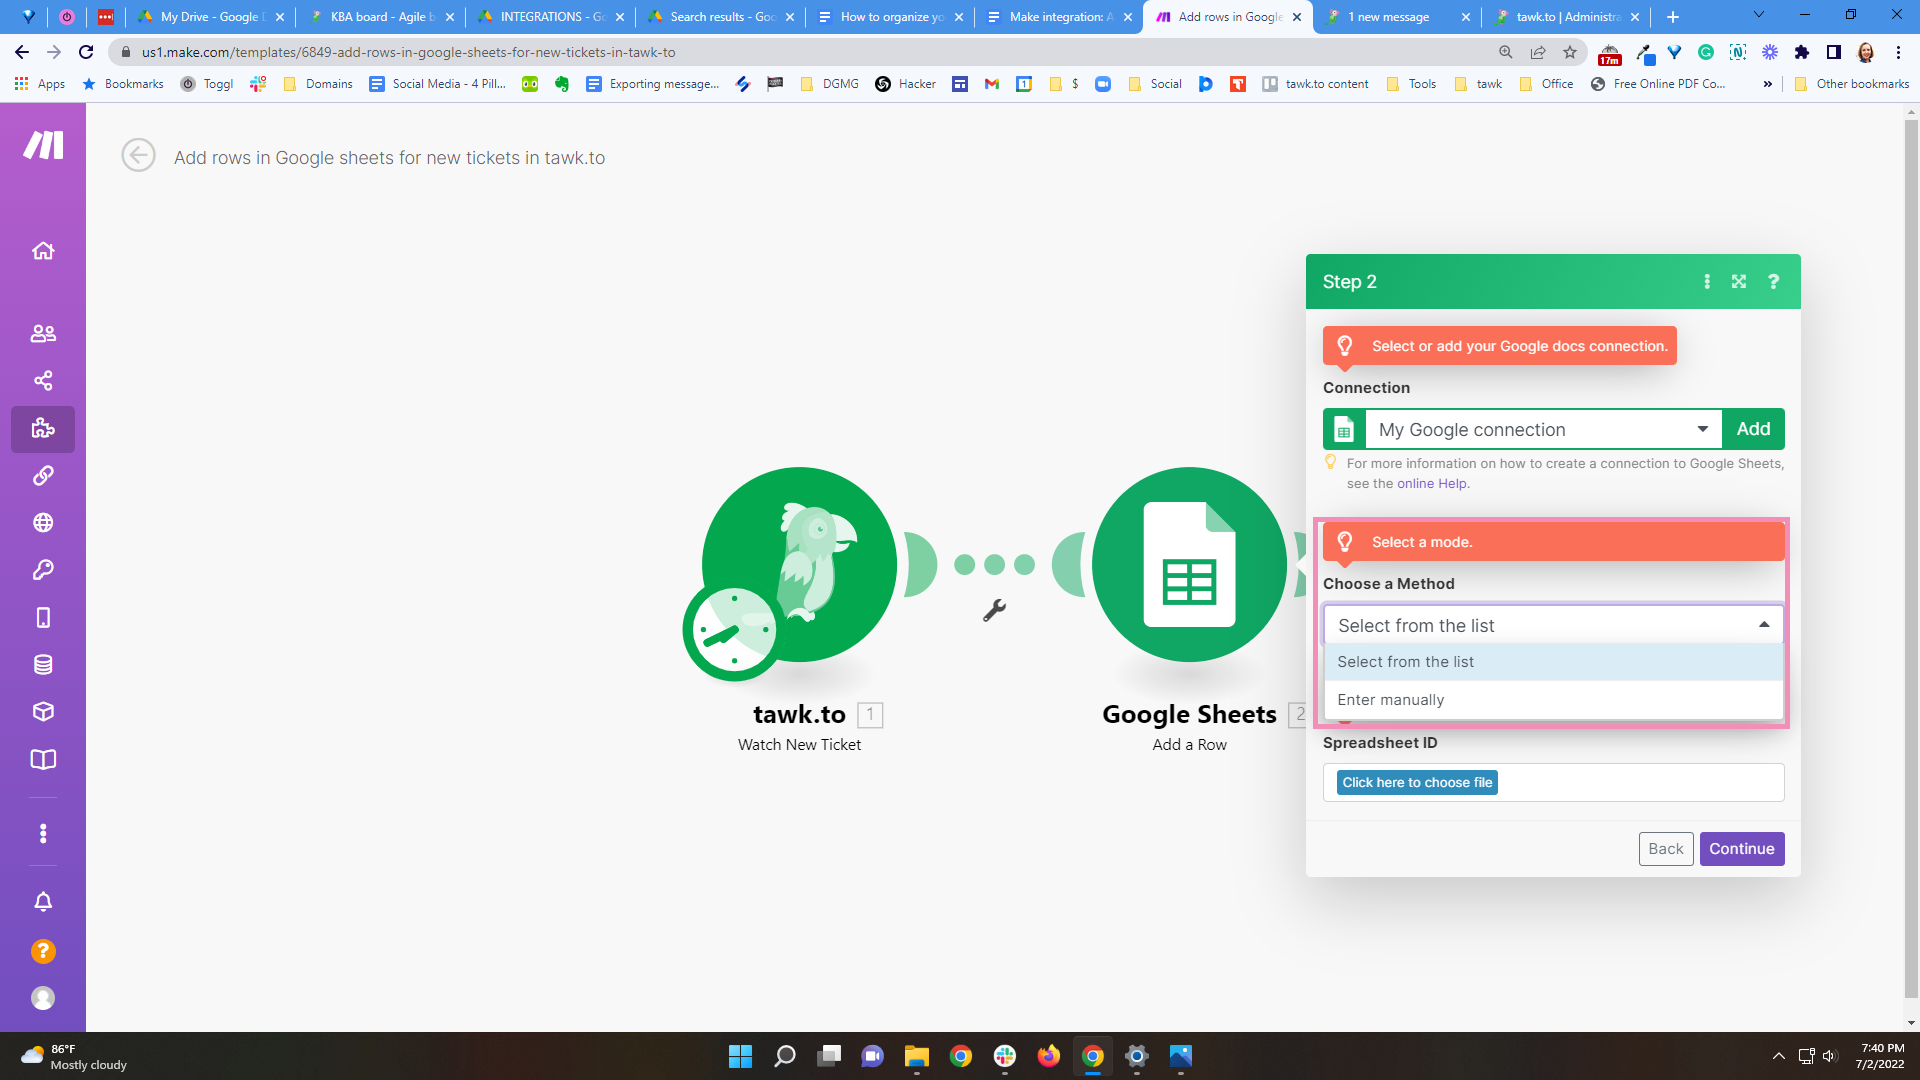
Sign in to your Google account and allow access to Make. Then, enter the details for your spreadsheet integration:
Select a mode. You can select the spreadsheet from a pre-existing list or manually enter the URL for your spreadsheet.
Select the Google spreadsheet for your tickets.
Then, select the spreadsheet name and indicate whether or not your sheet contains headers.
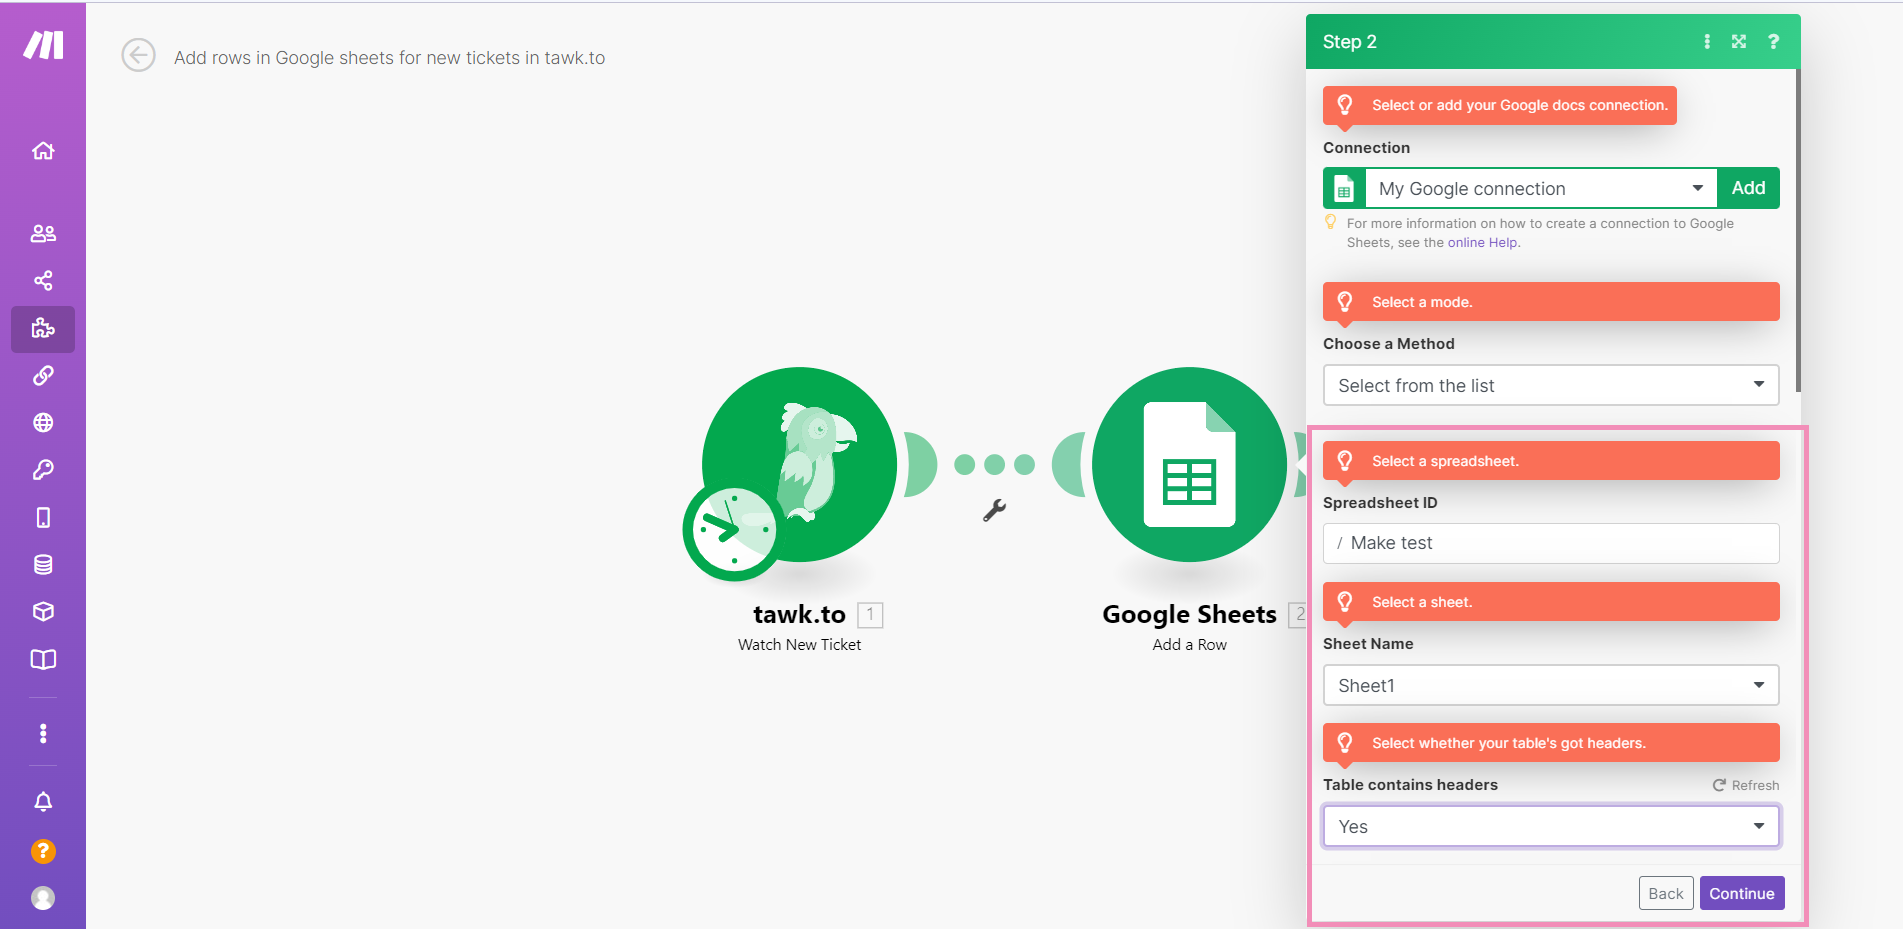
Specify the values for each table header in your Google spreadsheet. Then, click Continue.
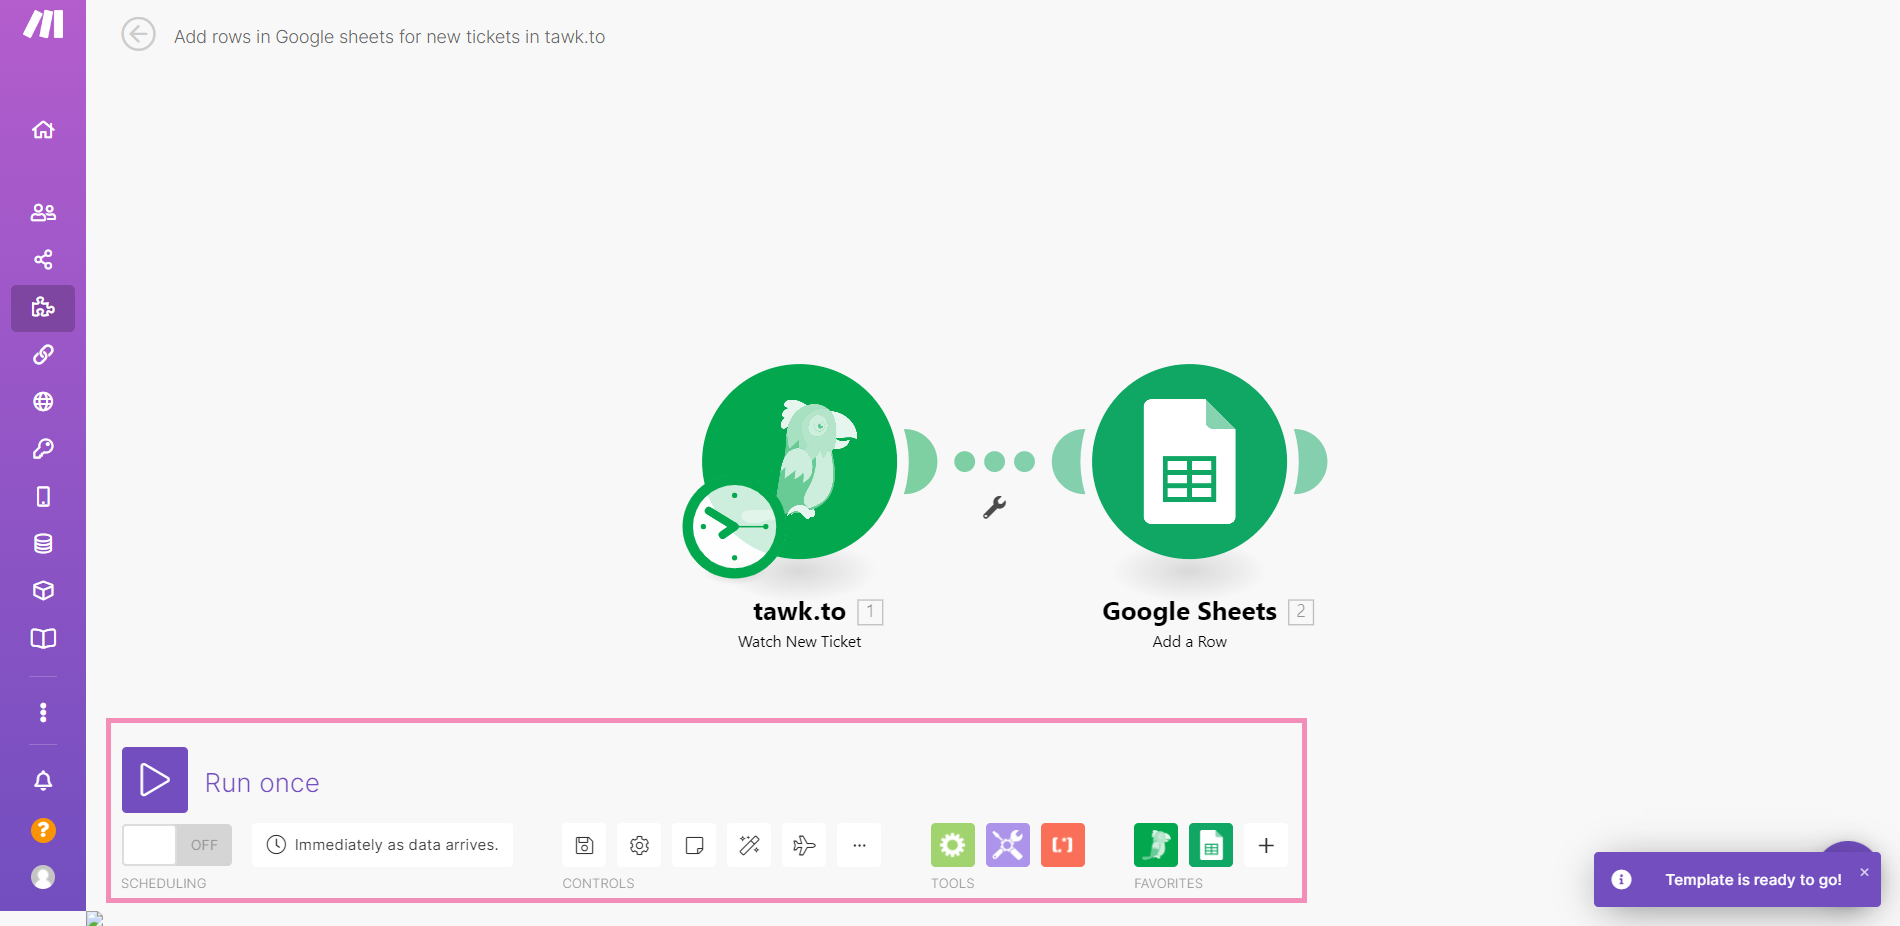
Click Run once. Then, check the status of your newly created scenario.
Here’s an example of a Google spreadsheet with columns labeled for this webhook.

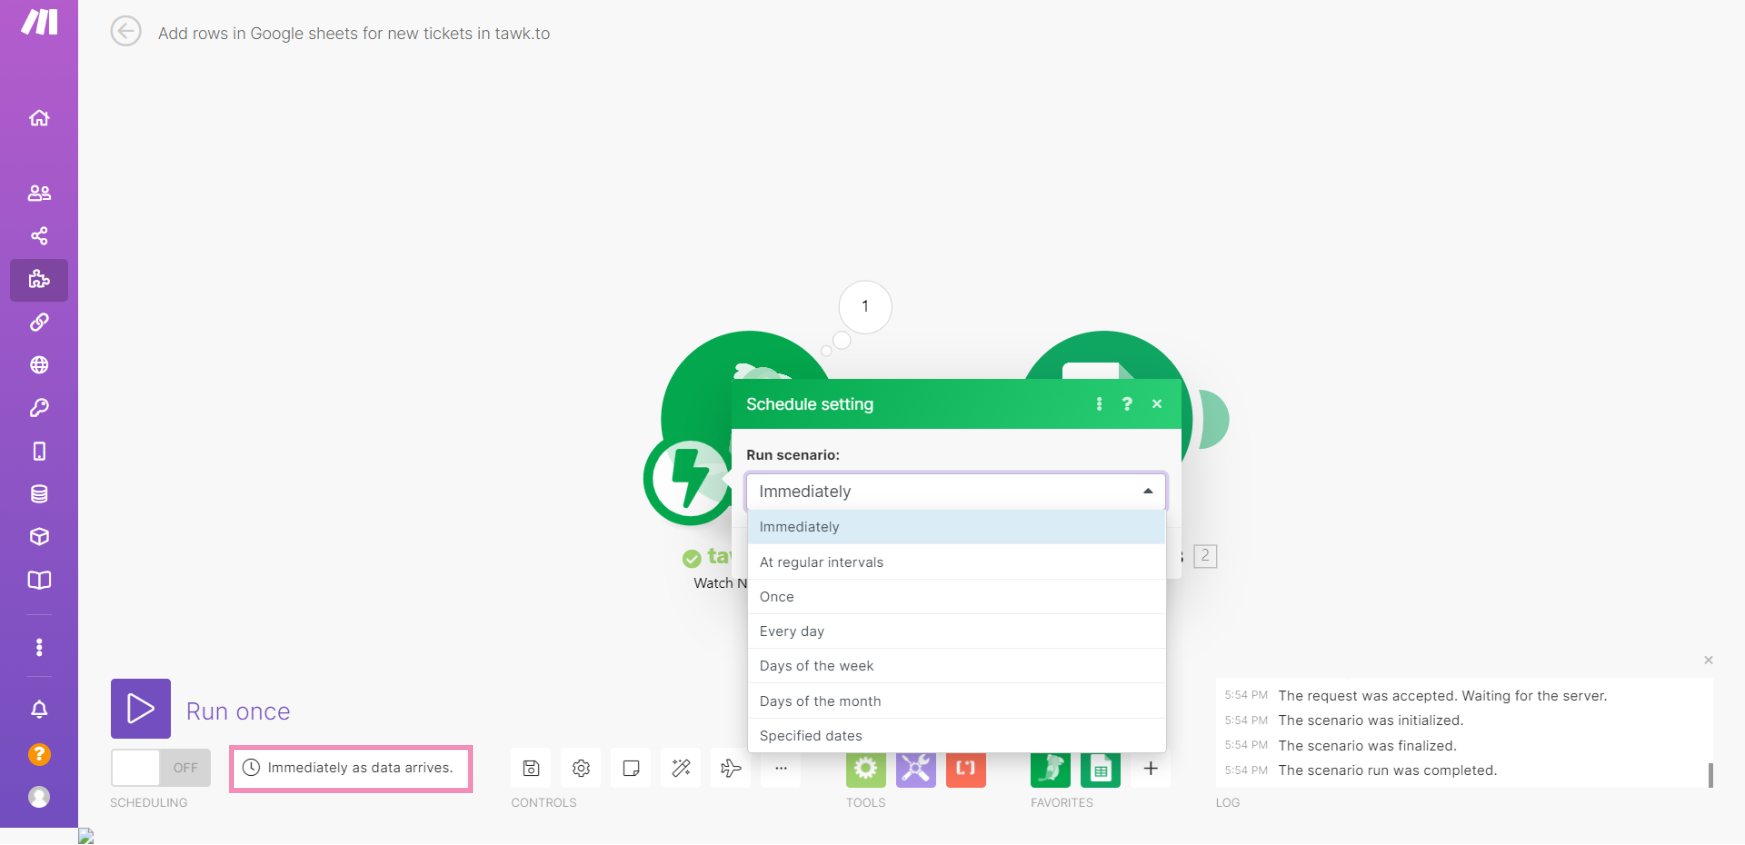
4 - Set a schedule for data transfer
Click the current schedule setting (clock icon) to modify the frequency of data transfer or click select Specified dates to create your own schedule.
5 - Activate your new scenario
To activate your new scenario, navigate to the scenario tab in the left menu.
Next to the scenario, toggle the switch to on to start collecting your ticketing data.
Now, there’s no need to worry about adding your ticket data manually, because this integration does it for you automatically.
If you need someone to walk you through the setup process, book a call with our support team.