Integrating AI Assist with WooCommerce
The instructions below are for desktops and laptops only.
Help your customers easily learn about your products, create orders, check their order status and more with AI Assist.
In this guide, we’ll walk you through the steps of integrating tawk.to’s AI Assist with your WooCommerce store.
Set up WooCommerce API credentials

3. Go to the Advanced tab and select REST API.

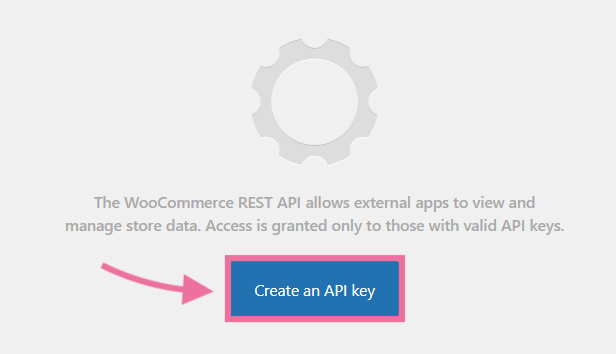
4. Click Create an API Key.
5. Enter a short description for your API key.

6. Choose the user you want to grant API access to. Then, select Read or Write.


7. Click Generate API Key to create your API credentials.
8. Copy the Consumer Key and Consumer Secret for later.


2. Click Automation on the left navigation bar.

3. Click Integrations in the left submenu.

4. Select Woocommerce under E-Commerce.


5. This opens the WooCommerce Overview page. Click Install at the top right corner.

6. In the pop-up, enter the WooCommerce store URL. Paste the Consumer Key and Consumer Secret from your WooCommerce API credentials.
The API Prefix is optional. If you've customized your API route, enter the API Prefix.
Click Save.

7. After saving, click Agents in the left submenu.

8. Select your AI agent. Then, click Tools in the left menu and ensure the WooCommerce integration is enabled for your AI agent.

The integration is complete and your WooCommerce store is added to your AI agent’s tools.
If you have feedback about this article, or if you need more help:
Click the green live chat icon
Schedule a call with us
Visit our community