Adding the tawk.to widget to Joomla 4, 5, and 6
The instructions below are for desktops and laptops only.
- The plugin loads the chat widget on every page of your website.
- The module allows you to display the widget only on selected pages.
This guide explains how to install the tawk.to extension on Joomla versions 4, 5, and 6.
If you're using Joomla 3, see this guide for step-by-step instructions:
Adding the tawk.to widget to Joomla 3
Before you start
Visit our Joomla GitHub release page to download the latest module and plugin versions.

Install the tawk.to plugin
1. Download the file plg_tawkto-<release_version>.zip from our Joomla GitHub release page.
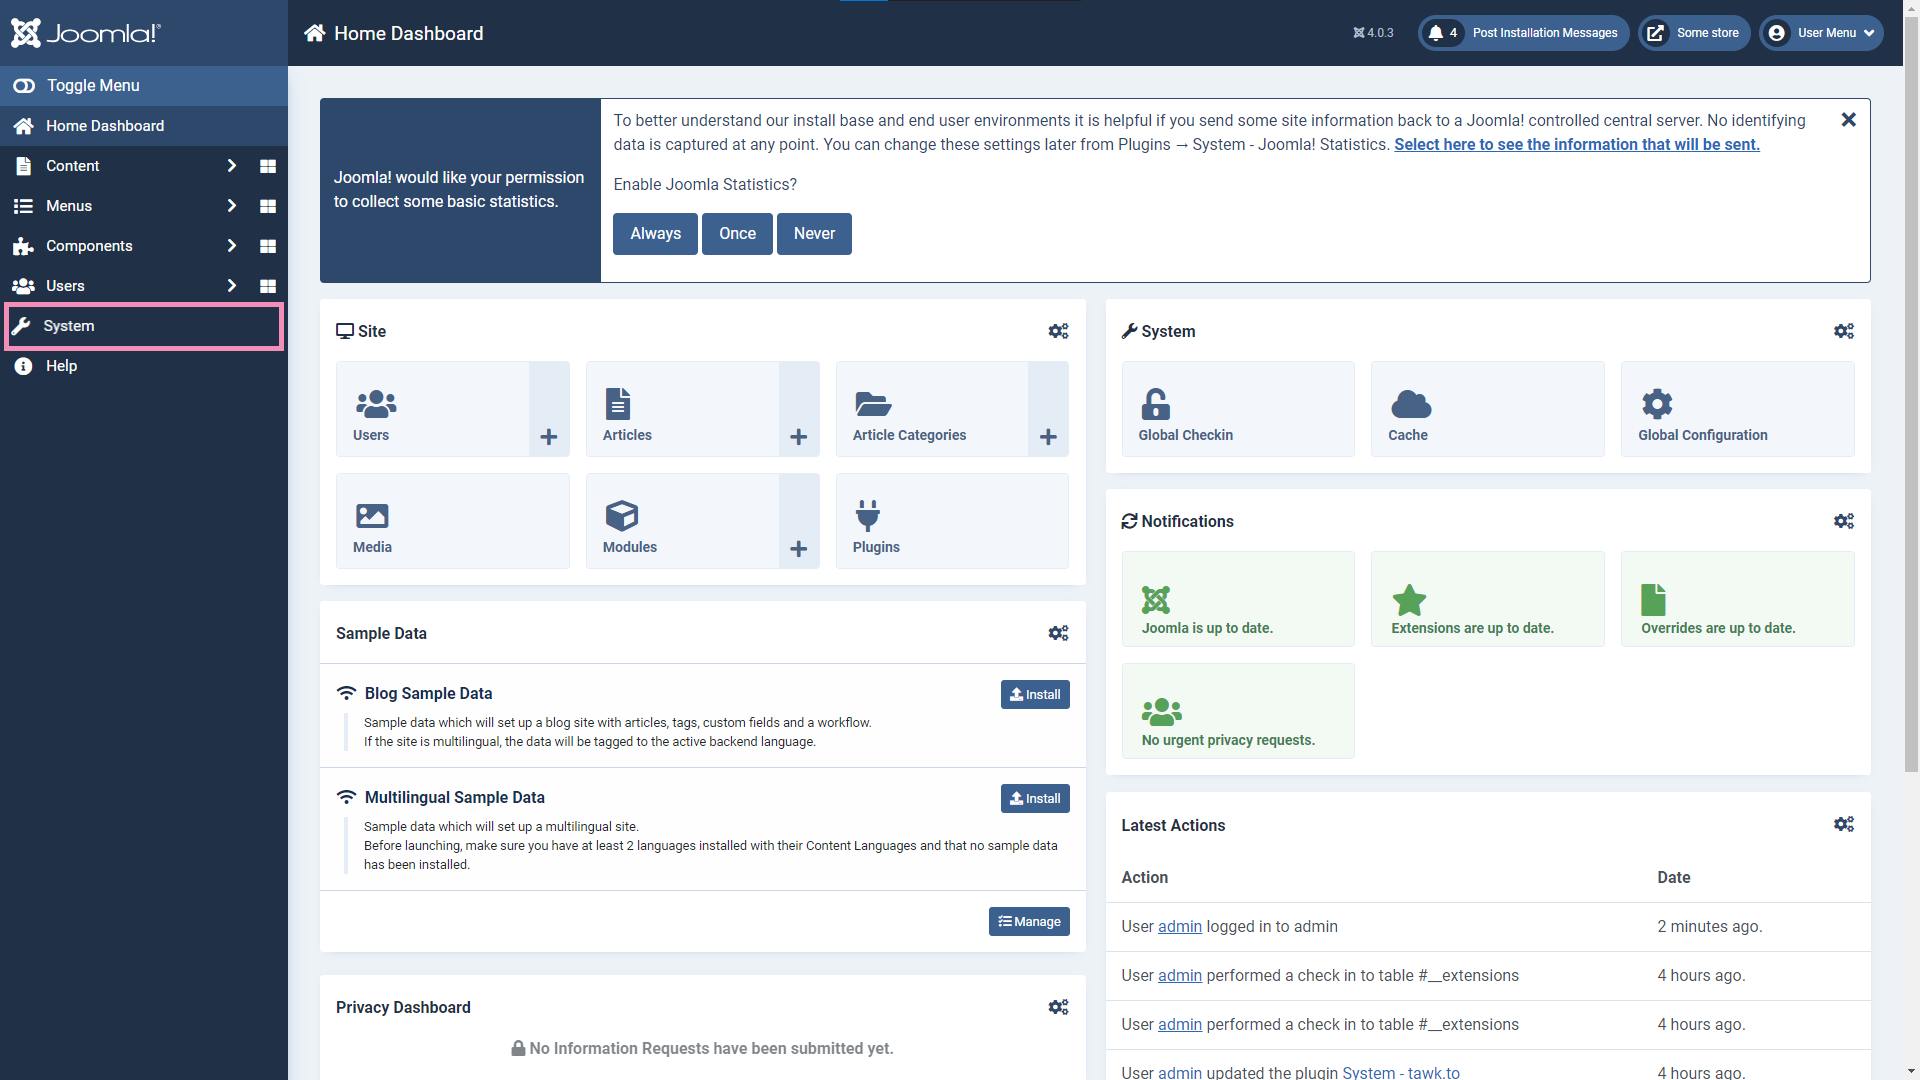
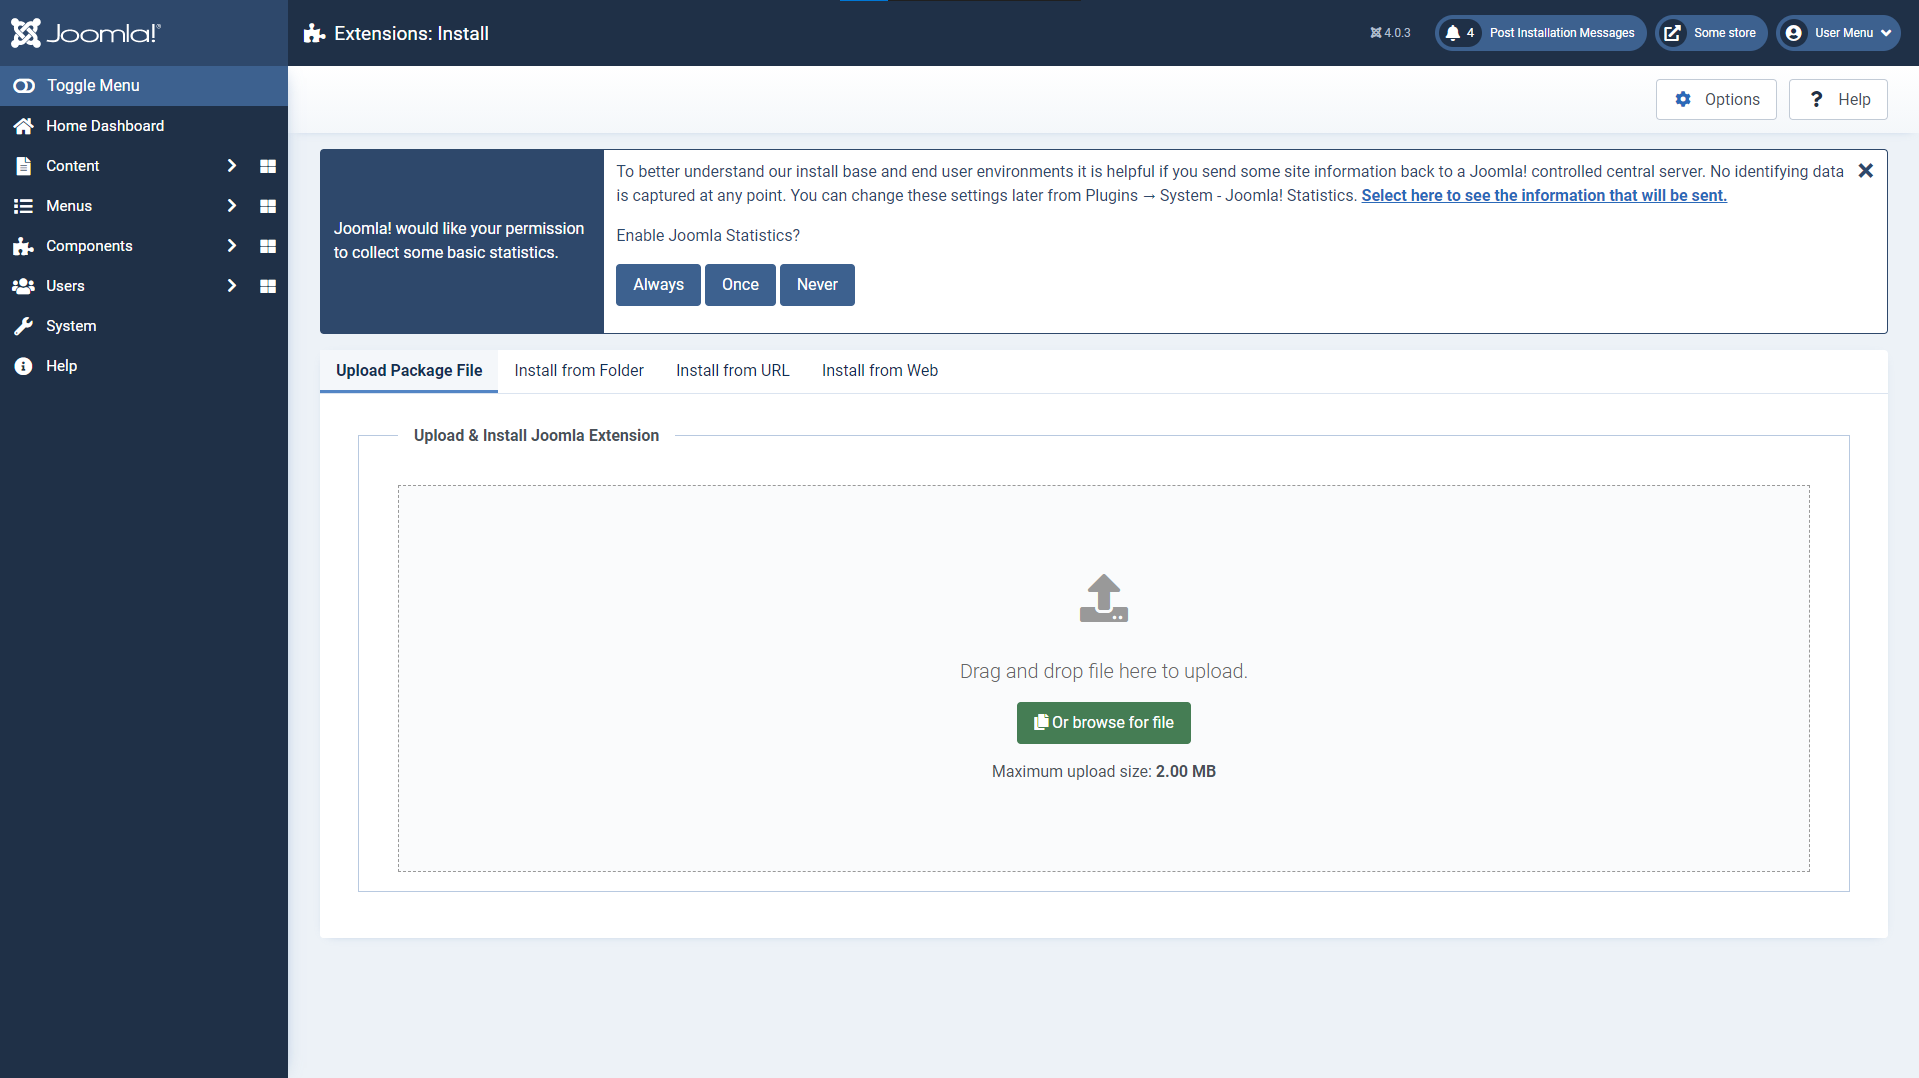
2. In your Joomla administration panel, click System.
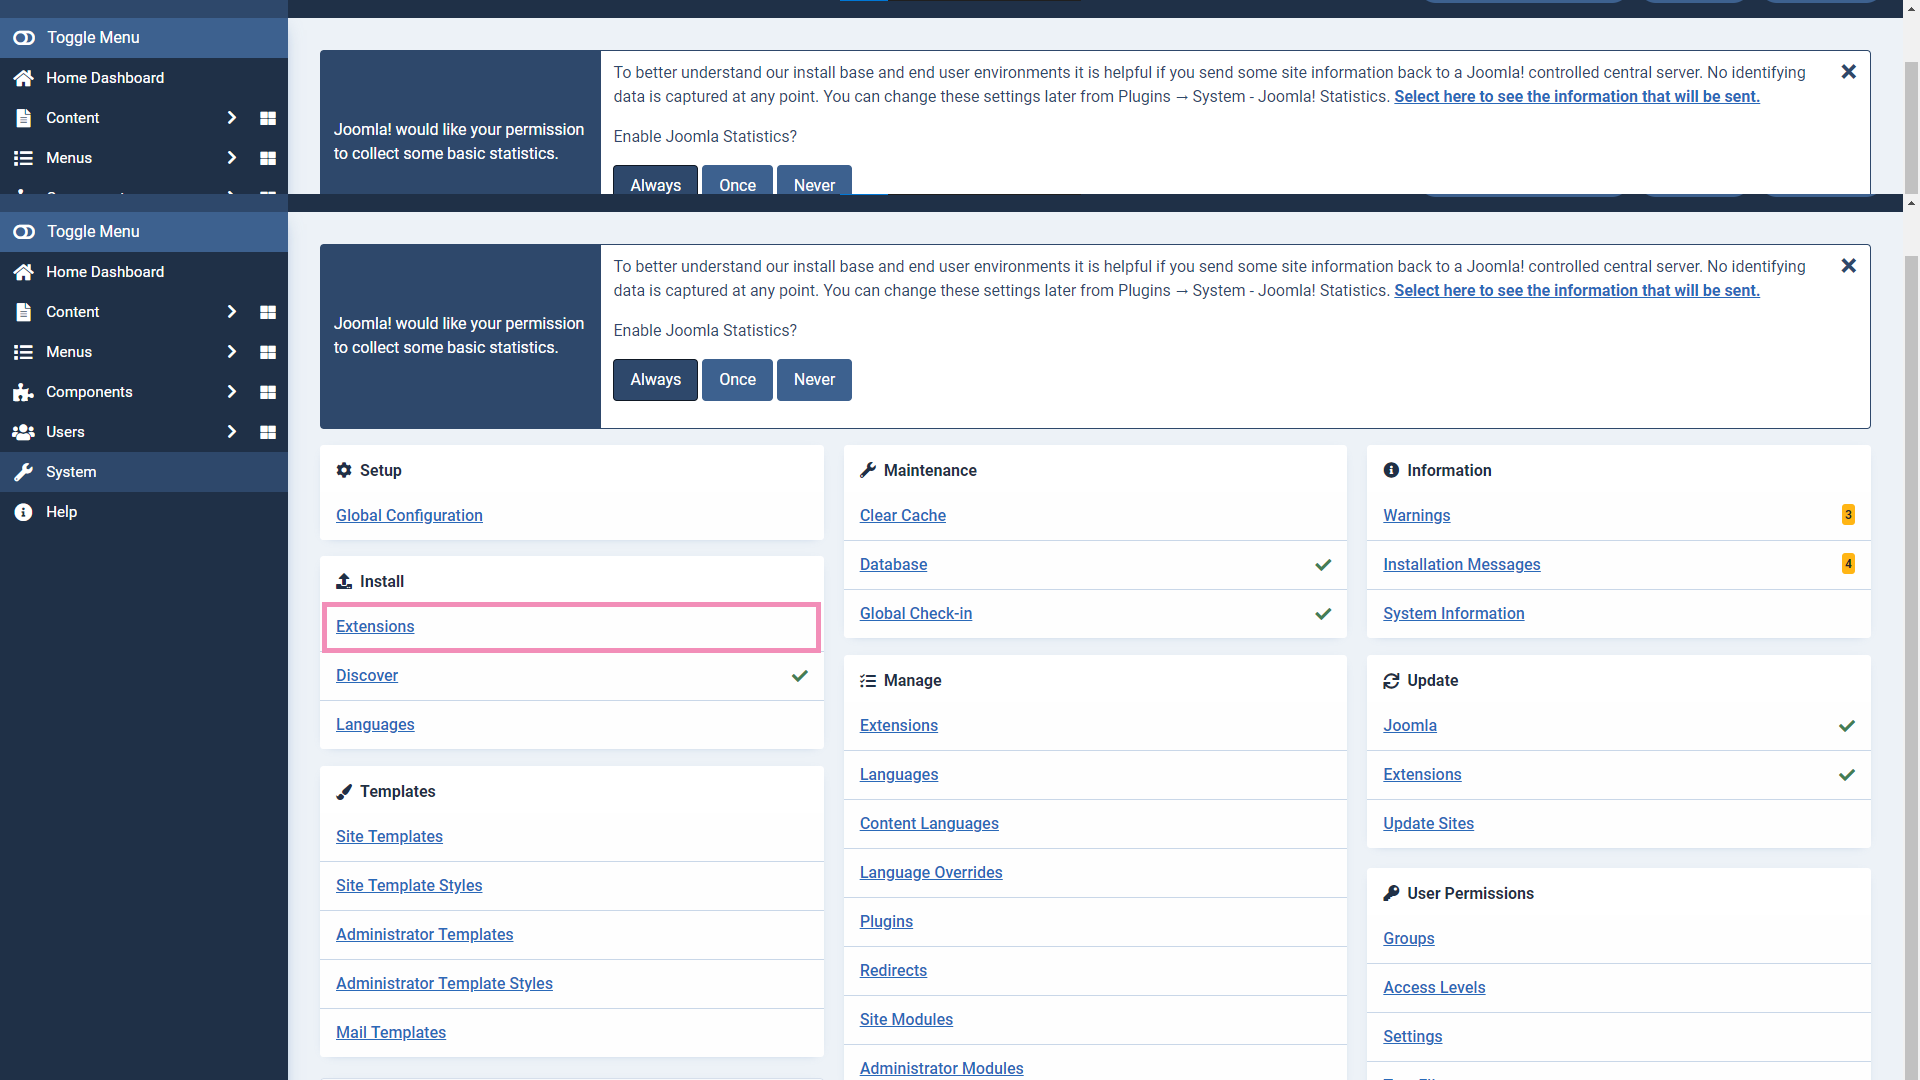
3. Under Install, go to Extensions.
4. Upload the extension:
- Drag and drop the ZIP file, or
- Click Or browse for file and select the ZIP file from your computer.

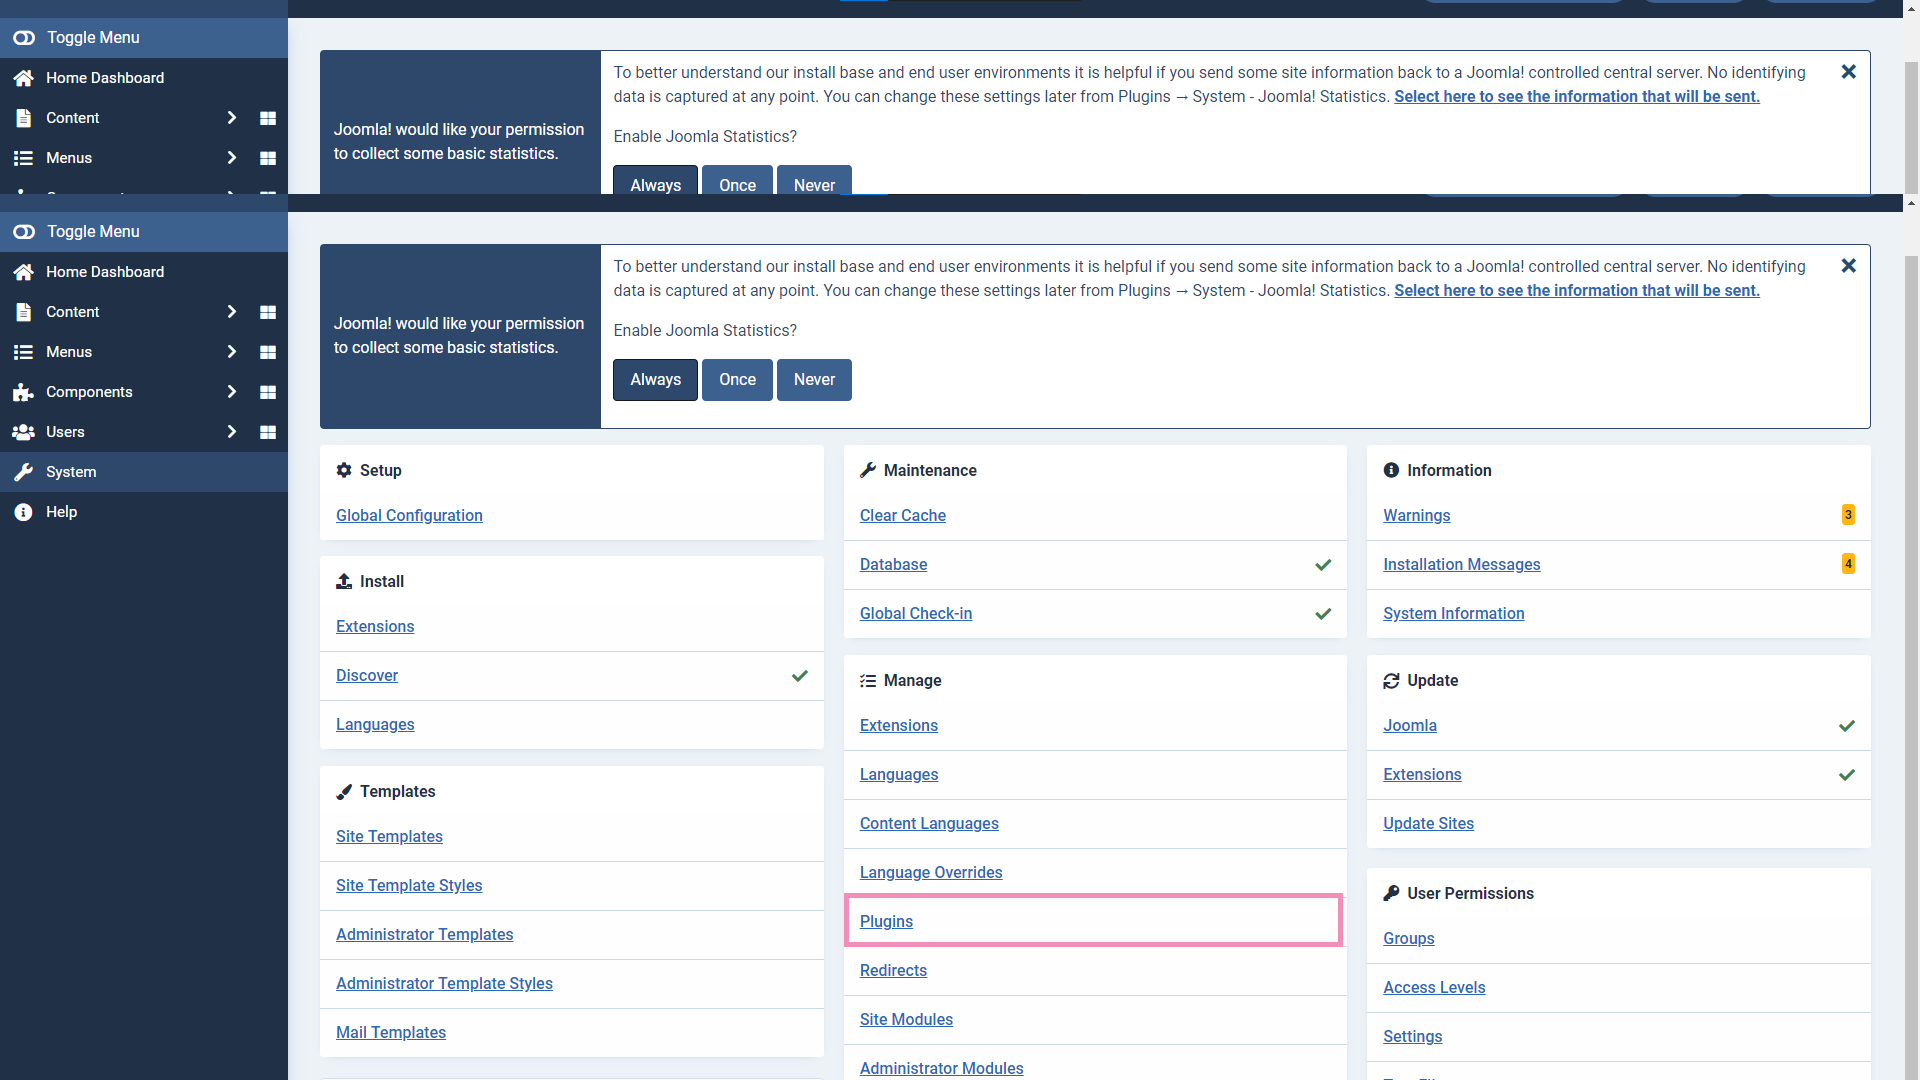
5. Return to the System page. Then, click Plugins under Manage.
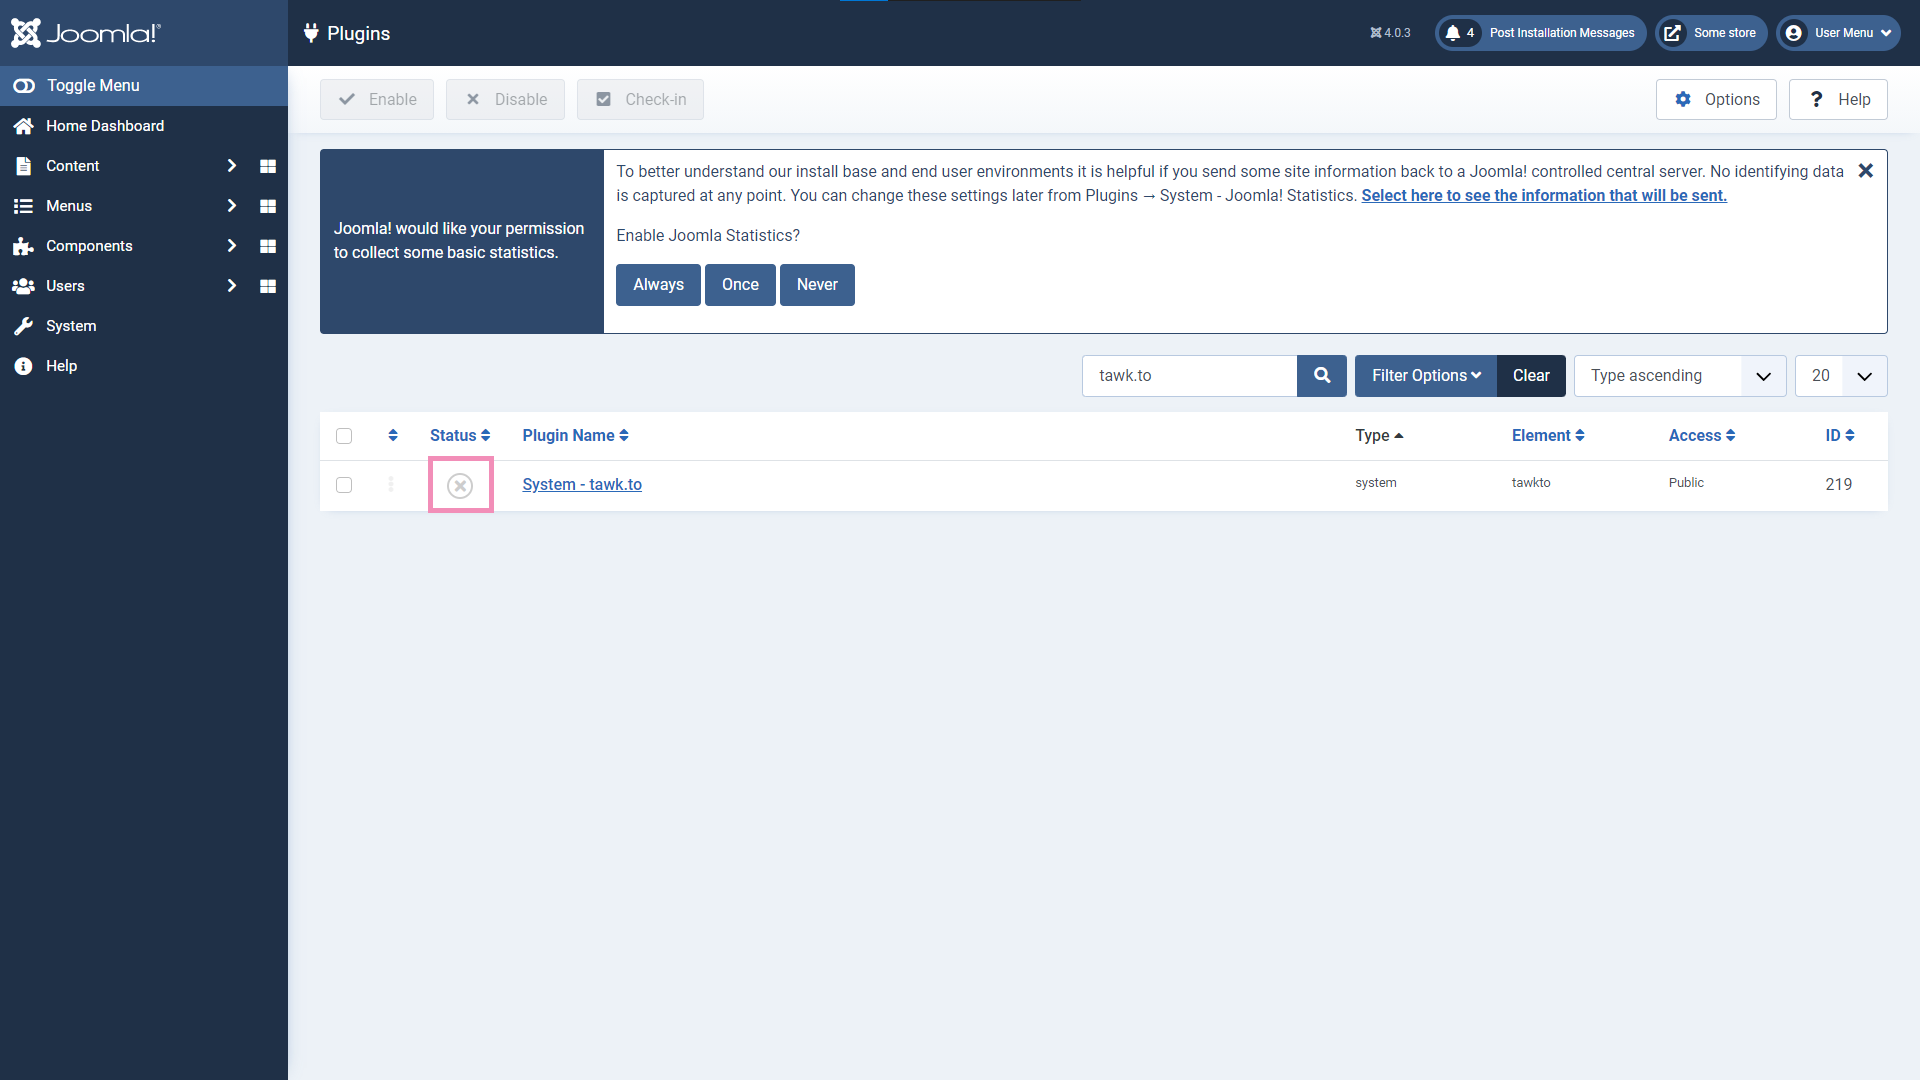

7. Click System - tawk.to to open the plugin settings.
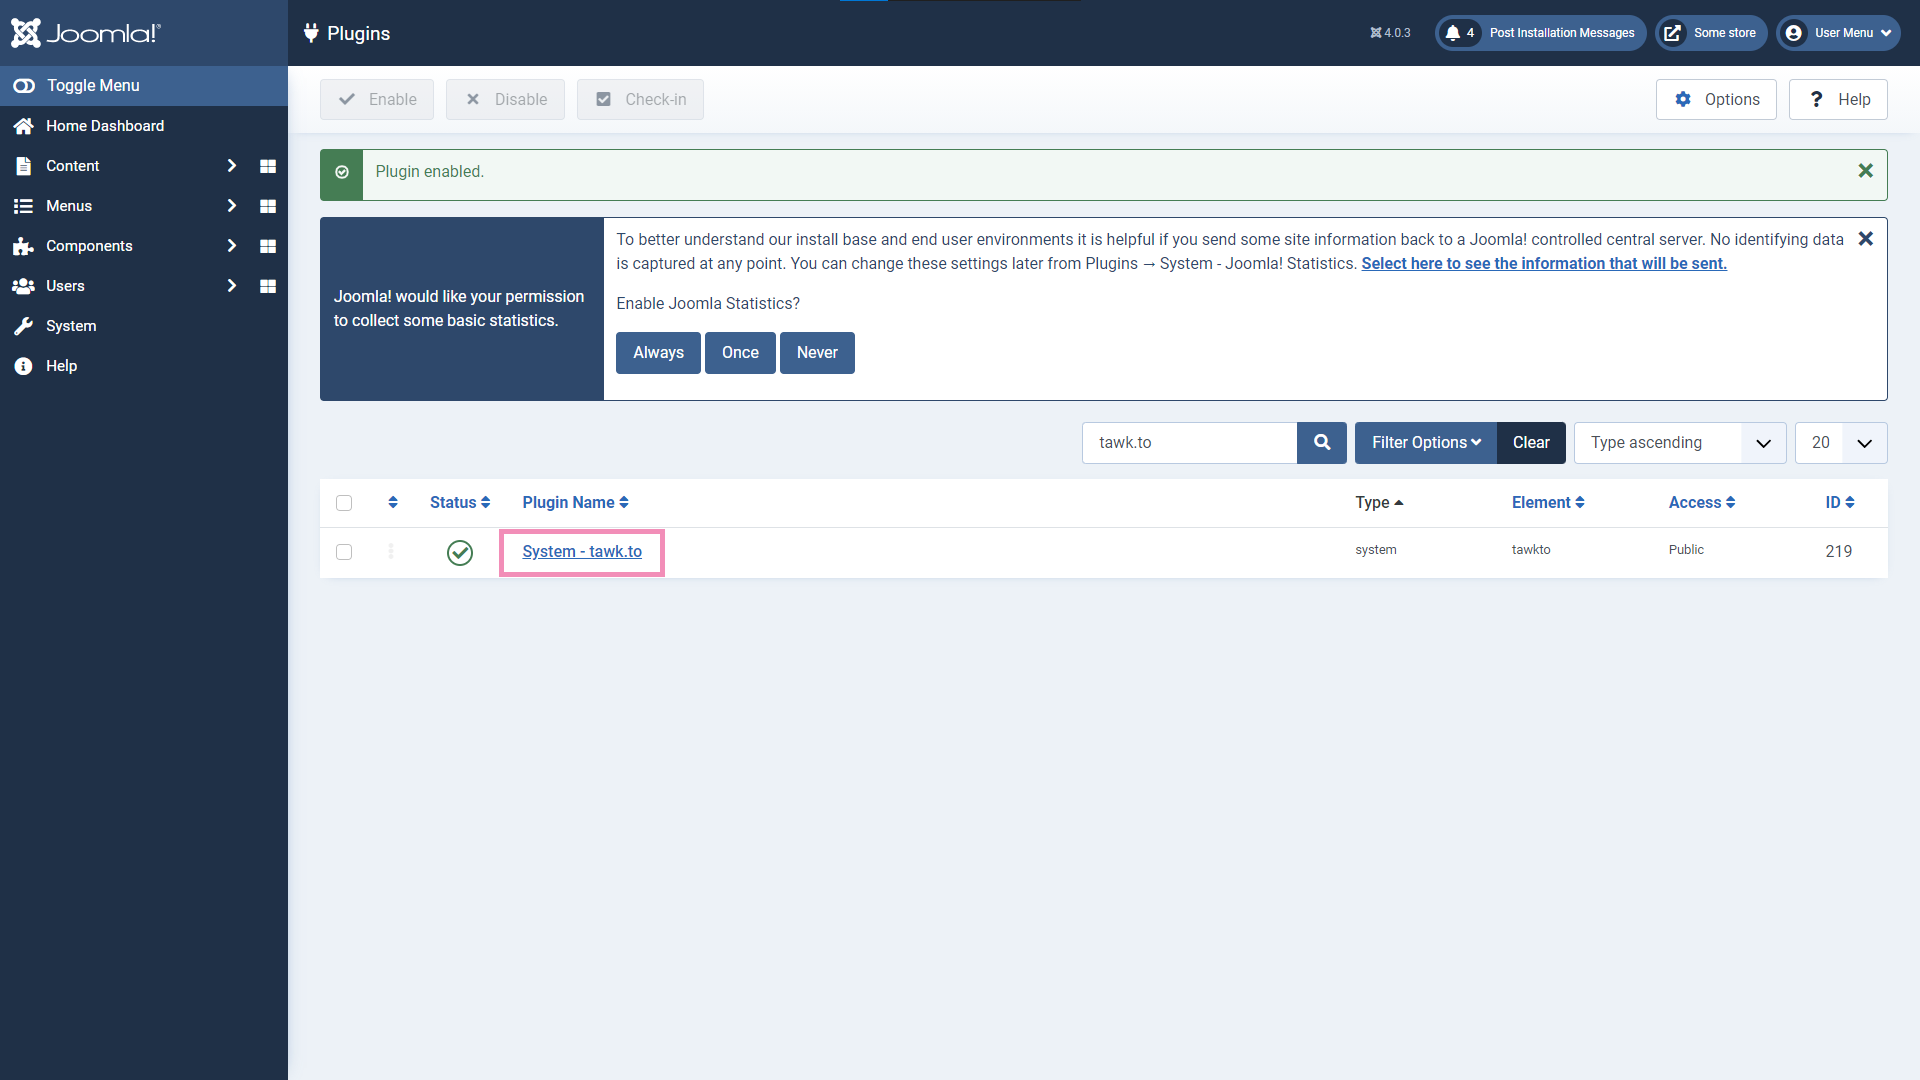
8. Log in to your tawk.to account.


Once saved, the chat widget should appear on your website.
Install the tawk.to module
1. Download mod_tawkto-<release_version>.zip from our Joomla GitHub release page.
2. In the Joomla administration panel, click System.

3. Under Install, go to Extensions.

4. Upload the extension by either:
- Dragging and dropping the ZIP file, or
- Clicking Or browse for file and selecting the ZIP file.
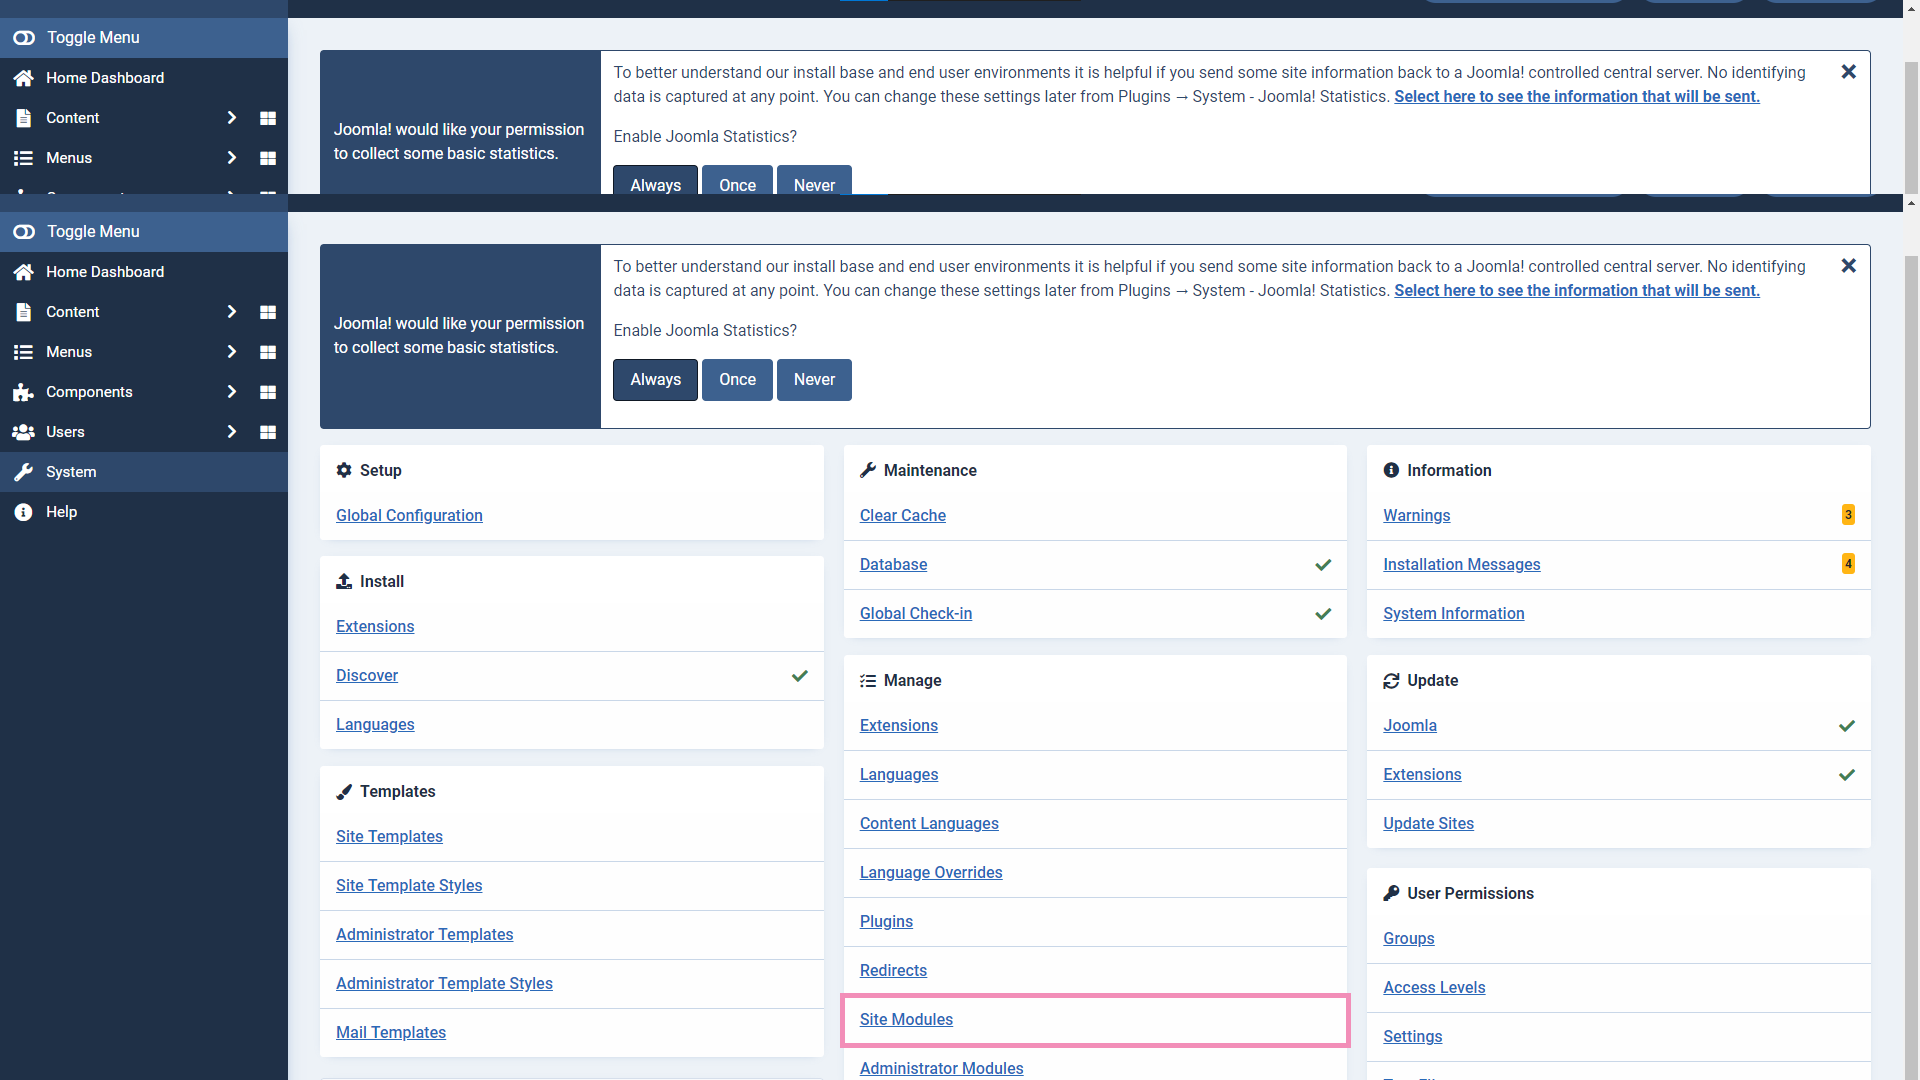
5. Return to the System page. Then, click Site Modules under Manage.
6. Search for tawk.to. Then, enable the module by clicking the status icon so it displays a green checkmark.
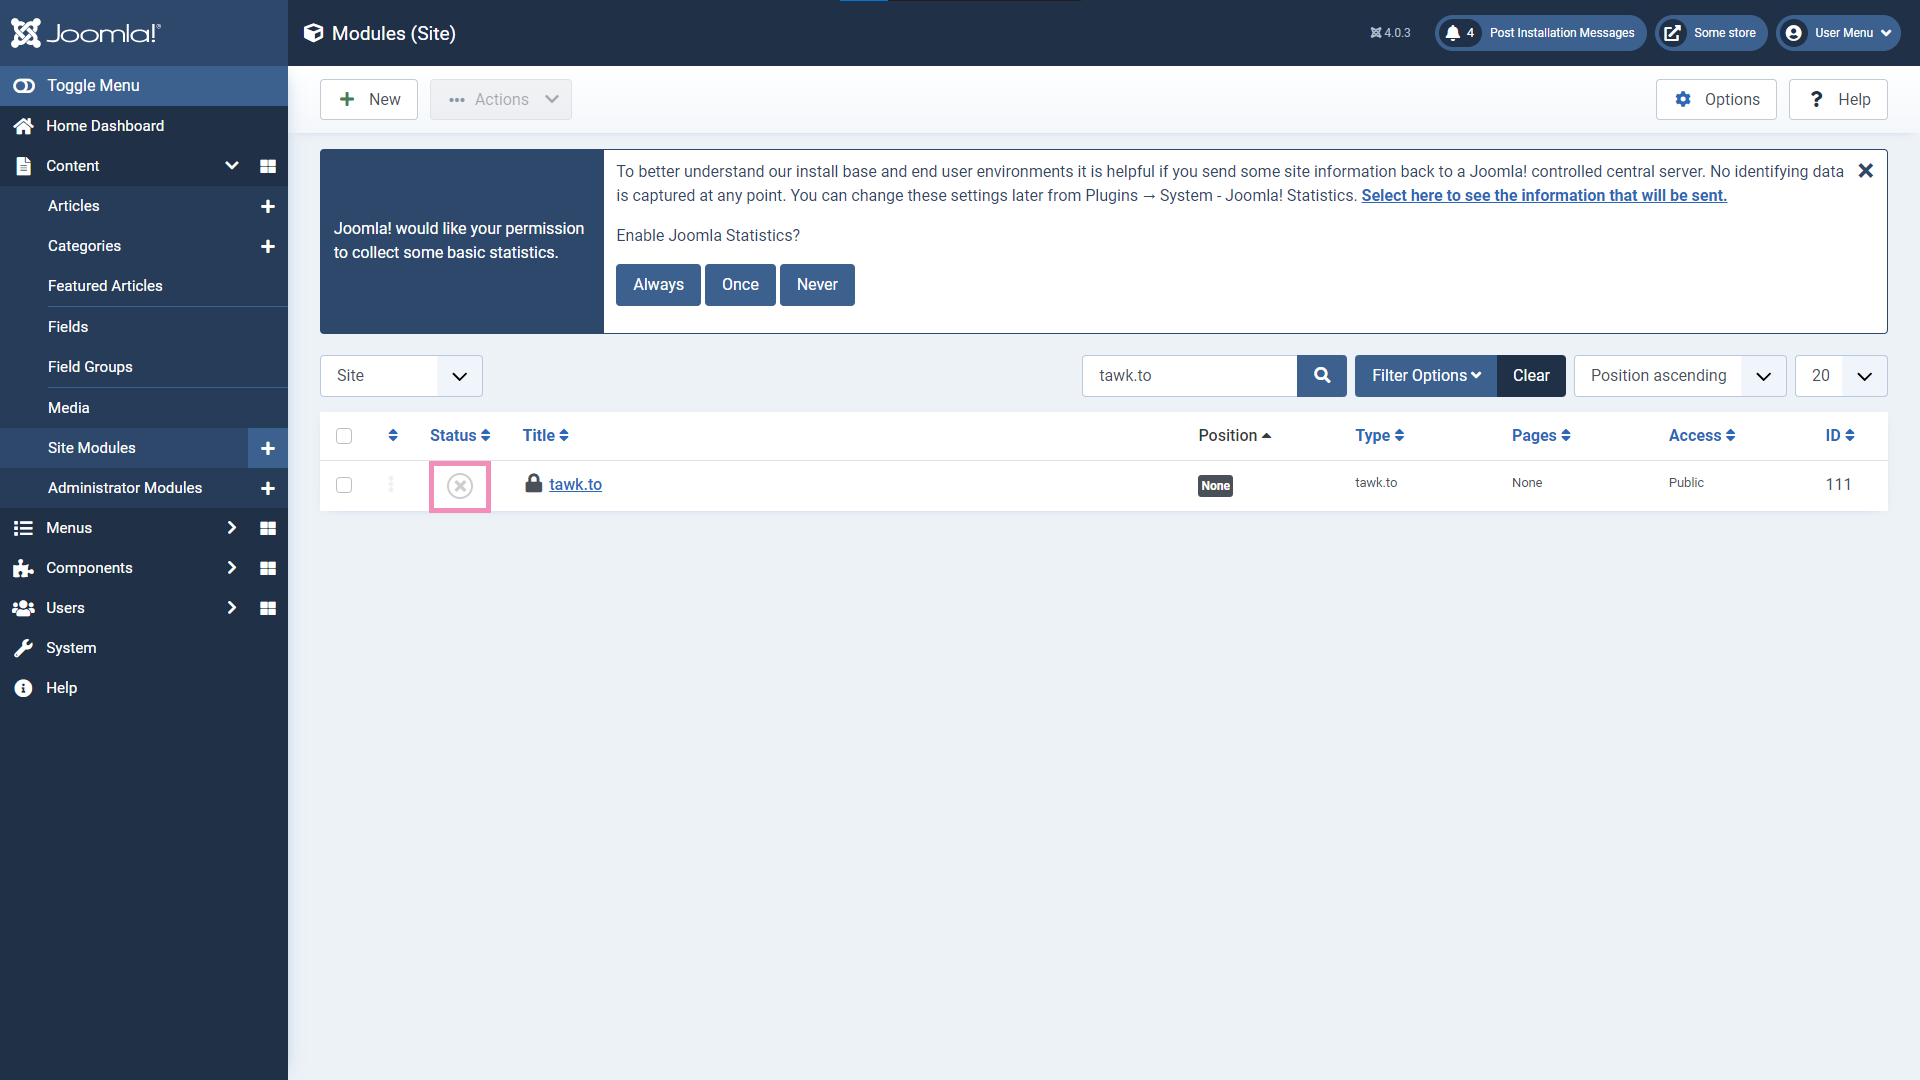
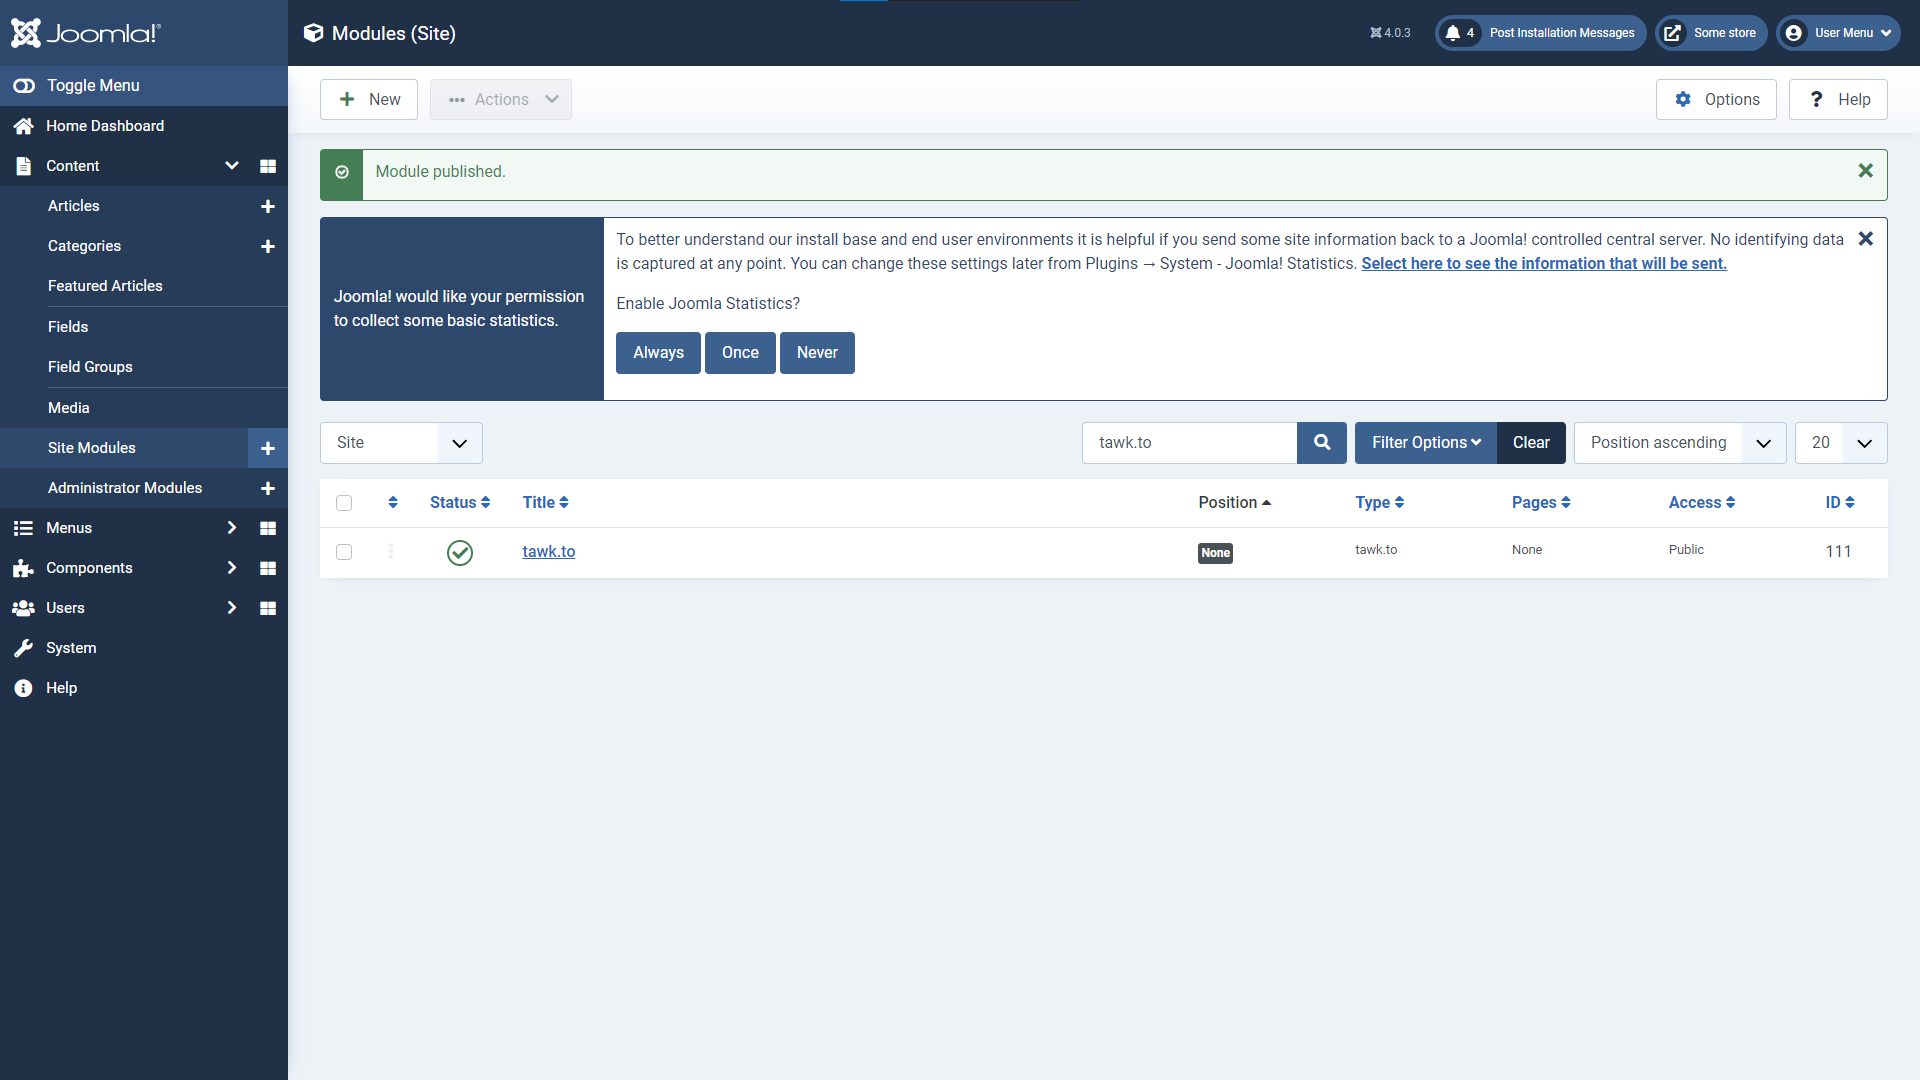
7. Click tawk.to to open the module settings.

8. Log in to your tawk.to account.

9. Select the Property and Widget and click Use selected widget. Ensure Status is set to Published.
You can also set the module’s Position. We recommend selecting Footer, which loads the widget after everything else on your page.


Your widget should now appear on the selected pages of your website.
Important considerations
If your tawk.to dashboard contains multiple websites (properties), ensure to select the correct property and widget during setup.
Widget not appearing?
If the widget does not appear after installation:
- Clear your website cache.
- Refresh the page in a private or incognito browser window.
- Verify the plugin or module status is Enabled/Published.
Related guides
- Click the green live chat icon
- Schedule a call with us
- Visit our community