
Editing the Knowledge Base Ticket Form
The instructions below are for desktops and laptops only.

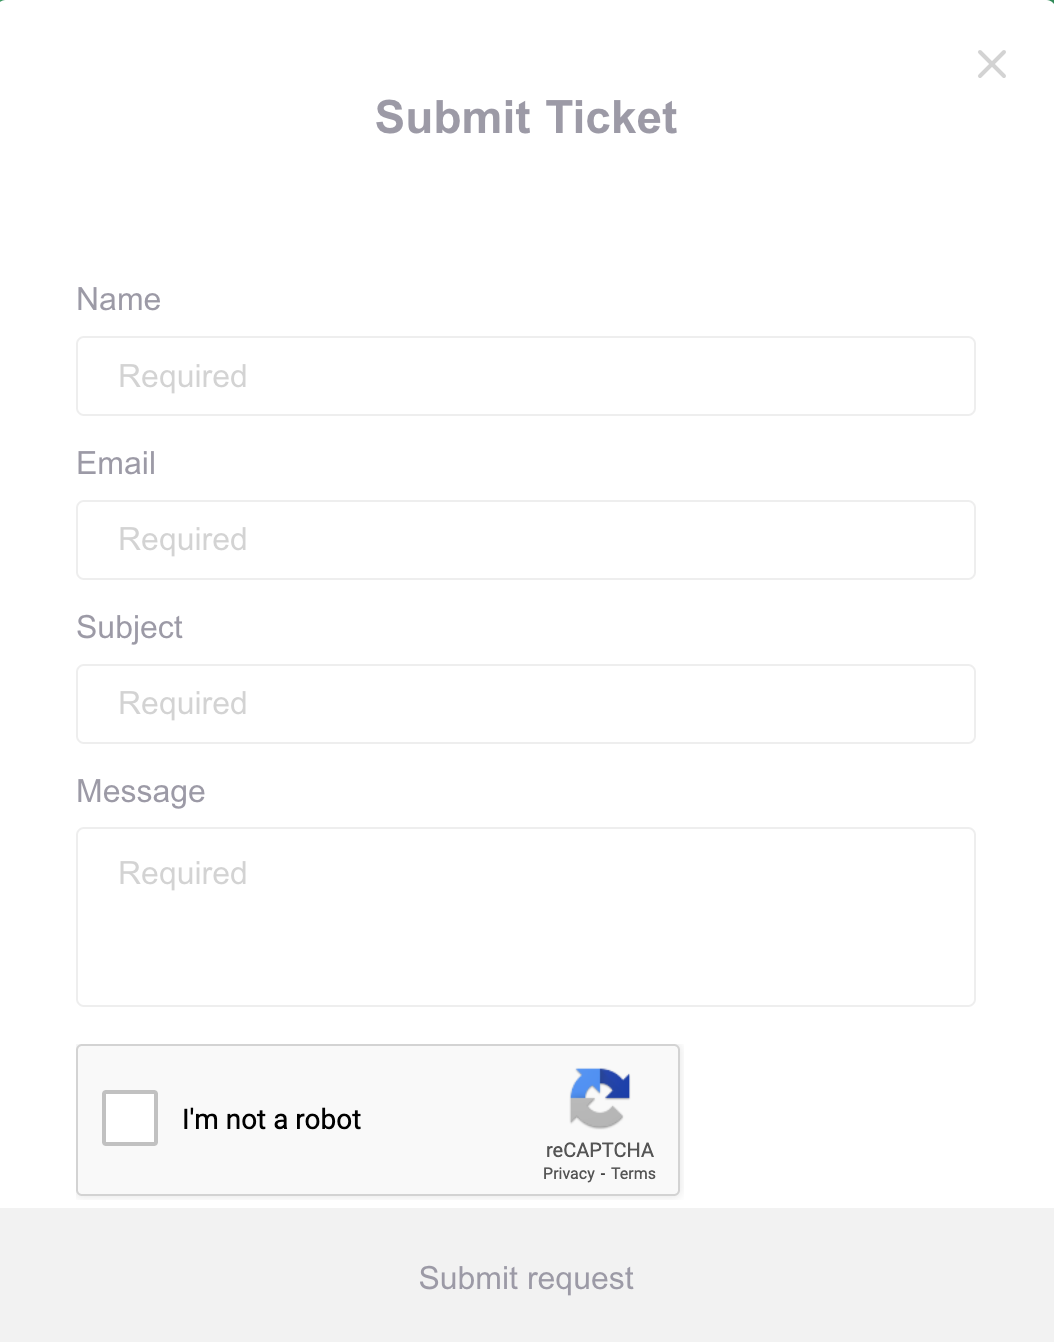
In this guide, we’ll show you how to edit the Ticket Form in your default language and other languages.
Editing the Ticket Form

2. Click Publish in the left navigation bar.

3. Select Knowledge Base.

4. Click Configure at the upper right corner.

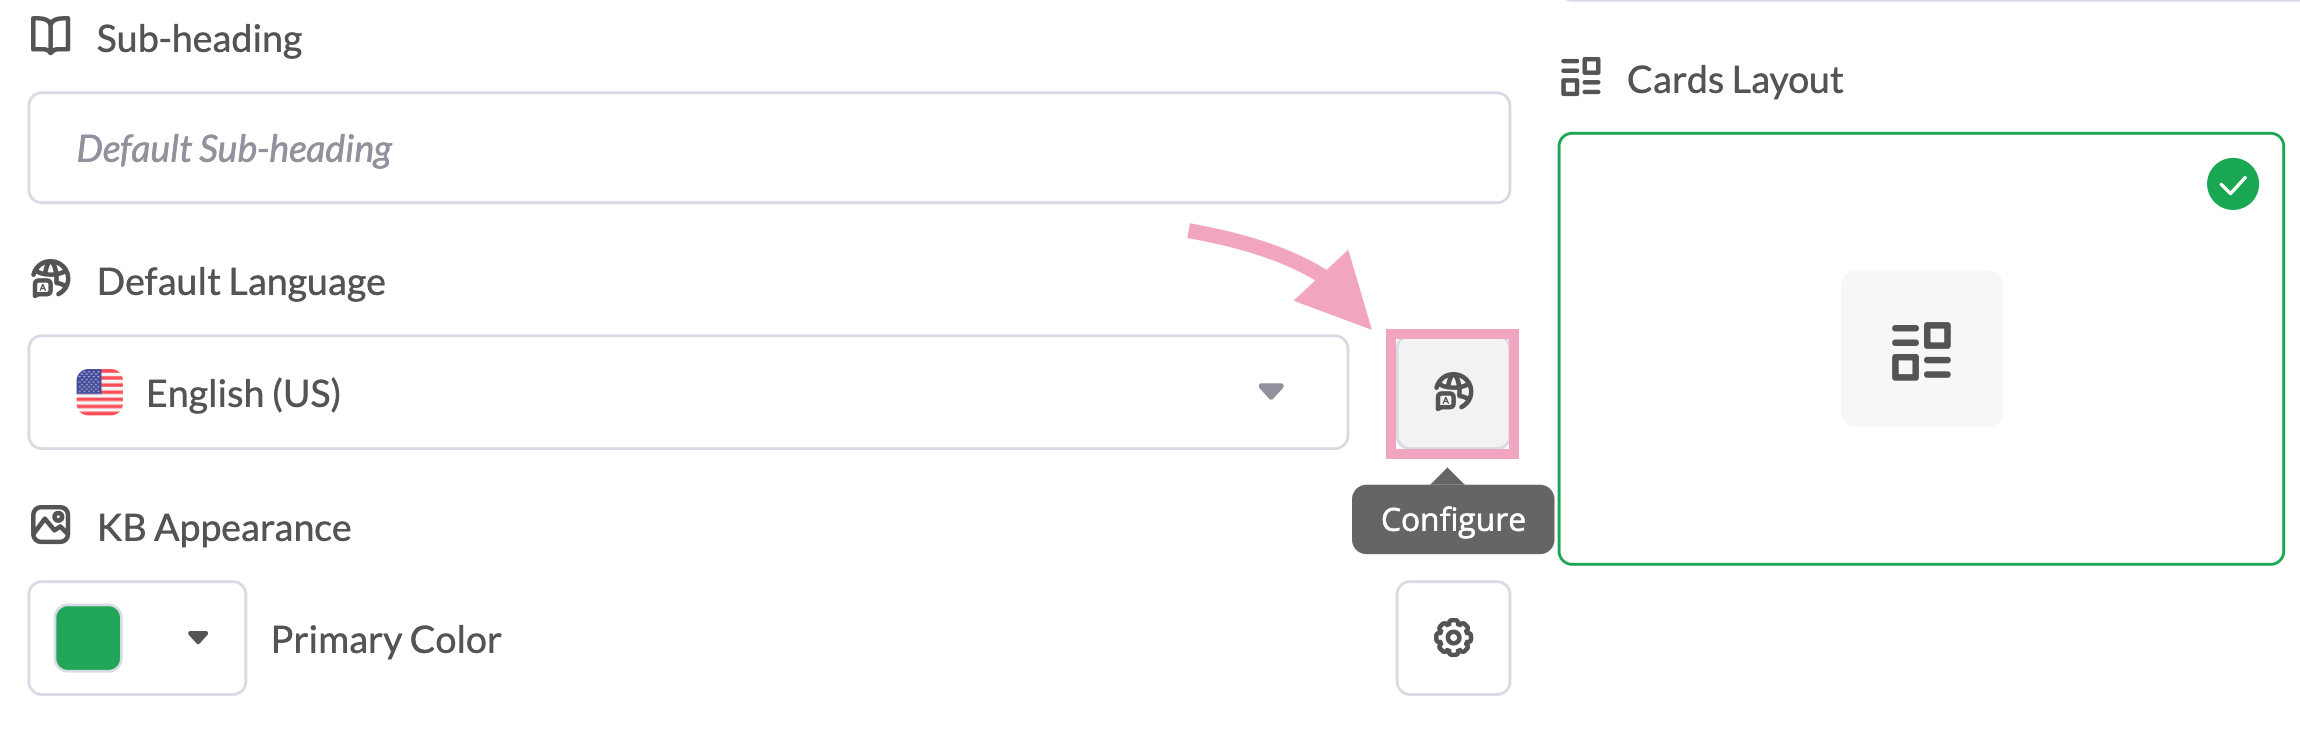
5. Scroll down to Default Language and click Configure.
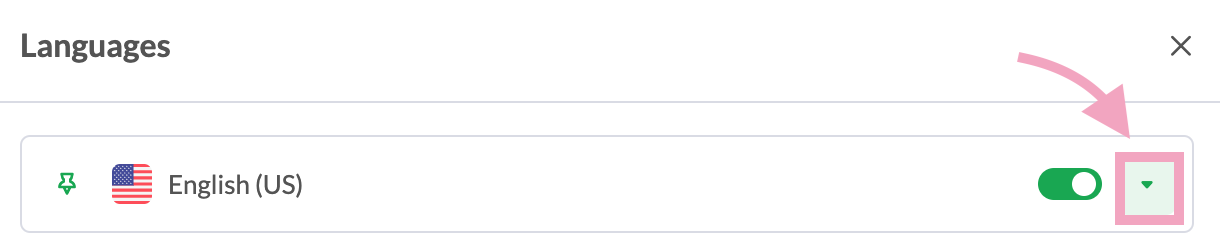
6. Click the arrow next to your default language.
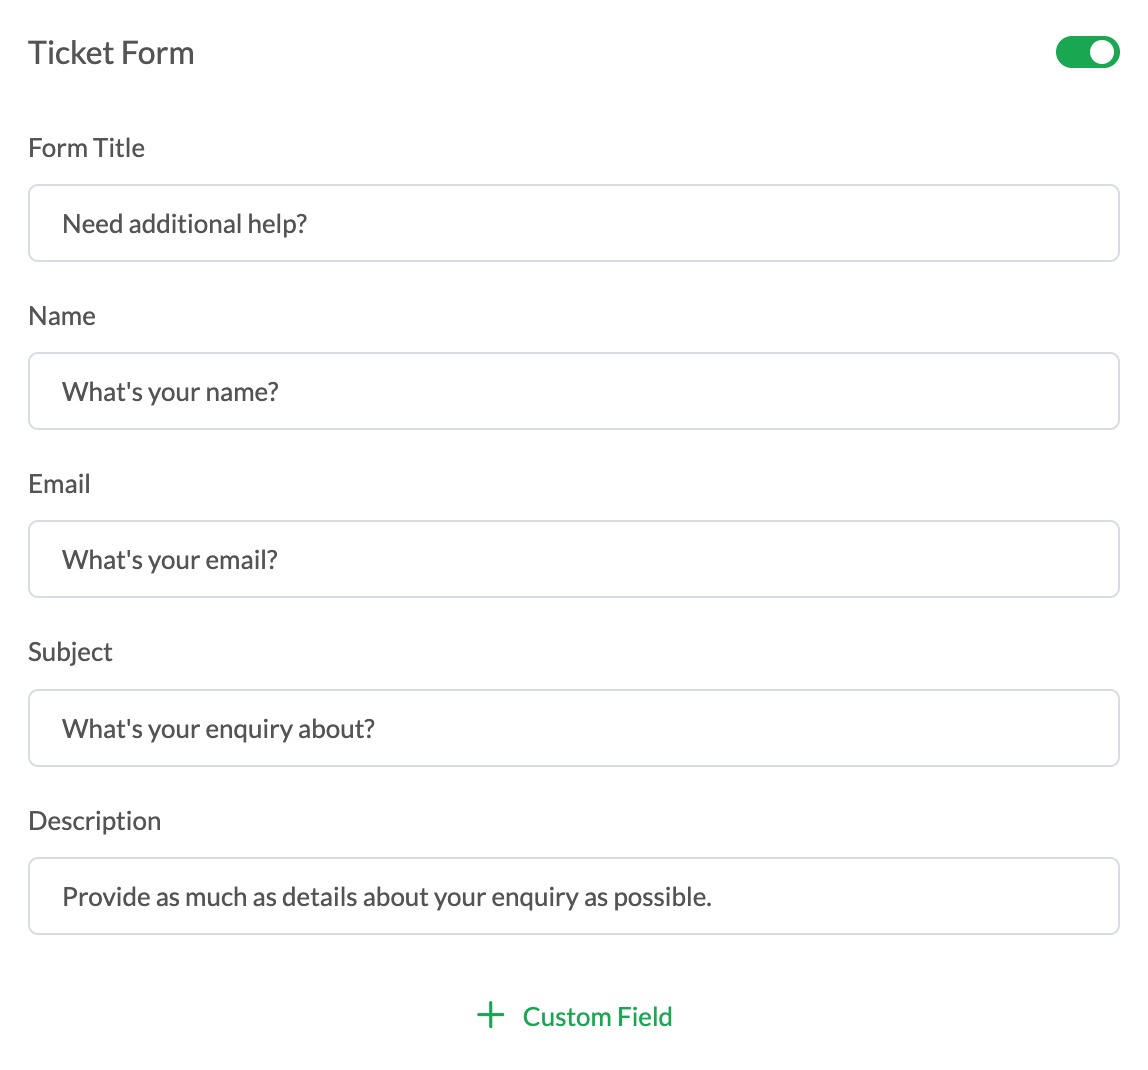
7. Scroll down to Ticket Form and make the necessary changes. Click Custom Field to add new fields.
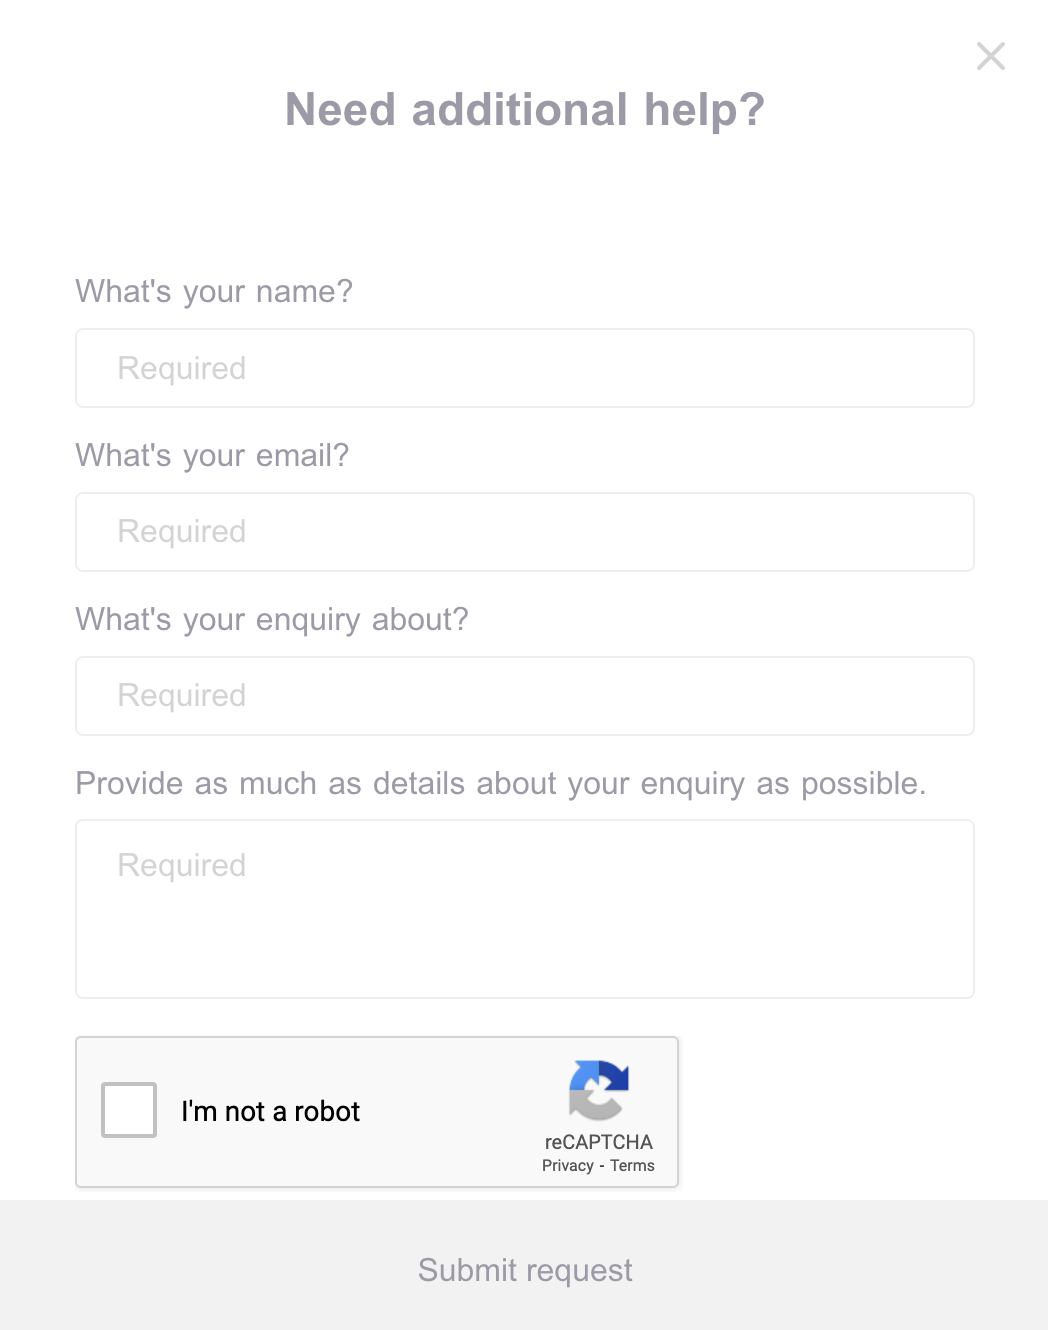
Your Ticket Form is automatically set to your default language. Before setting the Ticket Form in other languages, we recommend translating your Knowledge Base to those languages first.
Read on to learn how to customize the Ticket Form in other languages.
Customizing the Ticket Form in other languages
Follow these steps to edit the Ticket Form in different languages:
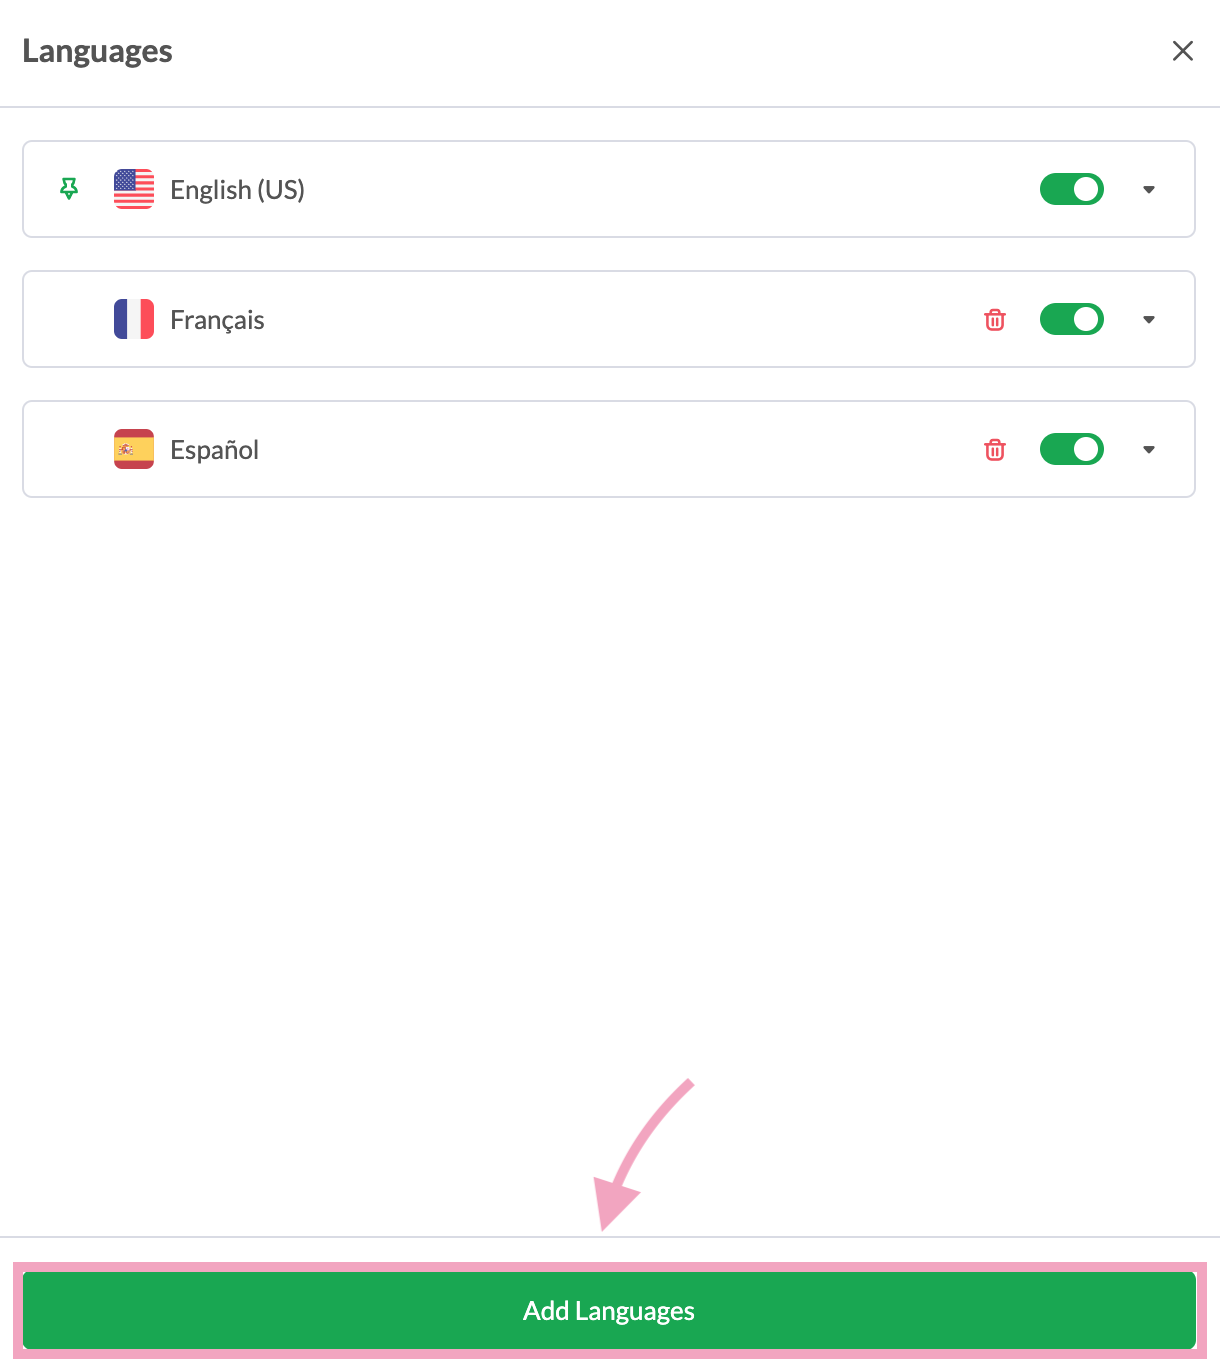
1. On the Languages panel, click Add Language.
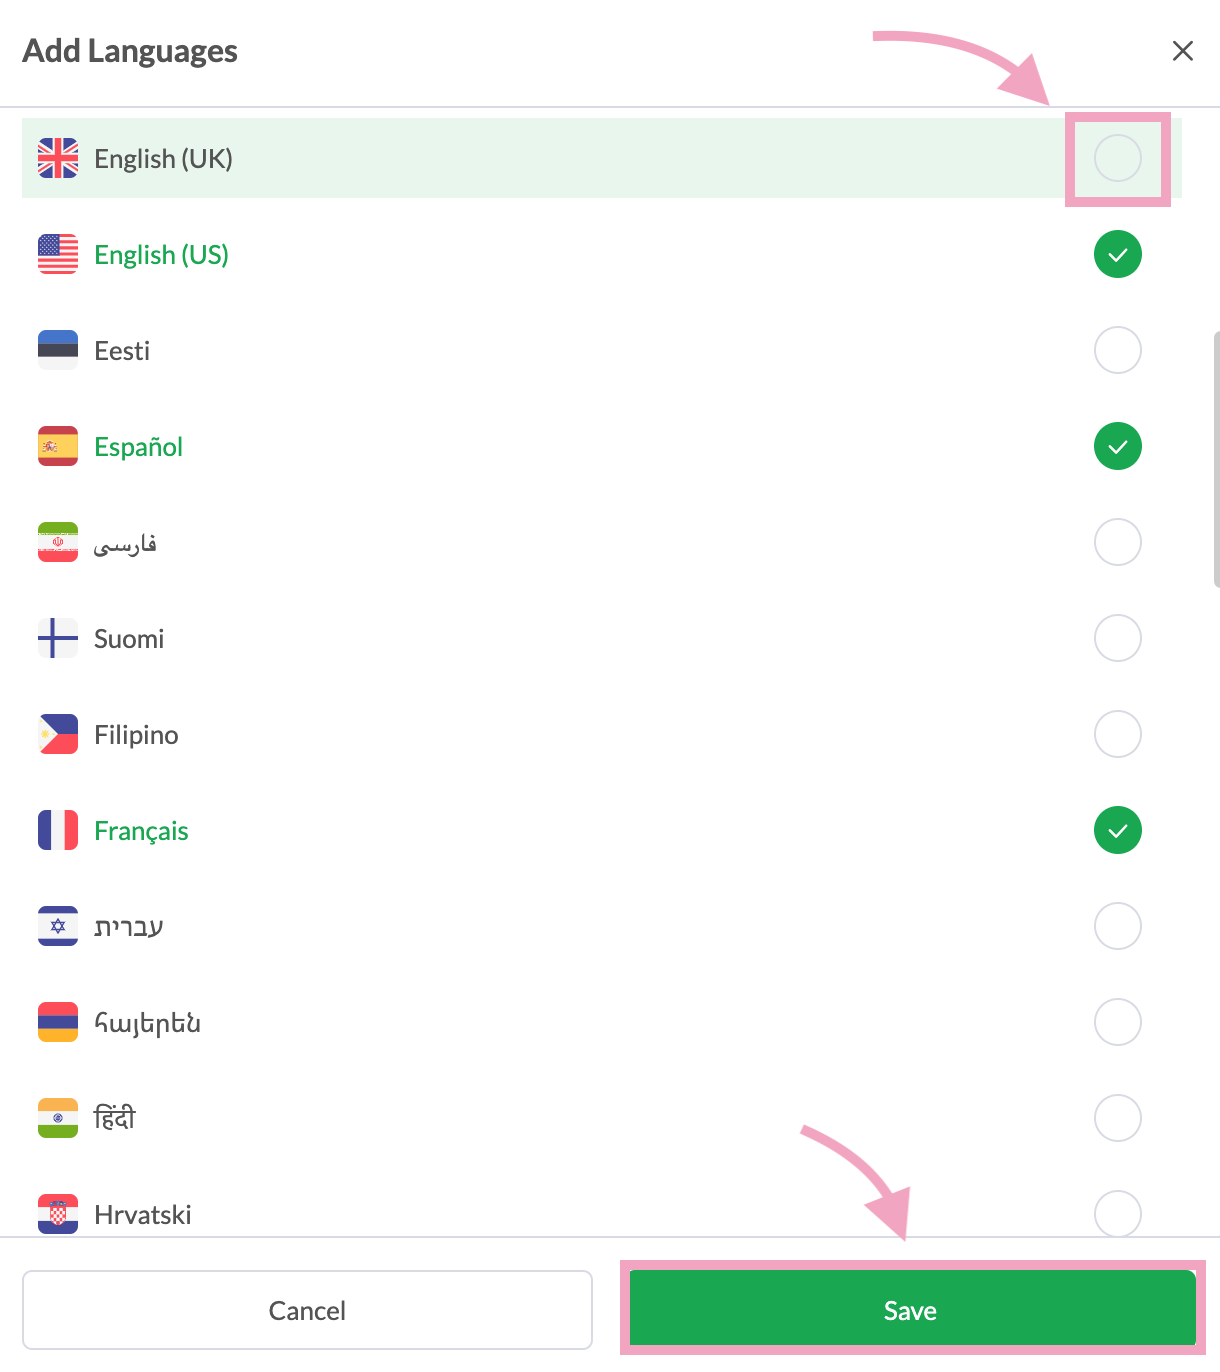
2. Select a language and click Save.
3. To edit the form, click the arrow next to the new language.

4. Set the fields of the form and your settings will be saved automatically.
Your visitors can now create new support tickets from your Knowledge Base, making it easy for them to reach you for additional support.
Best practices
- Use clear, descriptive field labels so visitors know what information to provide.
- Only add custom fields when necessary. Shorter forms are more likely to be completed.
Additional considerations
- The default fields (Name, Email, Subject, and Description) are required and cannot be removed from the form.
- Any changes you make to the ticket form take effect after you click Save.
Related guides
Creating a new Knowledge Base article
Creating Knowledge Base categories
Changing the order of articles in the Knowledge Base
Understanding Primary Categories in the Knowledge Base
Customizing your knowledge base for additional languages
Customizing the Submit Ticket feature in your Knowledge Base
Creating Private Knowledge Base articles and categories
How to change the order of categories in the Knowledge Base
If you have feedback about this article, or if you need more help:
Click the green live chat icon
Schedule a call with us
Visit our community