How to add more than one widget to a website
[Desktop]
Adding more than one widget to your website gives you more control over how your visitors interact in different areas of your website.
You may want to create widgets in additional languages. You could add a second knowledge base to your site. Or you might want to assign an agent one specific area of your website such as a booth at a virtual event.
You can add multiple widgets under one property or create multiple properties, each with its own widgets.
What you can customize:
The table below shows which features you can customize when you add a widget and which features you can customize when you add a property.
| Feature | Add a Widget | Add a Property |
|---|---|---|
| Widget design | ✔ | ✔ |
| Widget content | ✔ | ✔ |
| Direct Chat Link | ✔ | ✔ |
| Widget Scheduler | ✔ | ✔ |
| Widget Behavior | ✔ | ✔ |
| Widget Visibility Setting | ✔ | ✔ |
| Widget Availability | ✔ | ✔ |
| Trigger messages | ✔ | |
| Property members | ✔ | |
| Shortcuts | ✔ | |
| Agents | ✔ | |
| Knowledge Base | ✔ | |
| Chat Page | ✔ | |
| Agent Alerts | ✔ | |
| Ban list | ✔ | |
| Departments | ✔ | |
| Ticket Forwarding Email | ✔ | |
| Tabs | ✔ | |
| Departments | ✔ | |
| Add-ons | ✔ |
If you have purchased Add-ons, they will work for any chat widget in the same property. You can have up to 20 widgets for each property.
NOTE: The instructions below can only be completed from a browser or the tawk.to desktop apps. They cannot be completed in the tawk.to mobile app.
Here’s how to add an additional property to your dashboard:
To add an additional property to your website, click on the current property in the top left of your Dashboard. A list of all your properties will appear.
To add a new property to your tawk.to account, click on Create Property at the bottom of the list. Then follow the prompts to set up your new property.

Note: the field labeled “Site URL” is only for internal purposes.
Here’s how to add an additional widget to your dashboard:
If you have multiple properties, check to make sure you're viewing the correct one. Hover over the current property name in the upper-left menu to select a new property from the list.
Next, head to Administration → Chat Widget.

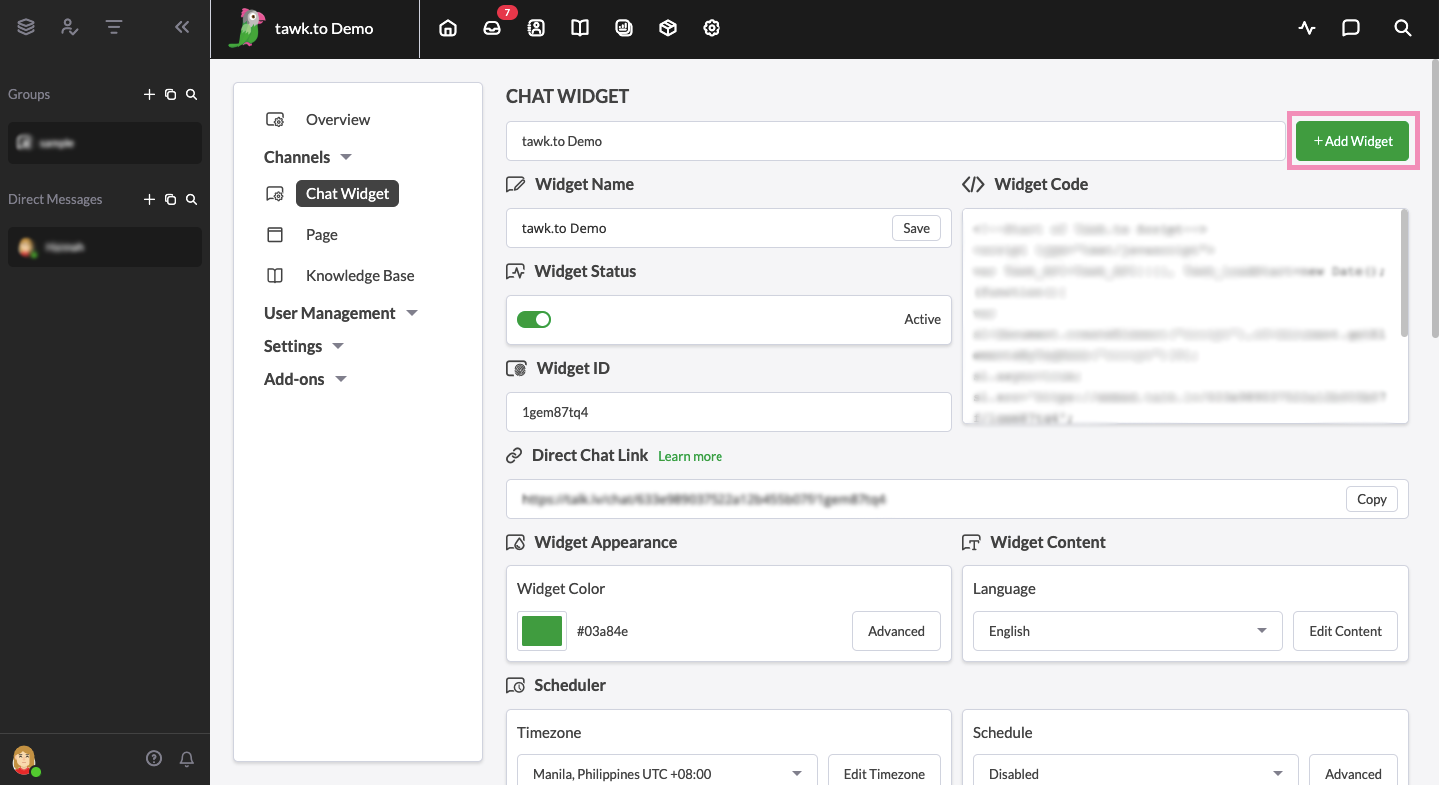
To create a new widget, click on the green +Add Widget button to the right of the menu and follow the prompts.
You can have up to 20 widgets for each property.
How to add a second (or third, or fourth) widget to a website:
To add an additional property on your website, take a moment to make sure there is no site-wide chat widget installed through a plugin or in your theme settings.
Instead of adding the widget through a plugin or adding it to the HTML for your site, you will need to add a widget code to each individual page.
First, select a property in your Dashboard.

Then go to Administration → Chat Widget.

Select the widget you would like to add.
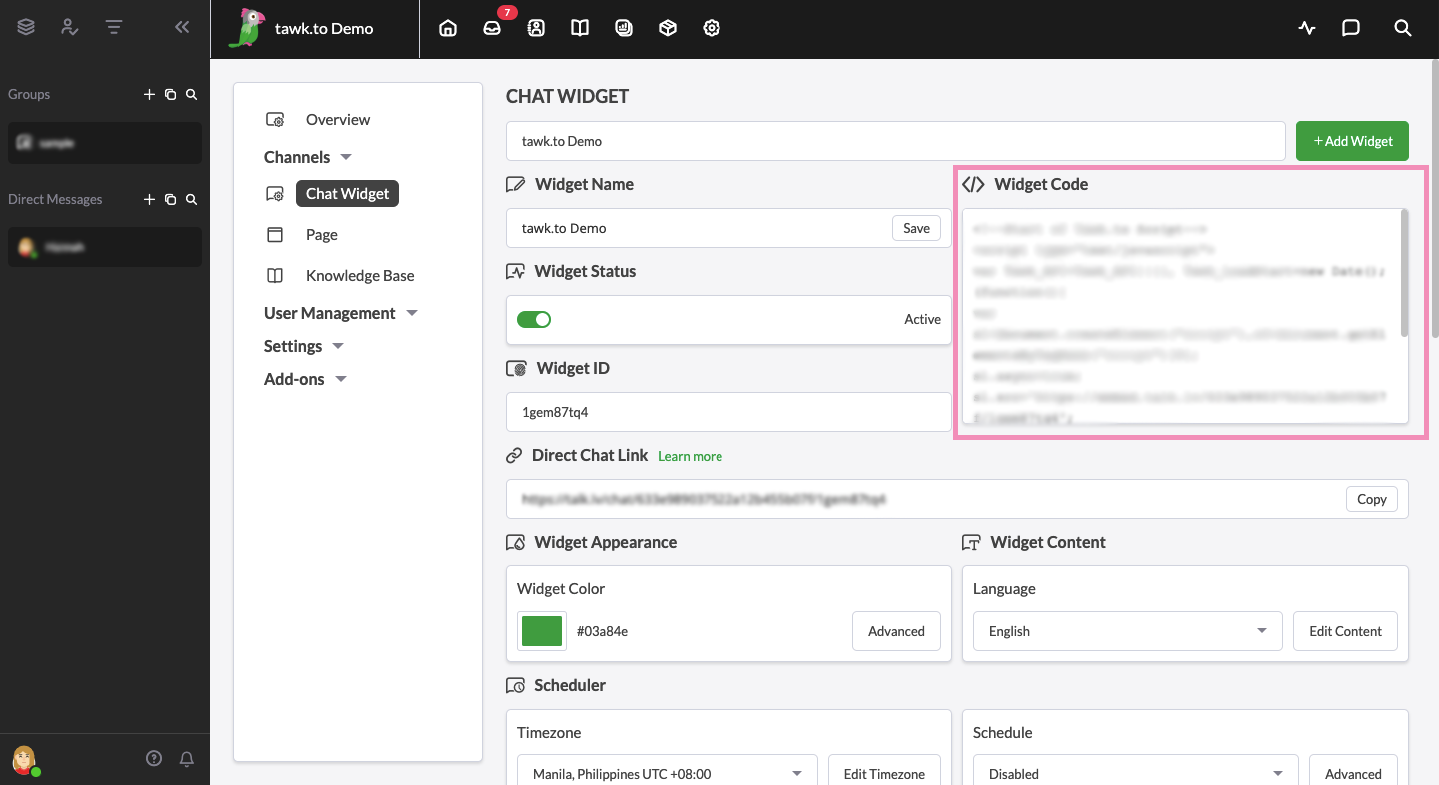
Copy the </> Widget Code on the right of the Chat Widget Admin page.
Choose the page on which you want to install your widget and open it in editing view.
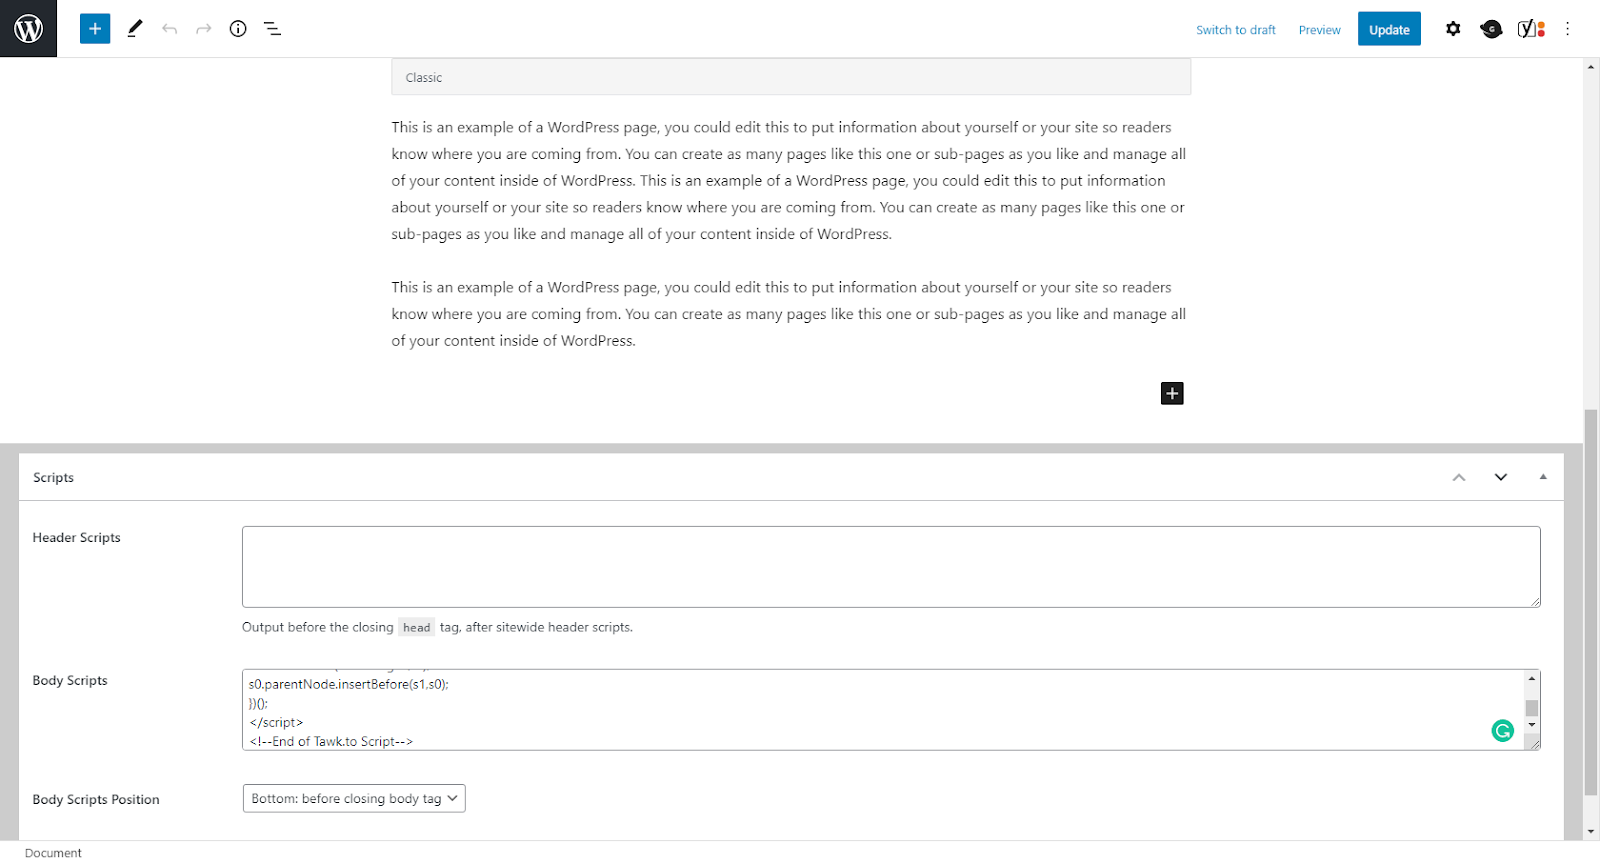
Navigate to the script editor of your page and paste the code for your new widget just before the closing </body> tag.
Here’s an example on a WordPress theme:
Repeat, adding the widget of your choice to each page on which you would like it to appear.
That’s it — you’re done! Now your visitors can see widgets tailored for the content on your site.
Advanced options
If you want to save time with a large number of manual installations, you can add multiple widgets by modifying the widget code.
For example, for a website in more than one language, you can automatically load a widget to match the language of the page.
Learn more: Learn how to set up multiple widgets on your site with JavaScript
Need additional help? Reach out to our support team or schedule a call.