Adding the tawk.to widget to a WordPress.com site
Adding the tawk.to chat widget to your WordPress.com site can help you improve your engagement with the people who visit your website. During a live chat session, you can answer their questions in real-time.
There are two ways to add a tawk.to widget to your WordPress.com site:
- You can use the WordPress plugin
- You can install the widget manually by using the widget code in your tawk.to dashboard
Installing the tawk.to widget using the WordPress plugin
Follow the steps below to install your chat widget using the tawk.to plugin:
Log in to your WordPress account.
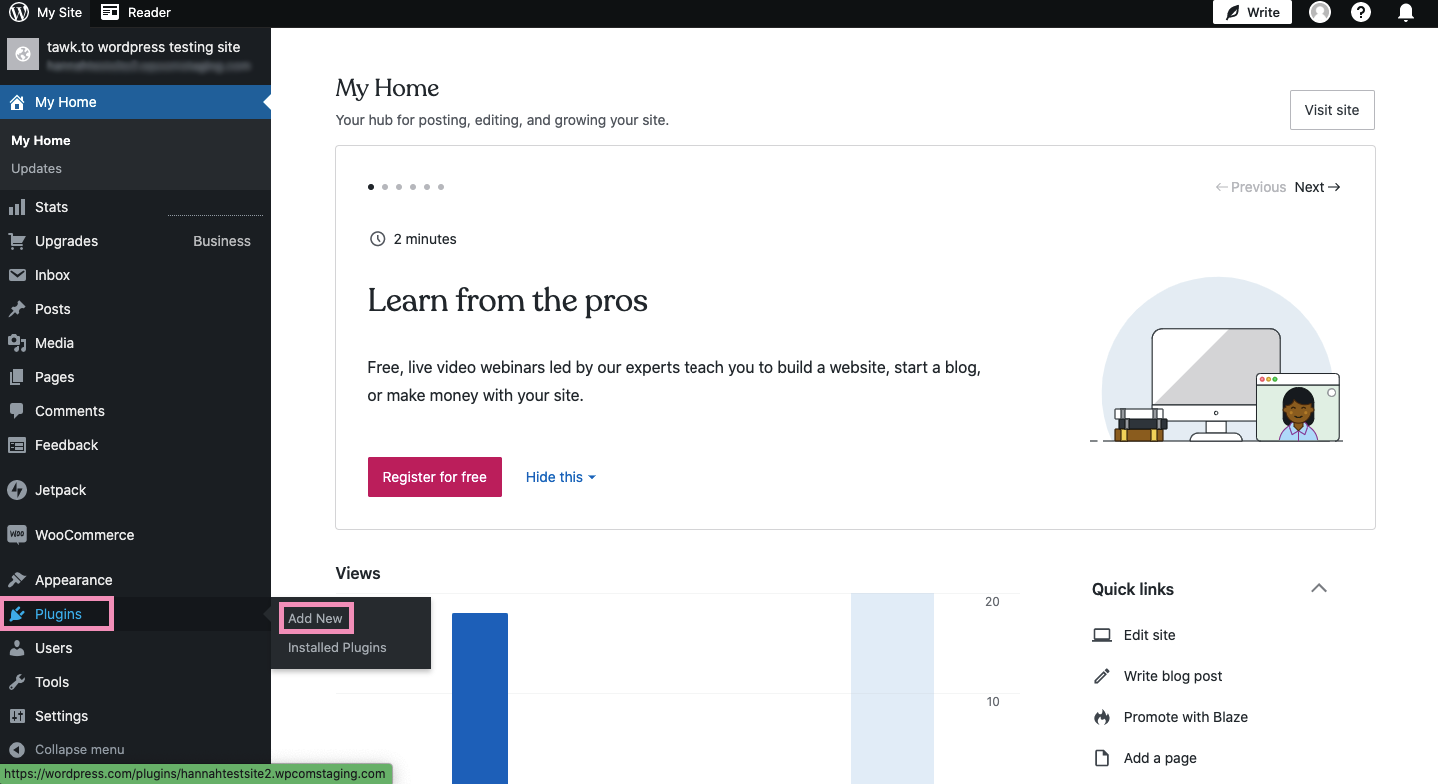
In the left menu, select Plugins ➞Add New.
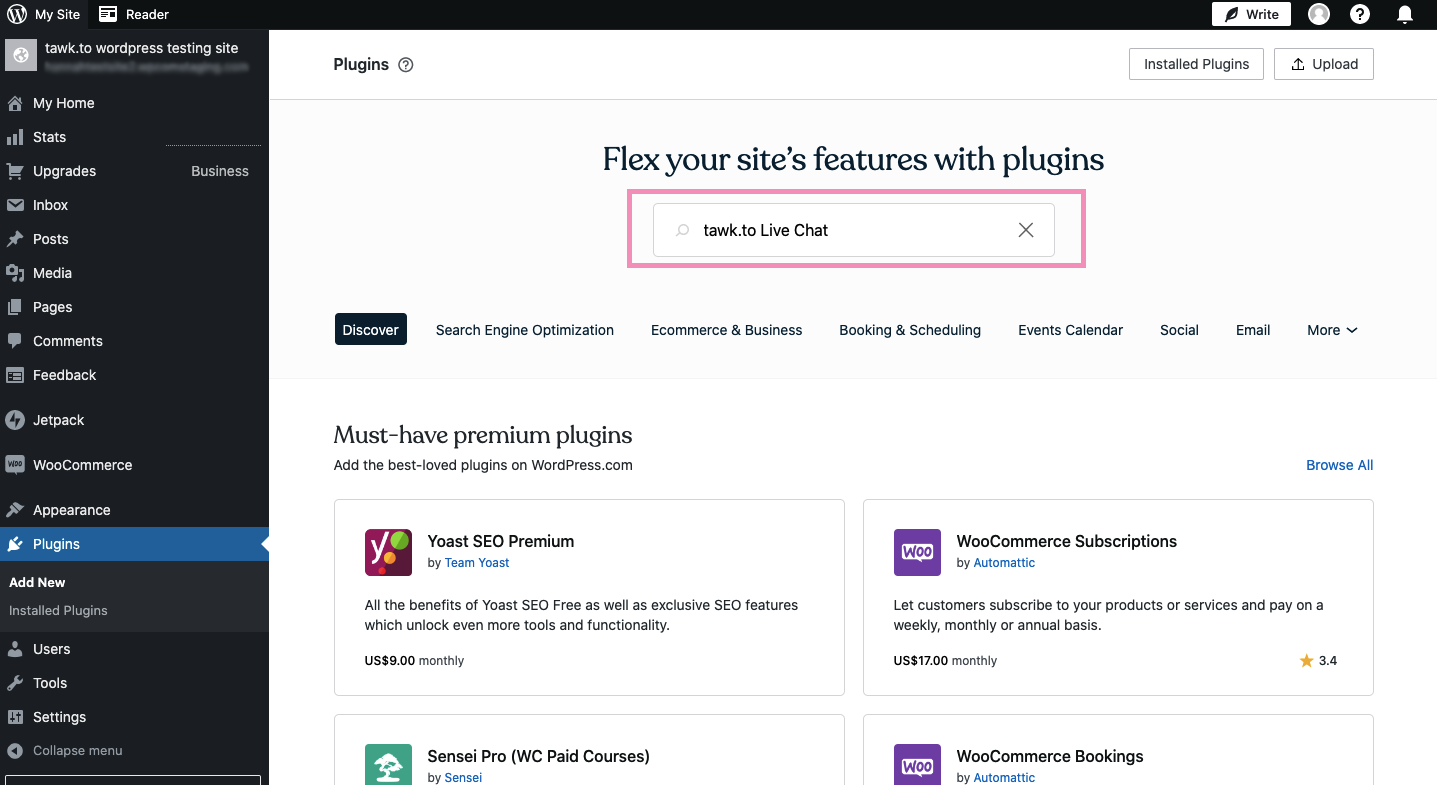
Search for “tawk.to Live Chat” using the search bar in the upper area of the plugins page.
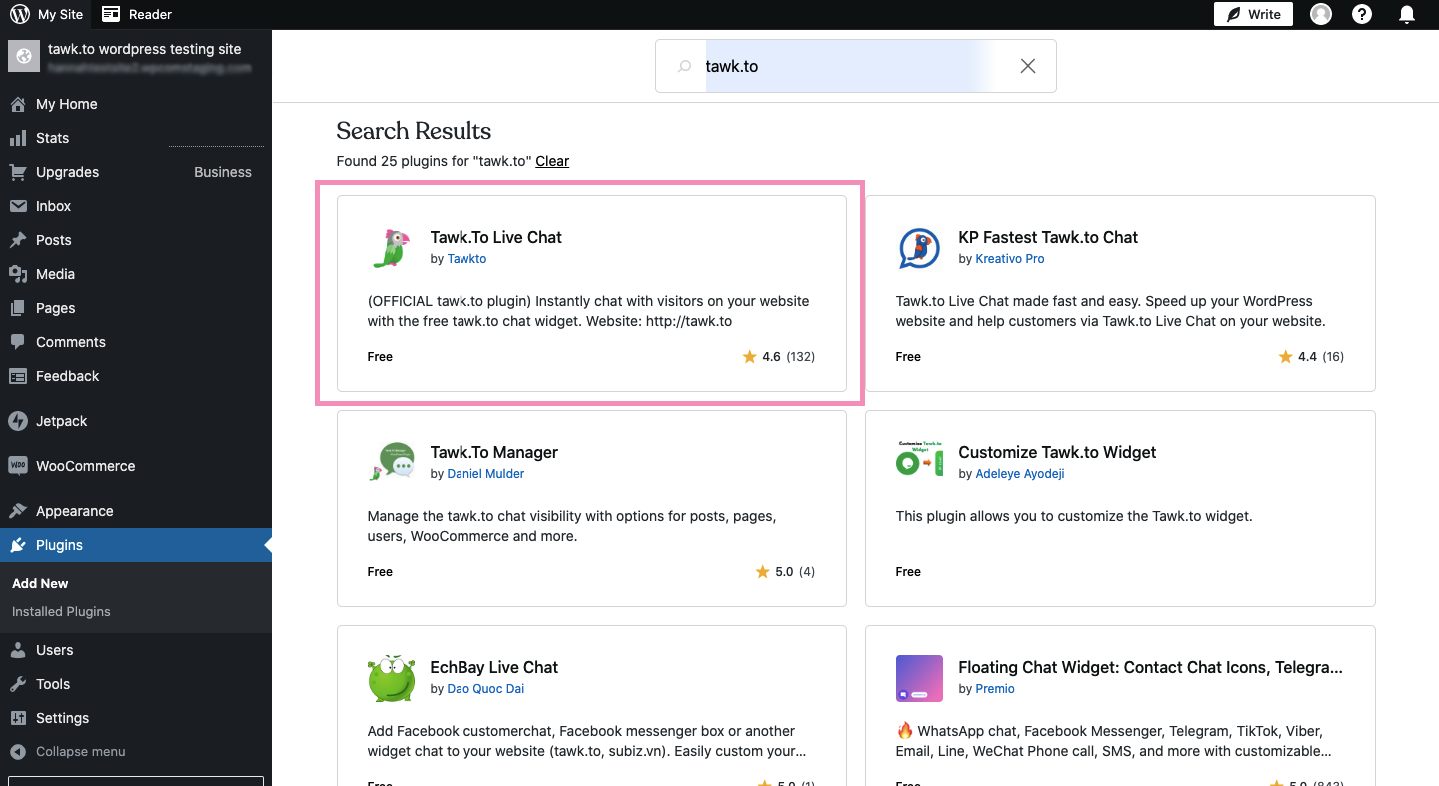
Next, select Tawk.To Live Chat by Tawkto in the results.
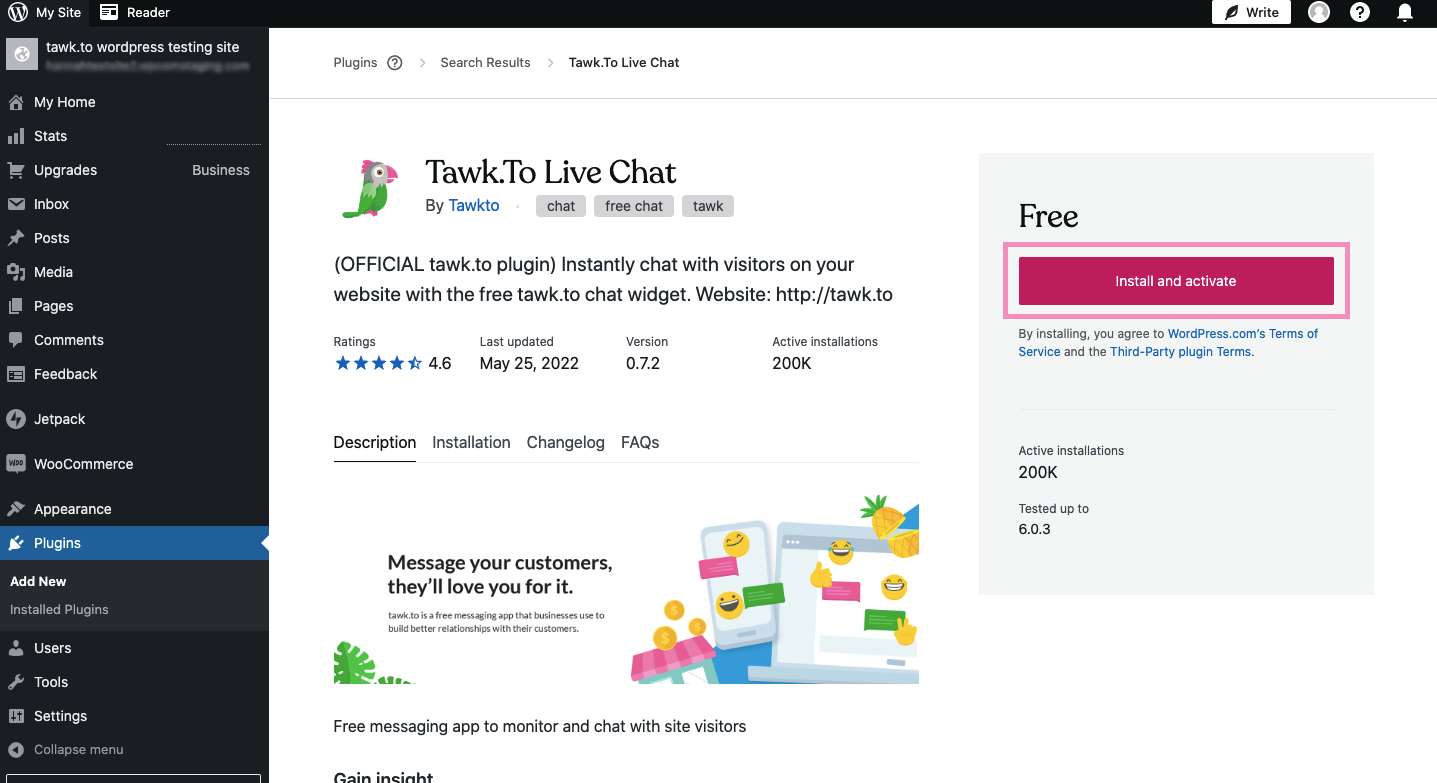
Then, click the Install and Activate button in the upper-right corner of the screen.
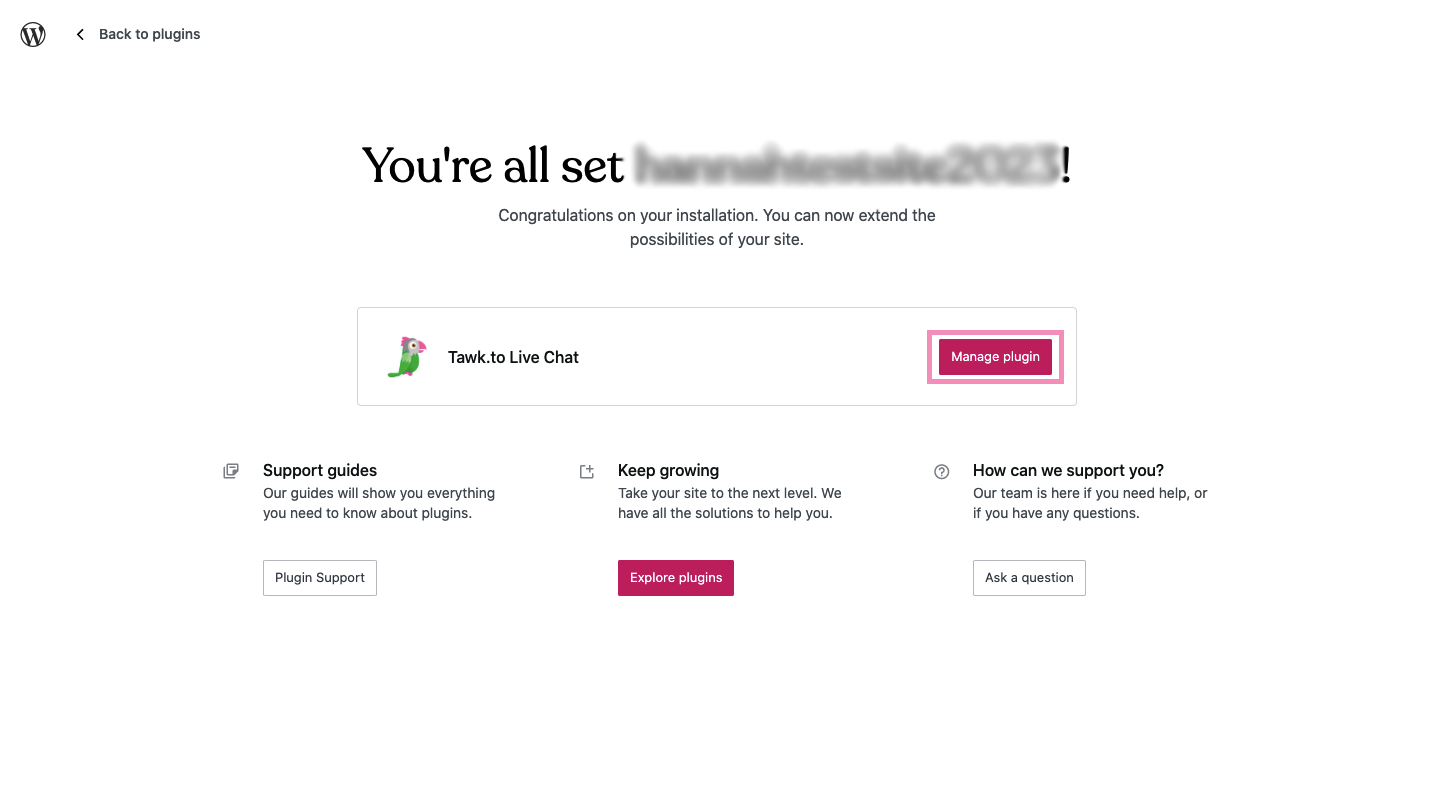
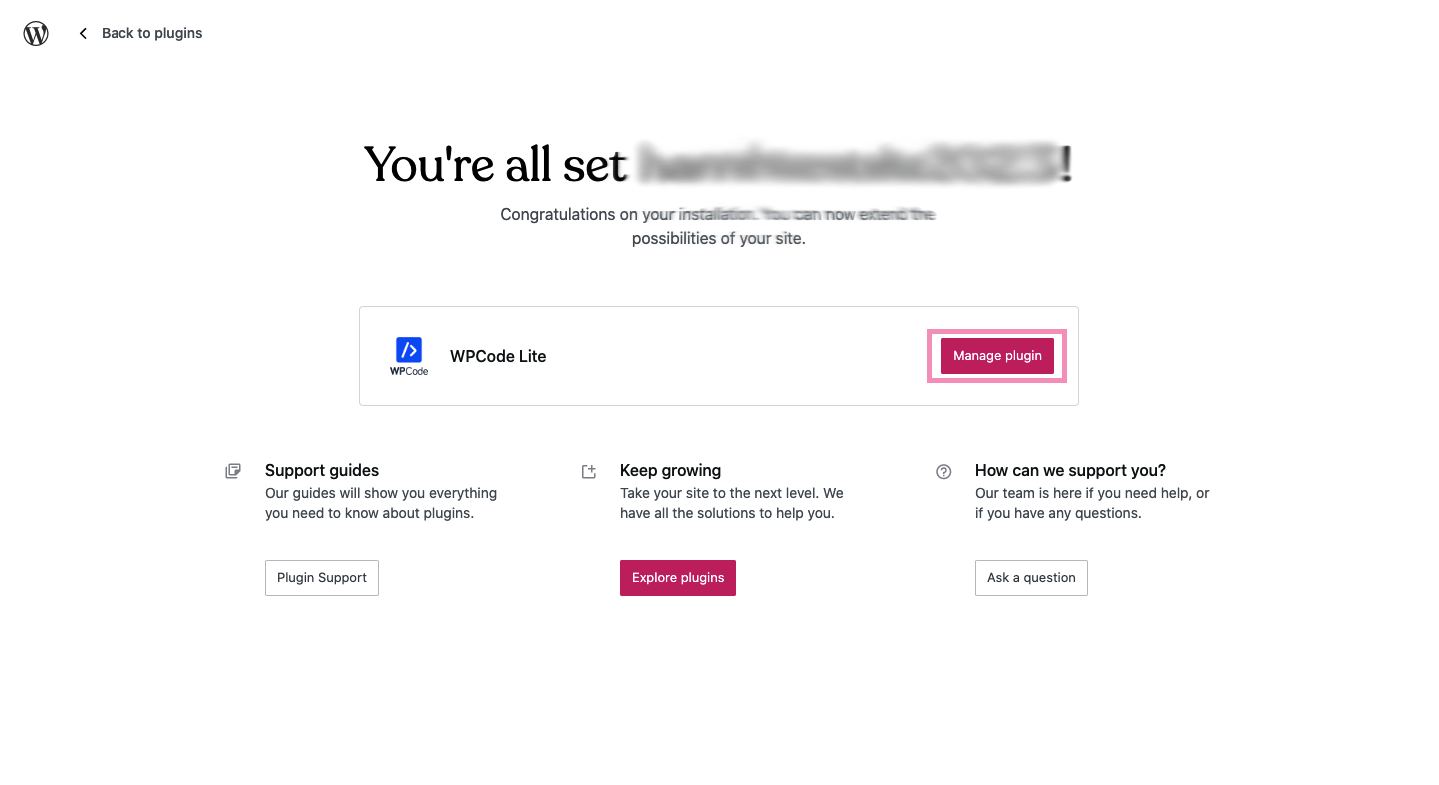
When the tawk.to plugin finishes installing, a confirmation message will appear. Click the Manage Plugin button.
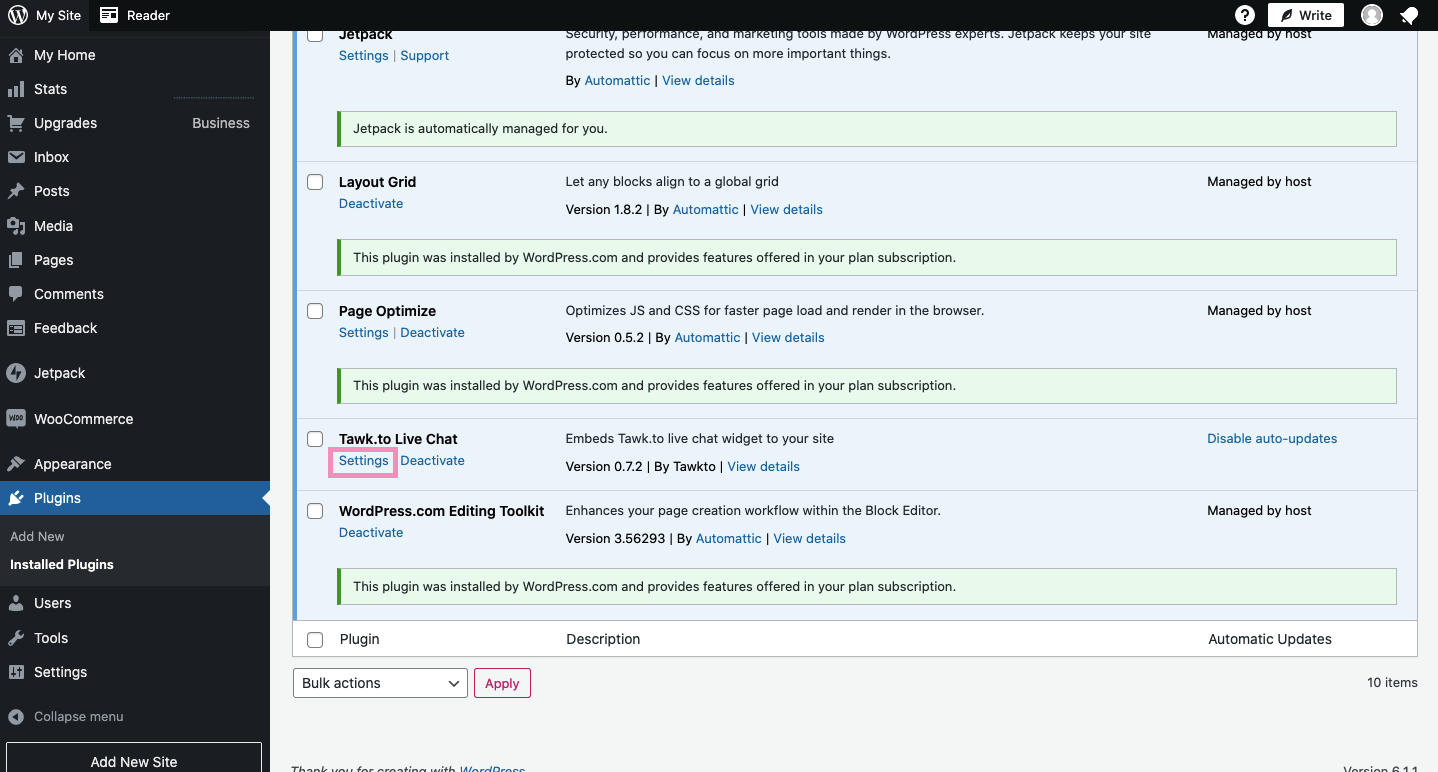
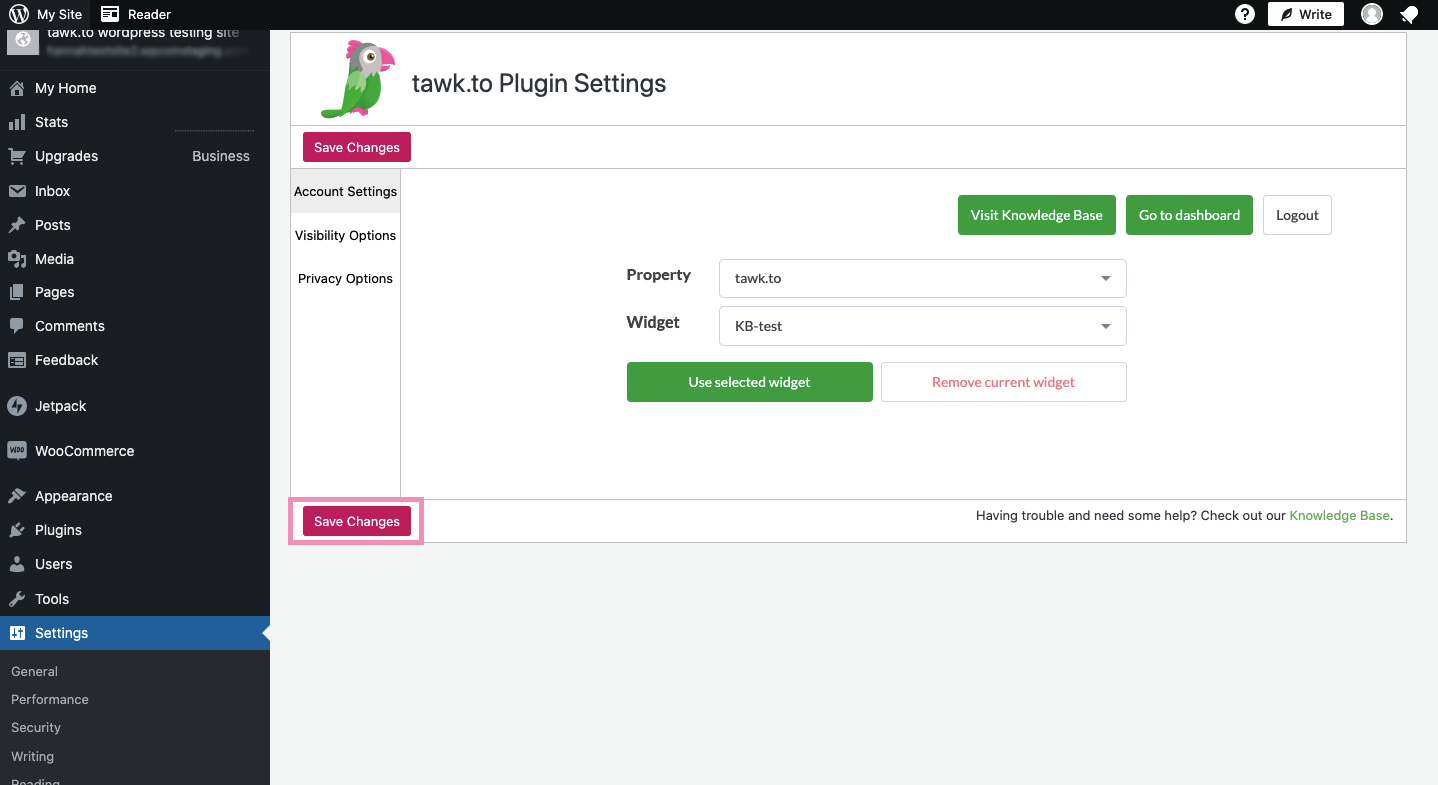
The tawk.to Plugin Settings page will open. In the Account Settings tab, log in to your tawk.to account.

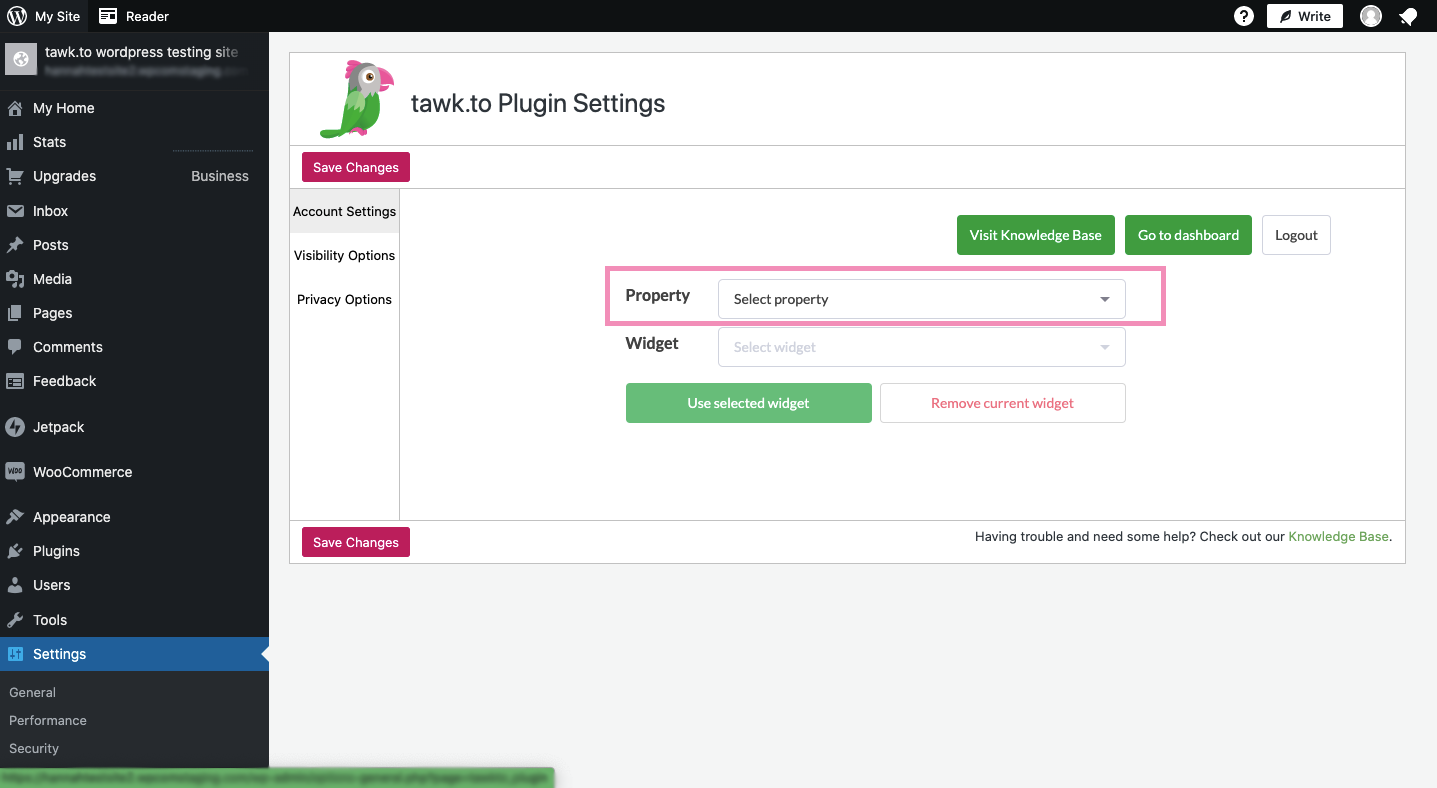
Next, click the Property drop-down menu, and select the property for your widget.
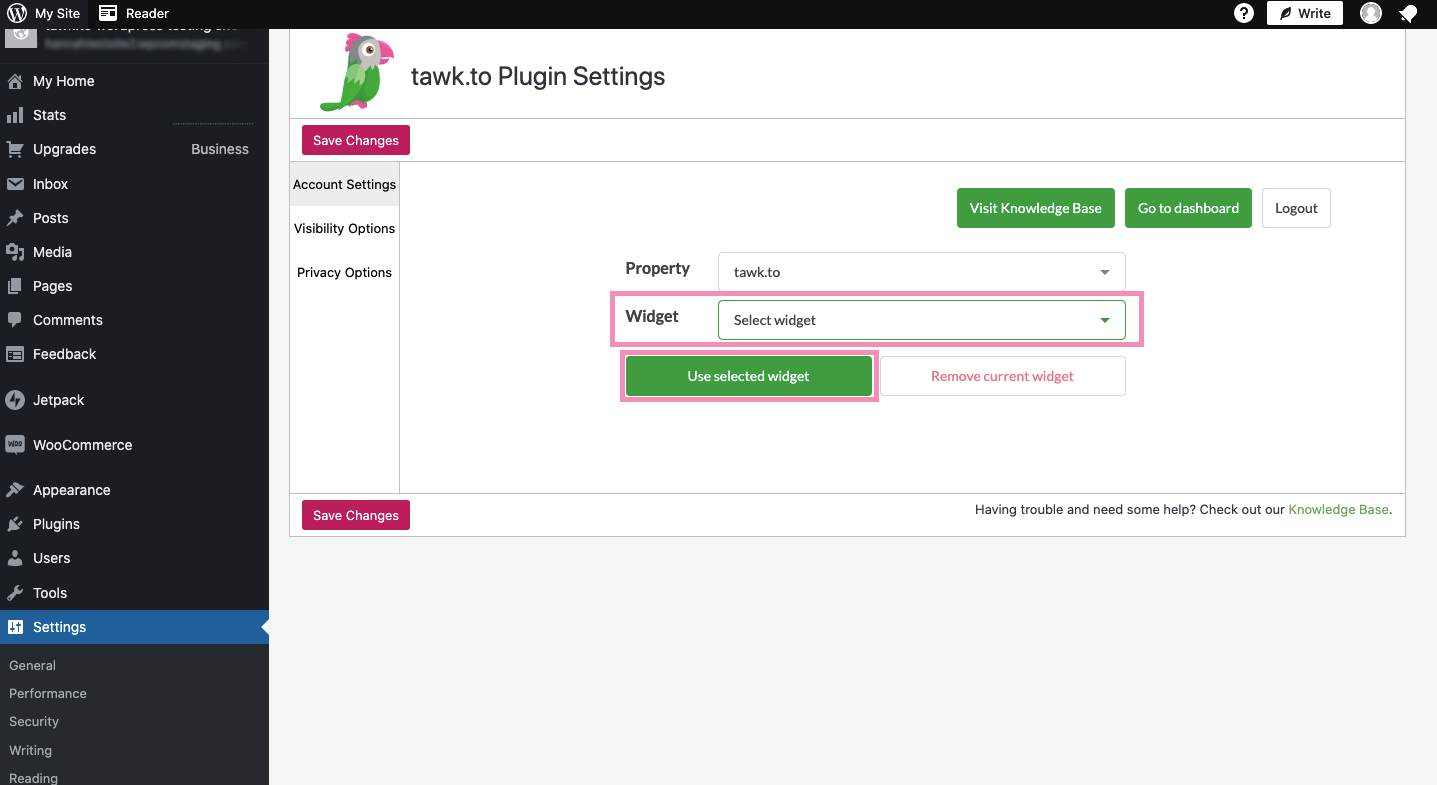
In the Widget drop-down menu, select the widget you want to use on your site. When you finish selecting the widget, click the use selected widget button.
Finally, click the Save Changes button to finish setting up your tawk.to plugin.
Installing the tawk.to widget using the Widget Code

Click Administration in the left navigation bar.

Click Chat Widget in the left submenu.

Then, click the </> Widget Code to copy it to your clipboard.

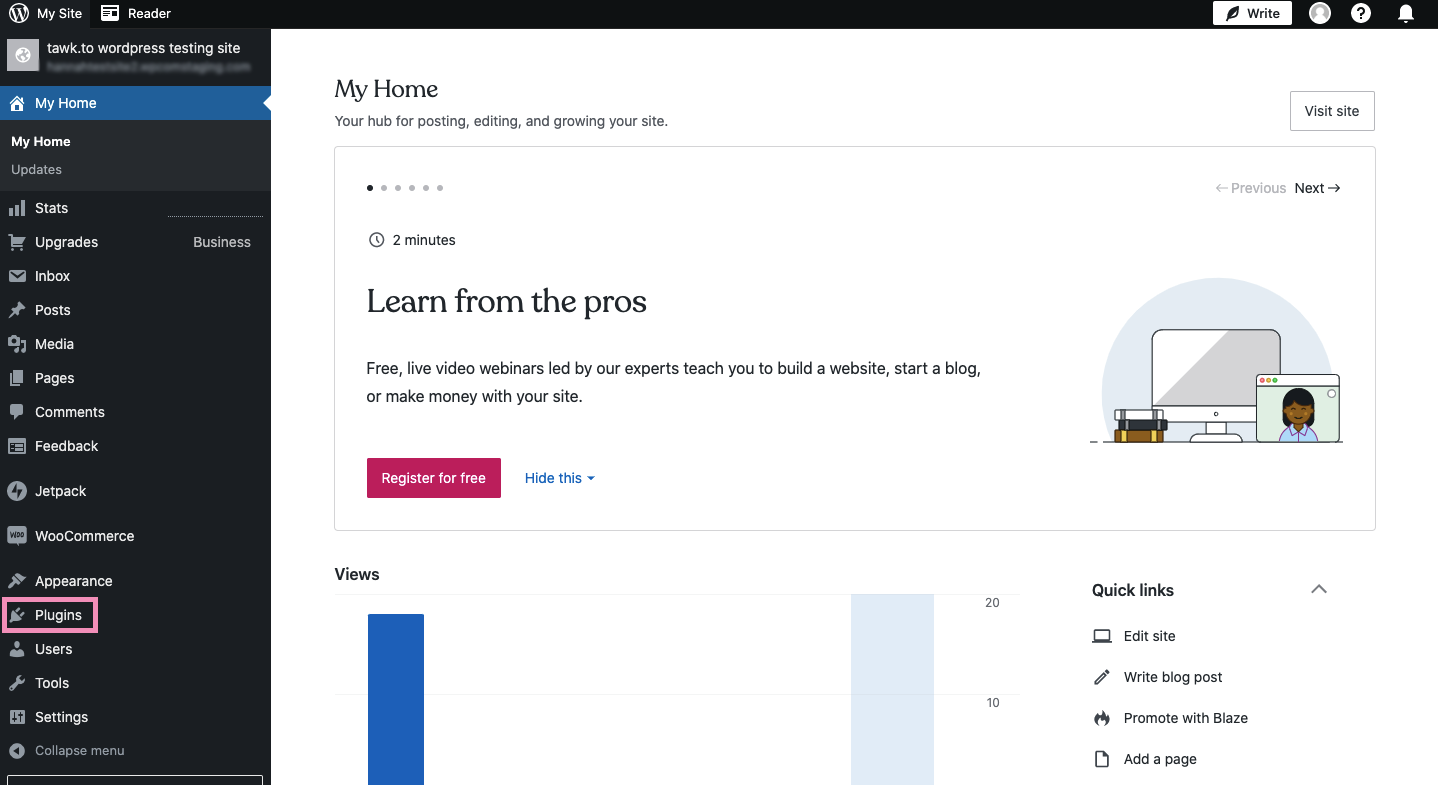
Log in to your WordPress.com account and Select Plugins in the WordPress dashboard menu.
Then, search for WPCode in the search bar.
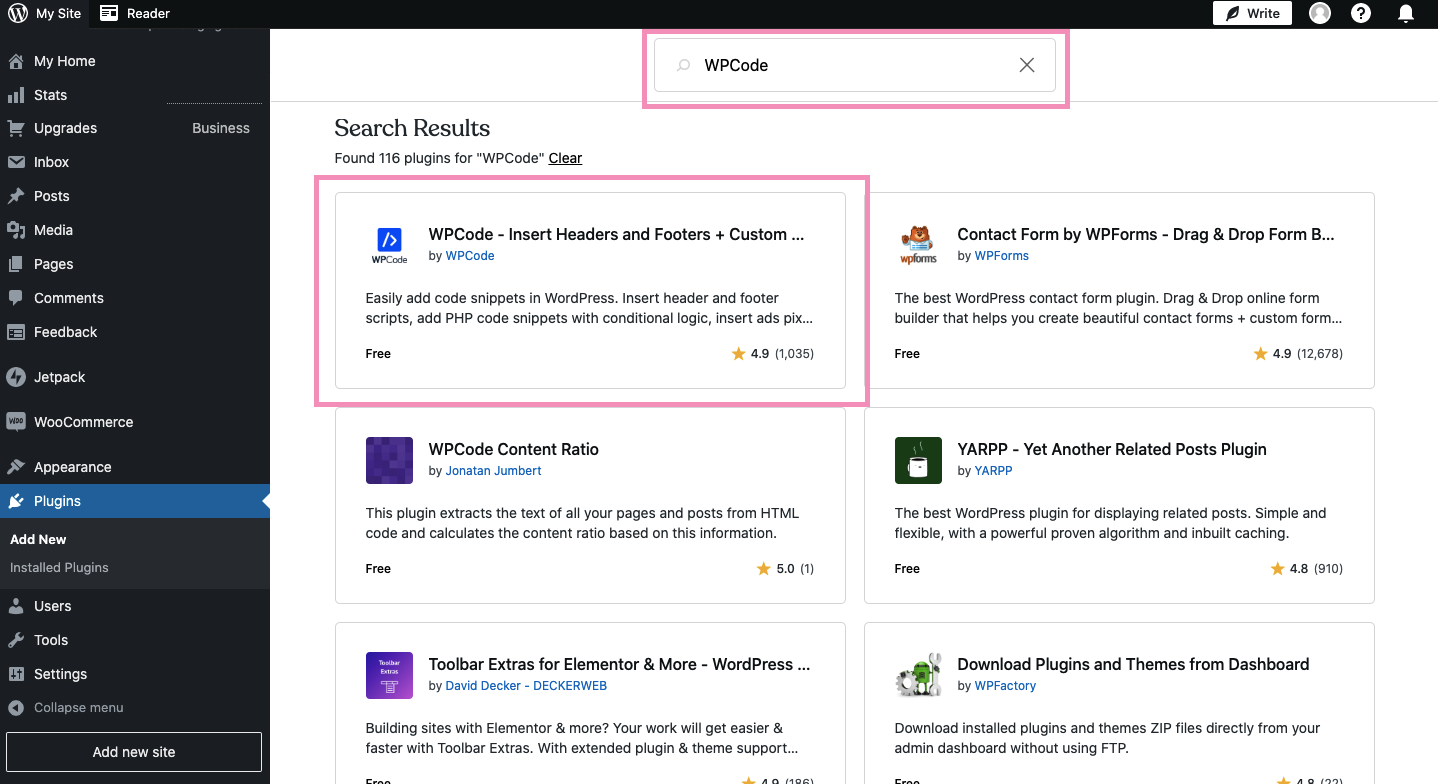
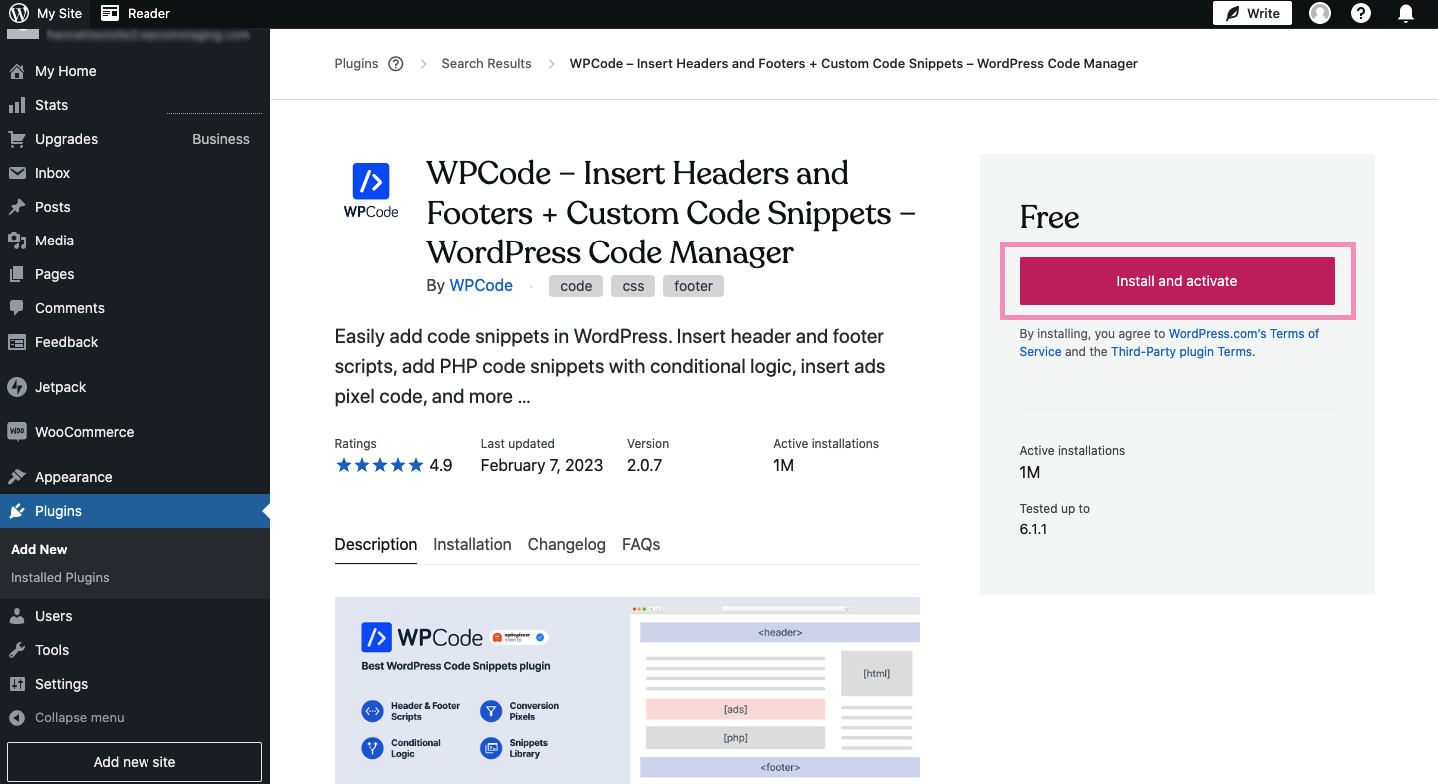
Click the WPCode plugin and click Install and Activate.
When the WPCode plugin is activated, click Manage Plugin.
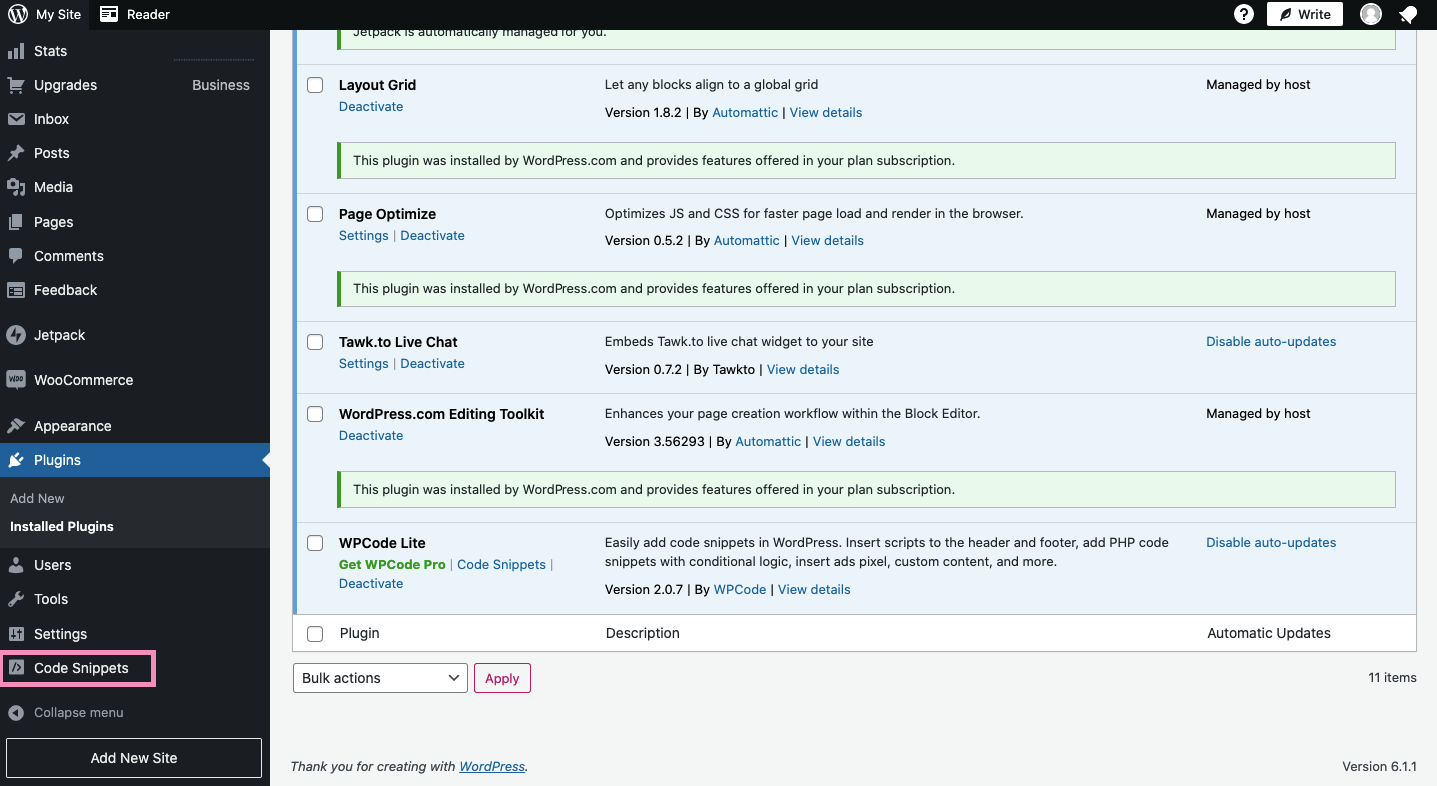
You will be redirected to the WordPress menu dashboard. Select Code Snippets.
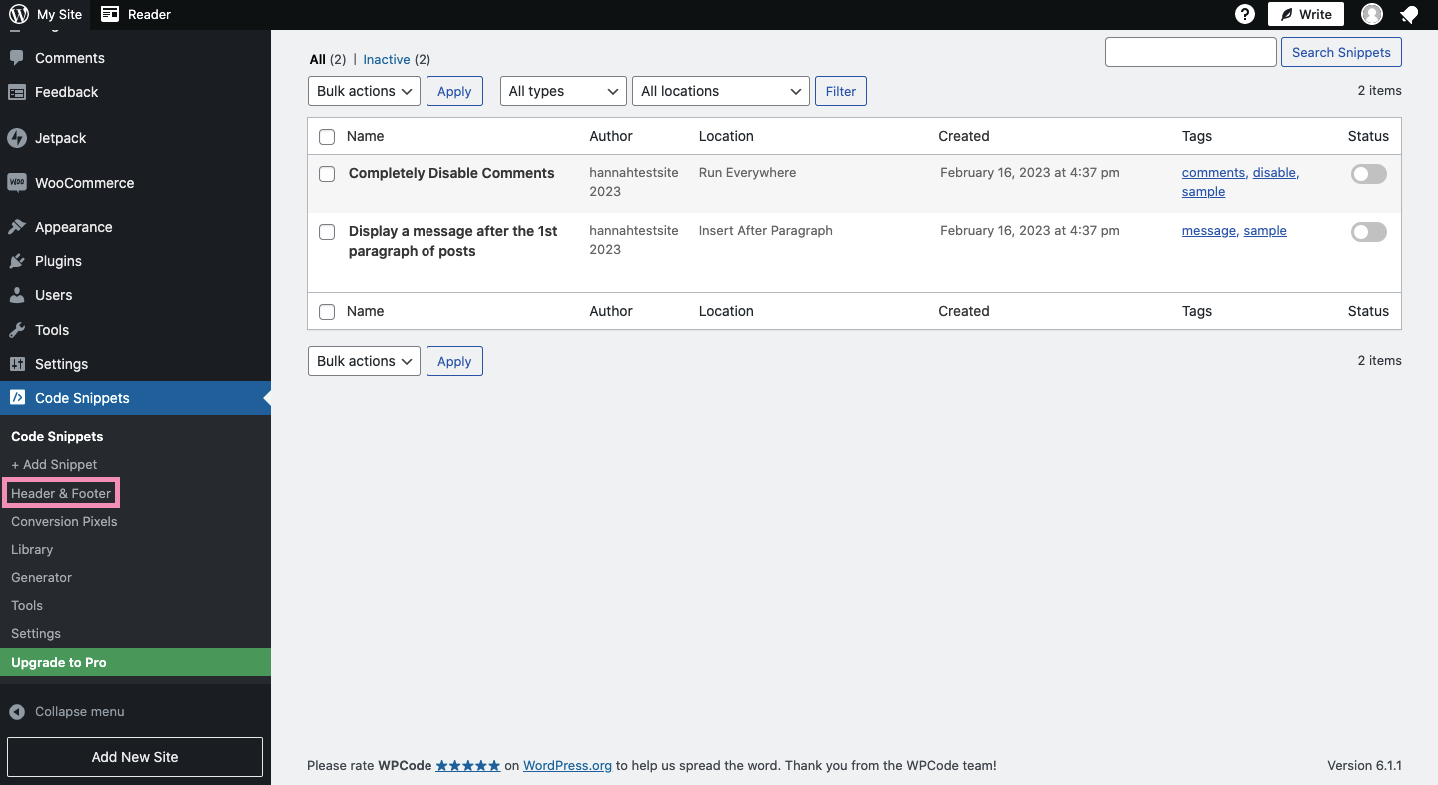
Next, select Header & Footer.
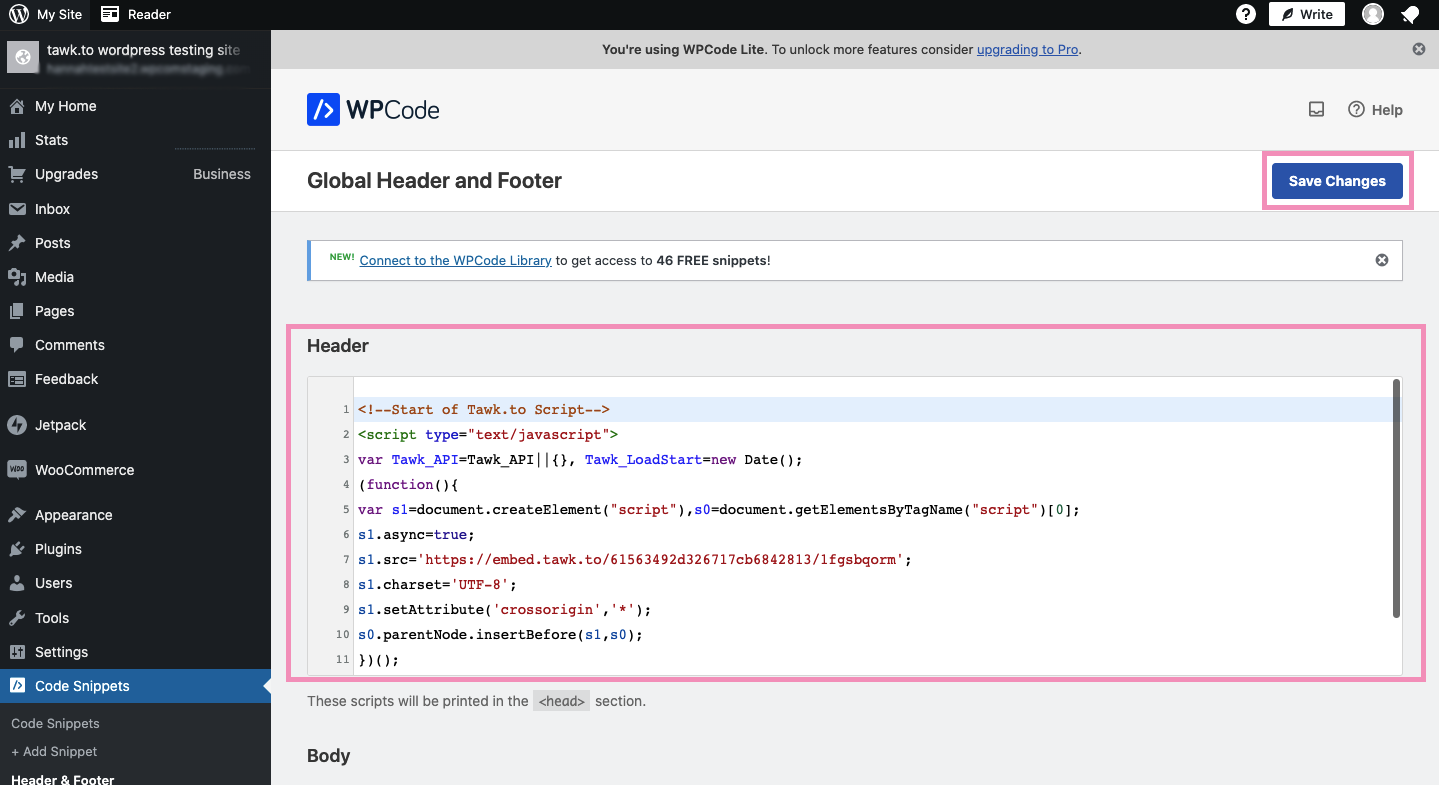
In the Header, paste the tawk.to widget code. Then click Save Changes.
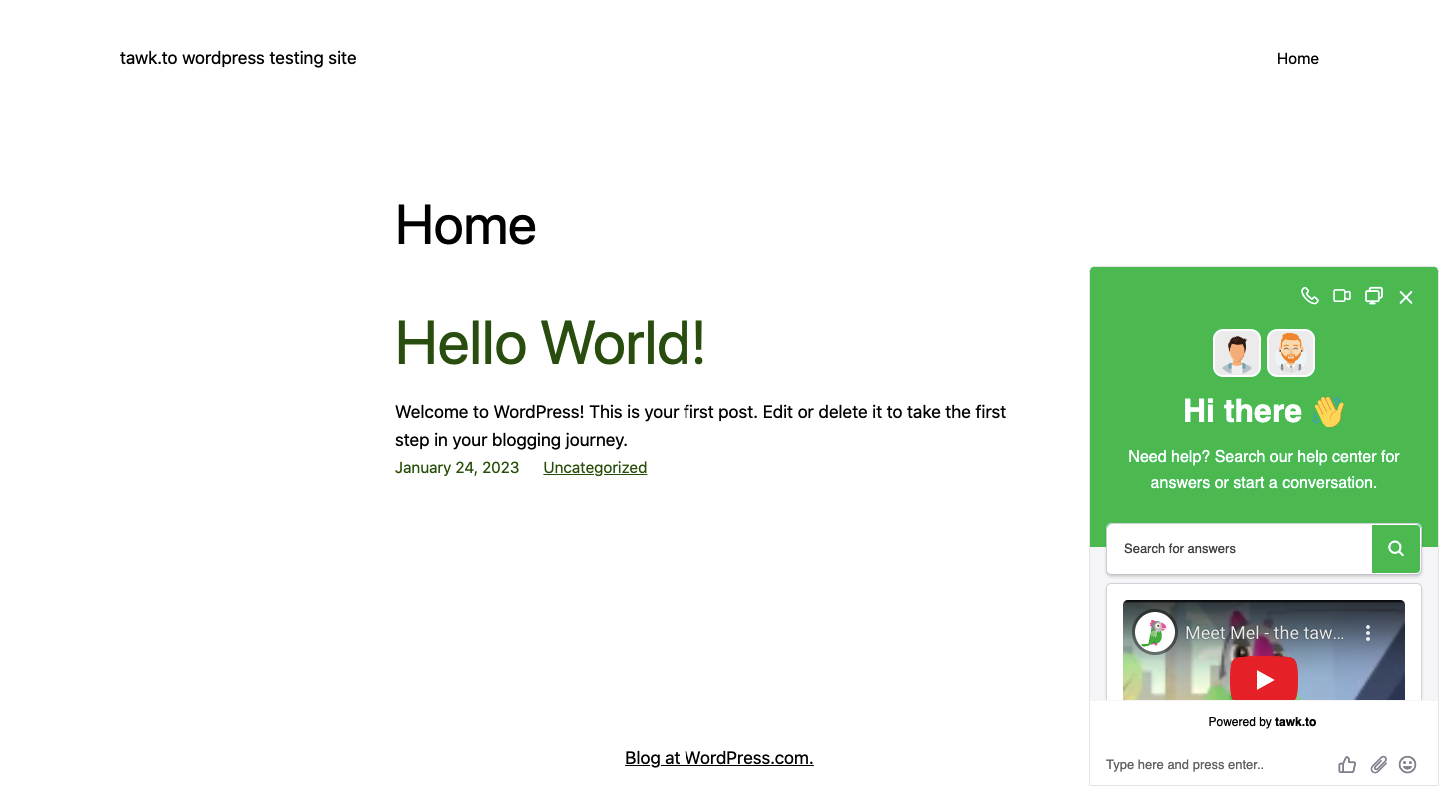
To test that the chat widget is working properly, go to your live site by clicking the My Site button in the upper-left corner of the screen and selecting the name of your site.

The chat widget should now appear on every page of your WordPress.com site.
Have more questions about adding the tawk.to widget to your WordPress.com site? Schedule a call with our support team.