How to set up tawk.to for Google Analytics 4 tracking with Google Tag Manager
[Desktop]
Google Analytics tracking allows you to learn more about your visitors’ behavior on your site and how they communicate with you. You can set up Google Analytics tracking for your widget with Google Tag Manager to track custom events — for example when a chat starts or ends.
Pre-requisites
Before you get started, you’ll need to have the following:
- A Google Analytics Account and Property
- A Google Analytics Data Stream
- A tag for the tawk.to widget in Google Tag Manager. If this has not yet been set up, follow the steps in this article: How to add the tawk.to widget with Google Tag Manager
How to set up your Google Analytics Configuration
1 - Create a new tag for adding the Google Analytics Configuration Tag. Make sure to rename the tag (e.g. GA - config).
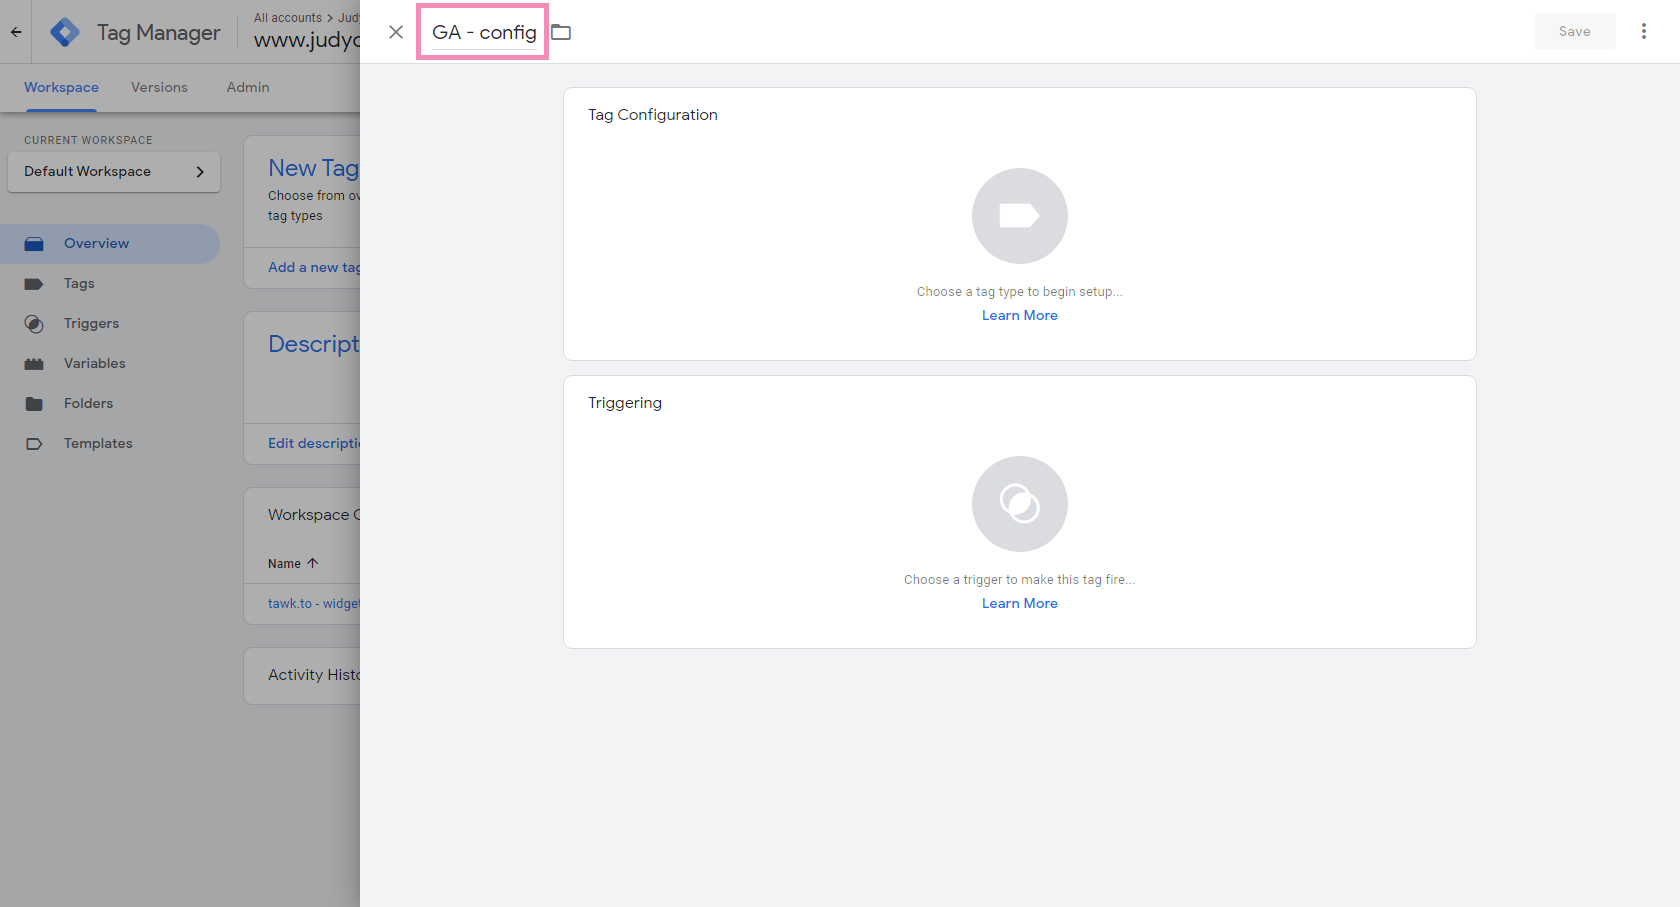
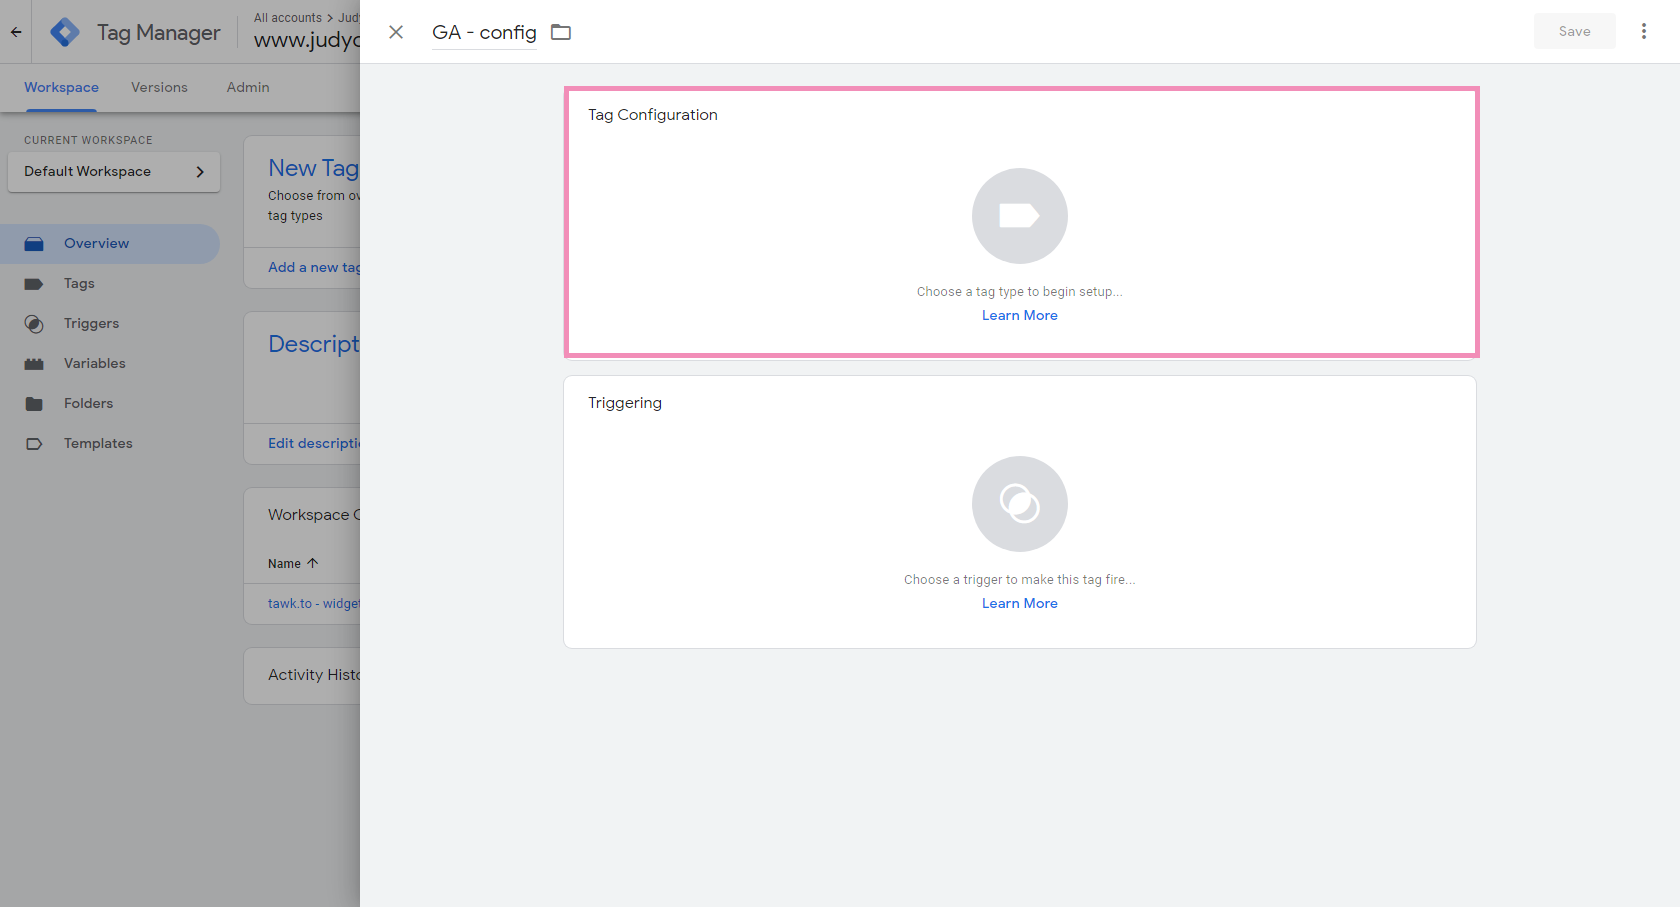
2 - Click the Tag Configuration pane and a new panel will appear.
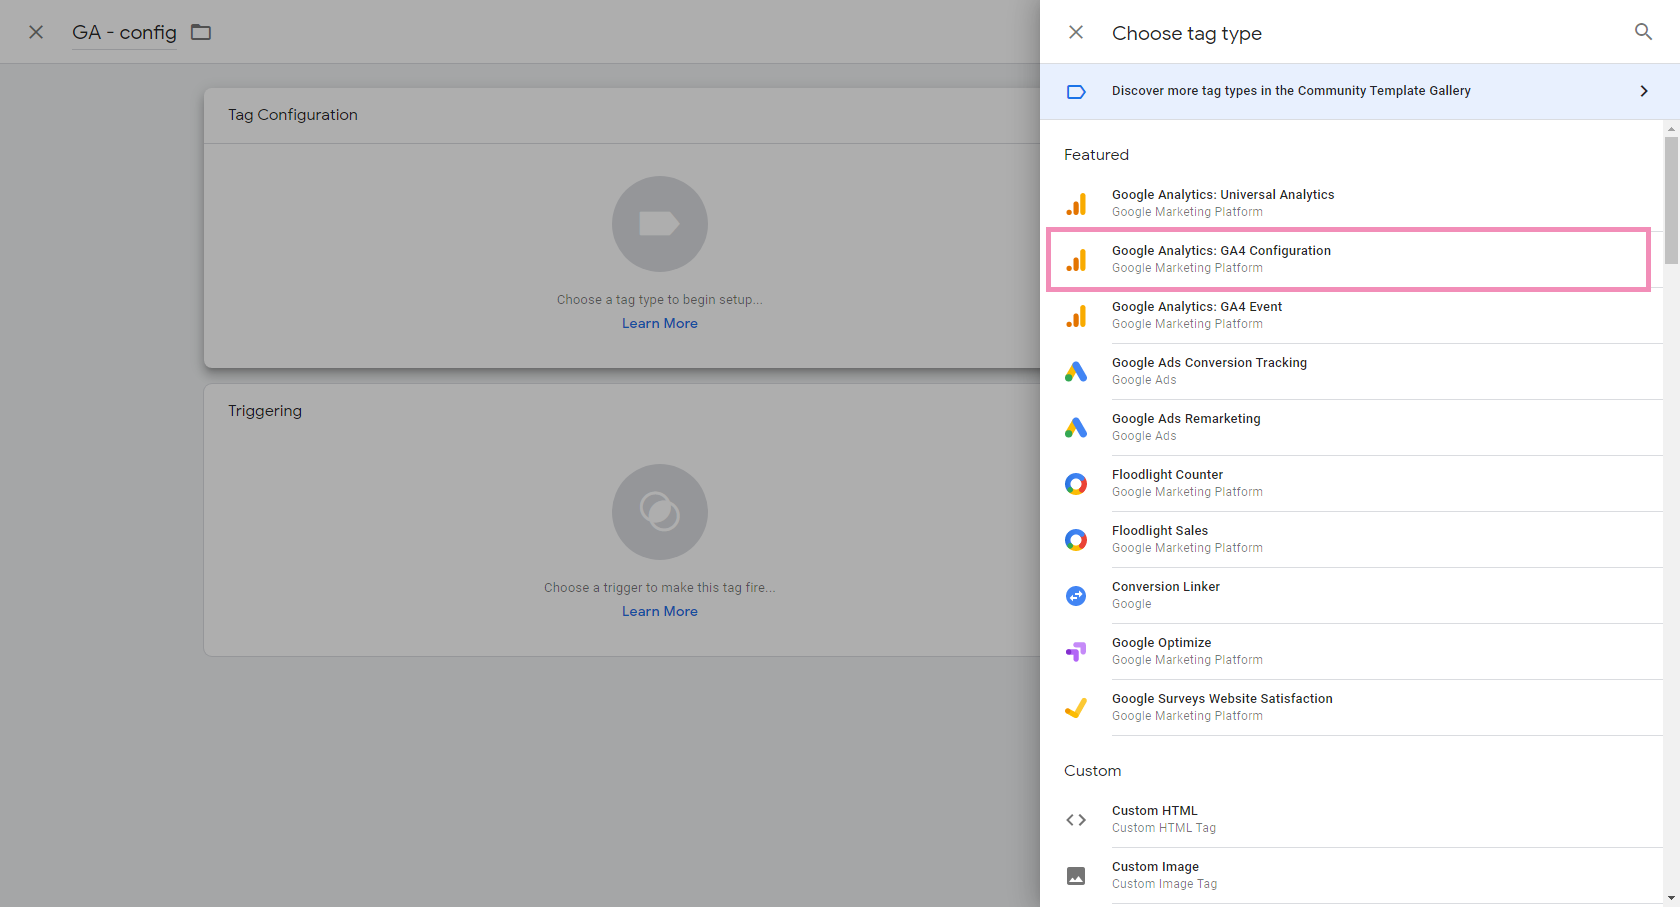
3 - In the configuration panel, select Google Analytics GA4 Configuration.
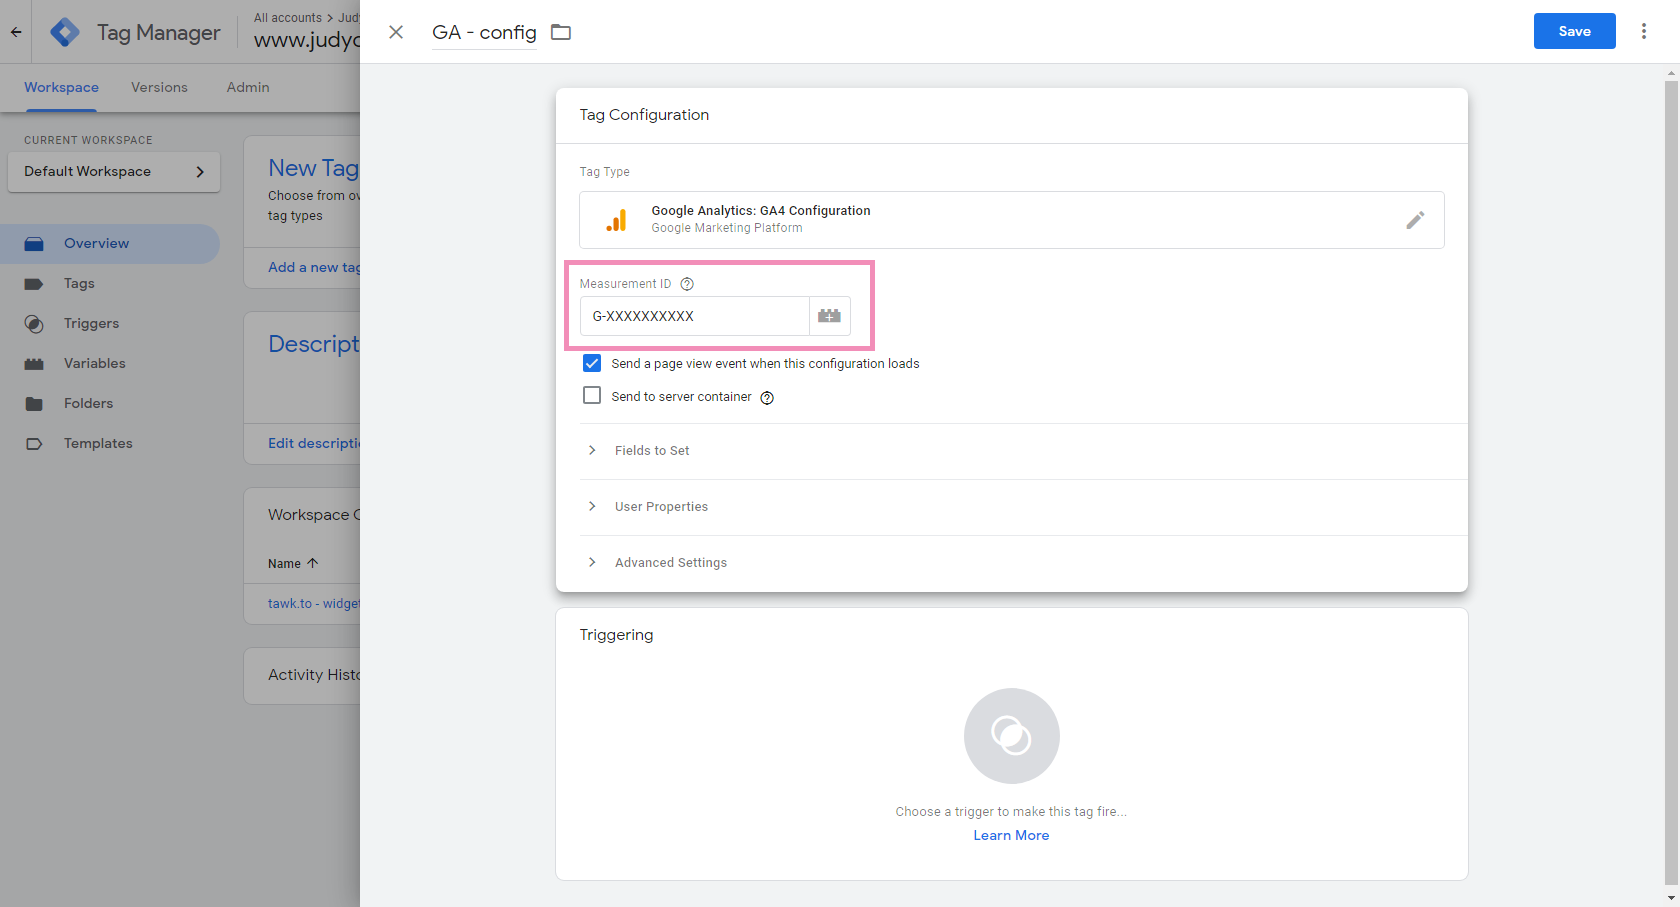
4 - In the form, provide the Measurement ID. You can find this in your Google Analytics account.
5 - Now, click the Triggering pane to choose a trigger.
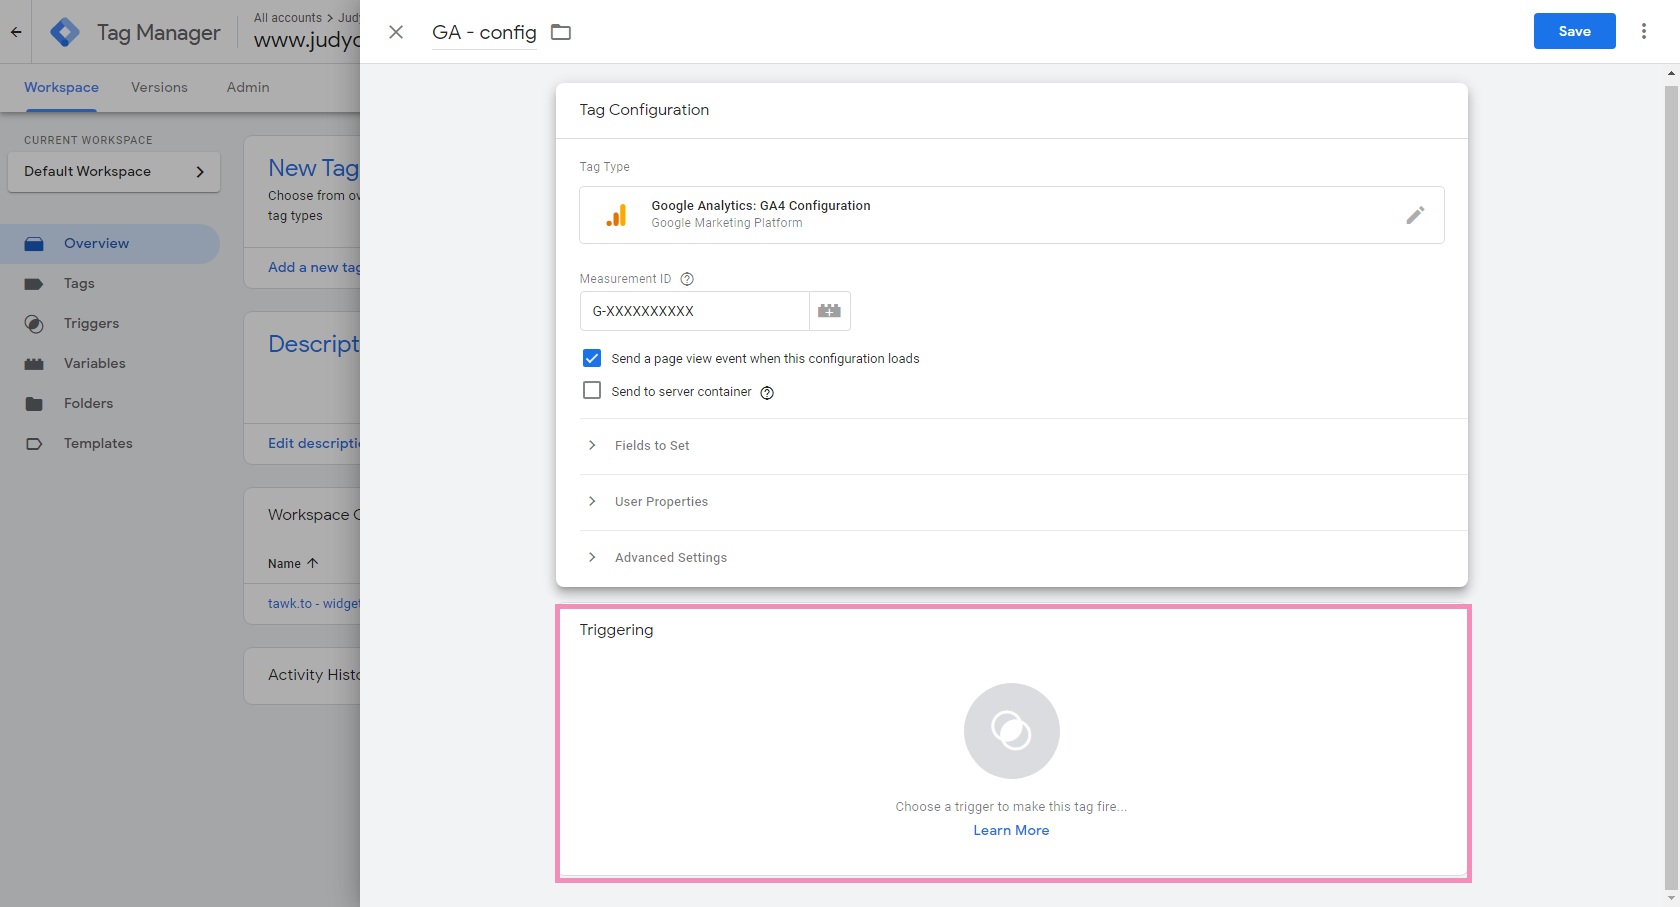
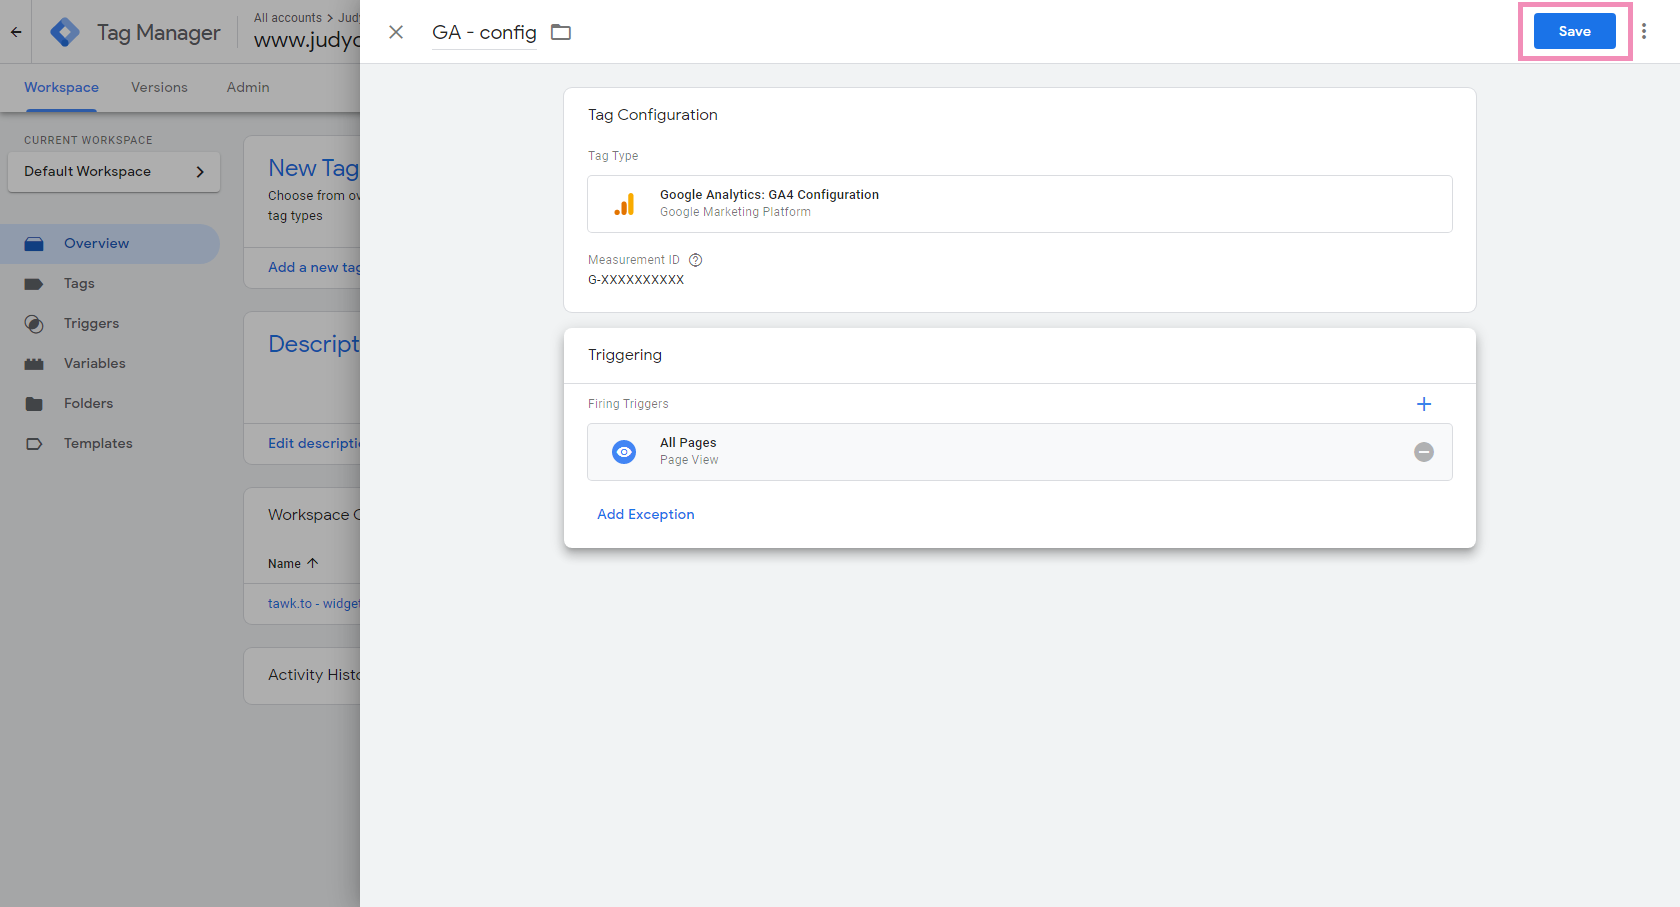
6 - In the triggering panel, select All Pages to allow the tag to trigger on every page on which Google Tag Manager is installed.

7 - Click Save to create the tag.
Creating Custom Events For Google Analytics
Next, we’ll use GTM to set up a custom event.
As an alternative, you can use our JS API and the gtag function loaded with the global site tag for GA. Learn more in this article: How to set up tawk.to for Google Analytics tracking
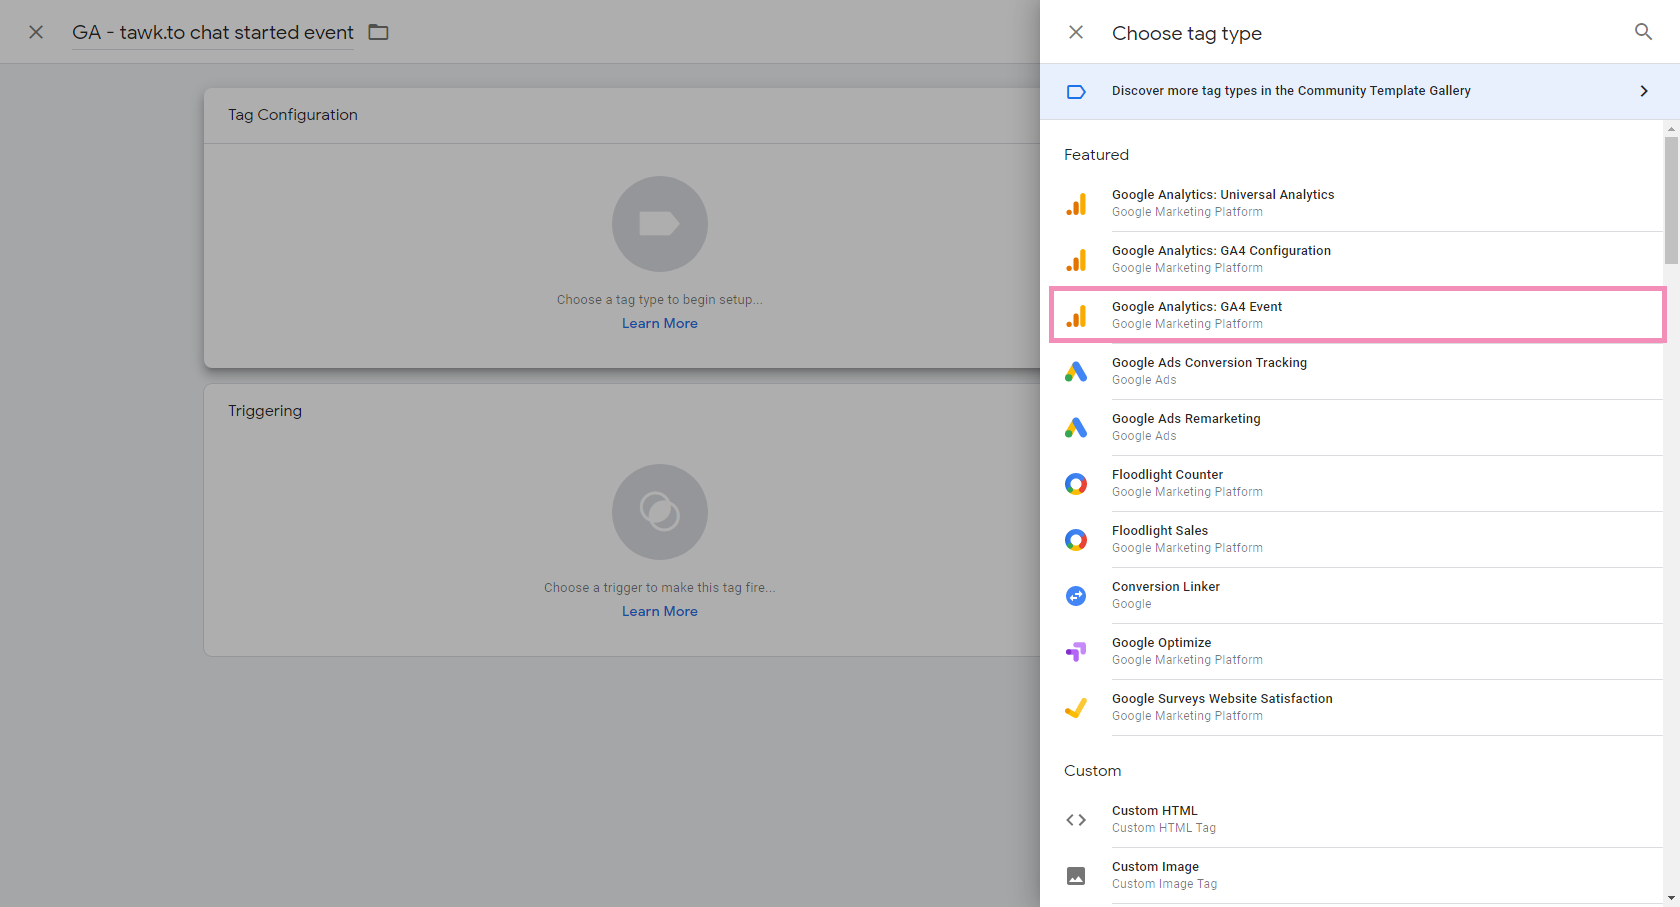
1 - Create another tag and now select Google Analytics GA4 Event as the Tag Configuration.
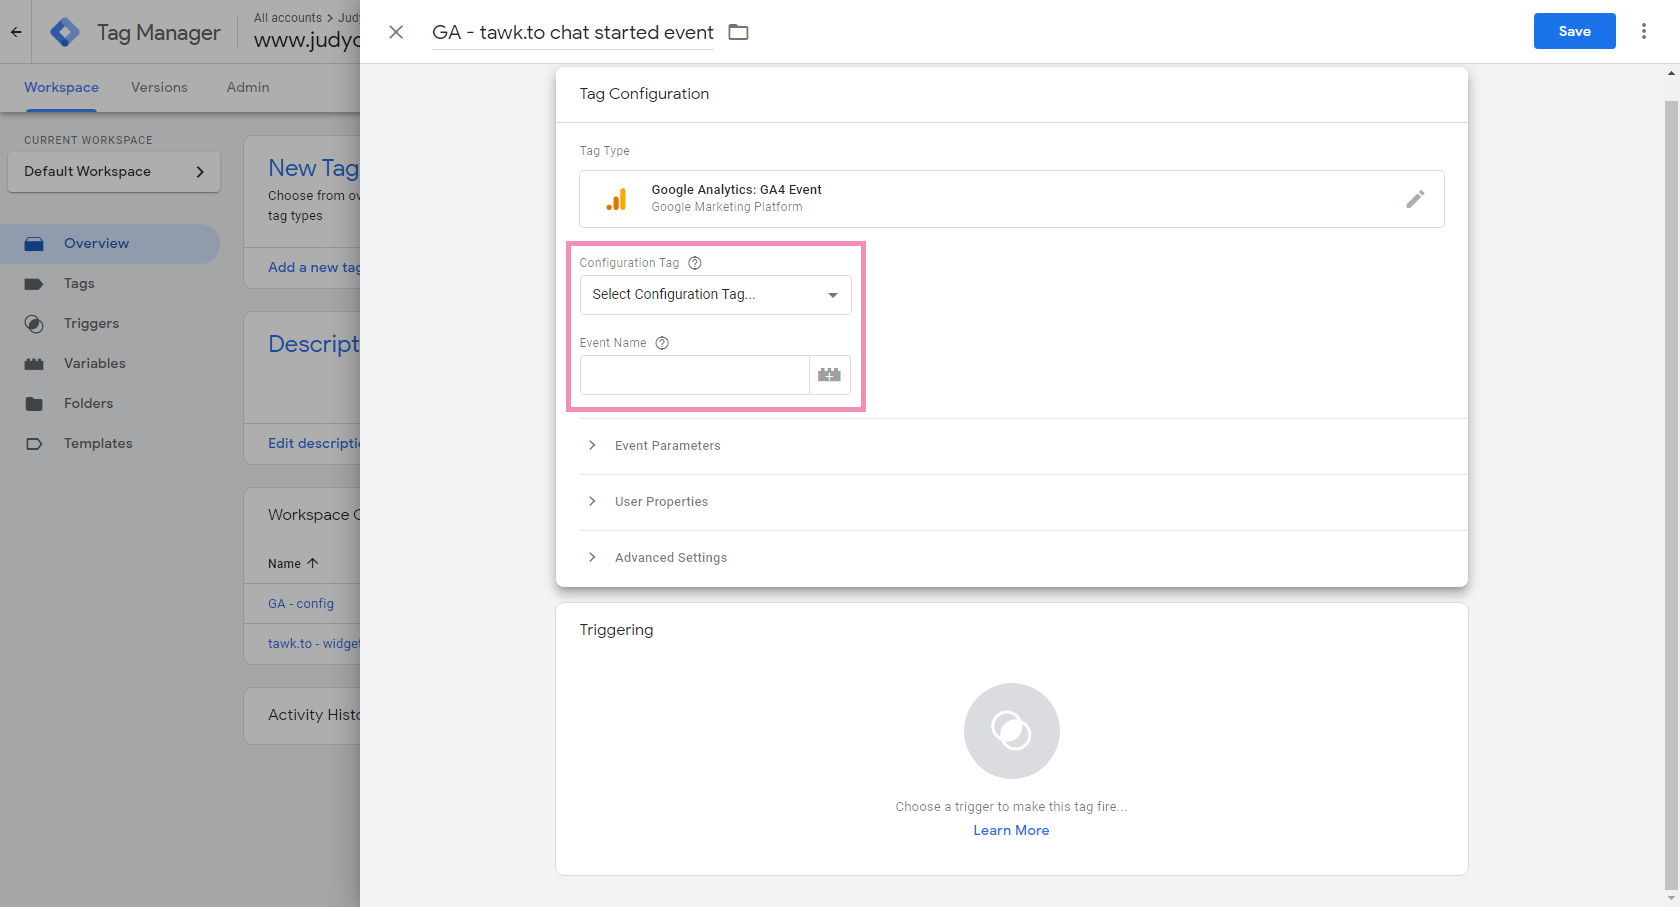
2 - In the form, for Configuration Tag, select the Google Analytics GA4 Configuration tag we created earlier. For the Event Name, put in the custom event that you want to track. (ex. chat_started).
3 - We’ll create a custom trigger for the tag. Click the + button to open a new panel for trigger creation.

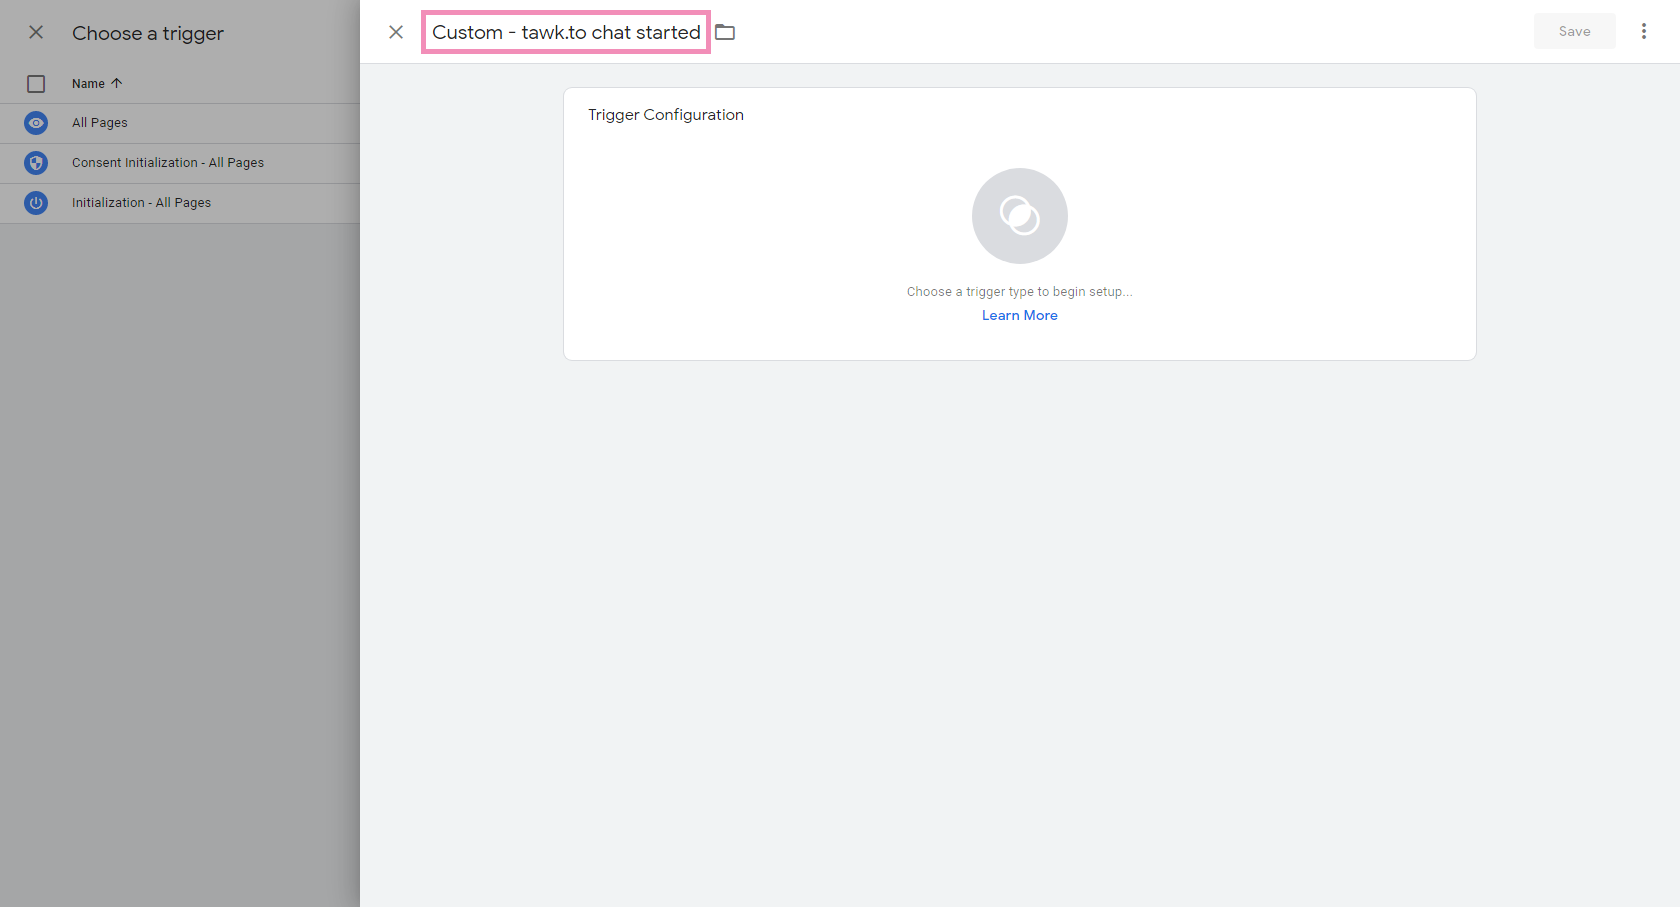
4 - In the panel, change the trigger name to your liking (ex. Custom - tawk.to chat started) and click Save. Click the Trigger Configuration pane, and another panel will appear.
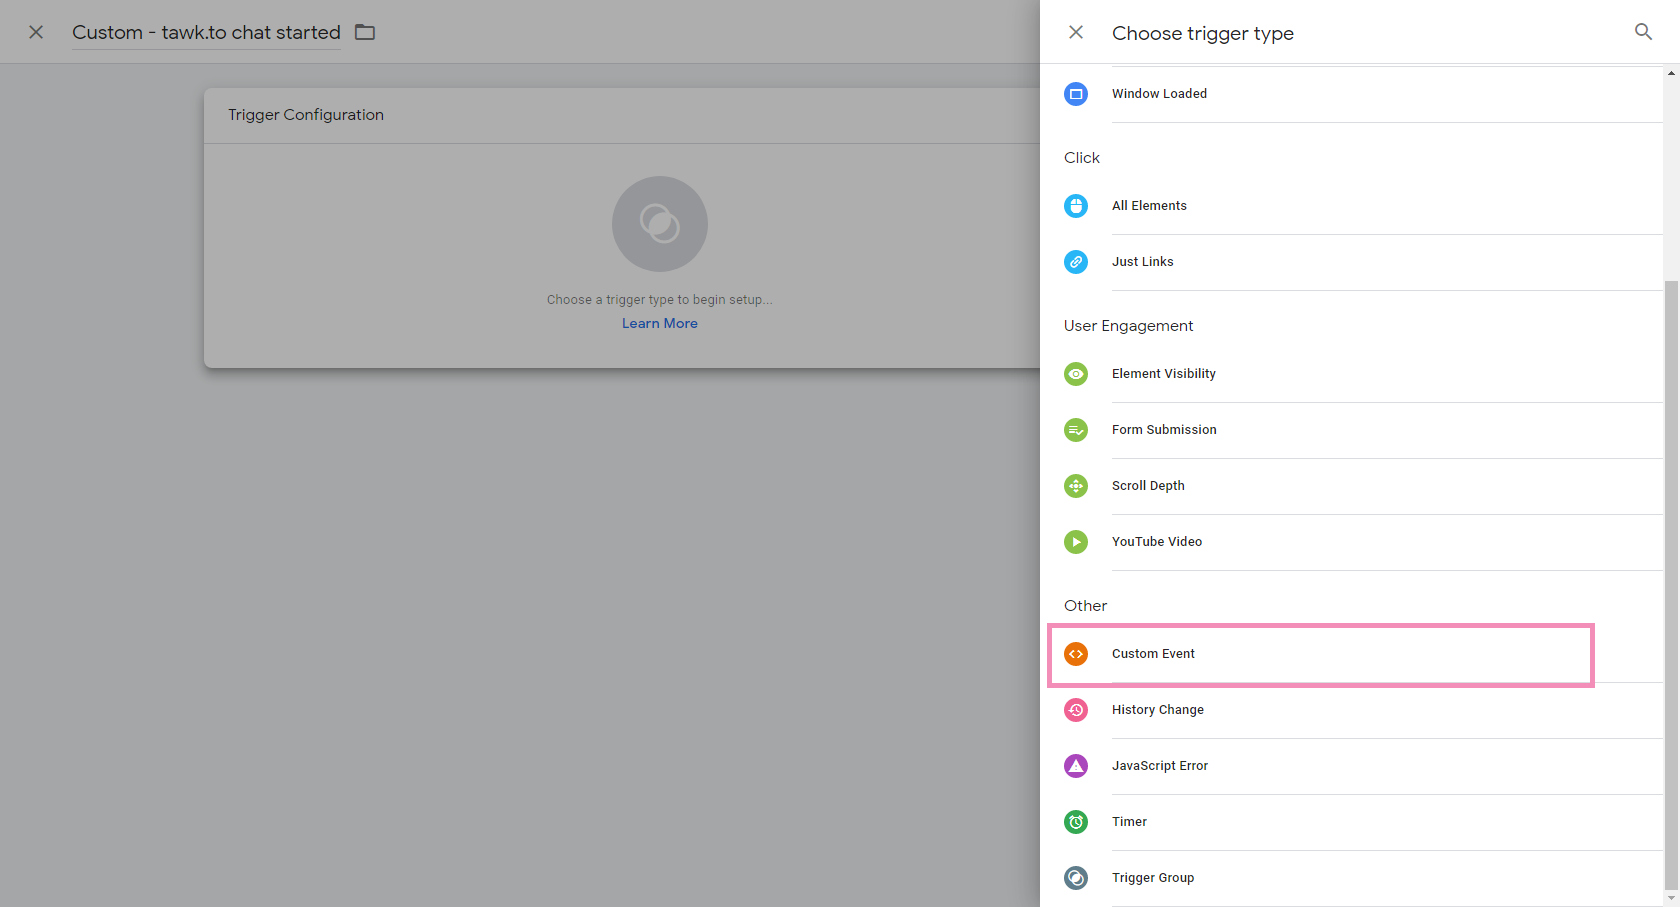
5 - In the panel, scroll down and select Custom Event as the trigger type.
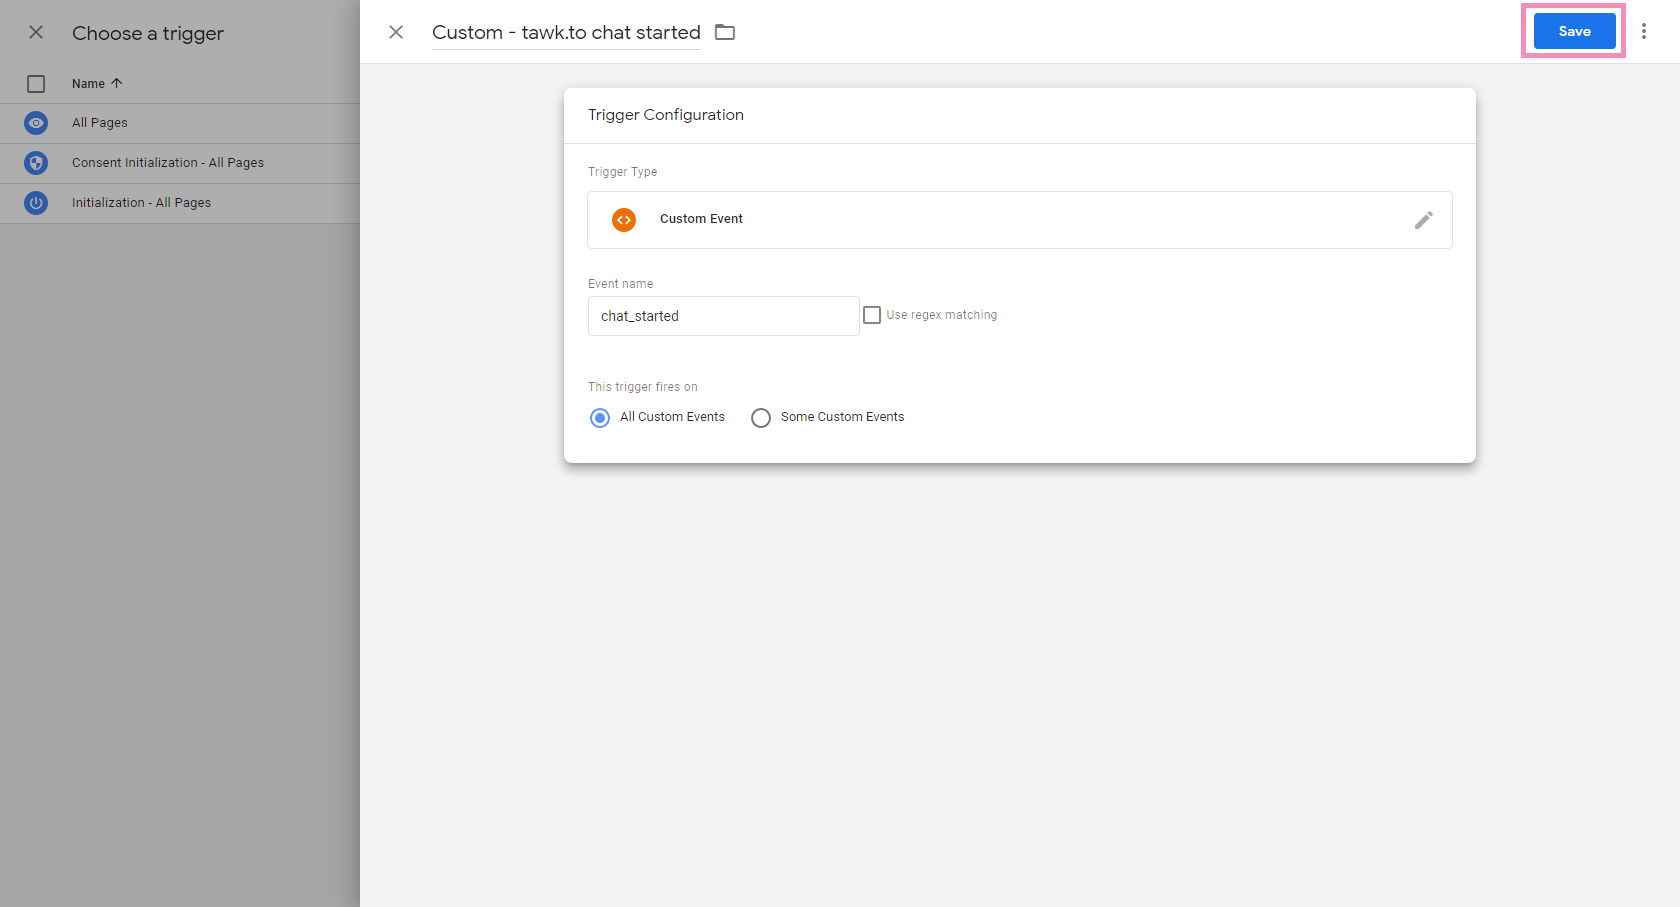
6 - In the form, input the event name for the custom event you want to track and click Save to create the trigger.
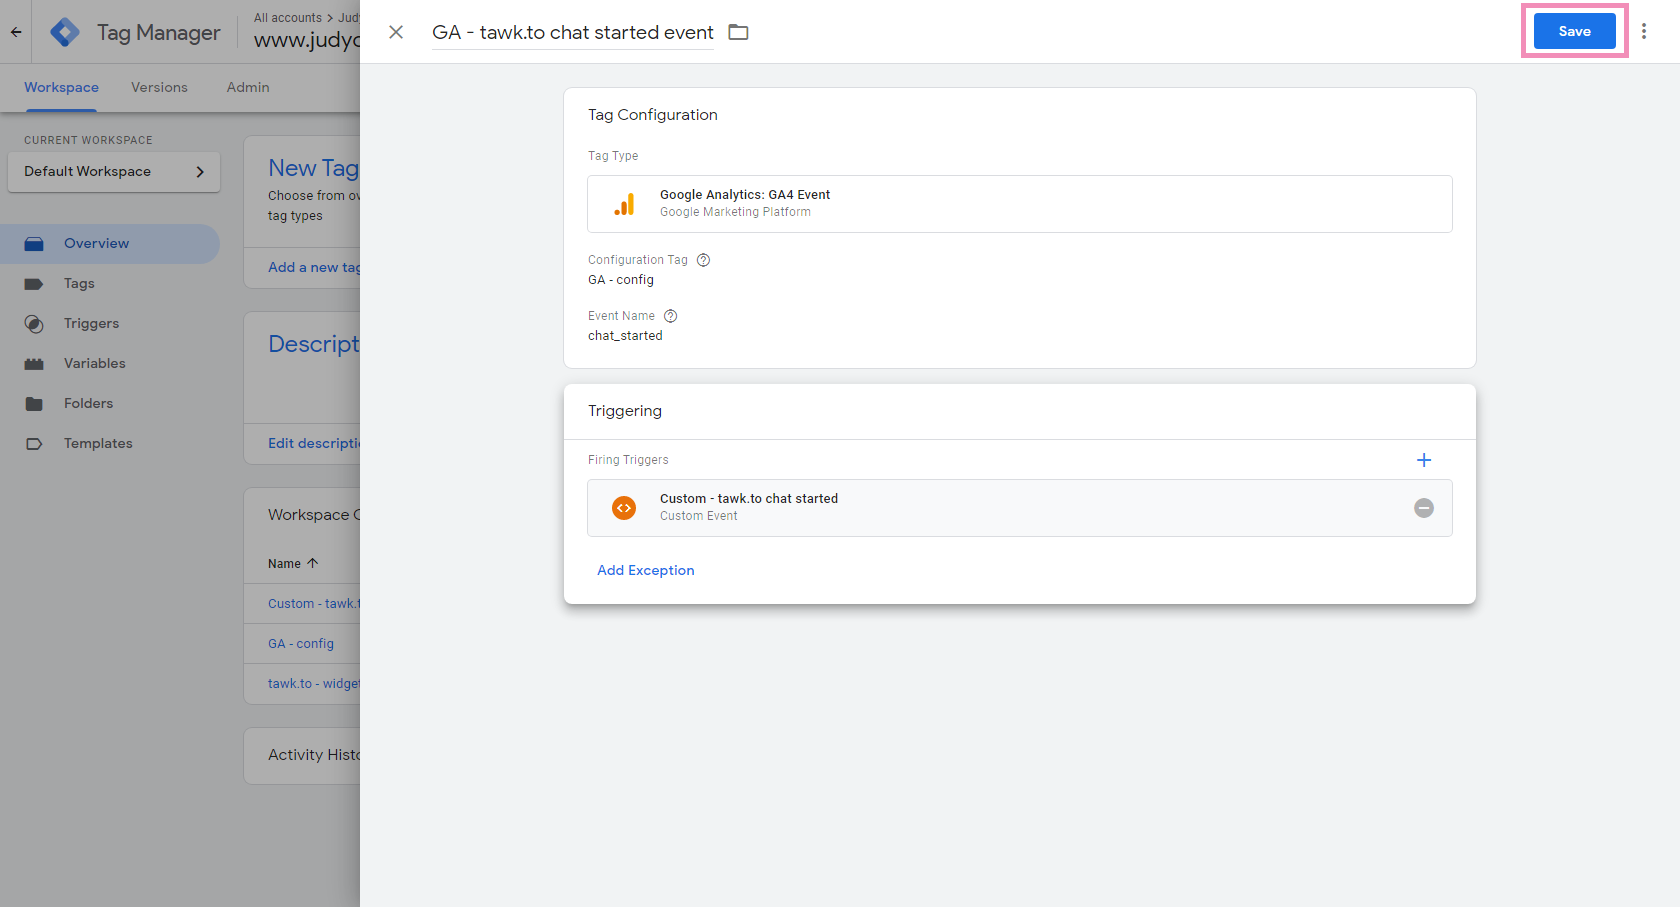
7 - Finally, click the Save button to complete the tag creation.
Setting up a tag for using JS API and a Custom Events trigger
In this section, we’ll provide a sample for triggering the chat_started custom event we created earlier by using the JS API onChatStarted.
Note: Before creating a new tag, check for any preexisting tags that are using our JS API. If you already have a tag in place, you can add the additional logic there instead of creating another tag.
For example, if you want to add the tracking to the onChatStarted function but you already have an existing tag that uses the onChatStarted function, you can simply add it to the current function as in the following example:
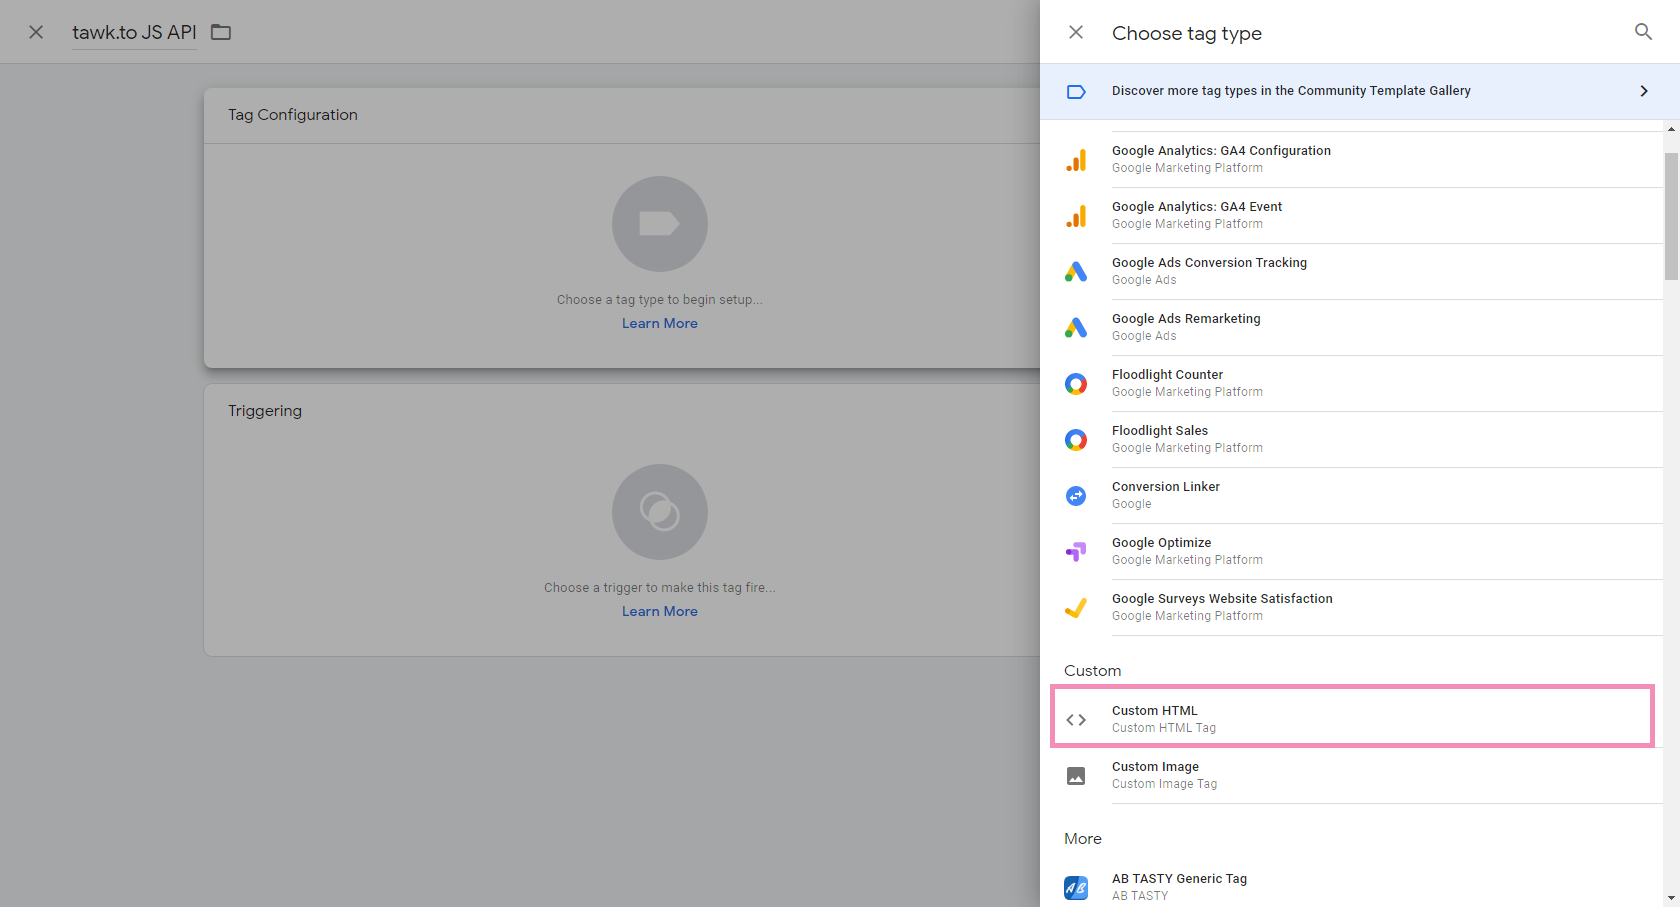
1 - Create a new tag and select Custom HTML as the tag type.
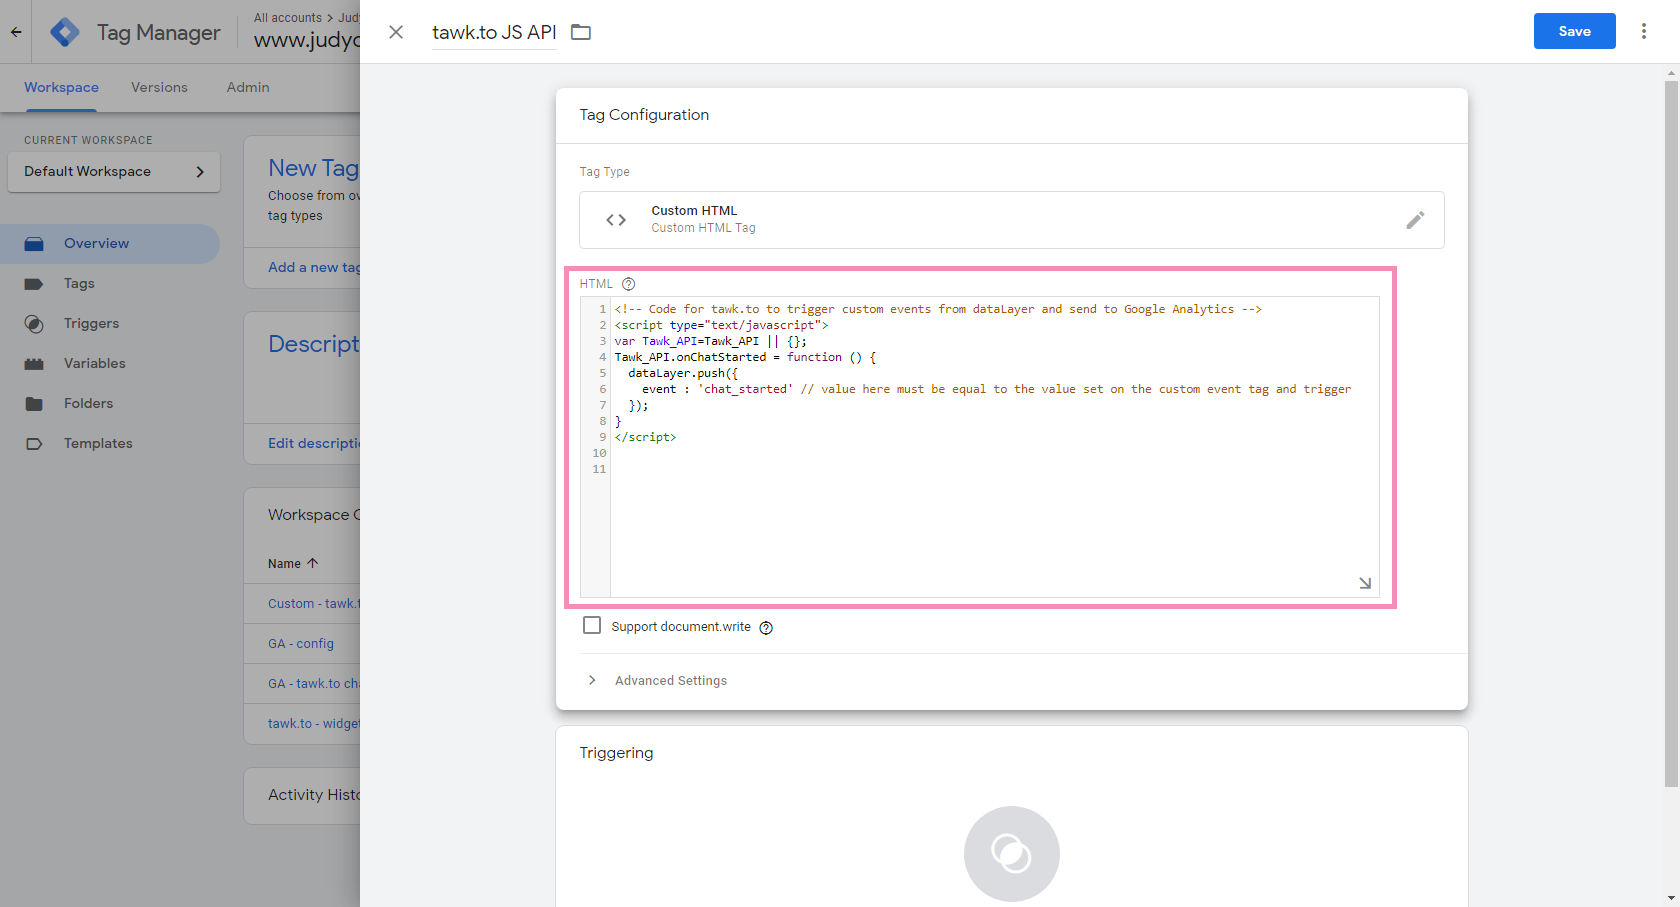
2 - In the HTML field, enter the following code block. Do note that the event property’s value should be equal to the Event Name that you inputted earlier when creating the custom event tag.
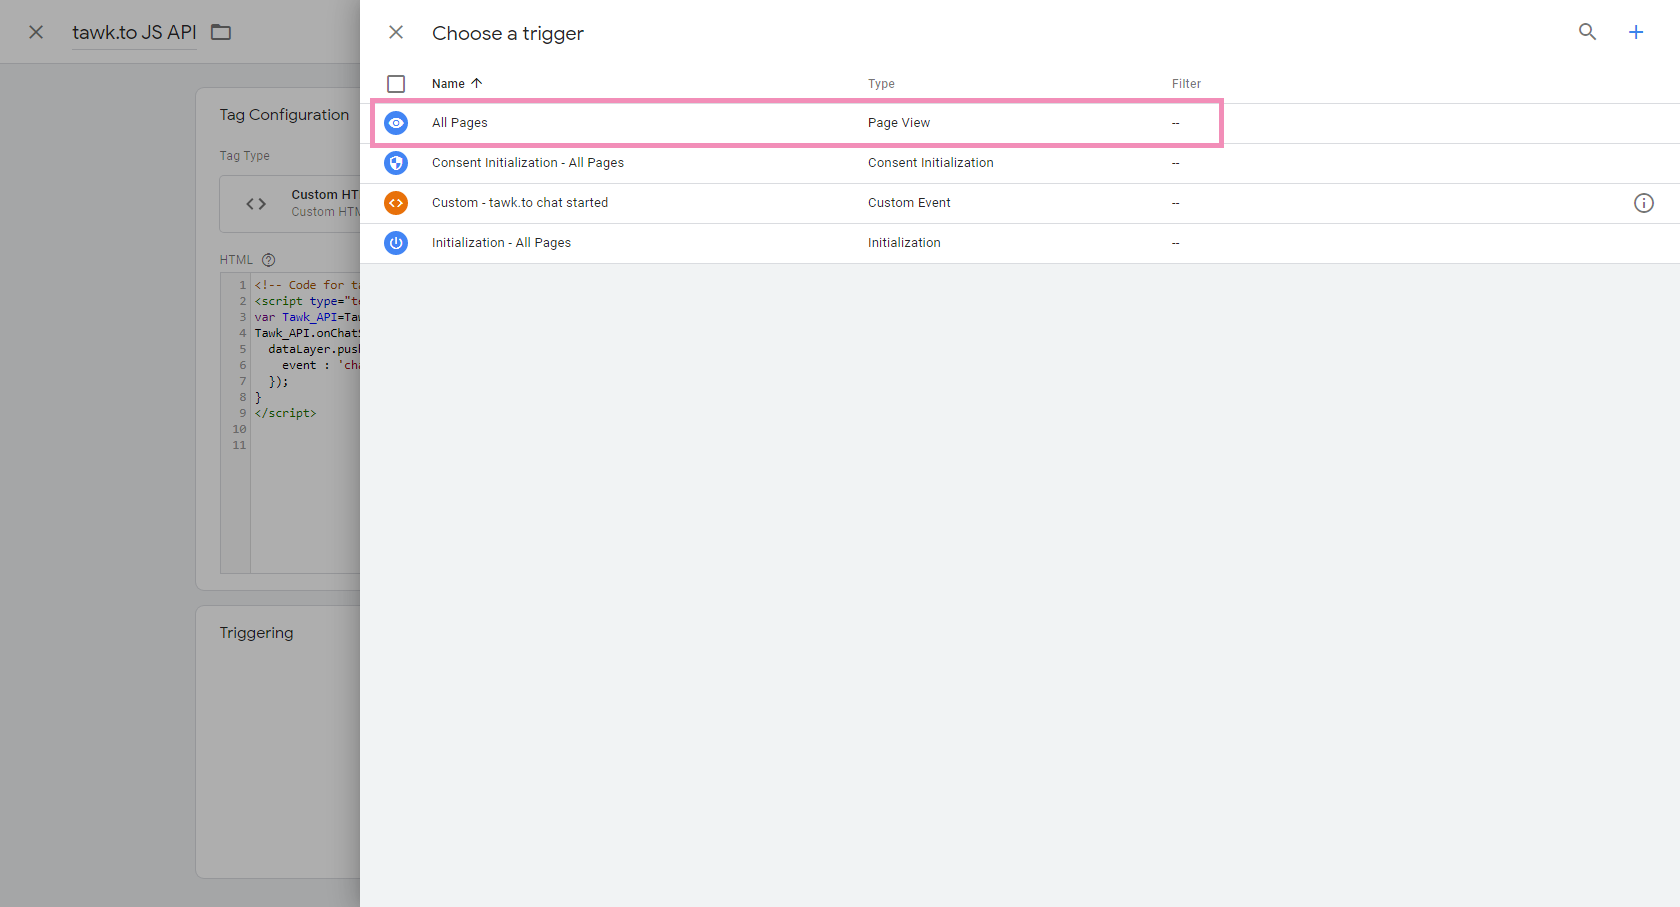
3 - In Triggering, select All Pages to allow the tag to trigger on every page on which Google Tag Manager is installed.
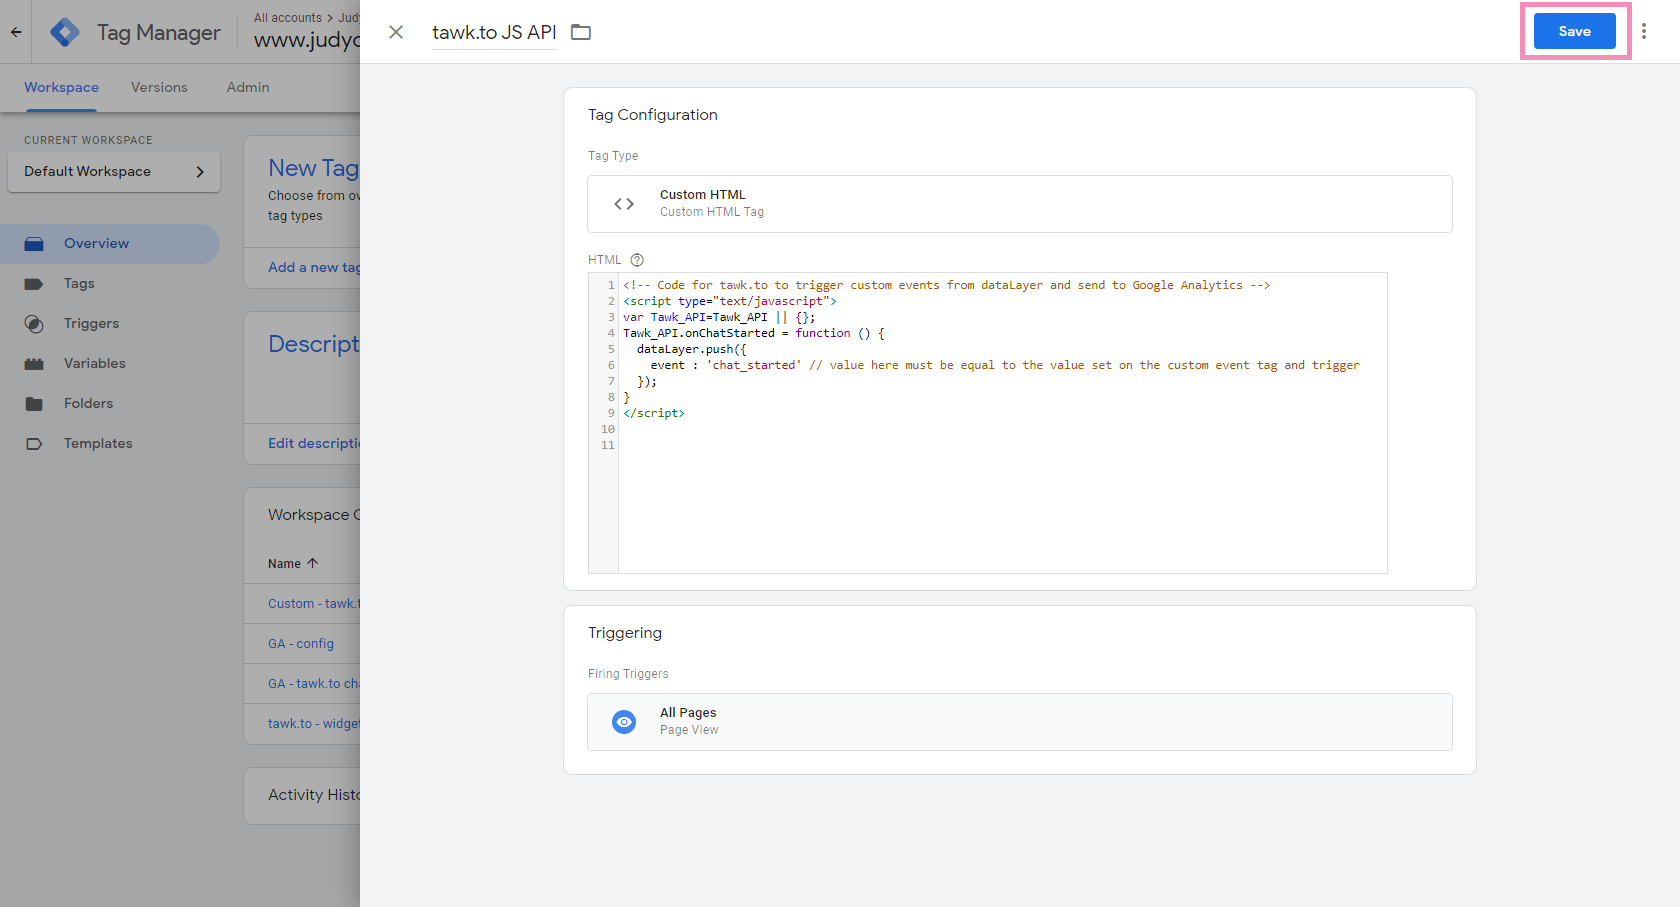
4 - Click Save to complete the tag creation.
Check to see if the GA Event tag has been triggered
1. In your tag manager dashboard, click Preview. A new window will open allowing you to connect Google Tag Manager to your site.
2. Enter your website URL. The URL you enter will open in a new window.
3. Go back to the tab/window where you opened the Preview page. You should be able to see that your Google Analytics: GA4 Event hasn’t been fired yet.
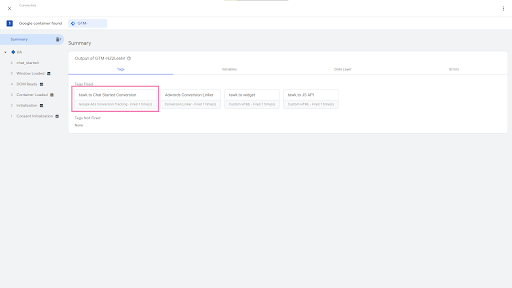
4. To fire the tag, we’ll trigger it using the custom event we created earlier (which, in this example, is triggered when a chat is started).
5. Once we’ve triggered our OnChatStarted JS API, that should send an event to the Data Layer which now triggers the Google Analytics: GA4 Event tag.
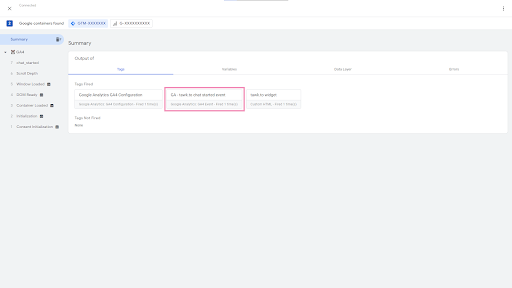
Verify the event has been triggered on the GA4 dashboard
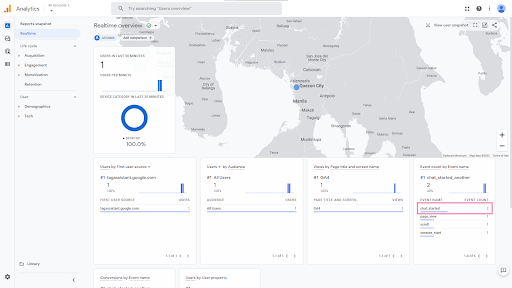
1. In your GA4 dashboard, navigate to Reports ➞ Realtime Overview.
2. From there, you’ll be able to see under the Event count by Event name card that Google Analytics was able to receive the chat_started event.
Mark the Custom Event as a Conversion
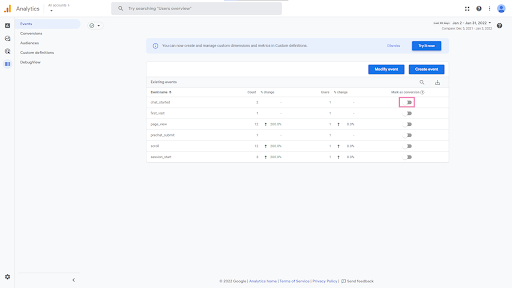
1. In your GA4 dashboard, navigate to Configure ➞ Events. The events that were received by Google Analytics will show up there within 24 to 48 hours.
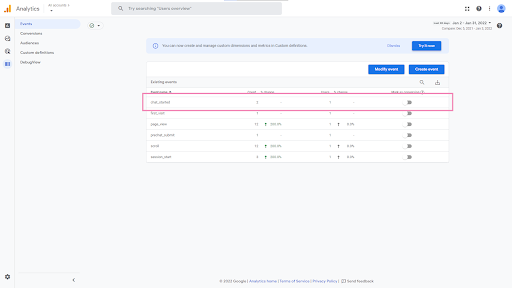
2. To mark the chat_started event as a conversion, simply enable the switch under the Mark as conversion column for that record.
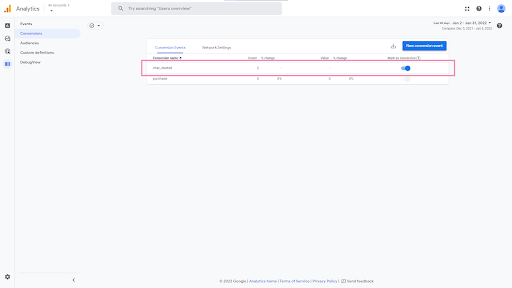
3. After enabling, you should now see the event under Configure ➞ Conversions.
In case you encounter any issues, our support team is always available. Schedule a call so we can better assist you.
References
