How to integrate AI Assist with Picqer
The instructions below are for desktops and laptops only.
Connect your live chat to Picqer’s warehouse management API to give customers access to real-time order and product information.
With this integration, your customers can check order statuses and product information easily. This can help enhance customer experience while reducing the workload for your support team.
In this guide, we walk you through the steps to integrate Apollo AI with Picqer using OpenAPI.
First, you’ll need your OpenAPI specifications. This can be a JSON or YAML file that defines the communication between Picqer’s API and Apollo AI.
Your OpenAPI specifications contain the required API endpoints, request parameters, and response formats.
Use editors like Swagger Editor to write your specifications, and validate them using Swagger’s validator or any online validator.
Ensure that the endpoints in your OpenAPI specifications match Picqer’s endpoints, and are accessible via Picqer’s base URL.
Here’s an example YAML file with the relevant specifications for orders and products:
Next, host your OpenAPI specification file on a server that allows public access. You can use a repository like GitHub, cloud storage like Amazon S3, or any web hosting service.
Take note of the URL of your specifications file; you’ll need it for the next step. Here’s an example of the URL:
raw.githubusercontent.com/yourusername/yourrepo/main/picquerschema.yaml


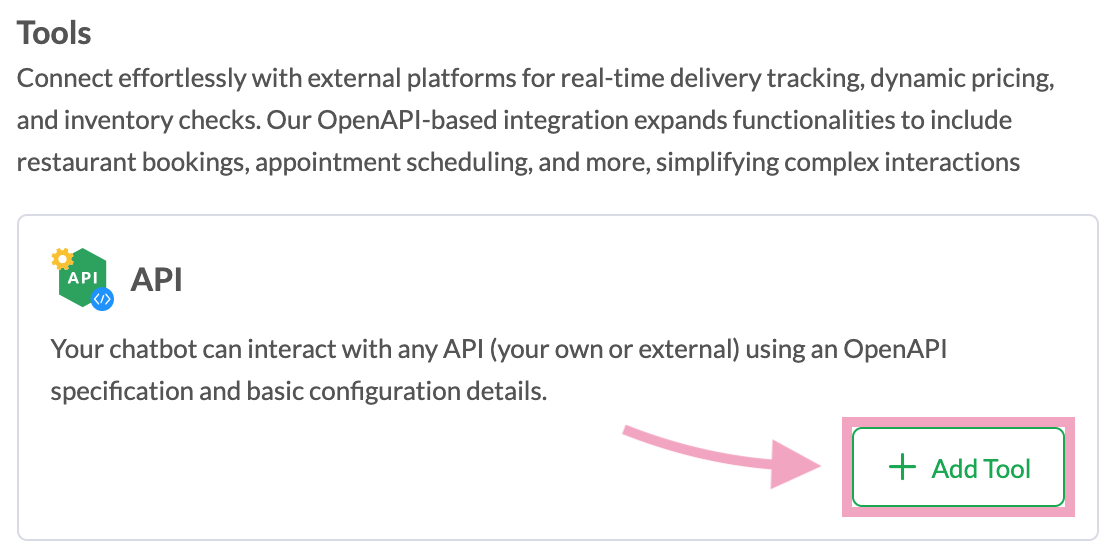
6. Click Add Tool under API.

7. Enter the URL of your OpenAPI specification file in Schema File URL. You can get this from the repository or storage that hosts your OpenAPI specification file.
Ensure your URL is publicly accessible and correctly points to your JSON or YAML file.
Here's an example:
raw.githubusercontent.com/yourusername/yourrepo/main/picquerschema.yaml

8. Enter the URL of Picqer’s API in API Base URL. The endpoints in your OpenAPI specification will be accessed via this URL. Ensure they match Picqer’s API endpoints to avoid any errors.
An example of the URL is “your-picqer-instance.com/api/v1”, where “your-picqer-instance.com” is your Picqer domain.


- Test this integration to ensure accurate data transfer and response generation.
- Prioritize data security. Follow best practices for API authentication and data encryption.
- Optimize your API calls to minimize latency and ensure a smooth chat experience for your customers.
- Ensure your integration can handle increasing chat volumes as your business grows.
If you have feedback about this article, or if you need more help:
Click the green live chat icon
Schedule a call with us
Visit our community
