Creating a Group Chat on Android
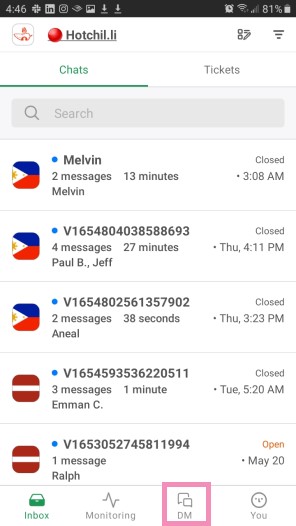
This opens a combined view of all of your direct and group messages.
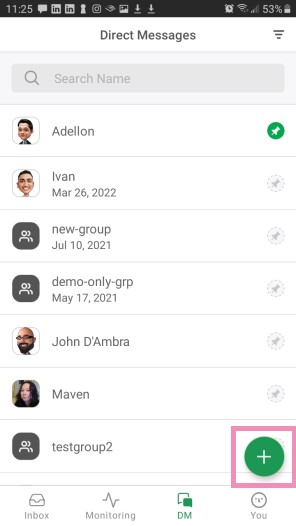
Tap the plus icon in the lower-right corner of the screen to create your group.
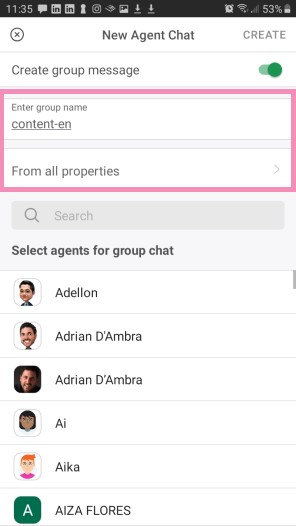
Next, in the upper part of your new view, make your way to the Enter group name field and give your new group a name.
The default view displays a list of agents from all properties in your account.
To display agents from a single property, tap From all properties. Then, select the property from which you would like to select your new group members.
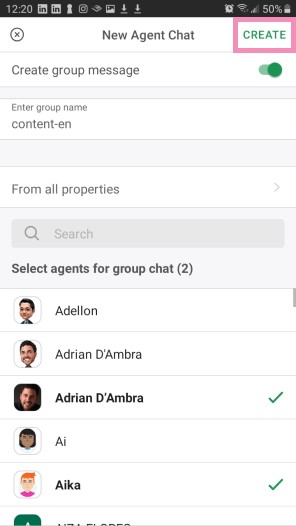
Tap to select the names of any agents you would like to add to the group.
Then select Create in the upper-right corner.
Your new group will now appear in Direct Messaging.
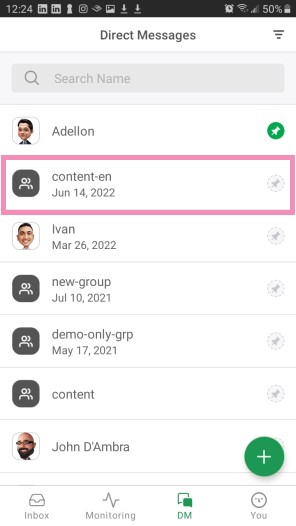
To send a message to the group, select the name of the group in the list.
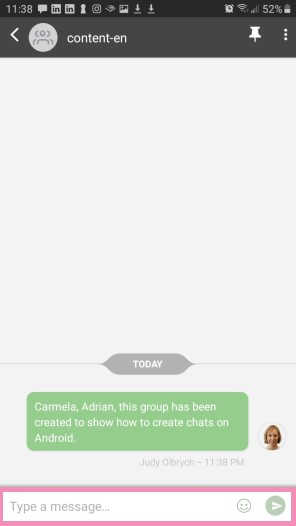
Then, enter your message and click the send (arrow) button to the right of the message field.
Learn more about Creating and Managing groups here: Creating and managing group chats
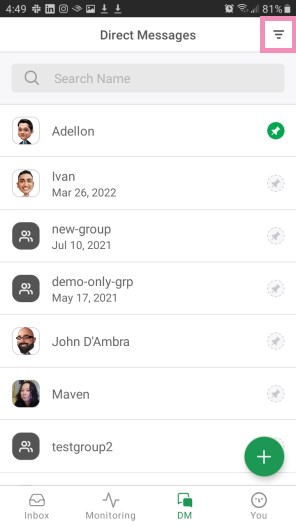
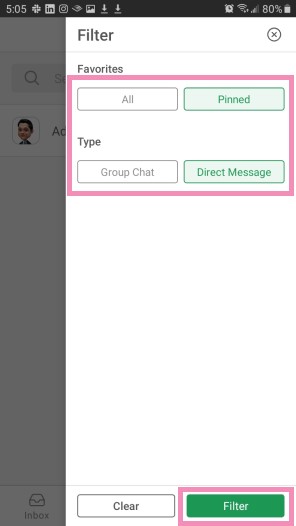
Under Type, select Group Chat then Filter to view only group messages. Select Direct Message and Filter to view only private messages from individual team members.
Under Favorites, select Pinned then Filter to view only your pinned messages. To return to a view of all messages, select All and Filter.
Once you’ve found the conversation you’re looking for, select a team member or group to view your messages or send a reply.
If you need additional help managing group chats on Android, schedule a call with a member of our team here.
